The Art of Tablescaping: Stunning Table Settings in 8 Simple Steps
There is no greater blessing than sharing a warm meal with loved ones over a lovely dinner table. Whether it’s a holiday dinner or just a long overdue lunch with friends, a dinner spread and a little tablescaping can add magic and charm to the night—and your conversations.

After all, nothing says welcome like a stunning layout to celebrate your guests and make them feel special.
Unfortunately, the task can feel a bit overwhelming.
Where do you begin?
How do you make it all come together?
Tablescaping in 8 Simple Steps
Creating a beautiful tablespace is an art that combines functionality and aesthetics to make your dining table an inviting masterpiece.
But, fun fact: You don’t have to be Bugsy Drake to create elaborate and thematic magic.
And though it may sound complicated, crafting an eye-catching tablespace is easy if you break the process down into these simple steps. (You’re welcome!)
Step 1: The Table is Your Canvas
Start by viewing your dining table as a blank canvas.
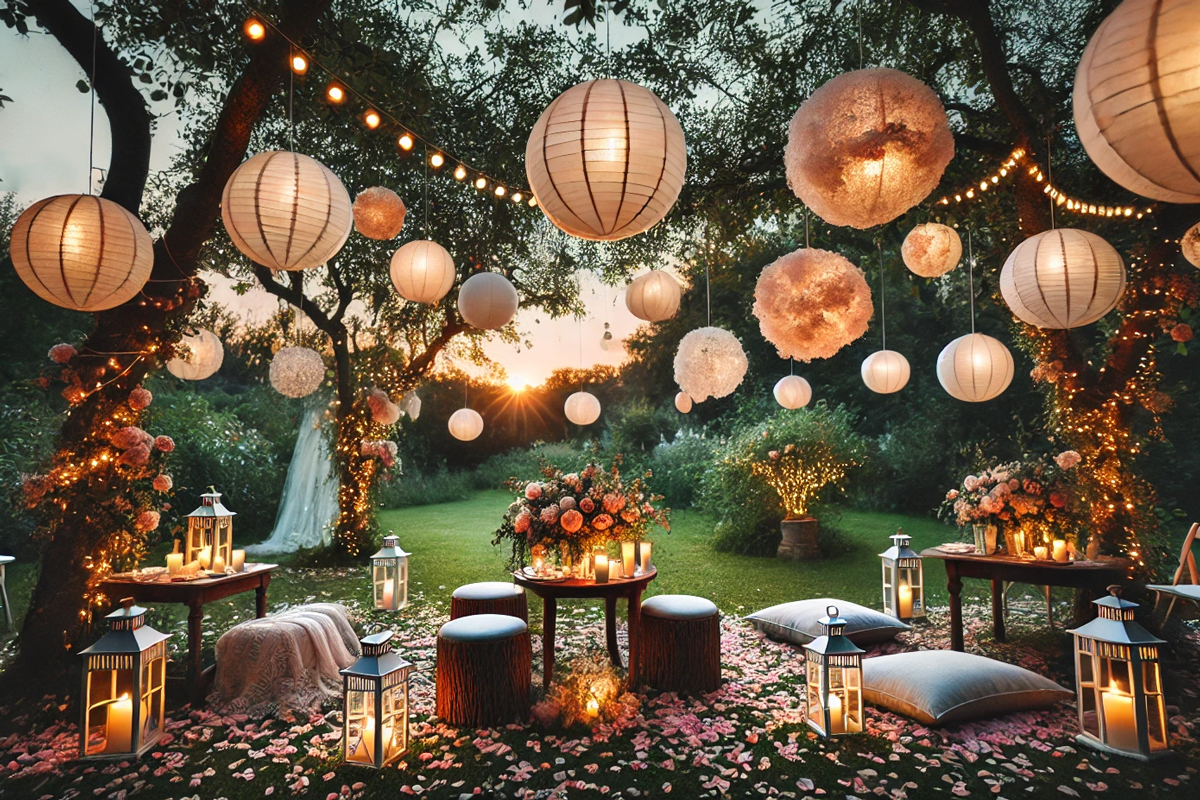
Your mission is to paint a story or theme through tablescaping. Whether you’re aiming for a rustic, garden, or glamorous feast, let your imagination lead the way.
- Think about the colors, textures, and mood that you want to create.
- Focus on the occasion and the type of gathering you’re hosting: A casual family meal calls for simple, cozy elements, while a formal dinner party might require more sophisticated decor.
- Or pick a theme: Picking a theme is like choosing the main color for your painting. It sets the direction for your entire tablespace.
For example, for a rustic autumn feel, think of incorporating elements like dried leaves, pine cones, and pottery. For a seaside/beach theme, you would work with blues and greens, seashells, and driftwood.
Remember, the theme will inspire the next few steps, from tablecloths to napkin rings, so choose wisely.

Step 2: Tableware
The next step is tableware. Think of your choice of plates, bowls, and cutlery like the brush strokes on your canvas.
You can opt for a mix-and-match approach to add character or select a refined, matching set for elegance.
Remember, the dinnerware complements your theme: vintage China for a classic look, earthy ceramics for a rustic table, or sleek designs for a modern setting.

Step 3: Glassware
Glasses are not just functional; they can be decorative too. Choose glassware that aligns with your theme. For a more formal setting, consider crystal glasses. For a fun, casual vibe, colored or patterned glasses can add a pop of excitement.
With our basics down, we’re ready to move on to the fun bits!
Step 4: Centerpieces That Steal the Show
Bold? Unconventional? Breathtaking?
If you can’t already tell, yes, this is my favorite step when it comes to tablescaping!
I like to think of the centerpiece as the focal point of my artwork. When my guests walk in, it should draw their attention and then guide them to the other elements on the table.
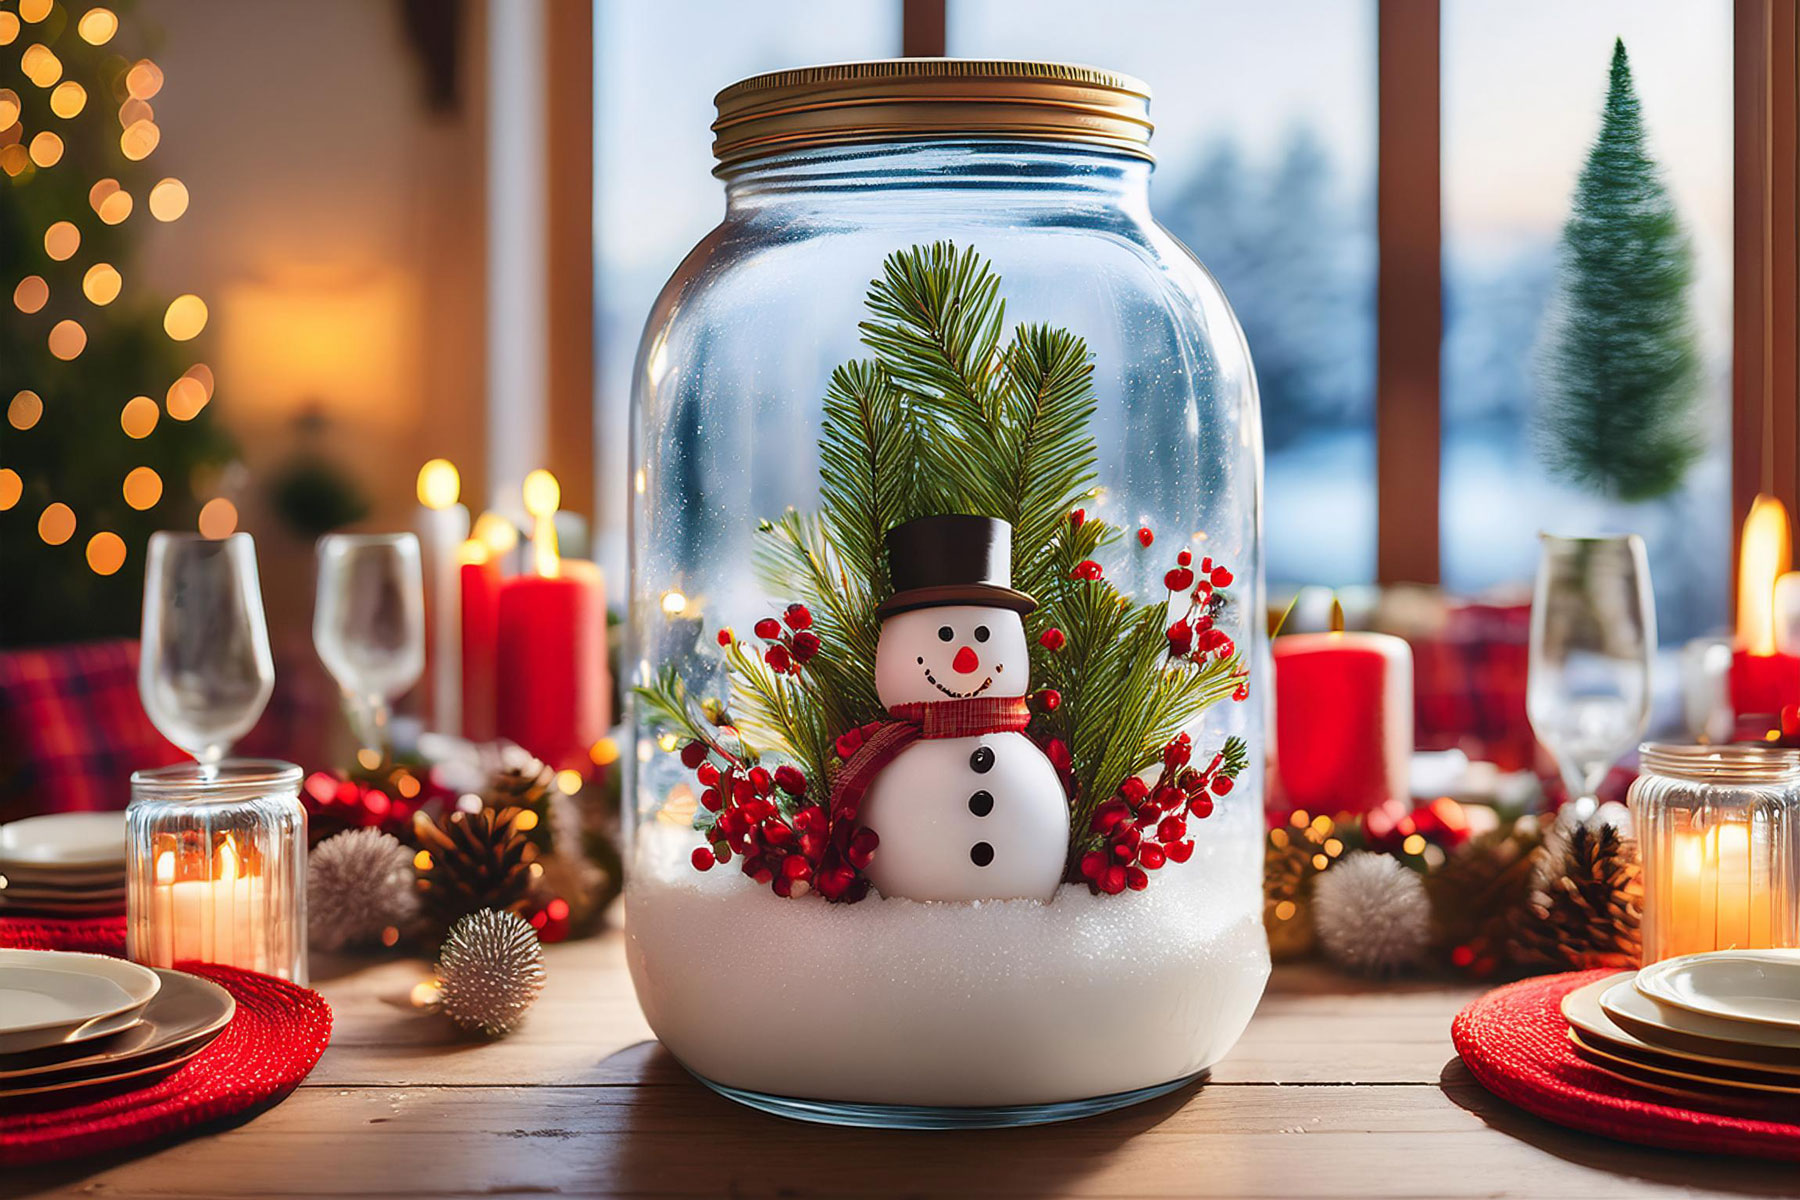
Play around and experiment here: maybe a floral arrangement for a spring soiree, a collection of candles for a romantic setting, or even a creative display of fruits or books for a thematic brunch. Just ensure the centerpiece complements the table and does not obstruct views or take up all the space.
We want our guests to appreciate it, not elbow it for space!

Step 5: Place Cards and Favors
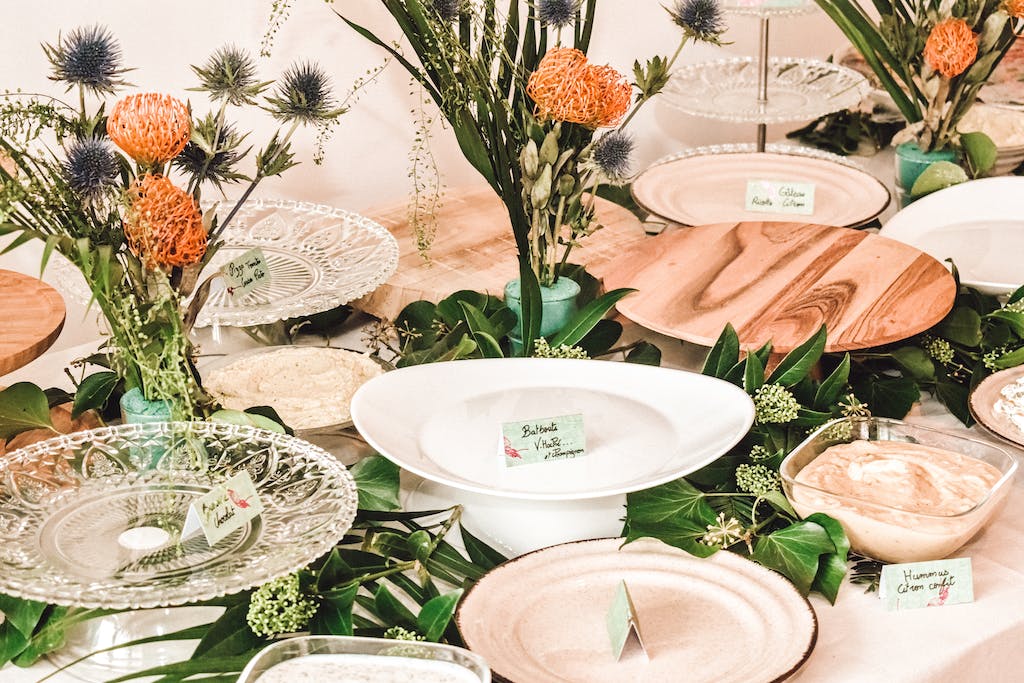
Next, add a personal touch with place cards that reflect your theme. They’re great for guiding guests to their seats while enhancing the table’s aesthetics. From color and designs to font, place cards add that special touch guests appreciate.
Small favors or gifts at each place setting can leave a lasting impression on your guests.
Step 6: Seasonal Elements
Incorporating seasonal elements adds a fresh touch to your tablescape. Use spring flowers, summer fruits, autumn leaves, or winter greens to reflect the season in your theme.
Step 7: Lighting and its Impact on Tablescaping
Lighting sets the overall ambiance. Soft, warm lights like candles or fairy lights create a cozy, intimate atmosphere. The lighting should complement the mood of your theme without being overwhelming.
Step 8: Functionality Focus
While aesthetics are important, functionality is key. Ensure there’s enough space for guests to dine comfortably. Avoid overcrowding the table with decorations, and keep essential items like salt, pepper, and condiments within easy reach.
And that’s it! Experiment and play around with your table-scaping adventures and be the host-est with the most-est creative table spreads!

Craving more budget-friendly home magic? Dive into my Indoor Decorating Projects treasure trove! It’s bursting with DIY inspiration and wallet-friendly wonders to transform your space. Click, explore, and let your creativity run wild!
Adventures in Tablescaping:
At this point, I feel I should warn you: tablescaping can get a little addictive. (On more occasions than I would like to admit, I have found myself more excited about the theme than the meal itself.)
But that is okay. The trick is to remember that you don’t have to create everything from scratch. The art of tablescaping allows you to use a variety of materials, ranging from natural elements to store-bought items, and even add a few DIY creations. For instance, a cake stand can do wonders!
Here’s how you can incorporate these different materials to enhance your table setting:
Using Natural Elements to Enhance your Tablescaping Skills
Nature offers an abundance of materials that can add an organic and fresh touch to your tablescape. For a rustic look, use branches, leaves, or pinecones. Seasonal flowers can brighten the table, while fruits like lemons or apples can add color and serve as centerpieces.
Store-Bought Items Make It Quick and Easy
If you’re looking for convenience or specific items that match your theme, store-bought decorations can be a great choice. You can find a wide range of tableware, glassware, and decorative items in stores.
Pro-tip: Look for unique pieces that can become conversation starters.
DIY Decorations For Some Extra Love
Got time and a desire to create? Well, then DIY is the way to go!
Not only do DIY projects allow you to experiment and personalize your tablescaping, but they are also quite cost-effective.
Here are some great DIY centerpieces that I just know you’ll love plus a few other fall posts to check out:

