DIY Laminate Flooring Table Top: Create Your Own Affordable Desk!
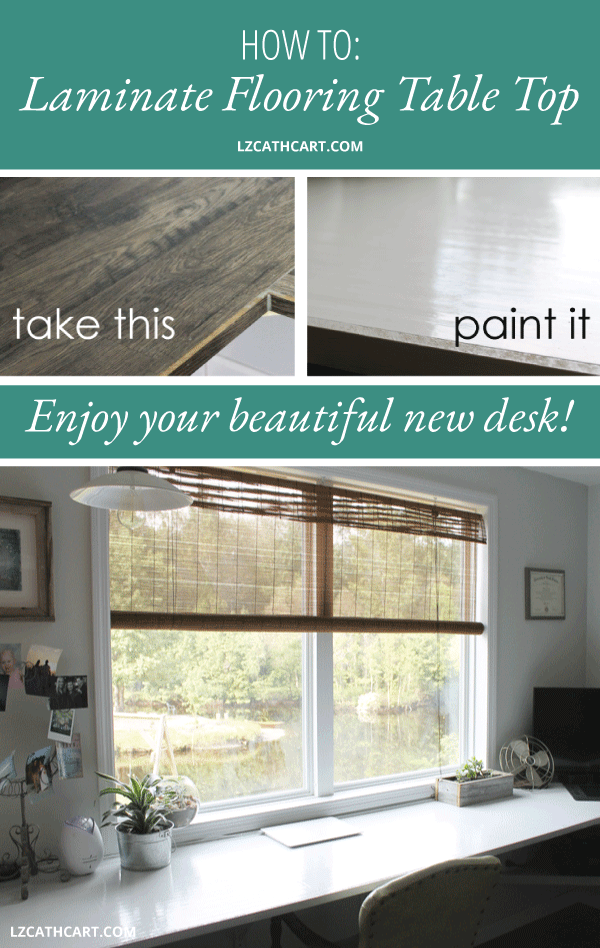
Learn how to create your own laminate flooring table top with just a few simple steps. You won’t believe how easy it is plus it’ll save you a fortune!
Hello friends and Happy Monday 🙂
Believe it or not, I went through a huge dilemma when it came to creating my studio desk. I do believe I changed my mind about the end result probably… 10 times.
Seriously. I originally wanted a big ol’ reclaimed barn wood table, but realized that it wouldn’t look right against my flooring until, well, my flooring was in!
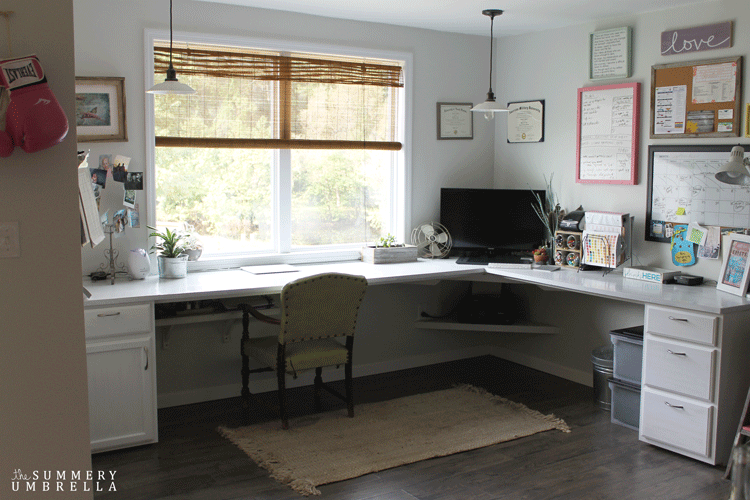
So, I decided that I would just keep it simple and consistent, and get the same laminate countertop as my “creation station” in the other corner. Easy fix, right?
Not so much. When Mike went to go pick it up from our local Lowe’s we found out that it was no longer in stock and took a minimum of 30 days to get to the store.
You know me. Patience is not my best trait.
I try.
Sort of.
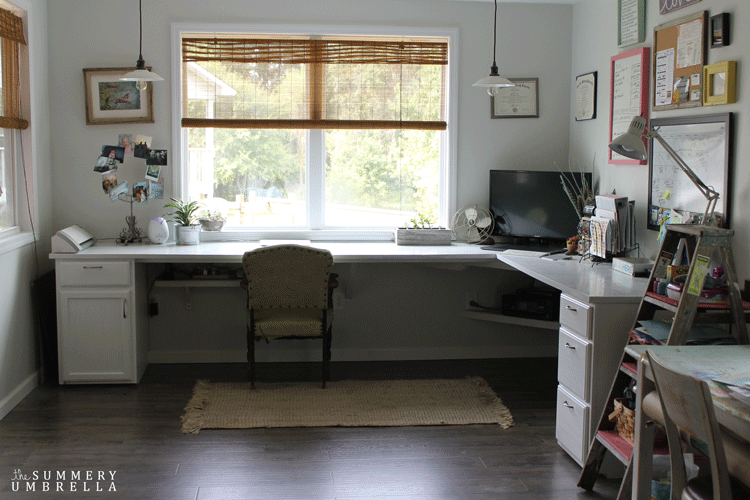
Then, Mike and I (yes–it was a JOINT effort 😉 had a spark of genius and realized that we had a few extra boxes of laminate flooring that we could use as a custom desktop! So, “how do you do this?” I’m sure you’re asking.
Well, I’m not going to go into a lot of details because this desk can be customized in so many ways. I’m just going to provide you with what I used and some helpful tips!
DIY Laminate Flooring Table Top: Create Your Own!
1. Your Dimensions
First things first, you’ll need to decide on the dimensions of your desk. I needed A LOT of desk space so I picked an L-shaped desk to assist.
2. Table Top Support
Decide how you will “prop” up your desktop. I purchased this unfinished drawer base cabinet as well as this unfinished door and drawer cabinet through Lowe’s. Just remember this route is a little bit more expensive and you could definitely use many other options. For example, use flea markets and garage sales if you’re tight on cash, and look for shelving units, file cabinets, etc.
TIP: Buying cabinets that are unfinished is typically cheaper than if you buy them already painted! Need help painting your cabinets?
3. Install Your Base
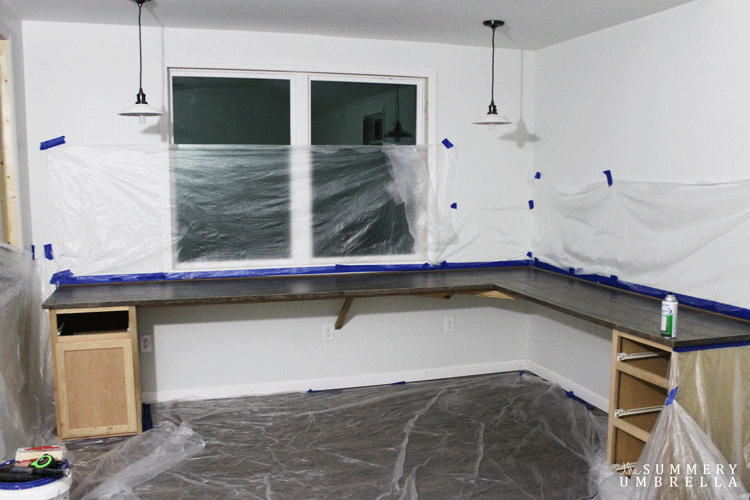
Next, using plywood install your base to apply your laminate flooring. You might need to add support beams underneath depending on how big your desk is. Please see the picture below.
4. Prepare Your Space for Painting
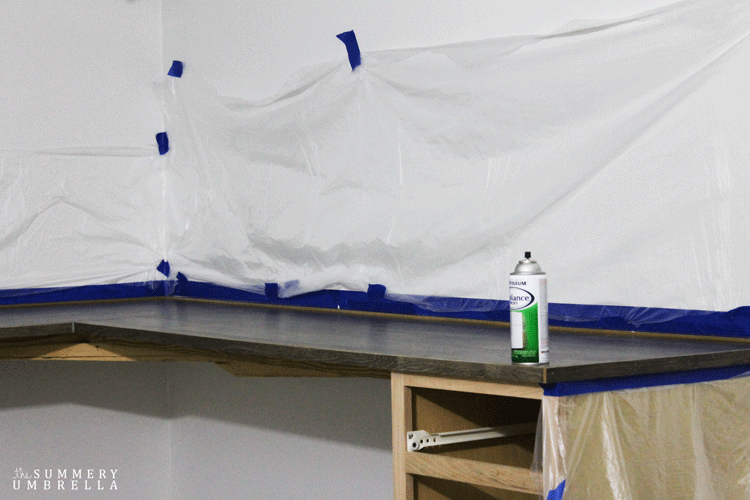
Since my desk was so large there weren’t a lot of options for us to paint in another location and bring it back into the studio. So, if you’re in this same predicament just make sure you have plenty of plastic wraps, tarps, and other similar items to use to overspray on your walls and flooring.
DIY Laminate Flooring Table Top: Create Your Own!
5. Cover and Fix Holes
If there are any holes from the nails that you used to put into the laminate flooring or any connecting side pieces make to fill them in with wood first (and allow them plenty of dry time) prior to painting.
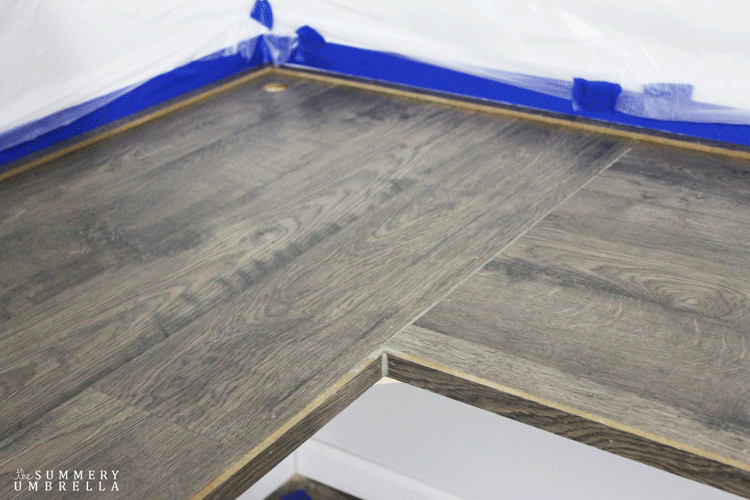
6. Start Painting!
Once you are certain that everything is taped down and covered (if you have to paint in place) go ahead and get started painting the top only of your desktop.
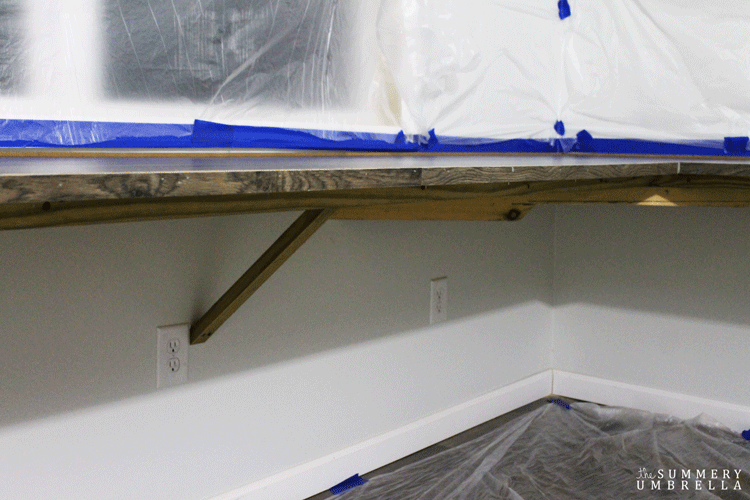
Honestly, I was a little hesitant at first that this would even work. Mike and I have repainted old refrigerators and freezers for his taxidermy business before and it worked out great, but I wasn’t sure if laminate flooring would have the same results.
Well, you know what?
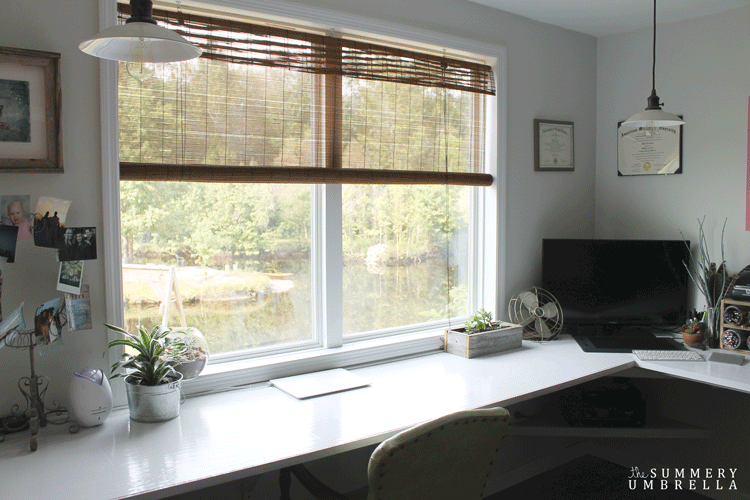
I am so impressed by these results from a few bottles of Rust-Oleum Appliance Enamel Spray in White. Not only is this spray paint easy to use, but the paint is SUPER affordable. Definitely a win-win right?
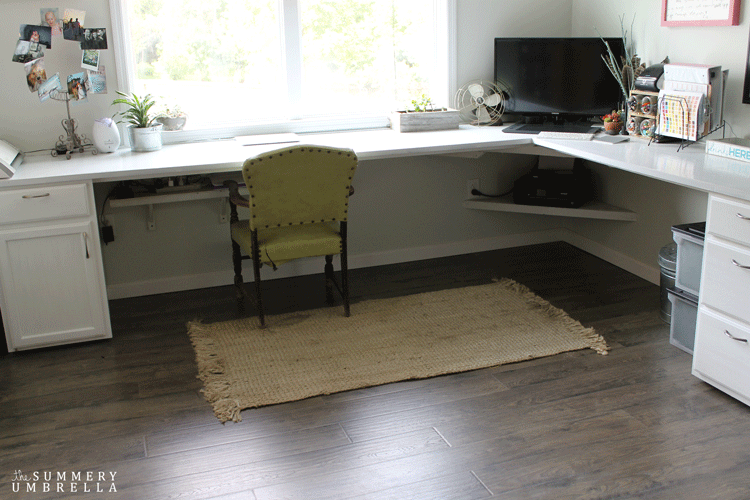
TIP: Don’t fret if you do get overspray on your laminate floors. Just use a little bit of lacquer thinner and a paper towel, and scrub, scrub, scrub!
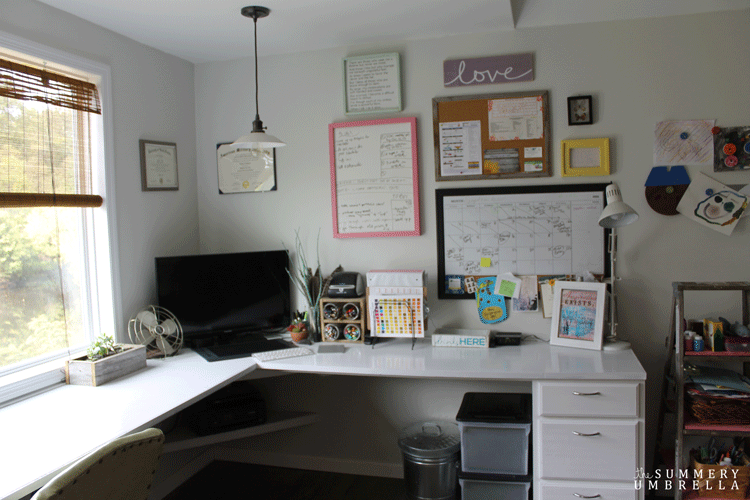
Now, I have a beautiful new desk that was easily customized and didn’t break the bank!
More of What You Love: Check Out These Recommended Posts!
- How to Paint Metal Furniture Like a Pro
- How to Paint Furniture with Minimal Prep Work
- How to Paint and Distress Metal Bar Stools Like a Pro
- How to Paint Your Metal Front Door the Easy Way
- 14 DIY Outdoor Furniture Projects to Create this Weekend
I was pretty picky about the lighting in my desk area and was so happy when I found these PB Classic Pendants from the Pottery Barn a few months back.
DIY Laminate Flooring Table Top: Create Your Own!
So, what do you guys think? I’ll definitely have more projects for you later on, and hope you have a wonderful week 🙂
If you loved these ideas then you’ll definitely want to browse some of my other DIY projects that are full of step-by-step tutorials as well as freebies galore! Can’t wait to see you again!






Hi – what size and what material did you use for trim, since the laminate would be thicker atop the plywood you must have edged it in something? TY! Very nice.
Hi Mary! 7/16 osb is the size and type of plywood we used, but that was mainly just because we had it leftover from a different project. Hope this helps, and thank you for stopping by 🙂
Looks fantastic! I’ve been thinking about doing this for my desk. I might even leave it as is without painting it. I’ll see how I go:)
Thanks, Belinda! Trust me, I would have loved to leave it as is if I could have. 1.) It would be easier. Love that! 2.) It’s such a pretty laminate flooring. Maybe next time, right 😉
This is a great idea! I’m not looking to redo my desk anytime soon, but if I ever do I’ll keep this in mind!
Thank you so much for stopping by Mary 🙂 I highly recommend. It is a great way to have a huge desk for a low cost!
WOW! So cool that you used leftover laminate to create this – I never would have guessed. Your studio is gorgeous – what an amazing place to create!
Thank you so much, Jenny! I am still amazed how well it turned out 🙂
I love the desk and chair you picked. I really need to get to work on my office.REALLY need one! may just be the brand I need.
Hi Miller and thank you! It’s quite amazing how a well-designed office can help your working capabilities. It’s so nice to be able to finally spread out, and get stuff done! Good luck with your office 🙂