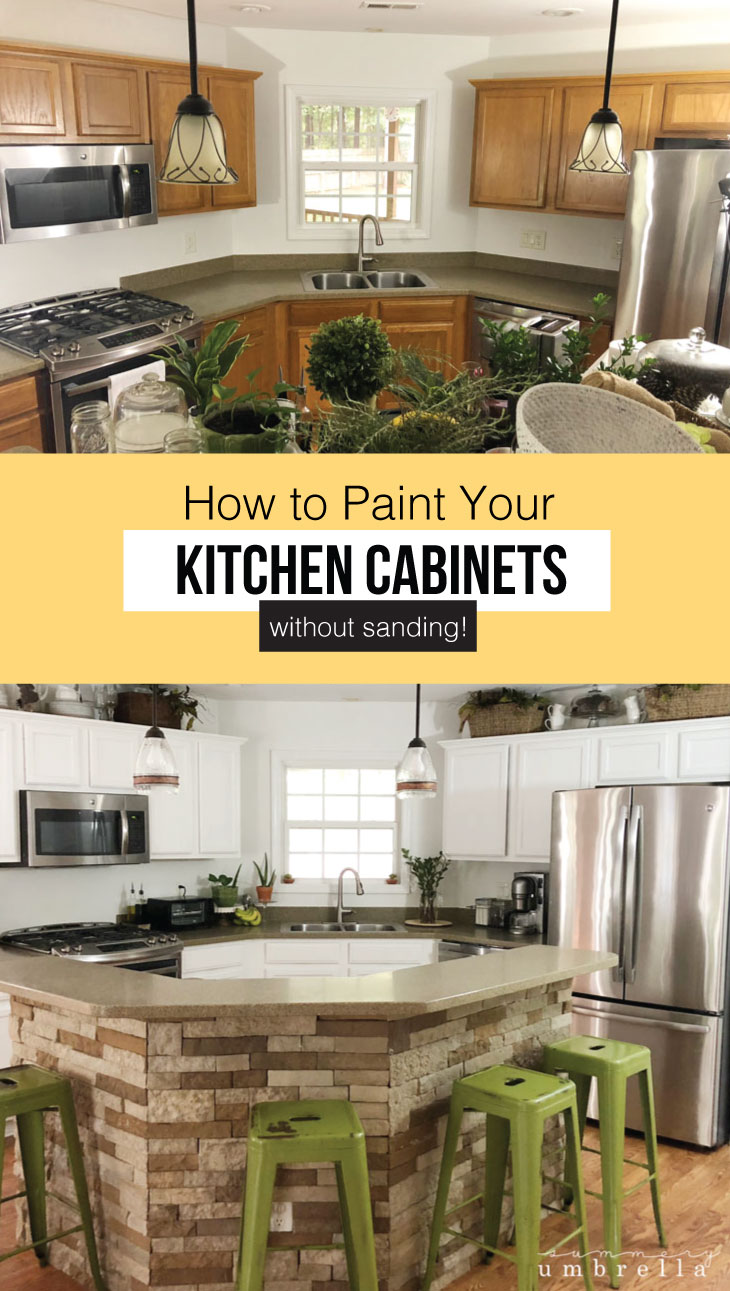
Save Time and Money: Paint Your Kitchen Cabinets Without Sanding
Not a fan of the color of your kitchen cabinets, but need an easy way to fix it quickly? Don’t worry! Learn how to paint kitchen cabinets without sanding them in this tutorial.
This post is sponsored by the wonderful folks at Country Chic Paint. However, I will still be providing my amazing readers with opinions that are 100% my own, and based on my personal experience using their AWESOME products. It also will include some affiliate links, but they are for your convenience. I promise! Please click here to read my full disclosure policy.
How to Paint Kitchen Cabinets Without Sanding
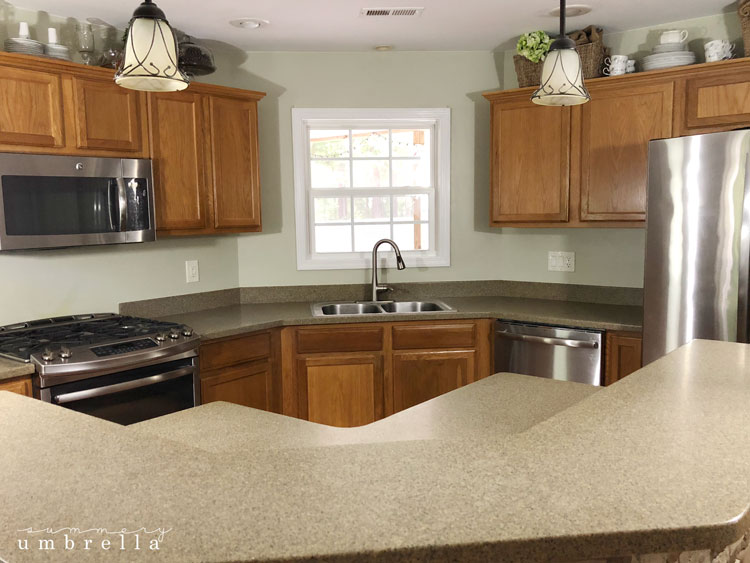
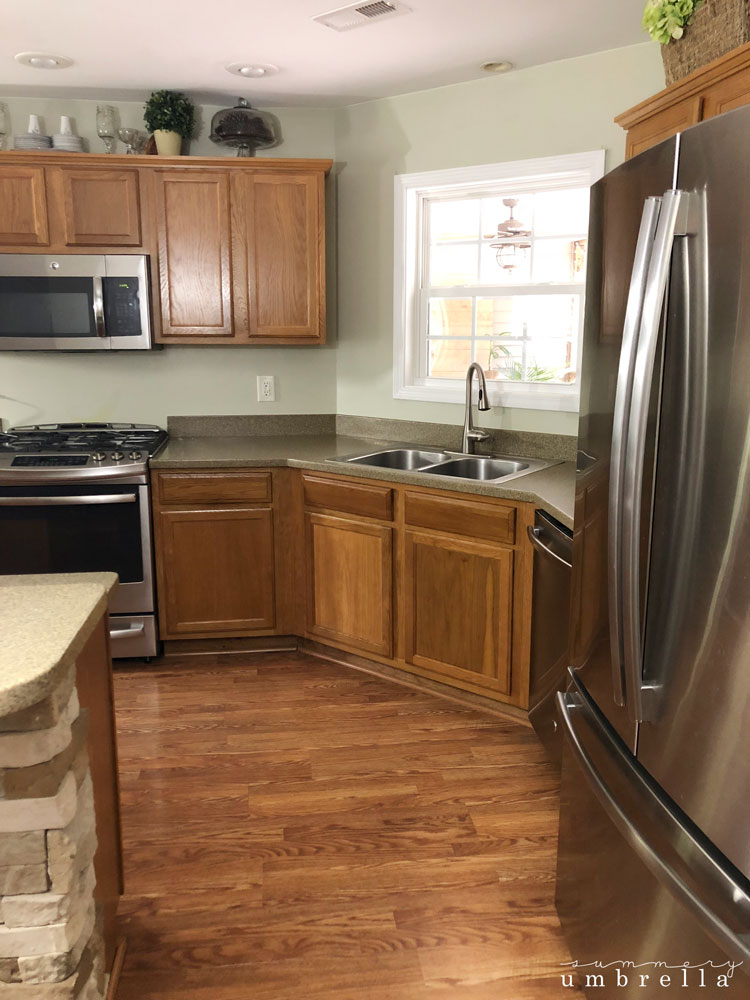
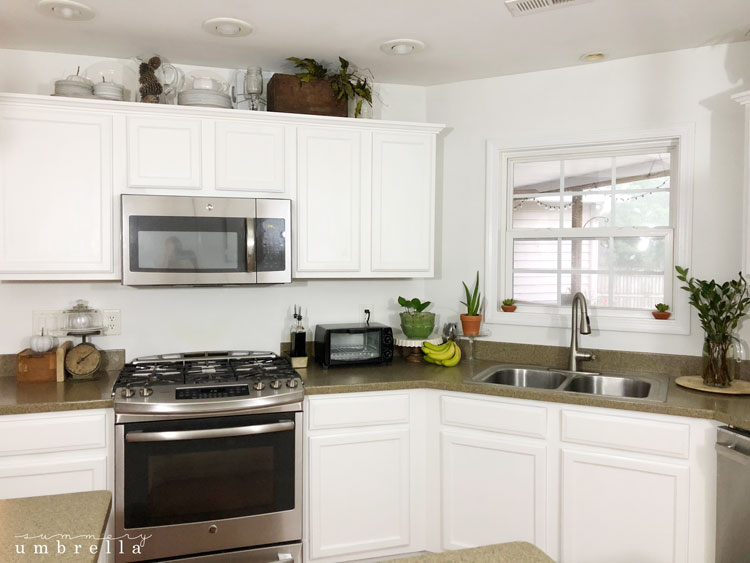
As many of you know, my family and I recently purchased this home back in March, and the previous owners were very good to it. Practically everything has been updated in the last year, and I honestly cannot complain about it too much.
With that being said, the color palette in our home was artfully selected, but I knew from the start that it would take some getting used to. I decided I would expand the color wheel of my typical favorites, and embrace the natural neutrals that are throughout the house.
Sigh.
I really tried to love these colors. Really, I truly did, but I found that our house didn’t feel like a home to me. Instead, it felt foreign, and eventually, I just avoided taking photos of these rooms and sharing them with you!
Until one day a little bell went off in my head, and it reminded me that all of these “problems” could be fixed. And not only fixed but easily. I had been trying so hard to like something I obviously did not that I completely forgot that my typical do-it-yourself mentality went straight out the window!
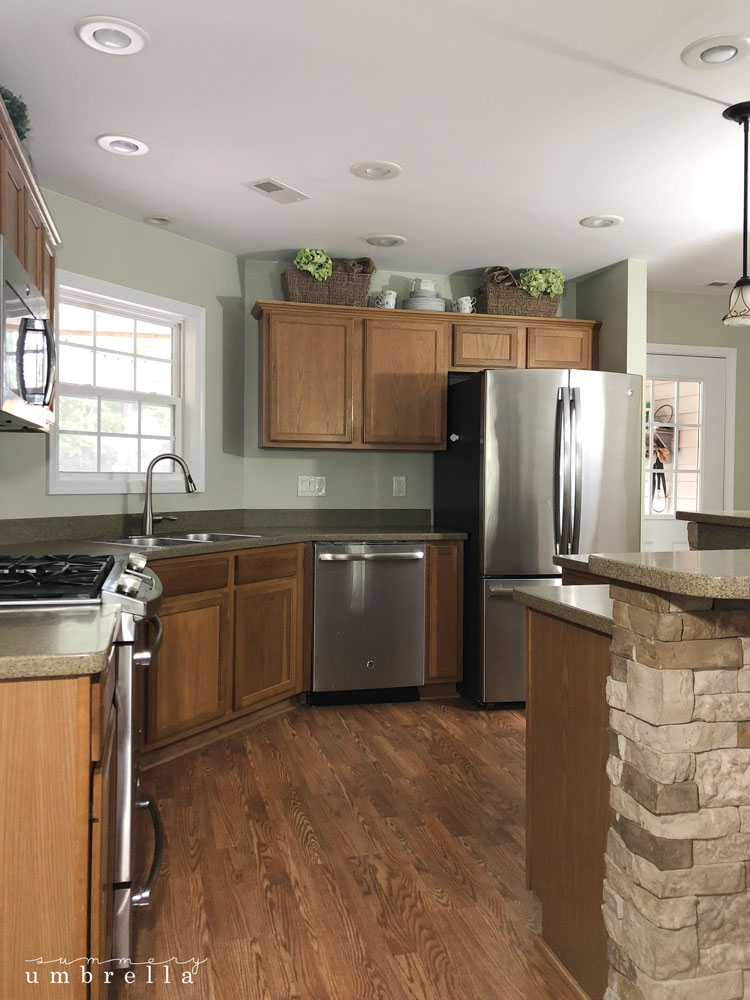
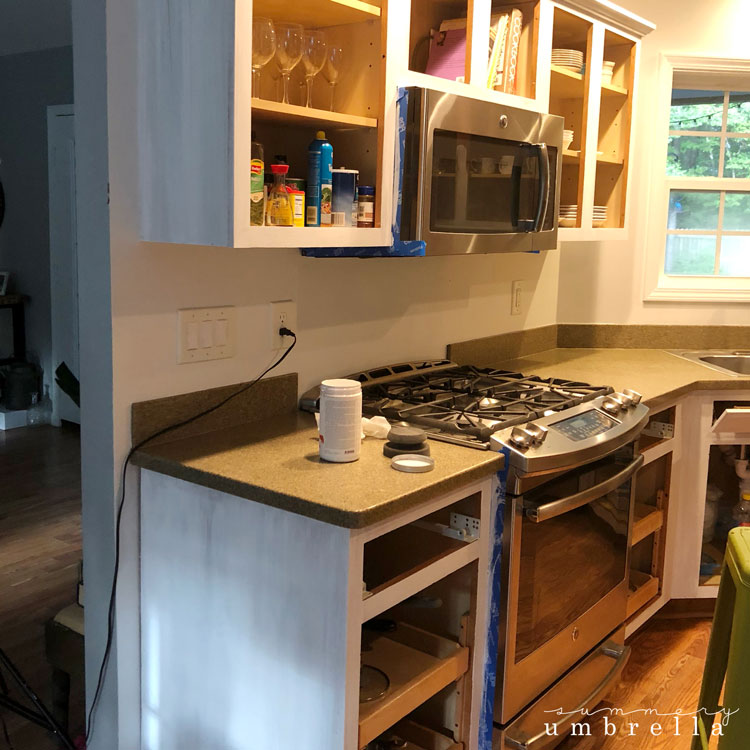
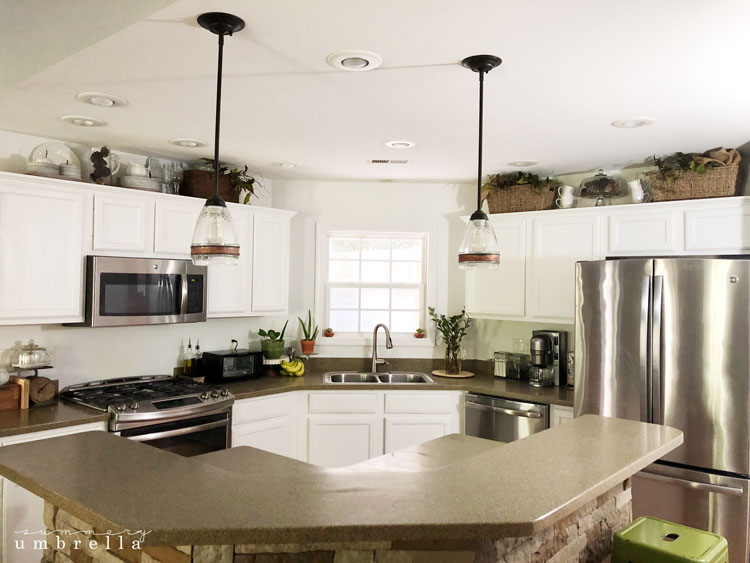
So, the first room that I decided to tackle is the kitchen. I’m just not a faux-wood-grain-kitchen-cabinet-color kind of girl, and they had to go.
What kind of paint do you use to paint kitchen cabinets?
Believe it or not, this is my fourth (house) time painting kitchen cabinets, and each time my husband and I have selected a different method as well as paint. Why? Because the first three times were utterly painful. We sanded the doors, used awful-smelling paint, and even tried a paint stripper.
Believe me when I tell you this… I have finally found the BEST way to paint kitchen cabinets, and I will never use another product or method again after using Country Chic Paint‘s amazing combination of primer, paint, and clear coat. So, without further ado let’s get started!
What You’ll Need:
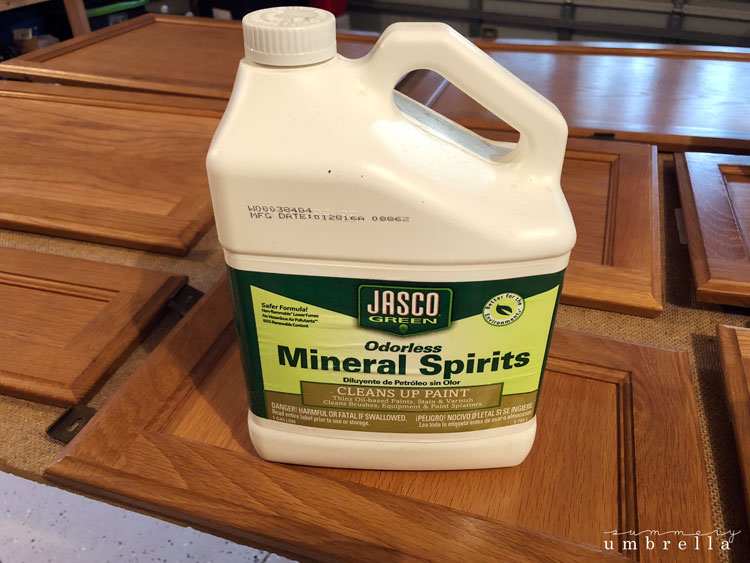
- mineral spirits or lacquer thinner
- a roll of painter’s tape
- paper towels
- paintbrush(es)
- Country Chic Paint in Simplicity
- Country Chic Paint Clear Coat
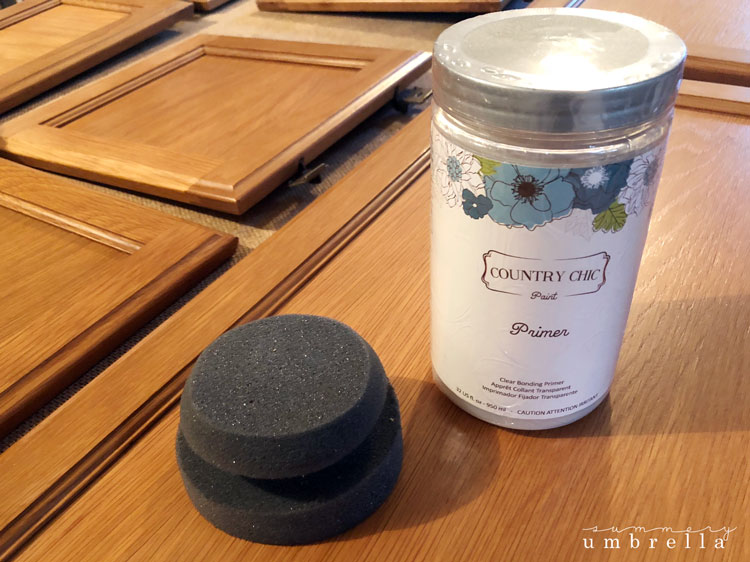
- Country Chic Paint Primer
- Country Chic Paint Sponges
- small plastic containers (in case you want to pour your paint into something more manageable)

Instructions
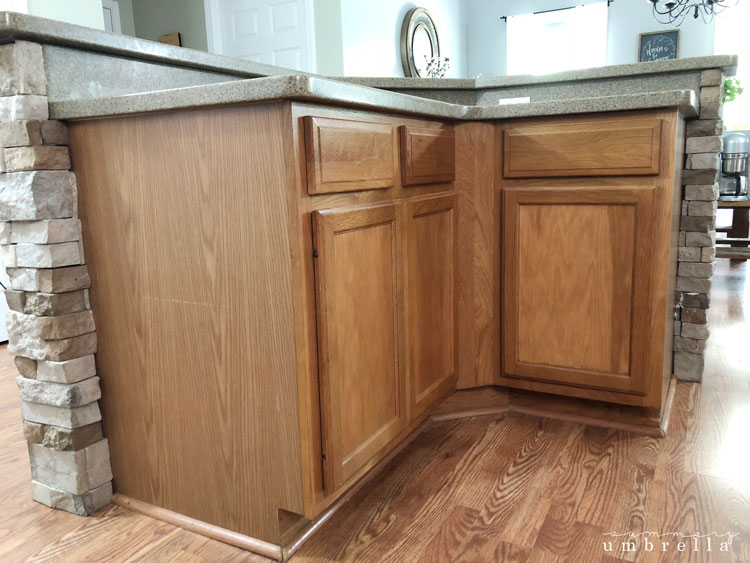
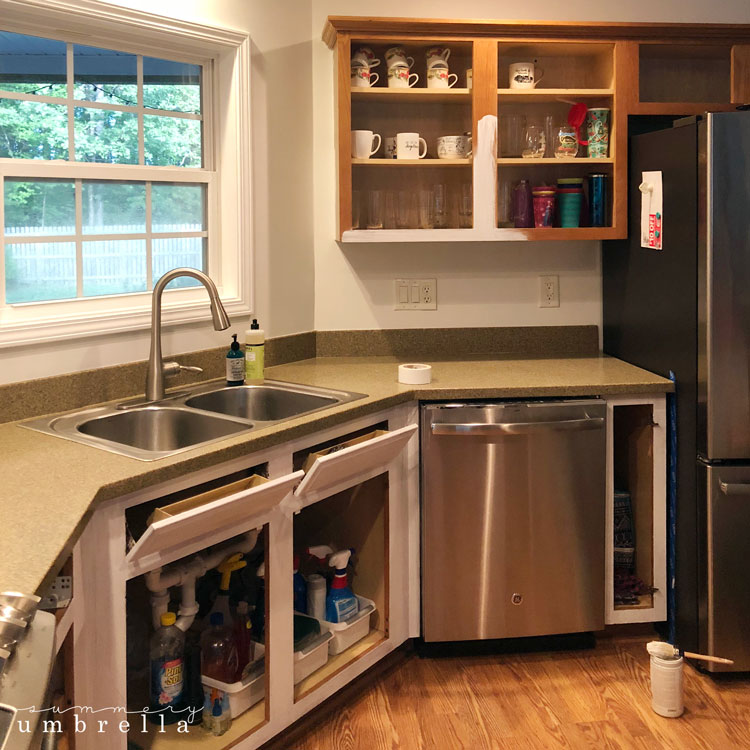
1. Remove all your kitchen cabinet doors.
When you’re removing your kitchen cabinet doors make sure to also label all of your hinges and screws that are associated with each. I like to use plastic baggies to ensure that nothing will go missing. A numbering system is a way to go!
2. Clean all of your doors and cabinet frames.
Using a paper towel and mineral spirits (or lacquer thinner) clean every inch of your doors and frames that you will be painting.
3. Tape around your appliances, wall, and floors.
This step is pretty self-explanatory, but just make sure to tape anything and everything that you wouldn’t want to get paint on. It’s better to have too much taped up than not enough!
4. Prime your doors and cabinet frame.
Personally, I liked using Country Chic’s painting sponge for this step. The primer’s consistency is much thinner than the paint, but goes on super smooth. Then, wait 24 hours before you move onto the next step.
* Don’t forget to check out my “process” video below for an entire room view! *
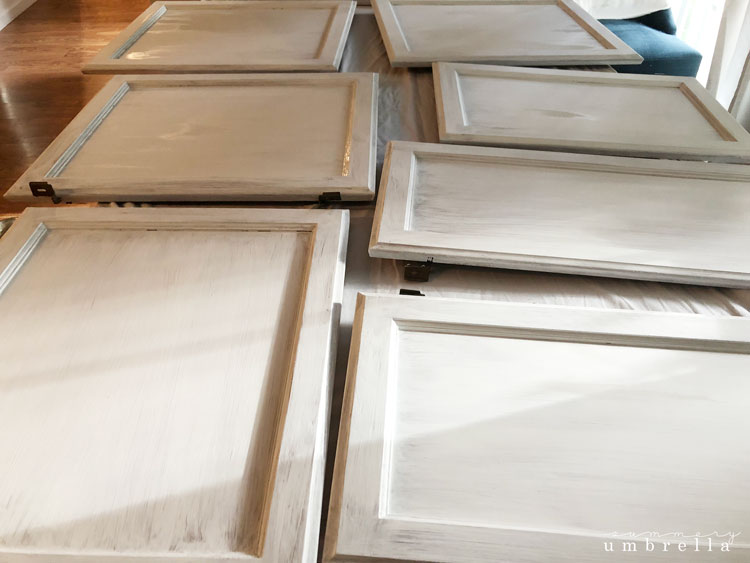
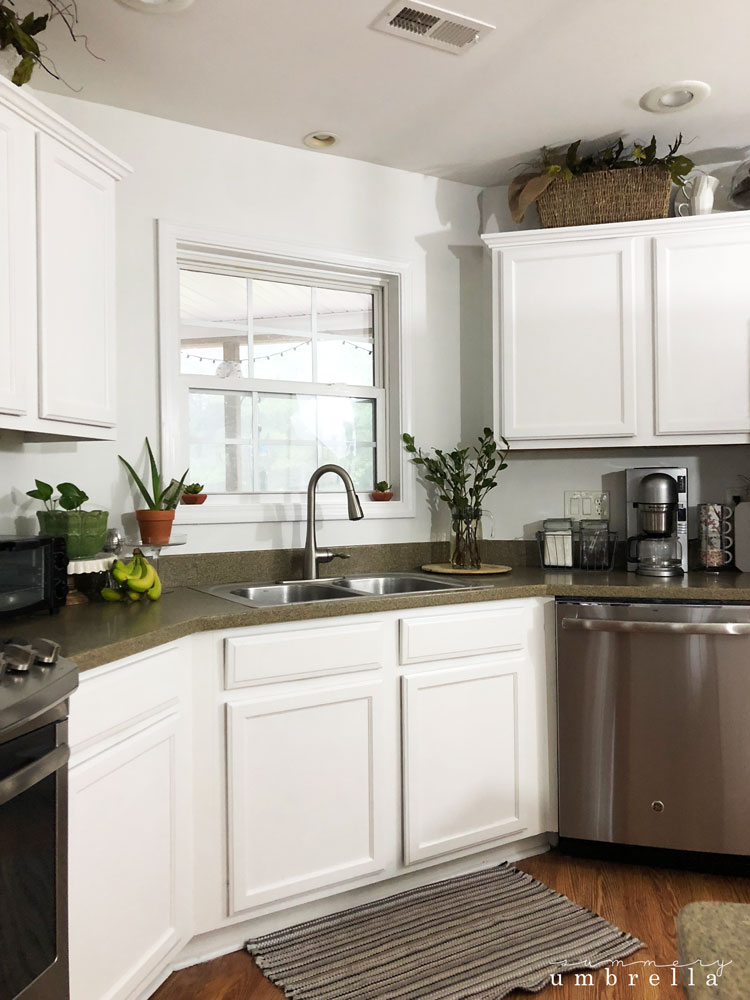
5. First Coat – Paint your doors and cabinet frames.
I used my paintbrush (not the sponge) to evenly spread one thin coat onto my doors and frames. As you can see in the photo below it covers really well! Then, wait 24 hours before adding another coat.
6. Second Coat (and more) – Paint your doors and cabinet frames.
Depending on the color you select will depend on how many coats you will need. Overall we used two coats for everything and then spot-checked it with a third.
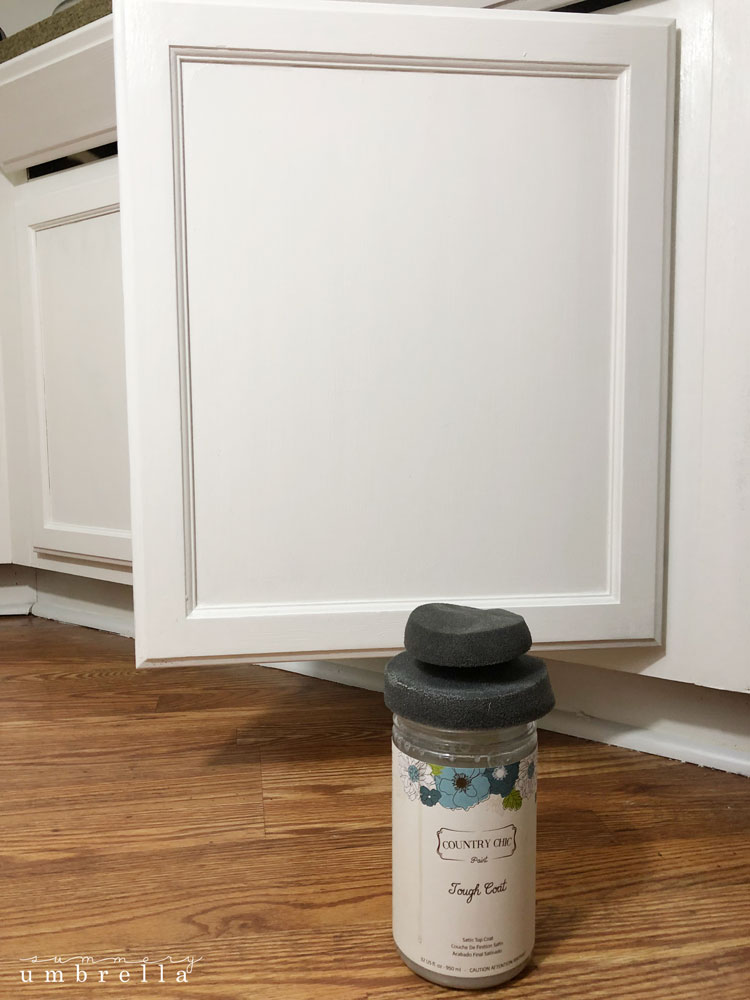
7. Add the topcoat to your doors and cabinet frames.
Using your painting sponge apply the topcoat to all of your doors and cabinet frames. Let it dry and then add a second coat.
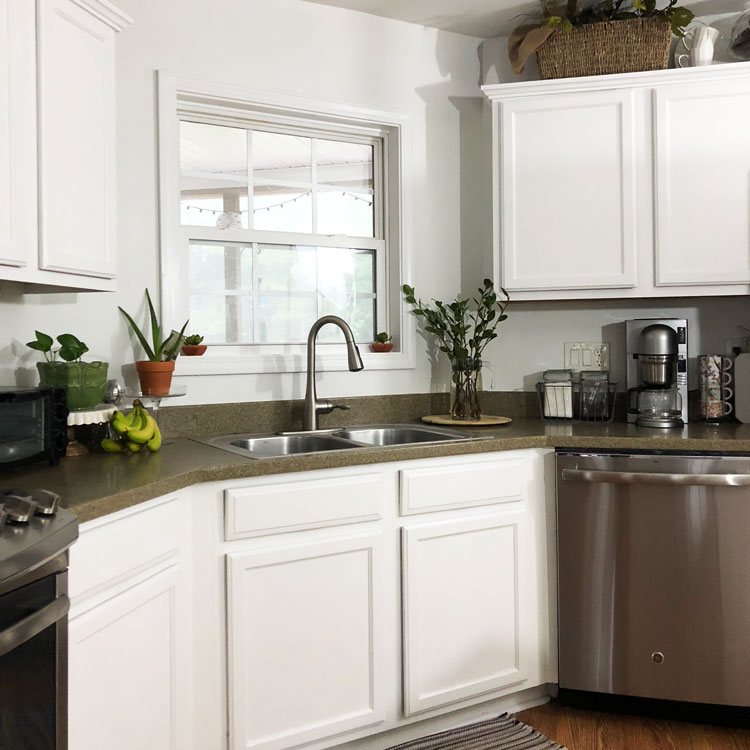
8. Reattach your cabinet doors.
After 24 hours go ahead and reattach your cabinet doors and that’s it. You’re on your way to having one of the most beautiful kitchens around, and you did it on an amazingly low budget. Go you!


* Check out my “after” video below for an entire room view! *
Looking for more home-inspired DIY projects?
- Mason Jar Pendant Light
- How to Decorate Your Home Using Handmade Signs
- Dollar Store Bathroom Drawer Organization
Now all I need to do is figure out what handles, knobs, and backsplash I want. Easy-peasy, right?!
See you soon, and hope you enjoy your next DIY project 🙂


Love your “How to Paint Kitchen Cabinets without Sanding” but can’t find the 2 videos you referred to:
1) “Don’t forget to check out my “process” video below for an entire room view!
2)Check out my “after” video below for an entire room view!
Do you have links to these somewhere where I can view them?
Hi Susan! Thanks so much for checking out my post. I just checked the videos, and they look like they’re good to go. Thanks again, and have a wonderful weekend 🙂
Awesome and Interesting post! Great and helpful piece of information. Thanks for sharing details with us.
You are most welcome! Happy to hear that it was helpful 🙂