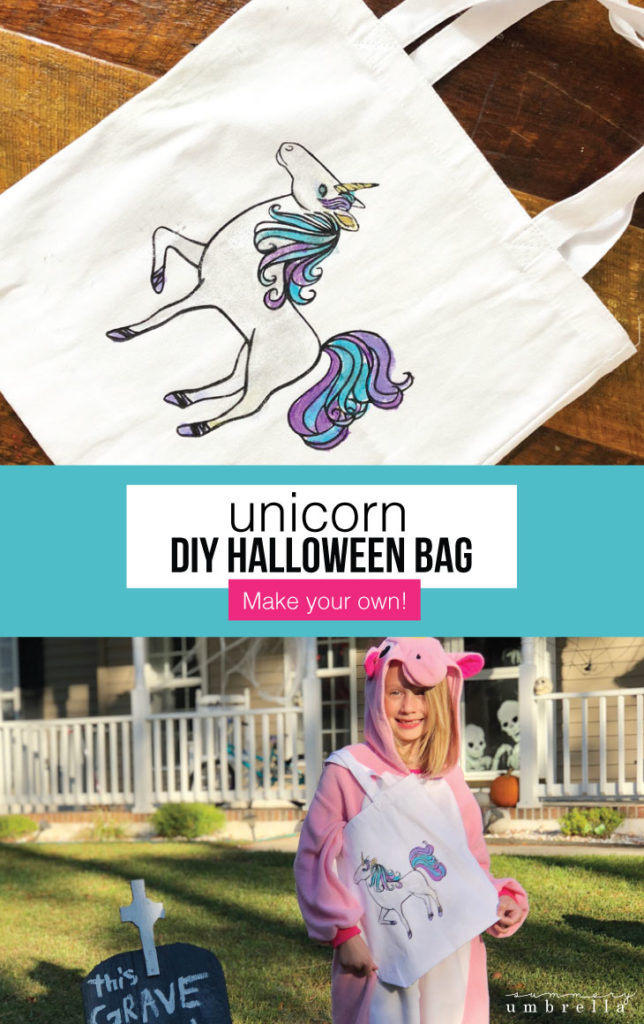
Craft Your Own Unicorn-Inspired DIY Halloween Bag with a FREE SVG!
Elevate your Halloween style with our FREE DIY Halloween bag SVG: Unicorn-inspired enchantment for your crafting delight!
If you didn’t know… my daughter is obsessed with unicorns. I’m not even talking a little bit here and there, but absolutely 100% completely enthralled with them!
Unicorn-Inspired DIY Halloween Bag
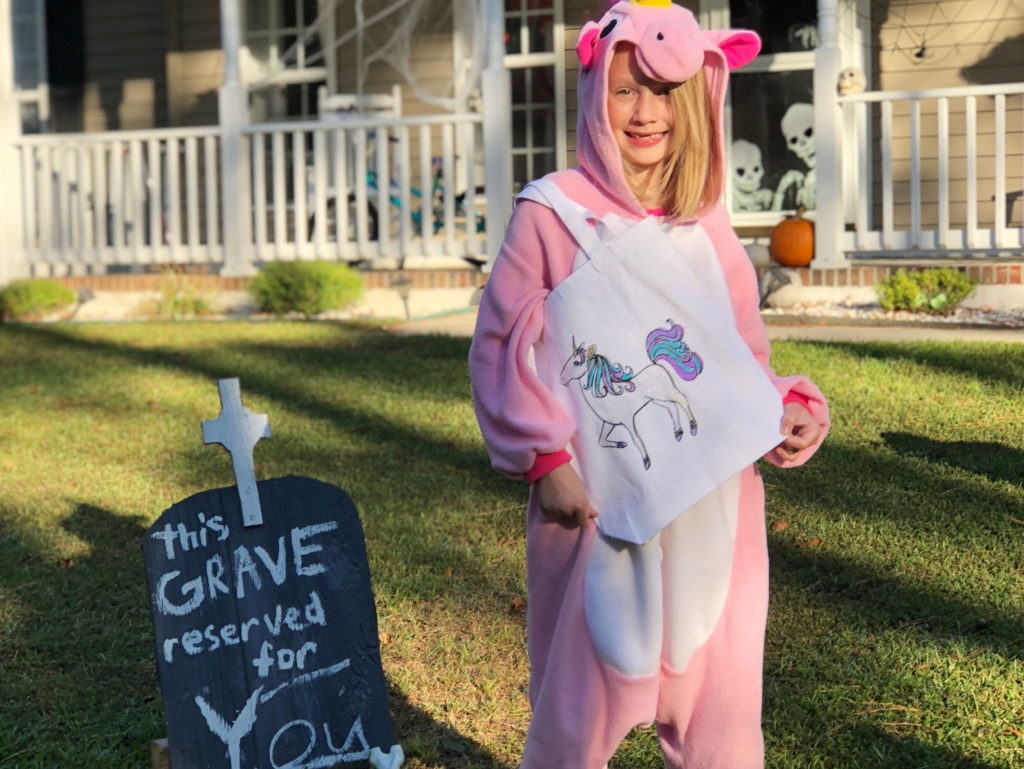
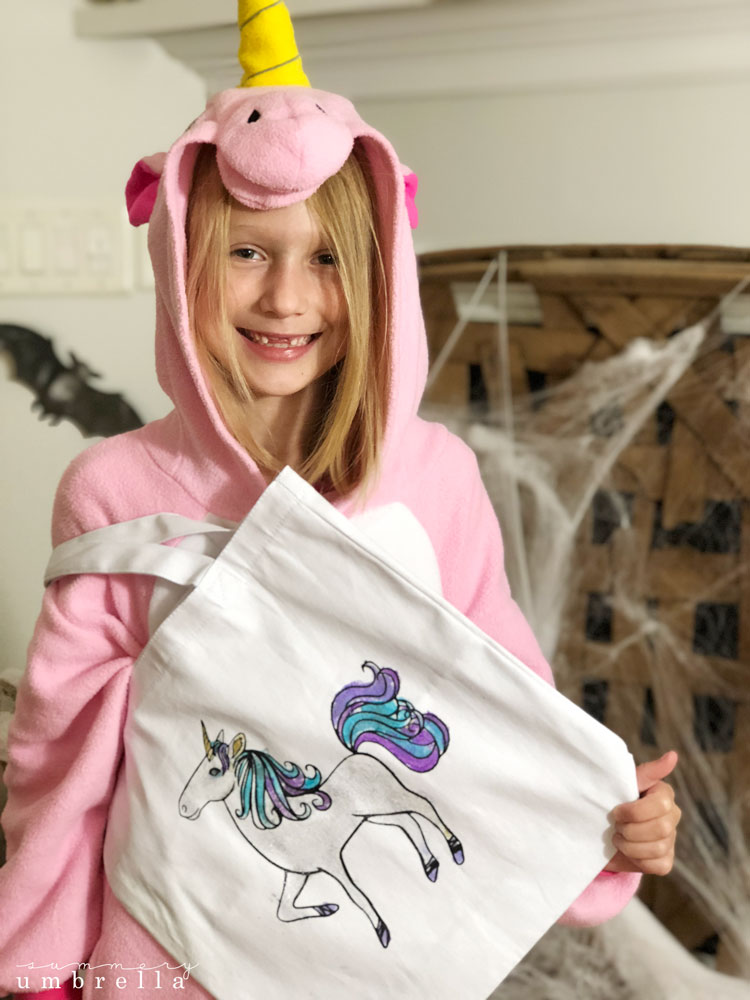
So, it came as no surprise when she told me that not only did she want to be a unicorn for Halloween this year, but also wanted her Halloween bag to also have a unicorn on it.
With that being said, I instantly knew how I could make this happen, and wanted to share it with you as well!
Plus, this tutorial includes an entire video tutorial that you can share with your kids as well. It comes brought to you via the lovely Miss Ava so you can see just how easy it is for your kids to make too.
So, let’s get started!
Supplies and Tools
- 1 – Fabric Tote Bag
- Fabric Paint and/or Screen Print Ink
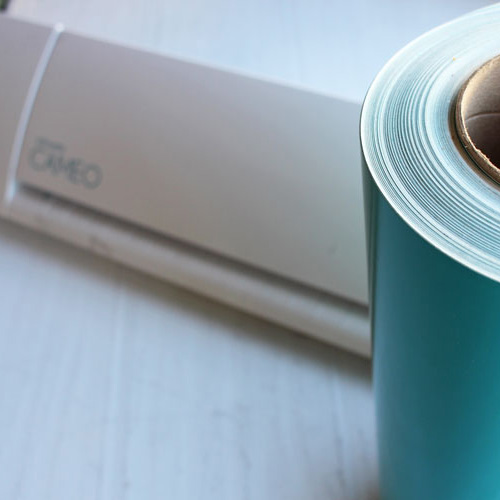
- Silhouette CAMEO and Mat
- Vinyl
- Transfer Tape
- Squeegee (or a Credit Card)
- Painter’s Tape
- Scissors
- Unicorn SVG (personal use ONLY!)
Instructions
1. Cut out the Unicorn SVG template.
Using your cutting machine of choice you’ll want to cut out the unicorn template with your vinyl on your mat. Personally, I like to use my Silhouette CAMEO (see this tutorial if you need help), but feel free to use whatever cutting machine makes you happy!
2. Apply your transfer tape.
Once the template has been successfully cut out remove it from your mat, and then apply your transfer tape.
3. Remove vinyl backing.
Next, remove the back piece from your vinyl. Carefully take out the vinyl pieces that you will be painting on your tote bag.
4. Apply your unicorn stencil to your tote bag.
This next part may be a little tricky! Just take your time, and don’t push it down until you are certain it is in the best location. Then using your squeegee, firmly push it down.
5. Remove your transfer tape.
Remove your transfer tape slowly from your unicorn template so that only your vinyl is left on your tote bag.
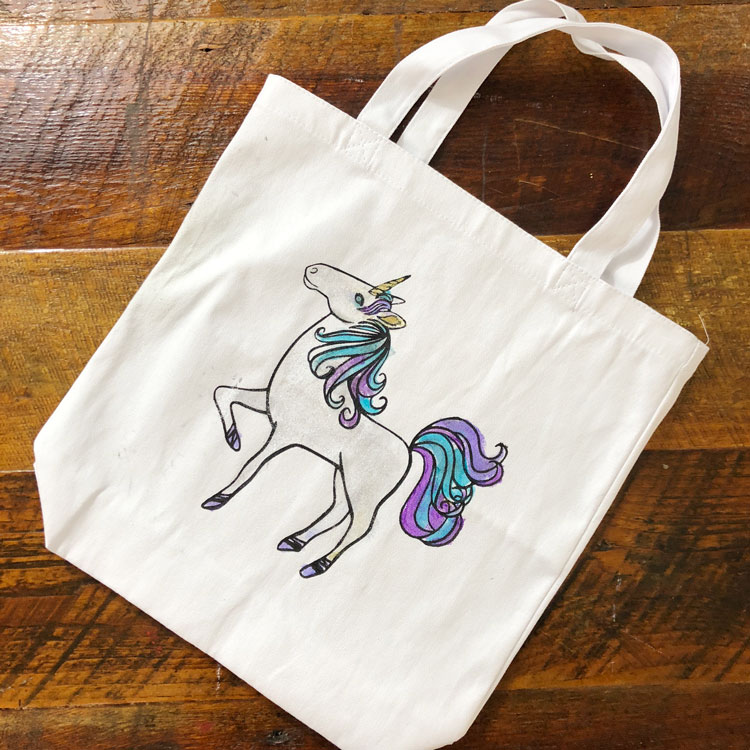
6. Paint in your stencil.
Now it’s time for the fun part of this DIY Halloween Bag project–the painting!
Enjoy this part, and use whatever colors you’d like. Go bold, or even glittery. Heck, you might even want to use a different color bag to spice it up!
Tip: Make sure to read and follow the directions for whatever fabric paint or screen printing ink you have decided to use. You don’t want to create a mess!
7. Let your paint dry.
This is probably the worse part. The waitinggggg! I know it was for Ava at least! However, if you’re short on time feel free to use a blow dryer to help the drying process along.
8. Pull off your vinyl.
Last, remove the vinyl from your tote bag.
And that’s it! Wasn’t that super easy, and turned out absolutely adorable?!
Looking for other crafty projects?
- How to Use Heat Transfer Vinyl on Your Project
- Concoct Crafty Elixirs with Our Free Witches Brew Tumbler Template!
- DIY Tea Towels for Every Season
- 100+ DIY Handmade Signs for Your Home
Hope you enjoyed it, and have a great week 🙂

Pssttt…. Don’t forget to check out my DIY projects page chocked full of DIY and decorating goodness!