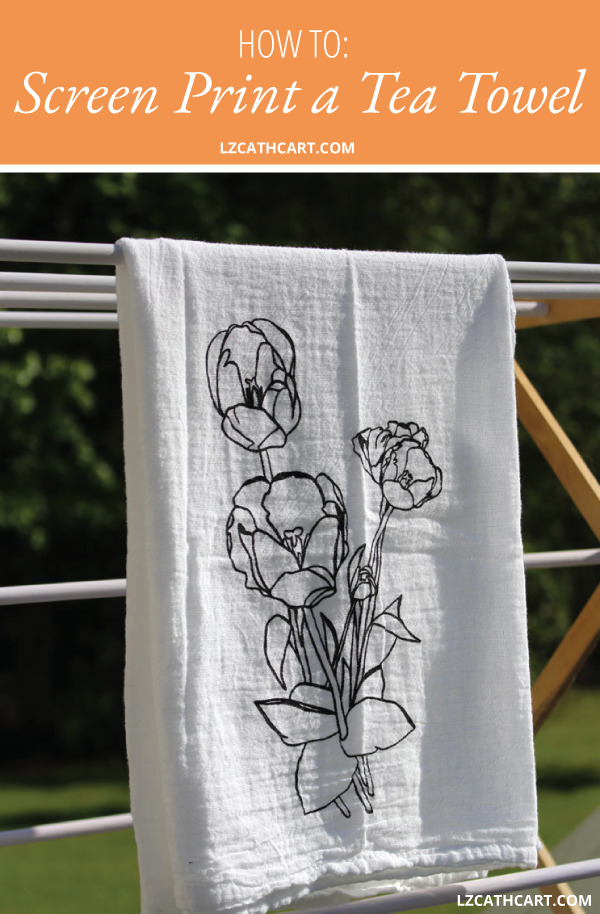
How to Screen Print a Custom Tea Towel: FREE Tulip SVG File
Want to know How to Screen Print a Custom Tea Towel? Today, I’m not only going to tell you how but show you as well! PLUS, this free design is included!
I love tulips. I always have, and probably always will. However, I rarely have them in my house or even grow them.
Part of the reason why is that I live in North Carolina, and it’s unfortunately nearly impossible for them to get what they need. For instance, the extreme cold in the winter.
However, after the parade of spring blooms that have awoken in my backyard, and the hot, dreadful days of summer they seemed to have popped up practically the next day.
Want this freebie? Sign up for access to my resource library below.
Not to mention, my attention span and memory for these gorgeous flowers become non-existent at this point of the year. And that my friends, is why I wanted to create and show you How to Screen Print a Custom Tea Towel with my favorite flower!
How to Screen Print a Custom Tea Towel: FREE Tulip SVG File
Thankfully this DIY screen printing process is SUPER easy. I was a little nervous at first because I haven’t had the best of luck with screen printing on wood.
However, I had to remind myself that fabric is a completely different beast, and it wouldn’t be that bad. Thankfully, I was right! It was a proud moment in history for the Cathcart family. HAH! I kid, of course 😉
Here’s what you need to get started:
Materials
- Print Screen (kit includes: screen, squeegee, and the ink)
- Screen Printing Ink
- Foam Brush
- Painter’s Tape
- Flour Sack(s)
- Scissors
- Piece of Cardboard
- Vinyl (this is my favorite brand!!)
- Transfer Tape
- Squeegee (a sturdy credit card will work great too)
- Cutting Machine (Silhouette or Cricut — your choice!)
Steps
1. First, download the template from the resource library above (aka. freebies galore!!)
2. Cut out the design. Cut out the Tulip SVG Cut File on your Silhouette CAMEO, or Cricut if you prefer. This tutorial works with either.
TIP: Need help cutting out this file? Check out this tutorial for assistance!
3. Apply your transfer tape.
4. Remove the backing on your vinyl, and then pick out all of the pieces of your vinyl that you want to be painted.
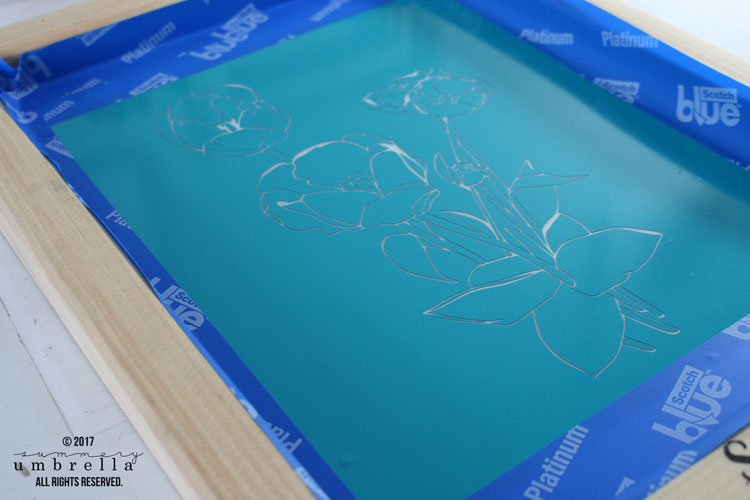
5. Attach your vinyl stencil to your print screen with your squeegee and remove your transfer tape.
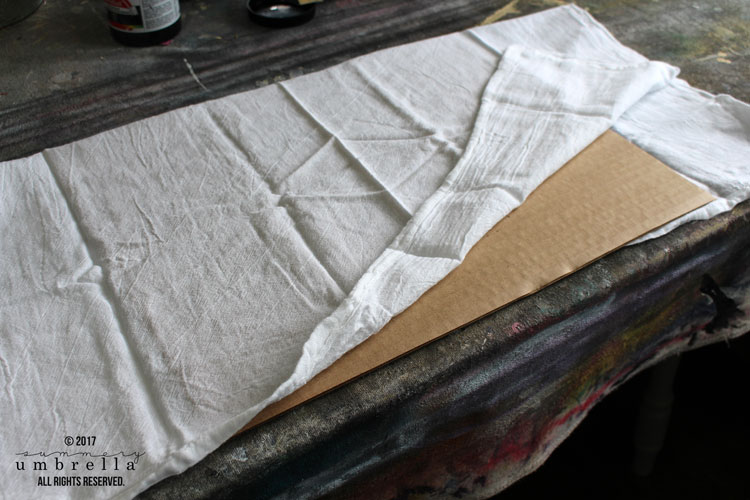
6. Open up your flour sack and put a piece of cardboard in between your bottom and top layer. This will prevent the ink from soaking into the bottom layer of your flour sack.
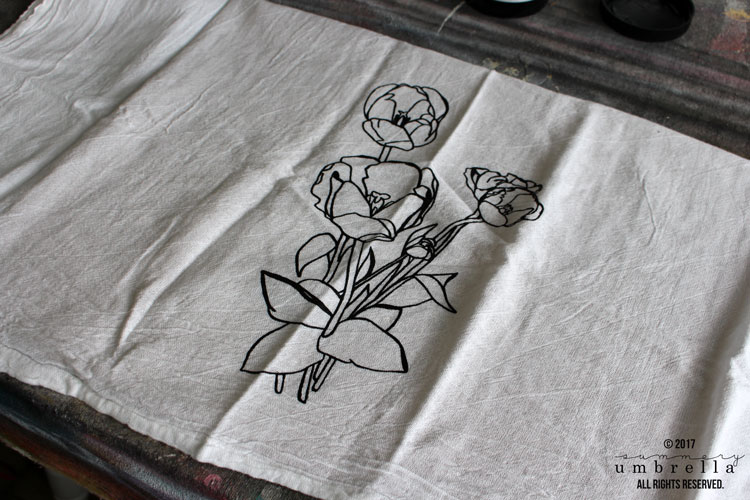
7. Place your print screen on top of your flour sack where you would like the design to appear.
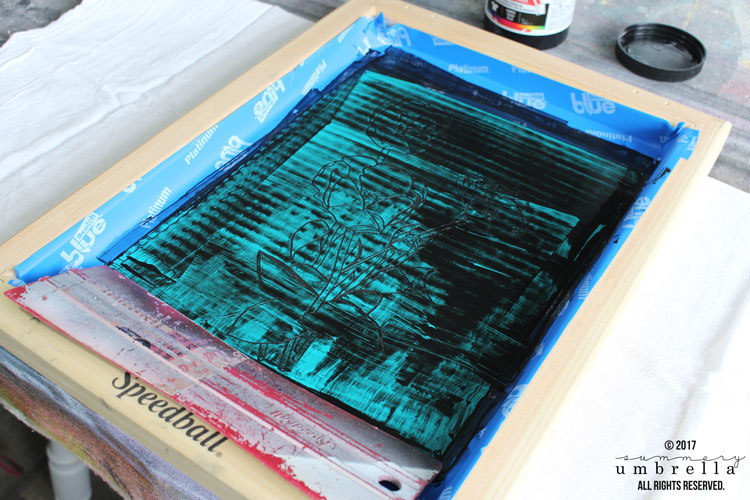
8. Paint your print screen. With your foam brush lightly dab enough ink into your design that it covers with a little excess on top.
9. After your design has been covered take your squeegee and run it back and forth over your design several times.
10. Then, slowly lift your print screen off of your flour sack. I still can’t get over how easy the screen printing technique was to make!!
Then, let your design and ink dry.
Just in case, I also made a quick video tutorial to show you how to create this beauty. Don’t forget to check it out too!
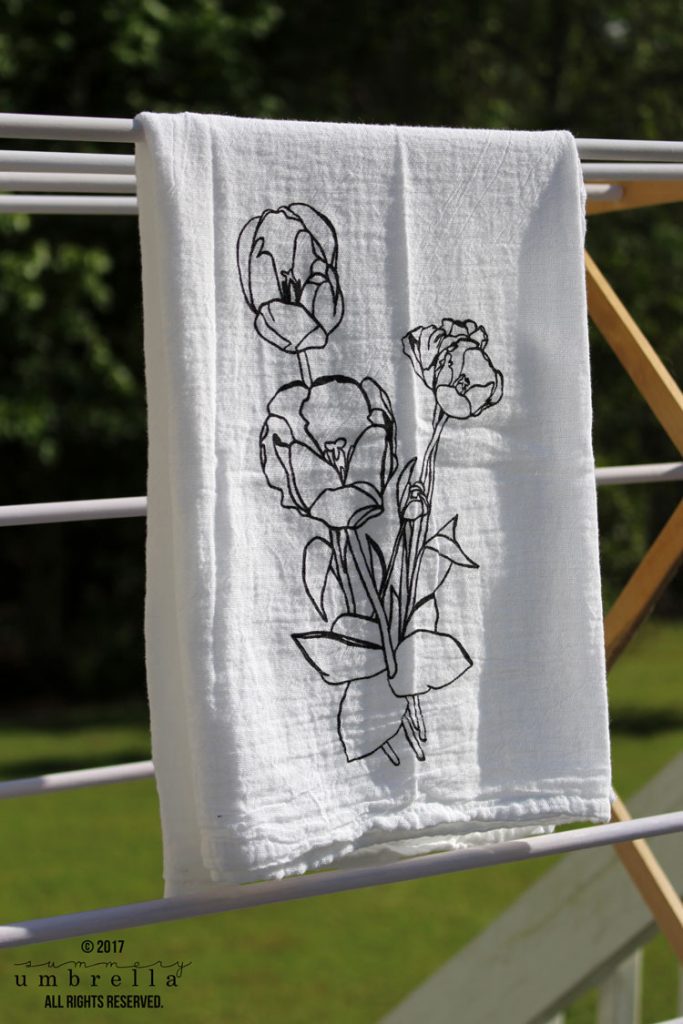
How to Screen Print a Custom Tea Towel
Gorgeous, right?! I still get giddy just looking at this custom tea towel! Plus, what’s great about this design is that it would look amazing in other colors too. Can’t you just picture it in green, red, and maybe even yellow?
Not to mention, it would make a WONDERFUL Mother’s Day gift too. Wink, wink. Nudge, nudge 😉
If you loved this project then you’ll definitely want to browse some of my other Craft Projects that are full of step-by-step tutorials as well as freebies galore! Can’t wait to see you again, and Happy Crafting!

Psstt… don’t forget to download this free SVG file by signing up for my resource library above!
Let’s be Social
This post was updated in April 2022.


Thank you!! Can’t wait to try it.
You are most welcome, Rebecca! Have a wonderful weekend 🙂
Are there special wash instructions? Will the pain bleed?
Hi Lindsey! I wash mine in cold water with other “like” items, and have never had any issues. Have fun, and thanks for stopping by 🙂