Yummy Snacks: Unveiling the Delightful Secrets of Roasted Garlic Hummus
Savor the fun with our Roasted Garlic Hummus – a flavorful twist for your taste buds. Elevate your snacking experience!
Hello Friends! How are you? It has been raining here for weeks I feel like; the sun only comes out while I am at work inside of the school all day long and then it rains on the weekends!
What is this all about?? Ok, I will stop complaining about the weather and get to the recipe for this week! 🙂 I am sharing with you a roasted garlic hummus recipe that my Uncle and my Dad have both made since I can remember.
I used to watch my Dad sit there and mess with the blender time and time again to make sure it came out to the right consistency. Ok, I won’t lie: I had him help me because I was about to throw the blender out the window!! I don’t want to discourage you from making this recipe; I just want you to learn from my mistakes and ONLY use a food processor 🙂
*A note about the ingredients: I bought mine from local places (like the grocery store and Target); my Dad always bought his ingredients from a Lebanese-owned store. Everyone still ate mine and enjoyed it, so I am going to say you are safe with your local grocer.
I am sharing with you how to roast garlic, how to make pita chips, and how to make hummus! Yay! Let’s get started!
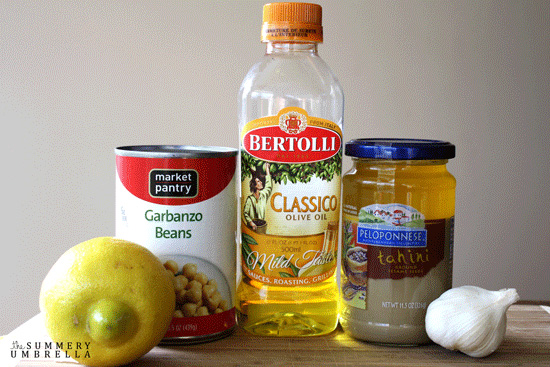
Ingredients That Spark the Fun:
- 1 16 oz can of garbanzo beans (or chick peas)
- 1/4 cup of liquid from the garbanzo beans
- 3-5 tablespoons lemon juice (juice of 1-2 lemons)
- 1 1/2 tablespoons Tahini
- 4-6 cloves of roasted garlic (only use 2 if you are using raw garlic)
- 2 tablespoons olive oil (more for topping)
- 1/2 teaspoon salt
- Pita bread
Preheat your oven to 400-450 degrees. Using a sharp knife, cut the top off of the head of garlic. You can roast as much garlic as you want at a time; making this ahead for other recipes will save you time.
Roasted Garlic – The Humorous Hero
Place each head of garlic on a piece of aluminum foil and drizzle olive oil on both sides of the garlic (the top too even though I didn’t put it in this picture below).
Wrap the aluminum foil into a ball and place in a baking dish. Put in the oven for 40-45 minutes depending on the size of your heads of garlic.
When the garlic is done, this is how it will look! You can literally just squeeze from the back of the head and all the garlic cloves just come right out! So cool! This was my first time doing this so forgive my excitement!
The Playful Process
So, while you’re garlic is roasting and you’re standing there going what can I do?? You can make some pita chips and get some vegetables ready for dipping into the hummus. Cut your pita bread into half, then quarters, and then eighths (which will end up being the triangles pictured below).
Brush some olive oil on each piece and sprinkle some kosher salt or sea salt on each piece (you want a thicker salt than table salt). You will bake these for 10-12 minutes on 400 degrees so you can pop them in the oven with the garlic!
Ok, so the picture below has all of the ingredients in a blender … I highly suggest you either use a better blender than I have or use a food processor. Add the garbanzo beans, the liquid from the garbanzo beans, lemon juice, Tahini, olive oil, salt, and don’t forget the most awesome roasted garlic you just made all by yourself!
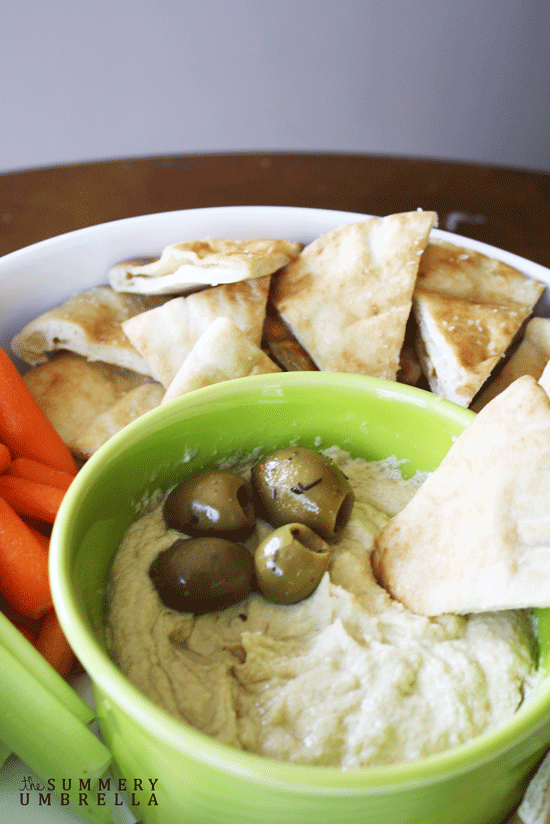
After your hummus is finished blending; just put it in a bowl with your favorite dipping things. My personal favorites for are: pita bread, pretzels, and carrots. Also, I love to have some olives on the top or side as well. Make sure you have some extra olive oil handy for topping.
Sharing the Laughter – Serve and Enjoy
Imagine hosting a gathering and introducing your friends to this roasted garlic hummus creation. Their taste buds will thank you, and the laughter around the table will become the perfect seasoning. Share the joy, share the hummus!
A Fun-Filled Conclusion
In the grand finale of our hummus adventure, the roasted garlic takes a bow, leaving behind a legacy of flavor and fun. This roasted garlic hummus isn’t just a dip; it’s a culinary masterpiece that brings joy to your taste buds. So, roll up your sleeves, embark on this flavorful journey, and let the roasted garlic hummus take center stage at your next gathering. Get ready for a standing ovation from your taste testers – because this hummus is a showstopper!
I hope you learned some tips for making some new things in the kitchen today! Let me know if you try any, I would love to hear your stories too 🙂
Keep Calm and Cook On,

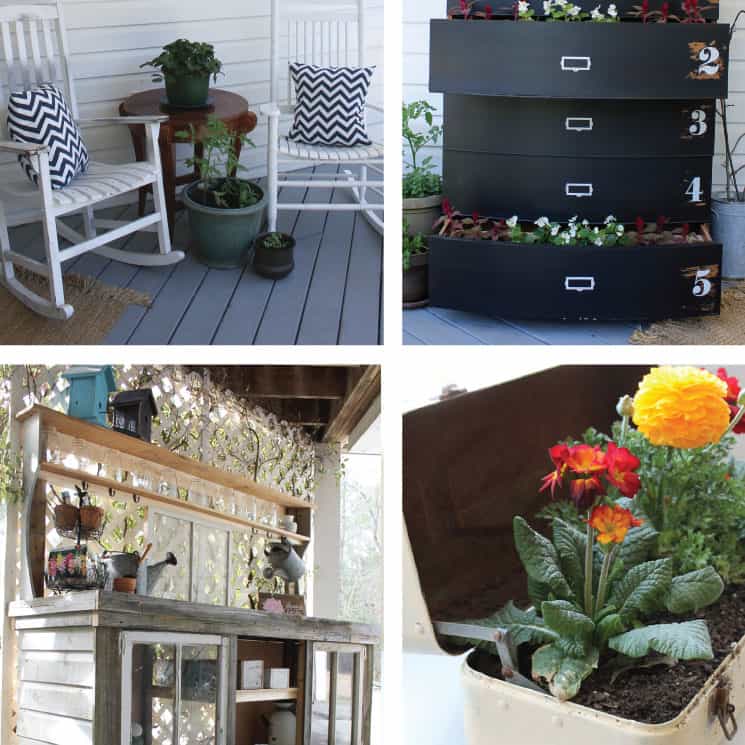
Pssttt…. Don’t forget to check out my Recipes page chocked full of DIY and decorating goodness!


2 Comments