Create Festive and Rustic Wooden Gift Tags
You can easily personalize a Christmas gift with a fun gift tag. There are a lot of gift tag ideas to choose from, but these wooden gift tags are super easy and cute, and can double as ornaments for next Christmas!
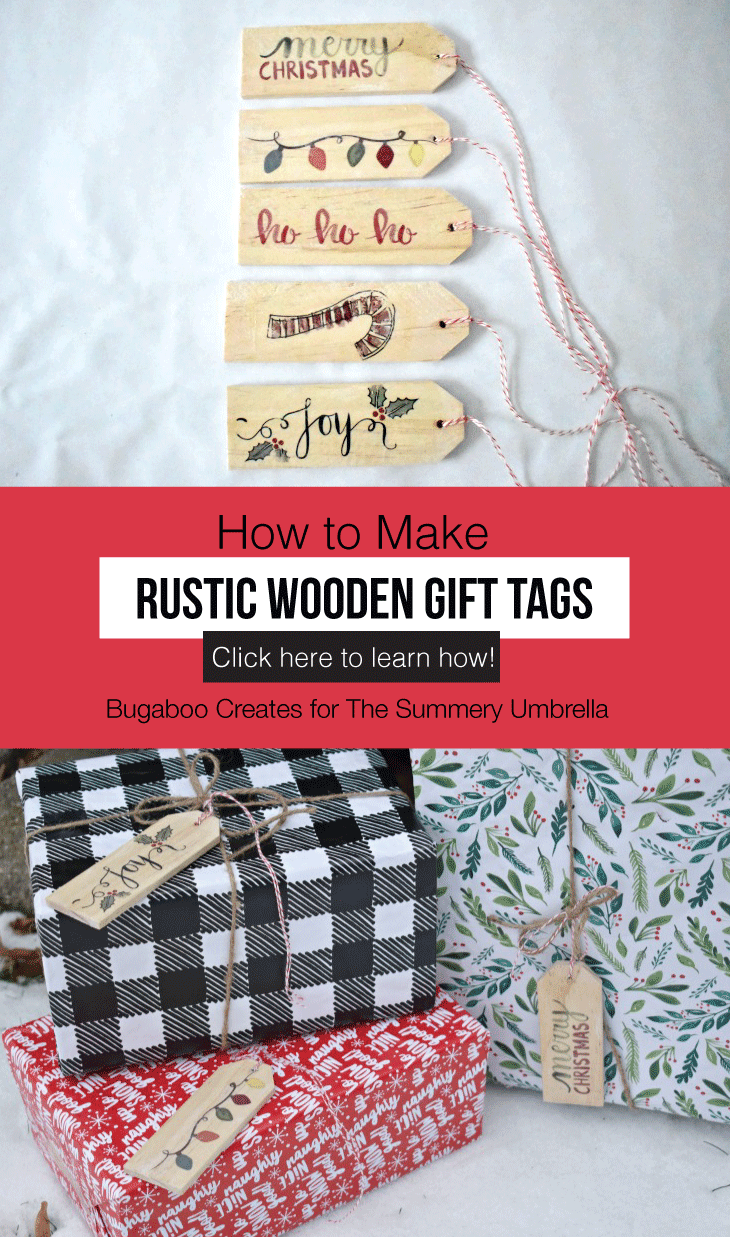
Hello there, Summery Umbrella readers! I’m Kimberly from Bugaboo Creates, back with another creative idea for you! Where I live it’s been snowy and cold for ages now, so I’ve been getting ready for Christmas for a while now! I love to decorate, make handmade gifts, and get the kids involved in all the fun. This year, I decided to get a little fancy with gift tags. These wooden gift tags are an easy way to make a great big statement on your wrapped Christmas presents this year!
Wooden gift tags are a fun craft project, and a great way to show your gift recipients how much you care! They can reuse these tags on other gifts, or hang them on their tree next year!
How to Make Wooden Gift Tags
One great thing about this project is that all you have to do is change the image files you use and you can make them for any occasion! Easter, birthday, wedding… there are a ton of Summery Umbrella files that would be great for this.
What you need:
- Wood trim 1 in x 2 in x 8 ft (found at your local hardware or DIY store – the simpler the better; no grooves or rounded edges) or premade wooden gift tags
- Saw (I used a miter saw, but you could use any you’re comfortable with)
- Drill with bit
- Sandpaper
- White copier/printer paper
- Scissors
- Matte Gel Medium
- Foam brush
- Sponge (or spray bottle)
- Water
- Twine (I used baker’s twine)
- Summery Umbrella Images: I used Christmas Lights, Candy Cane, Merry Christmas, ho ho ho, and Joy.
Instructions:
The first thing you’ll need to do is download your images and place them in a document. Then, click on each image and reverse it.
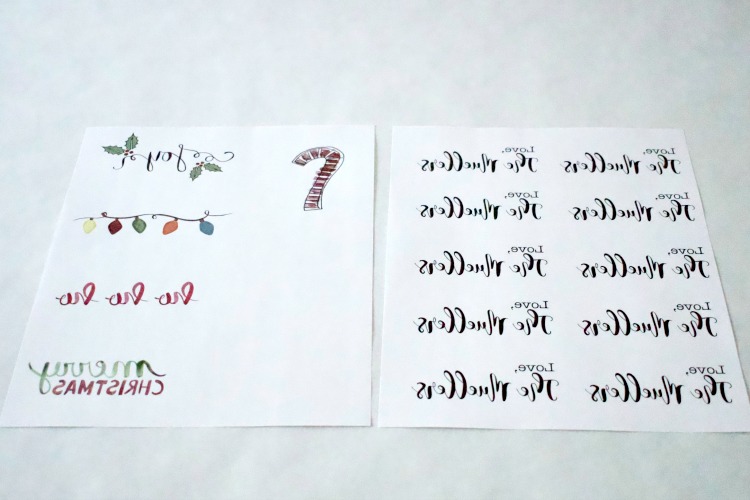
Cut very close around the images so there isn’t much overhang.

Prepare your Wooden Gift Tags
Take your long trim piece and measure and mark every 5 inches. Use your saw to cut at each mark, so you’ve got lots of 5 inch rectangles like this:
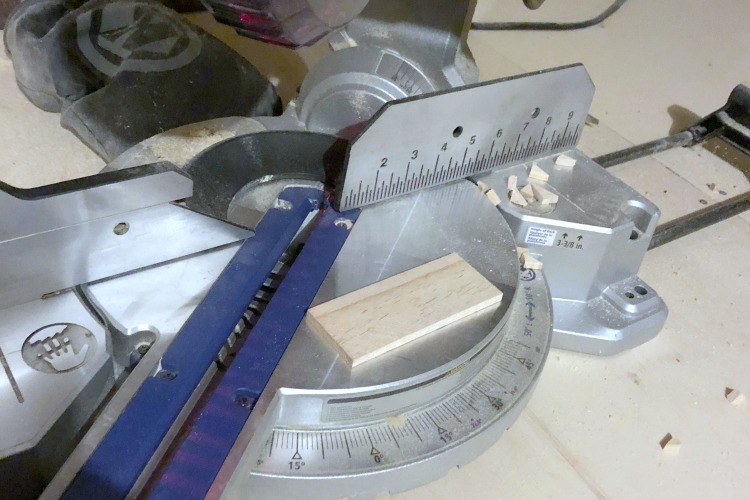
Now, if you have a miter saw, adjust the bottom so that the arm is cutting at the shallowest angle possible. This is how you’ll cut your corners. Just line up your rectangle and cut one corner, then flip it over to cut the corner just across.
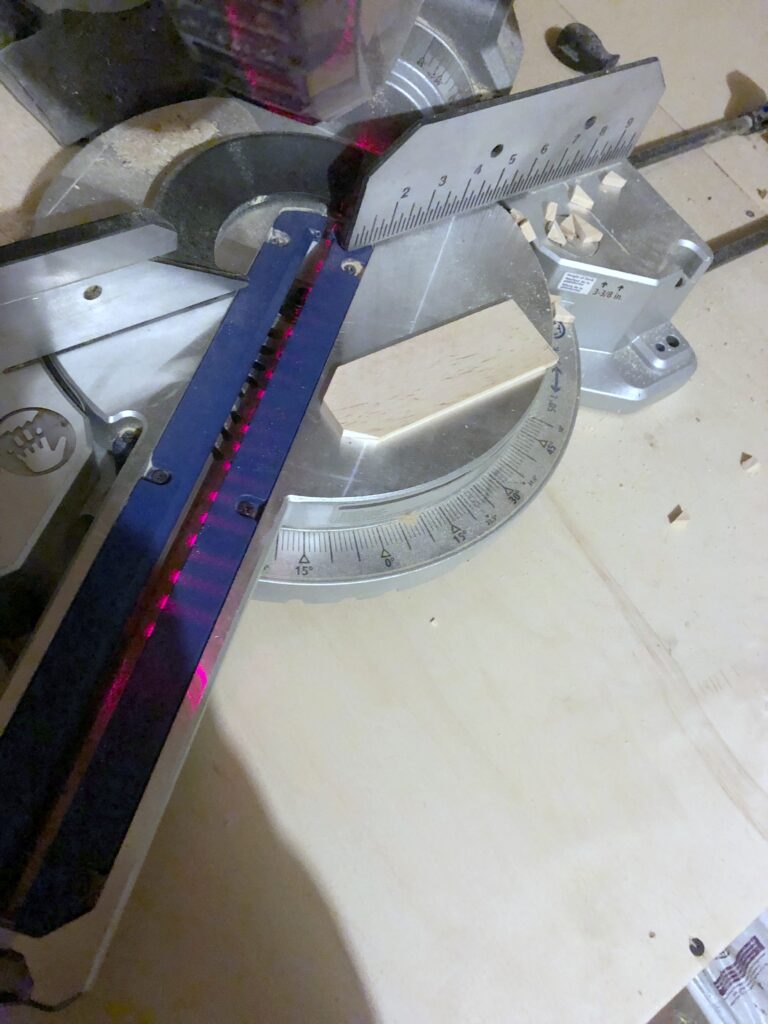
Now drill a small hole in the top, just between the two cut corners.
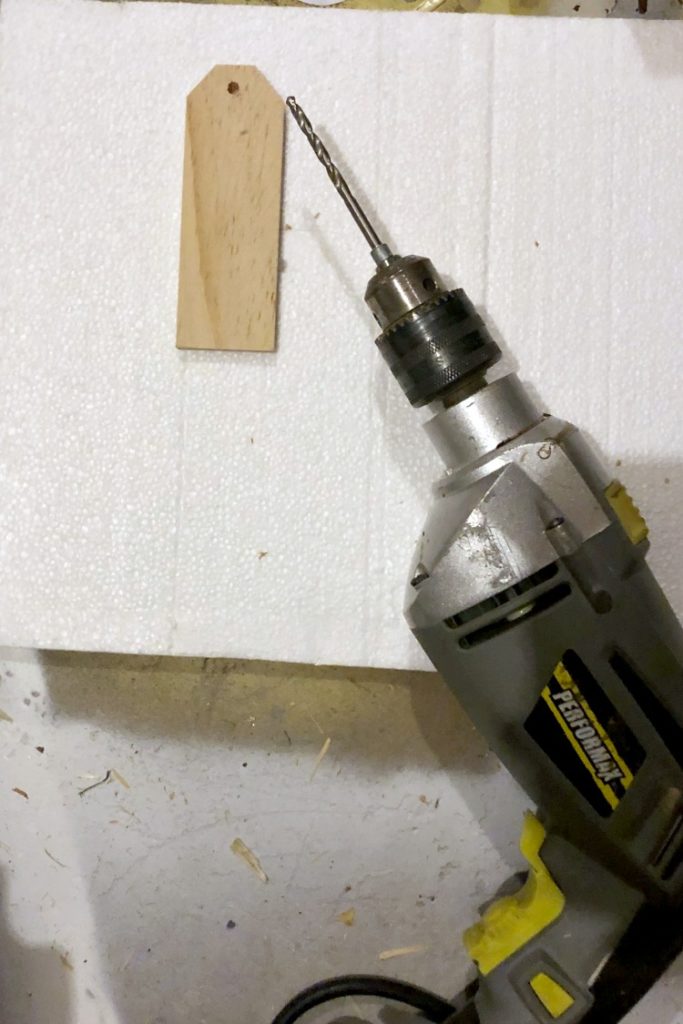
Take a bit of sandpaper and smooth the edges and the hole.

Transfer your Images to the Wooden Gift Tags
Get out your gel medium and your foam brush – it looks like this:

Brush a moderate amount gel medium on to your wooden tag. Don’t be stingy, but you don’t need a ton.
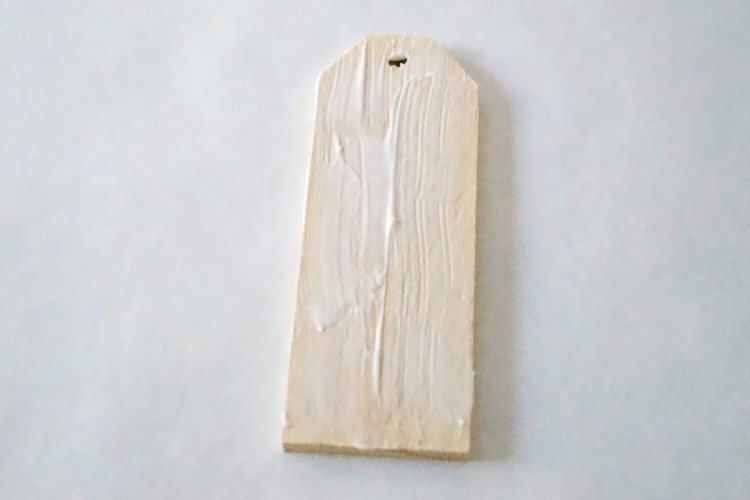
Place your image upside down on the gel and press all over so it’s adhered well to the wood.
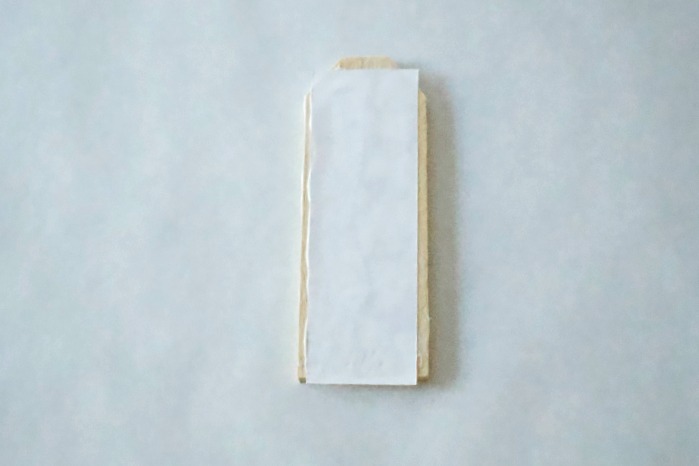
If you’d like to attach another image to the other side, you can do so now. Just make sure that there isn’t a lot of gel all over the edges of the wood. Wait until the gel is completely dry. This will take a few hours, so go catch up on laundry quick. 😉 Once the gel is dry and the paper is good and stuck on there, take a corner of the paper and pull it off as best as you can. Much of the paper will still be stuck on the wood, but just pull off what you can to make the next few steps easier.
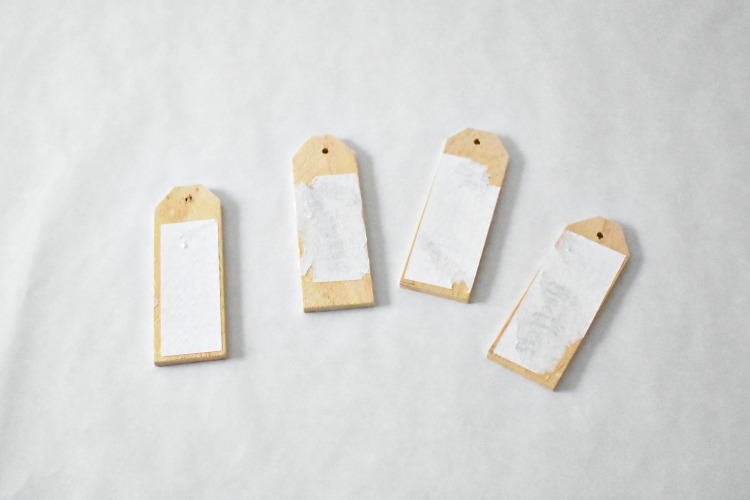
Now, get out your water and sponge, or your spray bottle with water. Saturate the paper, then rub it with your fingers. The paper will pill and you can brush it off. Keep doing this until it looks as if you have all the paper off. Let them dry (which should only take a few minutes) and if you see any paper fibers remaining you can repeat the wetting/rubbing process. Do this until you like the look of the tags.
VIDEO TUTORIAL!
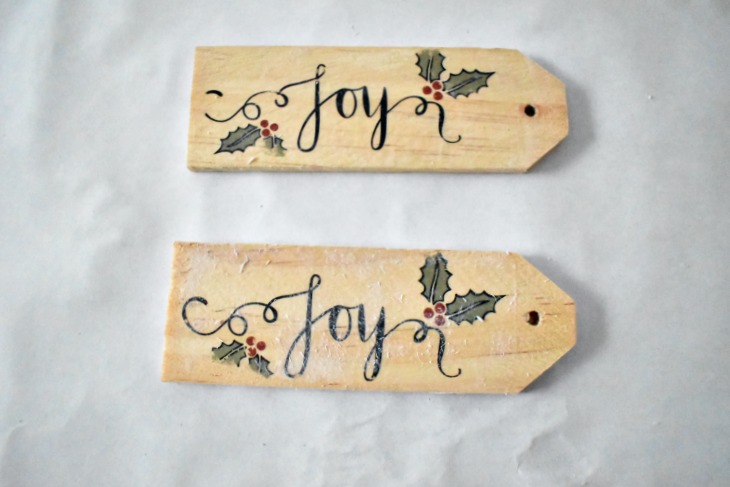
Here’s a look at a tag that’s been through the process twice (on top) and a tag that’s been through the process once (on bottom).
Let’s Distress
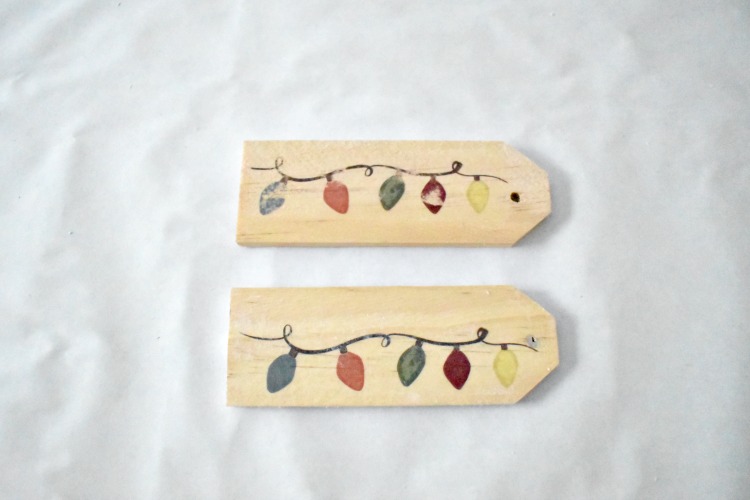
You’ll notice that some of your wooden gift tags look a bit distressed. This is normal and totally the look we’re going for. A little tip: if you like it to look a little less distressed, make sure that when you’re adding the paper to the wood tags, you really press down hard to attach the inky parts to the wood. The more attached it is the better. Also, try not to get any gel on top of the paper. This will make it much more difficult to rub the paper off. Here you can see the difference between a slightly distressed tag and a more distressed tag:
Attach your Gift Tags to Your Presents
Once you’ve rubbed all the paper off and you like the look of your tags, You’re pretty much finished!
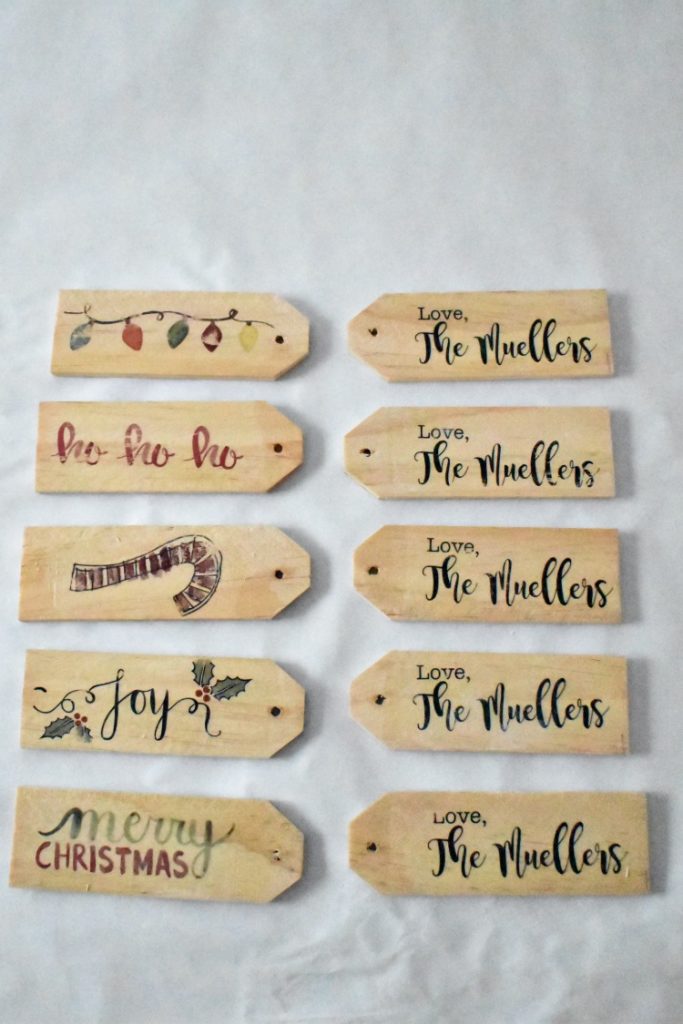
Now you can add your twine through the holes.
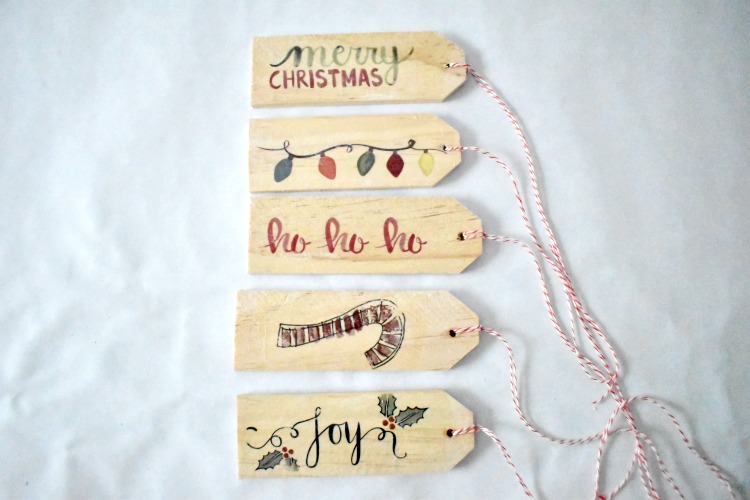
Just attach to your gifts!
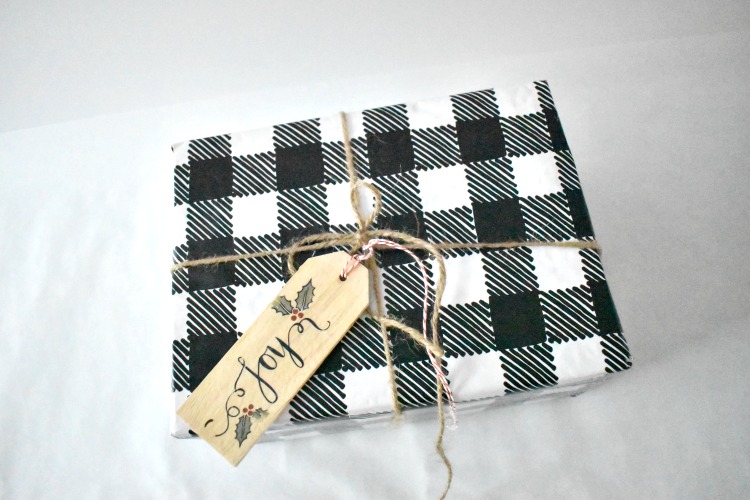
Tape them on, tie them on, add more twine, it’s all up to you!

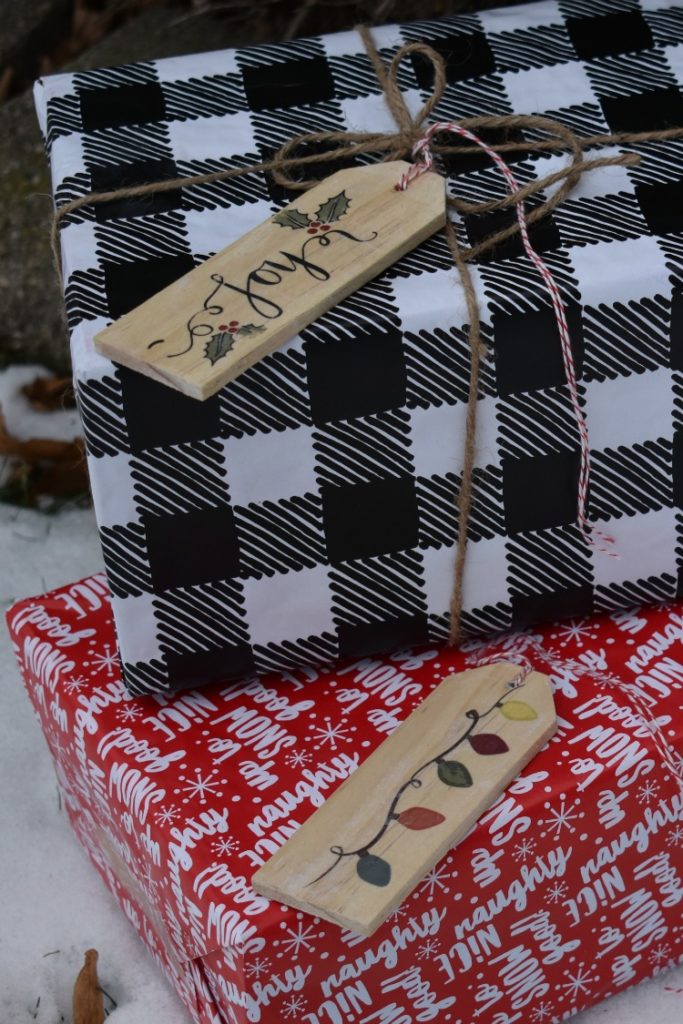
Your cute tags are sure to be a hit!
What’s Next?
A Handmade Norse-Inspired Christmas
Don’t forget to check out a few of these ideas too!

