DIY Flowers Quote Wood Sign for Your Spring Decor Needs!
Are you ready for spring? Start the season out right with this super, easy DIY flowers quote wood sign to help combat those winter blues. Learn how to create this beauty today!
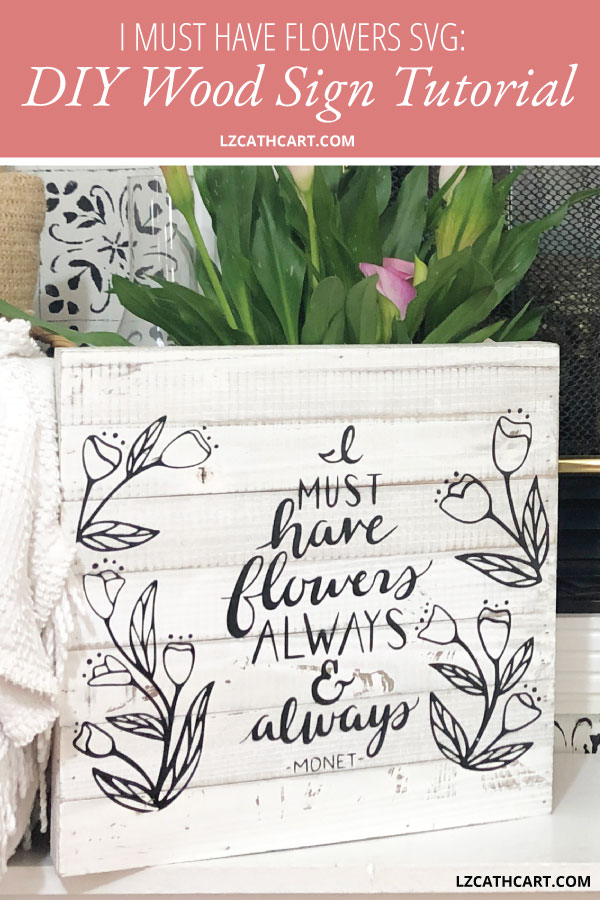
There are soooo many great flowers quotes that it’s hard for me to narrow it down to exactly which one is my favorite. For instance, another fan-favorite of mine is, “There are flowers everywhere, for those that bother to look” by Henri Matisse.
I’ve mean wanting to create another gorgeous flowers quote sign for a few months now mainly because of the gloomy, cold that the winter season tends to be. I find that during these dreary months of the year I tend to create a lot of warmth-inspired pieces.
Plus, don’t you think flowers correlate into a symbol of happiness? Maybe not for everyone, but when I see flowers (whether they are indoors, outdoors, artificial, real, etc.) I always seem to get a big smile on my face! They come in various shades of colors for any holiday or season and can truly transform a room.
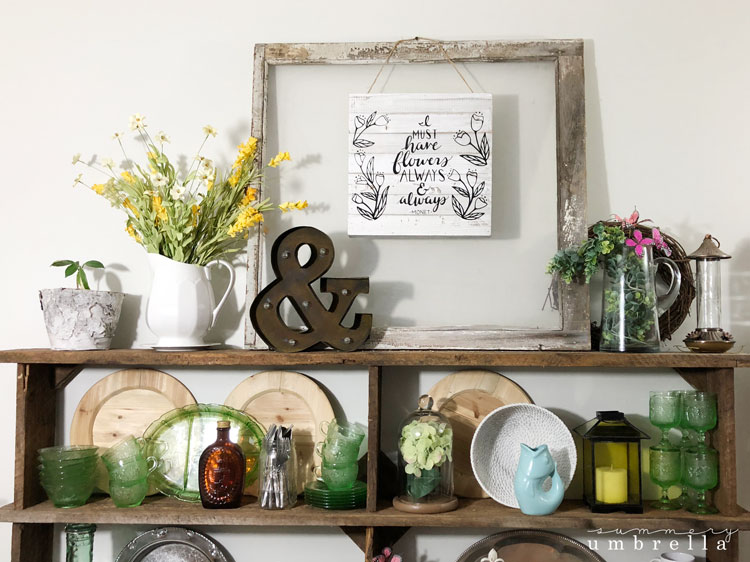
Have you noticed, I tend to create a lot of spring and summer-related posts? I love sharing my three favorite things here on the blog: DIY, Design, and Decor projects. For instance, you’ll find everything from How to Force Flower Bulbs to my DIY Fresh Flowers Vinyl Decal as well as my hand-drawn vectors for all of your crafting needs.
Want this freebie? Sign up for access to my resource library below.
But enough about me. Let’s get this project started!
How to make your own DIY Flowers Quote Wood Sign
Materials
- Vinyl (this is my favorite brand!!)
- Transfer Tape
- Squeegee (a sturdy credit card will work great too)
- Cutting Machine (Silhouette or Cricut — your choice!)
- Pre-made wood sign
- Black paint (furniture paint, latex, or acrylic)
- Paintbrushes
Steps:
1. First things first, download this flowers quote template in my resource library (aka. freebies galore!!). It’s supercost efficient, AND you can always use the same design on a variety of other projects. Think: cards, bags, and gifts!
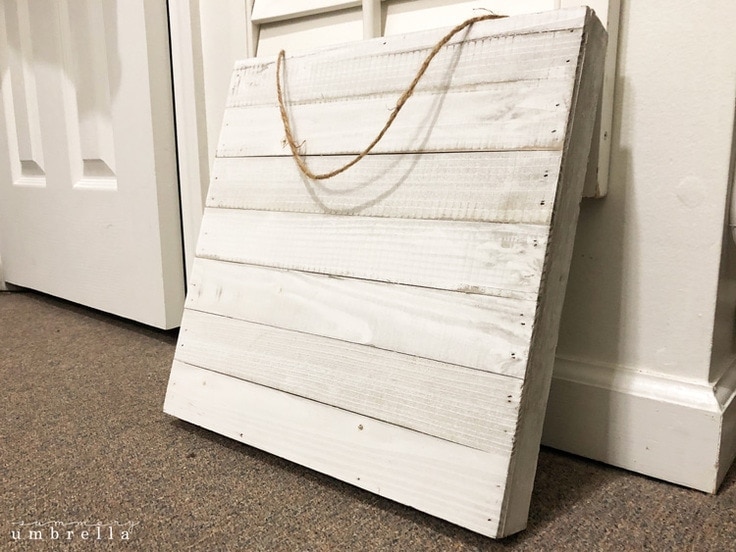
2. Using your Silhouette CAMEO (or whatever machine you prefer!) cut out the template with the vinyl on your mat.

3. Once the design has been cut out remove the vinyl from your mat, and apply your transfer tape to the vinyl side. This is when your squeegee will come in handy! Not to mention, it’ll help smooth out any air bubbles if your transfer tape doesn’t go on as cleanly as you’d like.
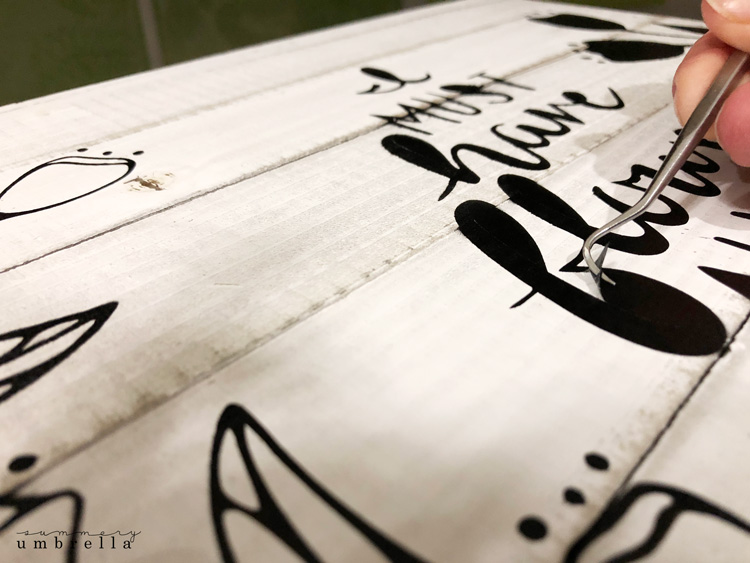
Then, remove the backing from your vinyl and the interior vinyl pieces so you are left with a stencil. See below.
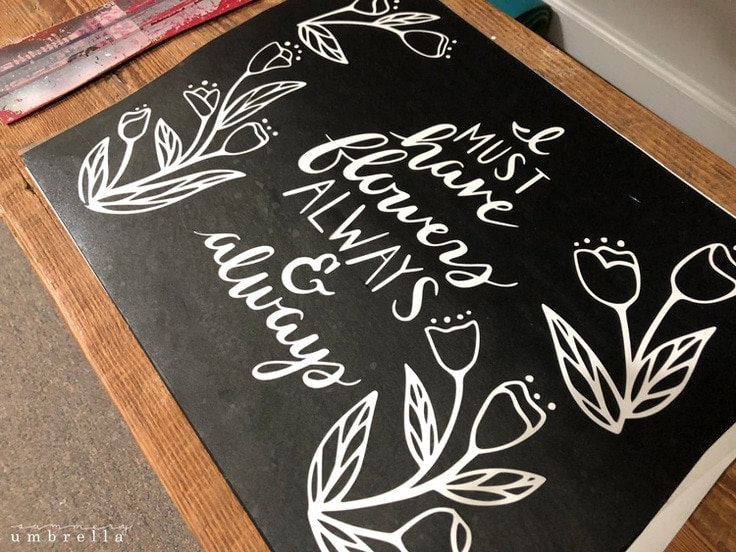
4. Now, you’ll want to line up your vinyl on your wood sign so it will be applied evenly and in the center. You’ll then want to firmly push the template with your squeegee. Last, remove the transfer tape.
NOTE: One of my favorite reasons for creating my own DIY wood signs is that I can make them as big or small as I need for my home. Plus, you can even make your sign from scratch! Check out this step-by-step DIY sign tutorial for this option.
5. This next part can be accomplished in a variety of ways. I love using my airbrush (with black lacquer paint), but you can use any of the following options: spray paint, acrylic paint, or latex paint. Whatever floats your boat!
DIY Flowers Quote Wood Sign for Your Spring Decor Needs!
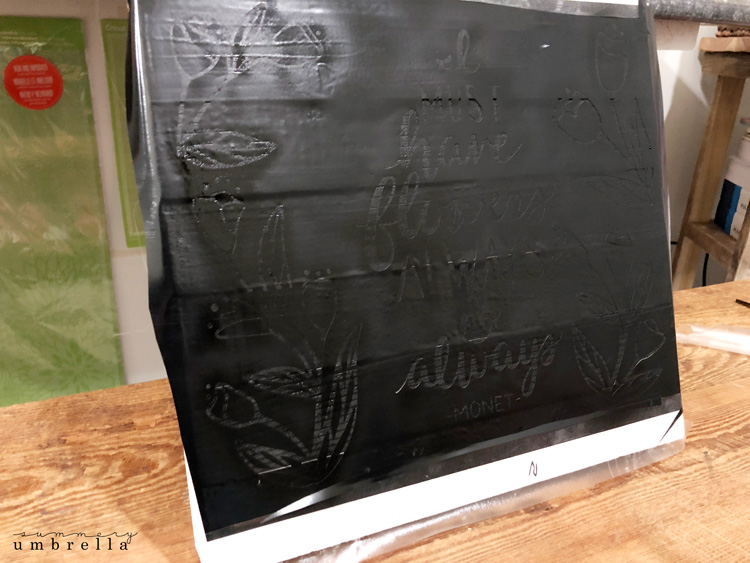
6. Once your paint has completely dried remove your vinyl and all the interior pieces of the design on your sign.
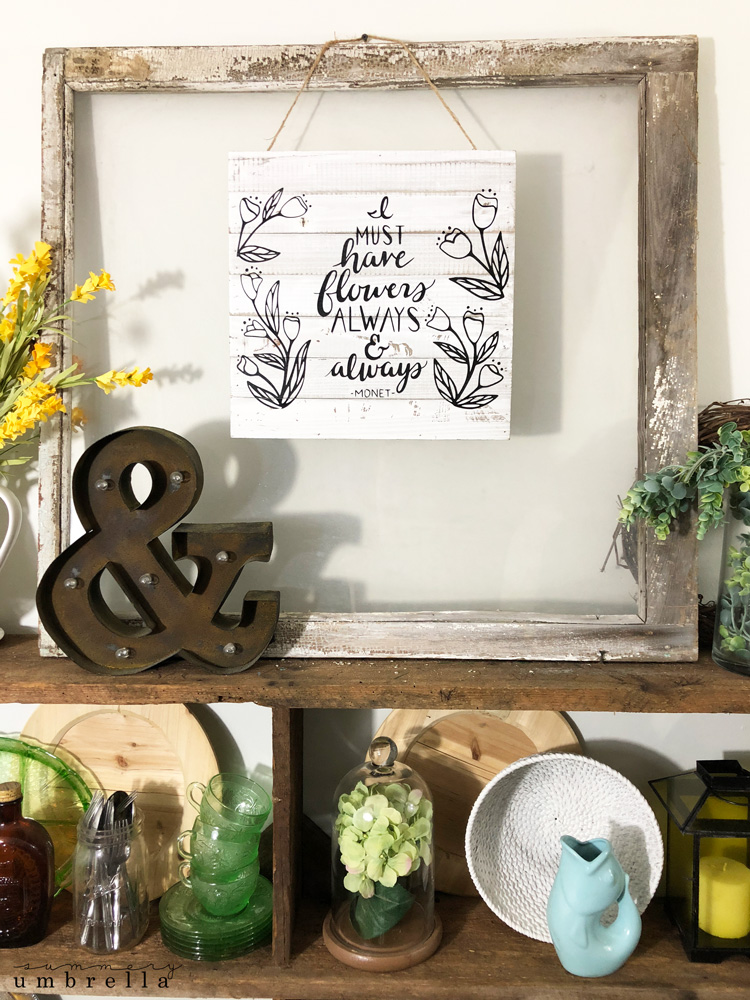
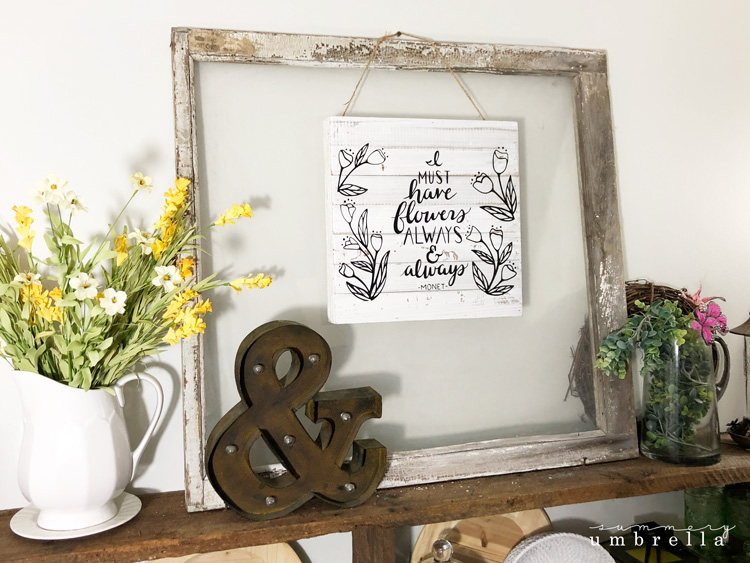
7. Hang up your DIY Wood Sign! Wasn’t that easy? You now have a beautiful, handmade sign and you’re ready for spring!
If you loved this project then you’ll definitely want to browse some of my other Wood Signs that are full of step-by-step tutorials as well as freebies galore!
Can’t wait to see you again, and Happy Crafting!
Psstt… don’t forget to download this free SVG file by signing up for my resource library above!


