DIY Chicken Coop Sign: A Fun and Creative Way to Personalize Your Coop
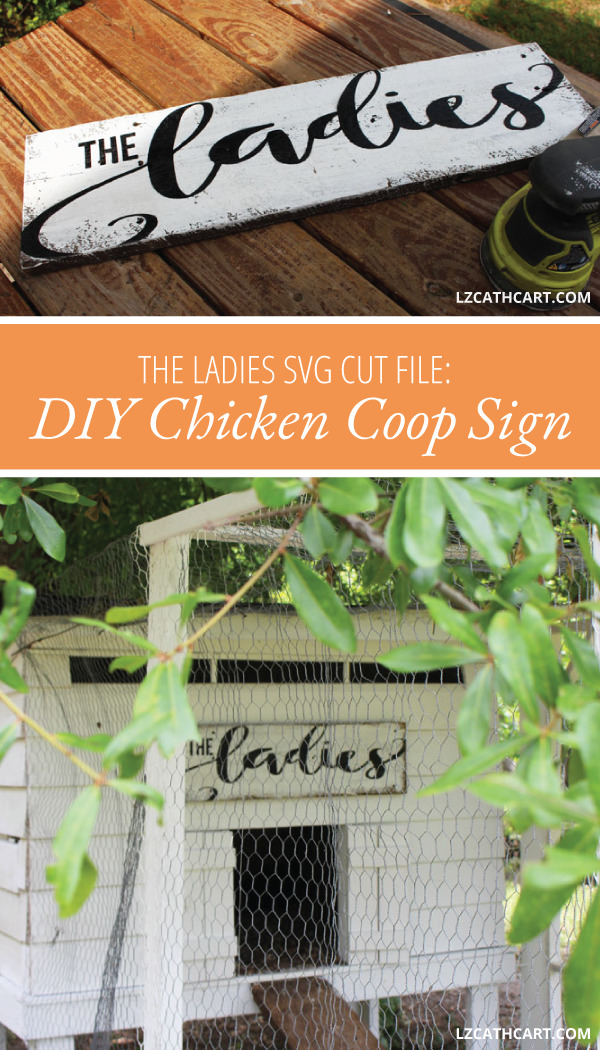
Add a little classy character to your chicken coop with this cutesy The Ladies DIY chicken coop sign. Easy to create and a FREE SVG file is included too!
A few years back my husband Mike and I decided that we should go ahead and get a few chickens.
Wait–hold up. Let me rephrase that.
Mike and I had discussed that we were going to get chickens, and then one day he arrived home with seven of them. Yes ma’am. That’s usually how it goes down around here.
Want this freebie? Sign up for access to my resource library below.
We have a tendency to not only change our minds a lot but also like to take on new adventures at the drop of a hat.
I can’t be mad at him though. It’s kind of like when I want to try out a new paint color… I wait until he goes on a fishing trip, and then I randomly decide to paint all the doors black *devilish grin*.
What can I say? We definitely like to keep each other on our toes!
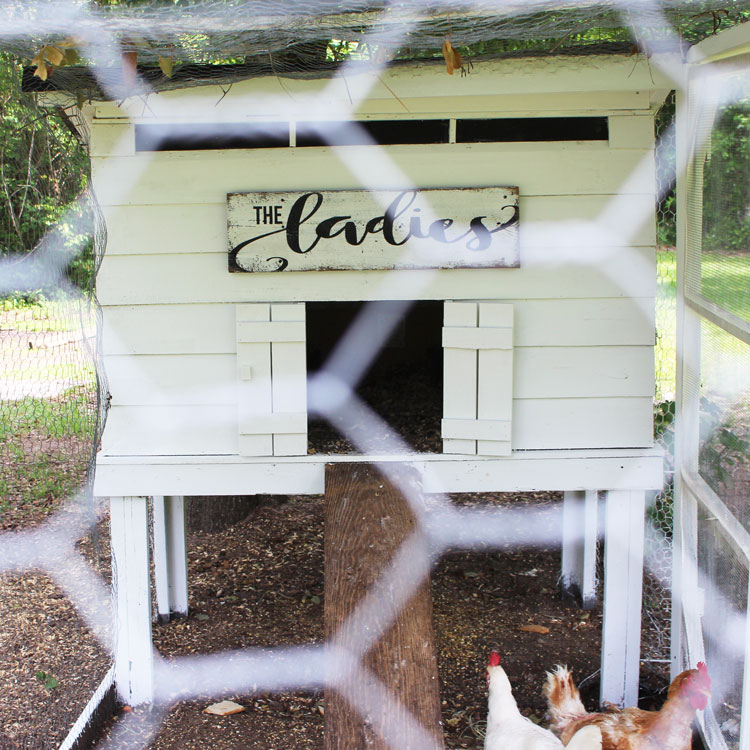
The Ladies DIY Chicken Coop Sign
Meanwhile, back to the chickens, we have seven new chicks and no chicken coop. We were in a little bit of a pickle, but thankfully between the two of us, we were able to come up with something quick.
However, over the last few years (like anything outdoors) it needed a little bit of a pick me up, and definitely a brand new DIY Chicken Coop Sign!
Psst… you can see the original and entire “pretty and functional” chicken coop!
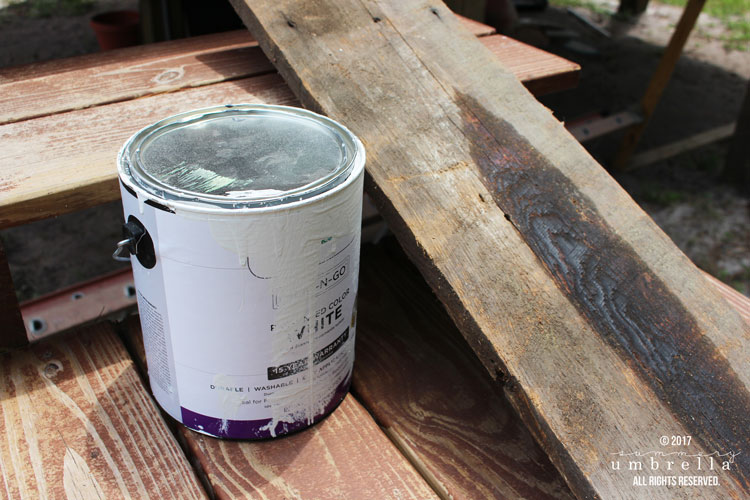
The first thing I did was paint the entire chicken coop white. Why? Because I wanted that crisp “newness” to shine through. I love color, but I wanted to start with a clean slate while I figured out which accessories and colors I wanted to add.
Next, a new sign was a must!
Materials
- Vinyl (this is my favorite brand!!)
- Transfer Tape
- Squeegee (a sturdy credit card will work great too)
- Cutting Machine (Silhouette or Cricut — your choice!)
- 30″ x 8″ Piece of Reclaimed Barn Wood
- Exterior White Paint
- Black Spray Paint
Steps
1. Cut a piece of reclaimed (barn) wood to 30″ x 8″.
This particular board that I used is super sturdy which is a huge plus to using this kind of wood!
2. Paint your wood.
I honestly did not have exterior paint on hand so I just used what I had (but exterior paint would be ideal!), and at the very end added a few coats of matte finishing spray.
TIP: Check out my post about tips and tricks for using reclaimed wood for signs. Super helpful if you need some help!
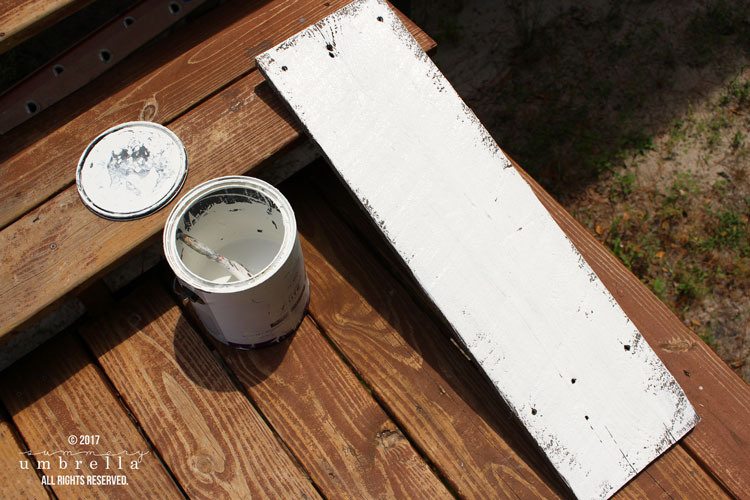
3. After your paint has dried it’s time to cut out and add your stencil.
And guess what? Just for you, because you rock, you can get it for free below! Go ahead, sign up for my newsletter above, take a minute to download it, and use it for any of your personal projects at home. I give you permission!
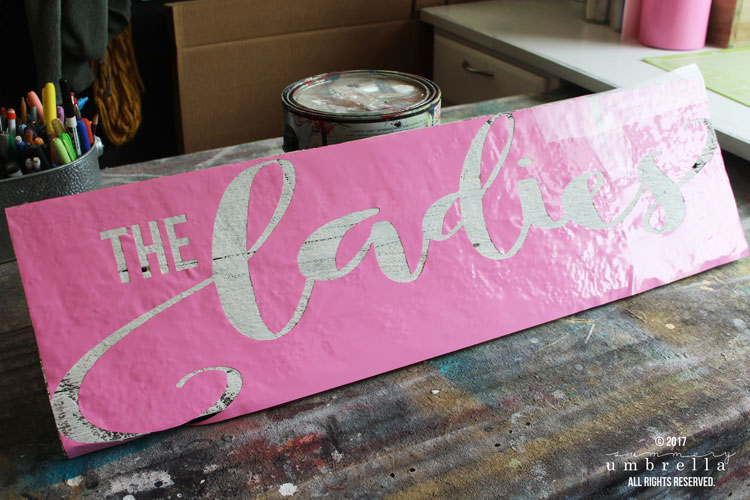
DIY Chicken Coop Sign
4. Last, but not least… I painted the stencil and distressed it with my sander.
TIP: You know what’s so awesome about stencils? You can use a variety of techniques to apply the paint! You can use spray paint, acrylic paint, or even an airbrush (like I did!). The choice is totally up to you!
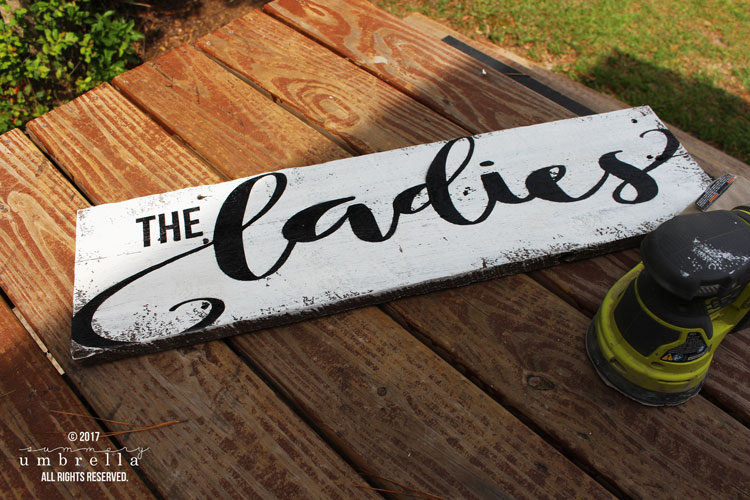
Crazy easy, right?! Plus, super classy and pretty! Just the way I like it 😉
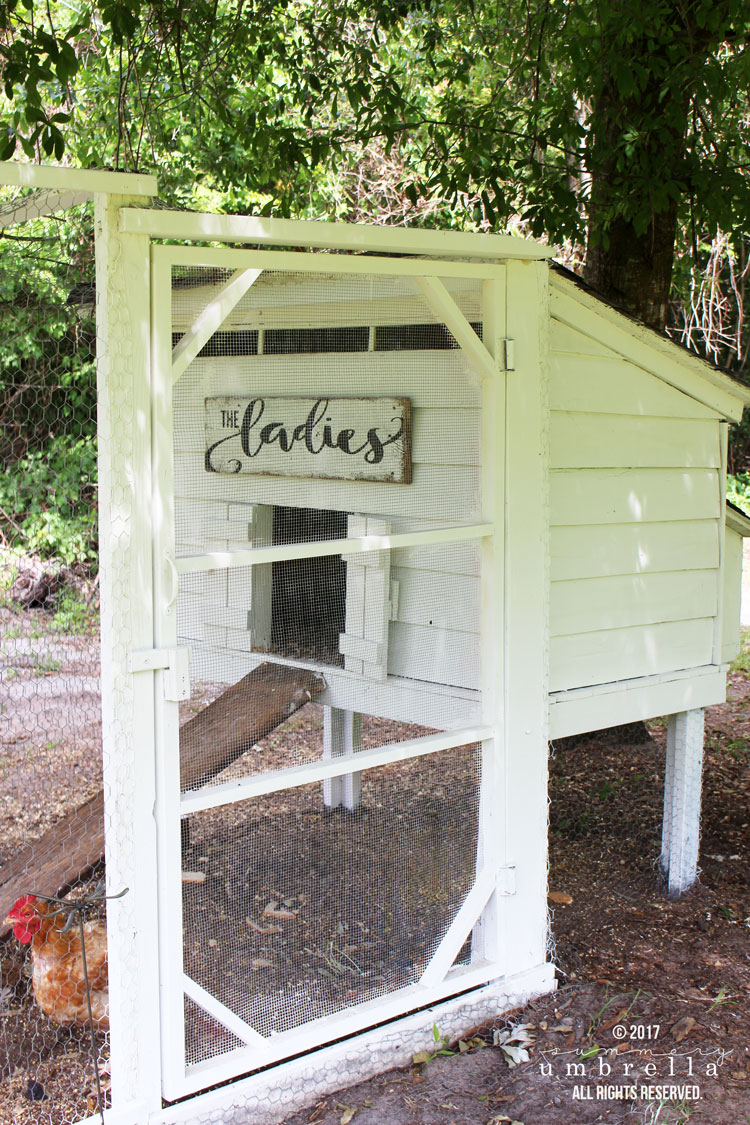

I’m going to be honest though. I don’t think any of my ladies really noticed too much of a change.
Ungrateful. That’s what I say! Oh well. At least the whole process makes me a whole lot happier. That’s all that matters, right?
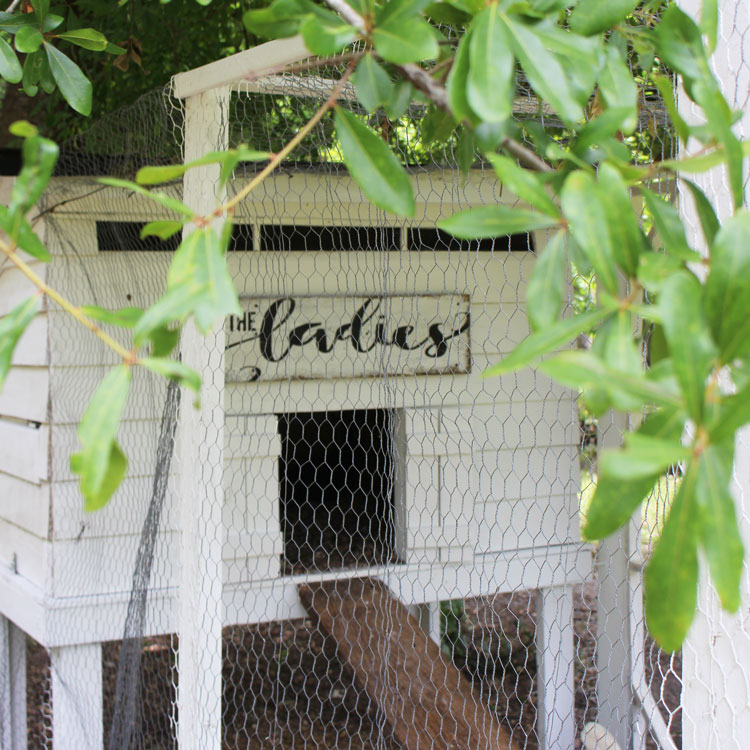
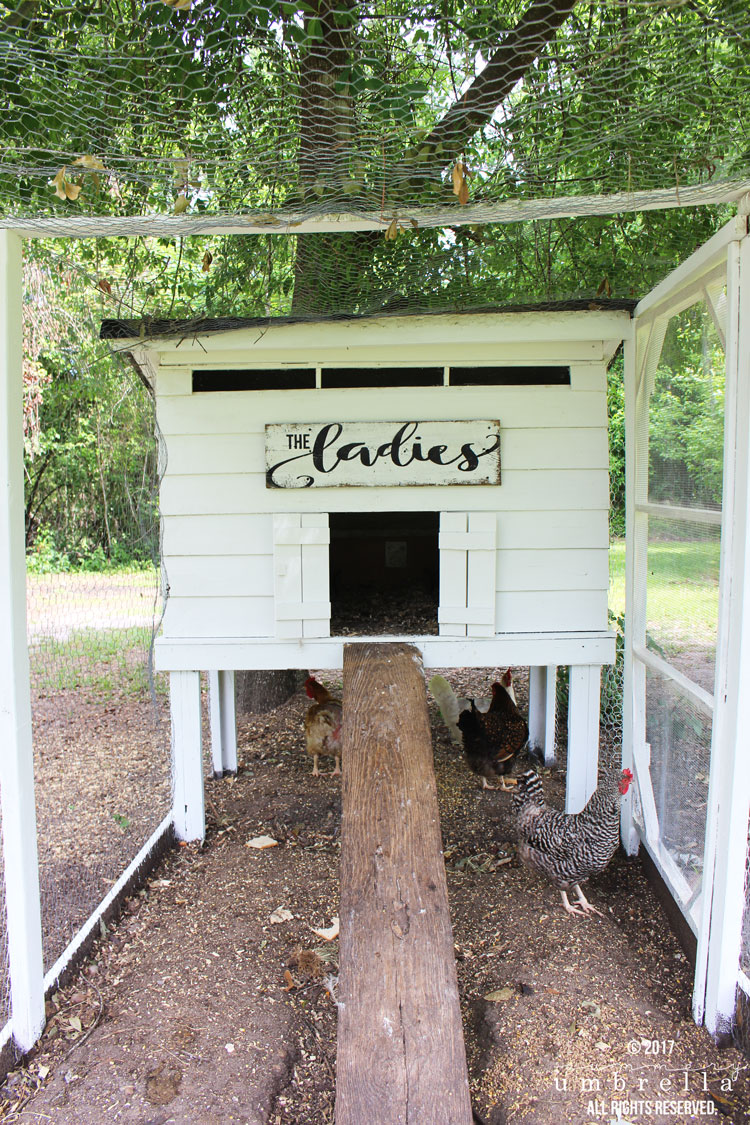
DIY Chicken Coop Sign
You know the saying… if mama ain’t happy… nobody’s happy. And you know what? This mama is very happy with this new sign and paint job.
If you loved this project then you’ll definitely want to browse some of my other Wood Signs that are full of step-by-step tutorials as well as freebies galore!
Can’t wait to see you again, and Happy Crafting!

Psstt… don’t forget to download this free SVG file by signing up for my resource library above!
More of What You Love: Check Out These Recommended Posts!
- Building Your Dream Backyard Chicken Coop: Our Design and Tips
- DIY Wood Slice Hanging Planter
- Upcycled Chandelier Planter
- DIY Toolbox Flower Planter






Can you do a custom sign for me?
Hi Reba! Thank you so much for stopping by my page. Unfortunately I no longer create signs in my shop, but this post has a great tutorial that will walk you through the process. Also, please feel free to check out some of these other DIY sign posts for inspiration and tutorials. Have a great week 🙂
Can you please tell me what font you used for this?
Hi Sarah and thanks for stopping by 🙂 This font is my own hand lettering. Have a great week!