Easy and Affordable DIY Wall Upgrade
Wall treatments can get pretty pricey! BUT, lucky for you, I found an easy AND affordable DIY wall upgrade that is going to knock your socks off!
When I lived at home my mother used to tell me that I had great taste.
In other words, what that reallyyyy meant was that I never failed to pick out products (from home decor to fashion to food) that were ridiculously expensive, and obviously completely out of my budget. It’s frustrating, isn’t it? You see something you’d love to have in your own home, but once you see the price tag… yikes!
Ever once in awhile you might be able to splurge on one thing here or there, but overall, it can be super hard to create a beautiful room on a budget. Anybody else have Pottery Barn taste with a Walmart budget?!
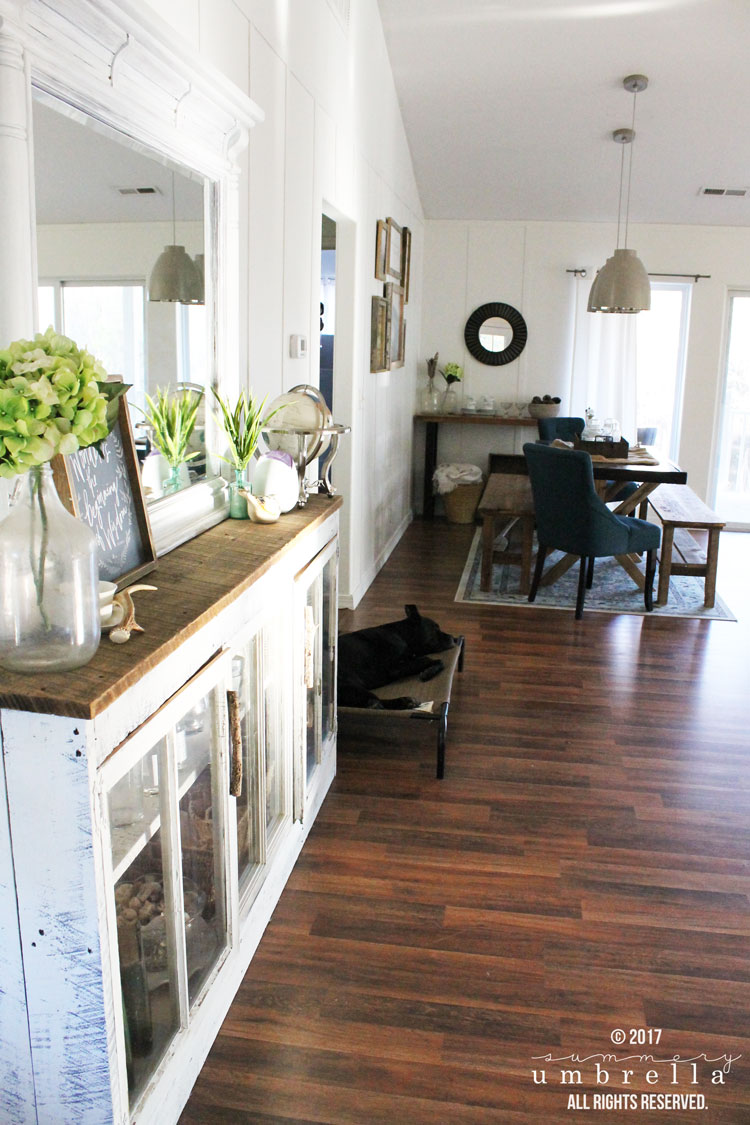
For instance, recently I realized that I HAD to do something about my living room. Overall, it is very cozy, but it also has terrible lighting and looks like a cave.
Unfortunately my obsession with dark woods does not help my problem whatsoever, and it became apparent that a HUGE change was needed.
However, I didn’t want to just paint my walls a lighter color.
Blah. So boring! I wanted to give it a little hitch in it’s giddyup.
A little pep in it’s step.
Some…. ok, you get the point. BUT, have you seen how expensive some of those fancy wall treatments can get?
Yea. Wowzers, for sure! So, I decided to come up with my own way of doing things on a budget. Shocker, right? 😉

I’m not going to lie about how long it took me to find the “perfect” wall treatment though. Honestly, I have been searching for a solution for awhile now. I just couldn’t wrap my brain around a pattern that I would like though. Until…. I saw the above photo in a Pottery Barn magazine. Isn’t it just stunning?!
And then, my dream was officially ready to come to life and it was time to get to work!
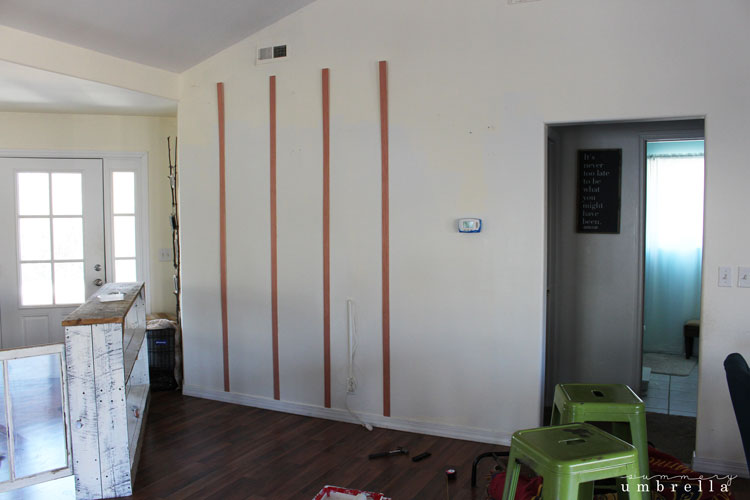
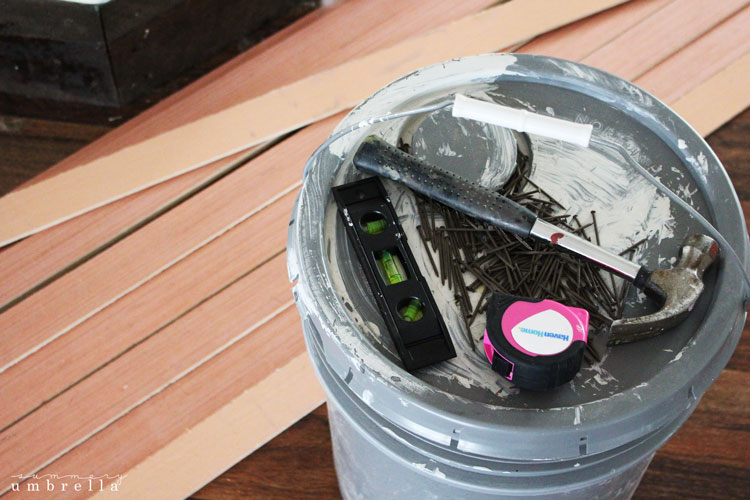
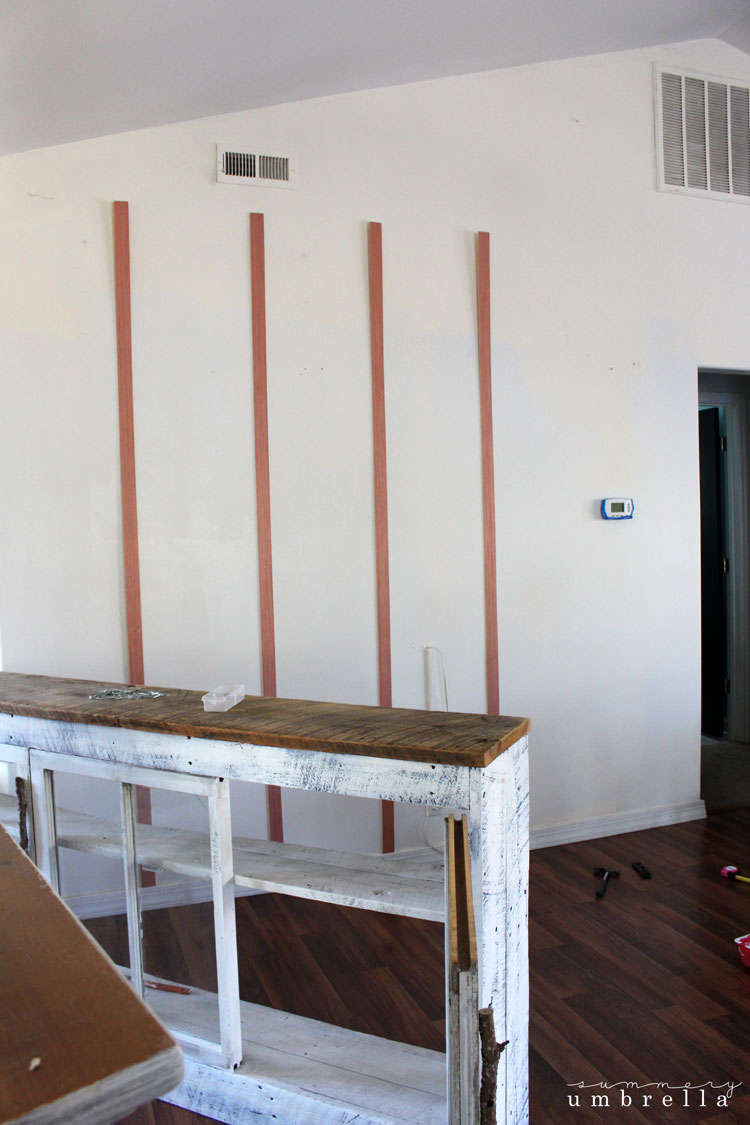
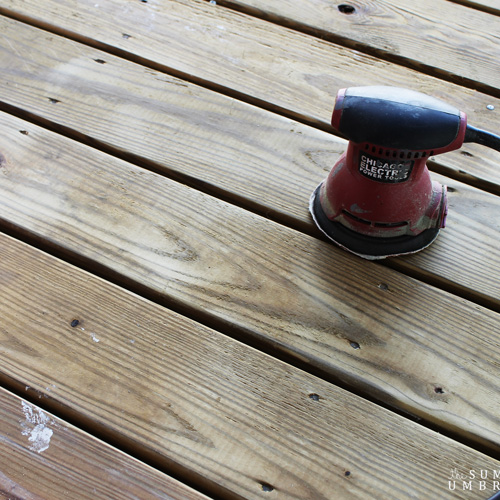
I purchased three sheets of plywood (for the whole living room), cut them into 2″ strips, and nailed them to my walls every 16″. Don’t forget to use a level to keep those strips good and straight!
TIP: Can’t find your level? Use your iPhone! You can find a level in your Compass app, and then just swipe left.
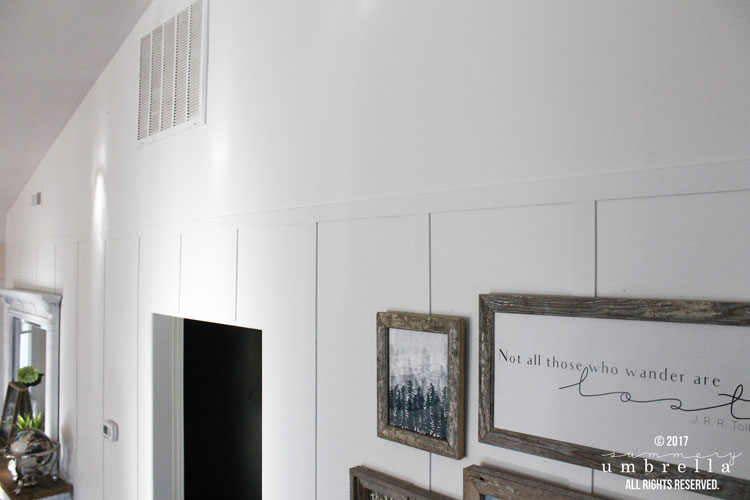
Now granted, my original idea was to have my strips go all the way up to the ceiling, but after looking at them from this angle I decided to chop them down and add a nice border that would help incorporate them into the neighboring wall.
NOTE: I just used a good ol’ fashion hammer and nails because the hose for my air compressor to use my brad nail gun wouldn’t reach all the way up the stairs to my house. However, this will significantly decrease the time spent if you can use the method instead.
When it was time to paint, I used a paint brush to get into the sides of my plywood strips, and then a roller for the rest.
I bet you’re wondering… what color did I use?
I used Walmart’s Colorplace Grab-N-Go Interior Satin in White. LOVE IT!
ANOTHER TIP: If you find that you’re having any issues with your strips “bowing” out add a nail or two in that spot, and then paint over it.
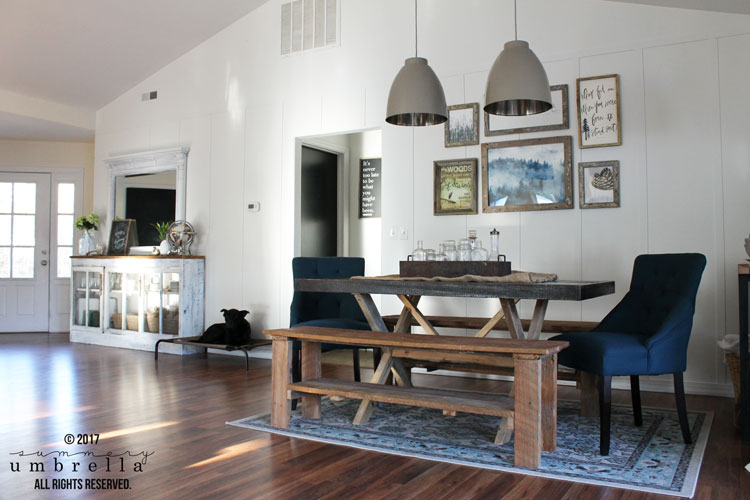
Didn’t it turn out just gorgeous?
Very classy, kind of rustic, and completely changes and brightens the room!
Looking for other easy DIY Projects? Check these out!
- Rustic Woodland Wall Gallery
- DIY Clipboard Art for Any Room
- 100+ Wood Sign Ideas That Will Help Turn a House Into a Home
Easy and Affordable DIY Wall Upgrade
Now all I need to do is finish this DIY wall upgrade other side of the room! I only did this side at first because I wasn’t sure if I would want the entire room put together with this new wall treatment, but it was an absolute no brainer once I had this side up.
I couldn’t be happier with how gorgeous this turned out, and now…. it’s your turn! Trust me. You’re going to love how easy AND affordable this DIY project is, AND it can be used in any room. It would definitely look amazing in a bedroom as well.


wow that looks amazing Liz, truly !!!! PINNING
Hi Christine!! Thank you so much 🙂