How to Build a Vintage Sled
Have you been craving your very own vintage sled, but need a more wallet-friendly version? Don’t miss out–full details right this way! Here’s how to make your own DIY sled – cheap.
I Dreamed of Owning A Vintage Sled
I have been wanting/looking (ok, ok stalking!) all of the local shops/junkyards/antiques in town, the internet, and basically, anywhere I can think of that could possibly have a vintage sled. However, I have been known for being a little bit on the frugal side.
I’m not even sure if that’s the right word to describe myself though.
Why? Because I’m sort of in between being a cheapskate and “I’m not going to spend that much” if that even makes sense. I’m kind of like Barbie meets a budget. Only my measurements are a little more realistic. 😉
When I was much, much younger my mother used to tell me I had good taste because I always wanted everything that was super expensive. Now, I still have similar tastes, but I’ve just learned to make it all by myself instead. Win-win, right?
Moving on.
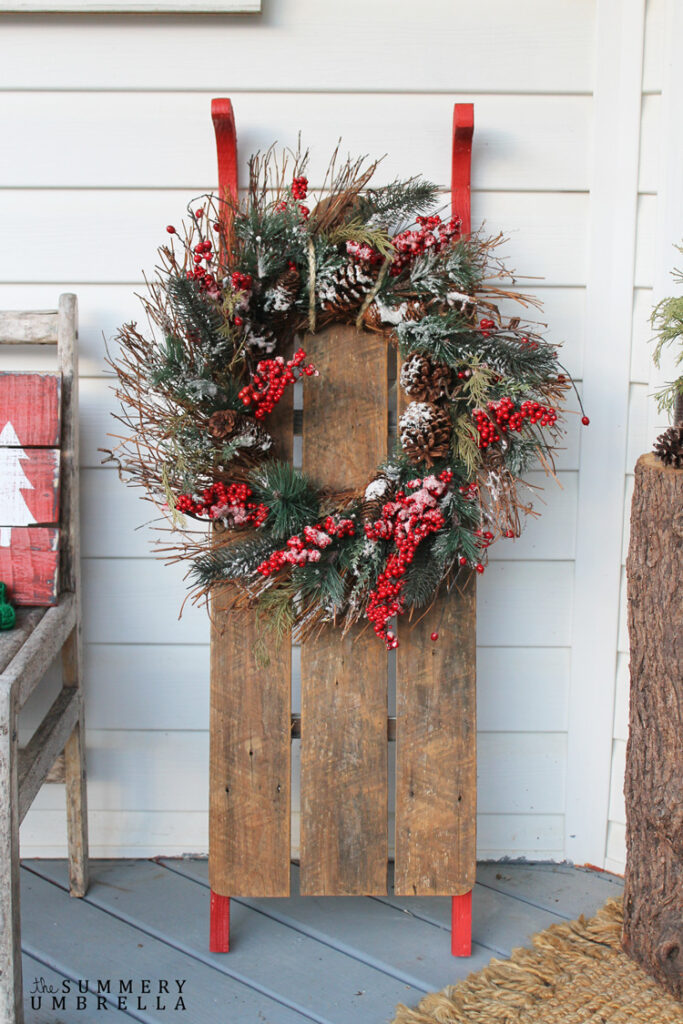
How to Make a DIY Vintage Sled
After seeing some incredible vintage sleds, but nowhere near my means to actually be able to afford one of those beauties, I decided to–yup, you know what’s coming next–create my own. Believe it or not, it wasn’t hard to make at all. Seriously. It took me one hour. That’s it!
Here’s how I made my sled. It’s so easy, I know you can make one too.
Tools Used
- Jigsaw
- Nail gun or hammer and nails
- Electric sander
Materials
- Scrap/reclaimed wood
- Twisted Rope
- Fort York Red Fusion Mineral Paint
Steps
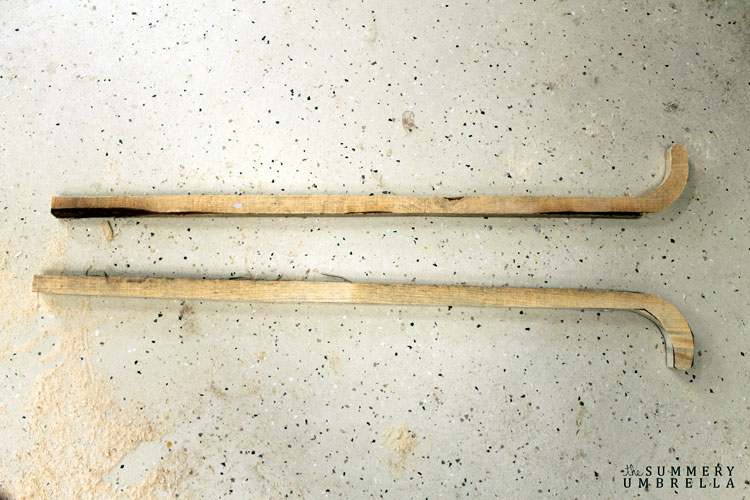
1.) First, create your two sled runners.
Take one 1×6 and draw an inch line approximately 41″ in length.
Then, using an one-gallon paint can draw out the arch of the rounded end. Use the same paint can to also draw out the other side of the arch and connect the two with a rounded end.
Repeat on the other side of your 1×6 with the same design, and cut out with a jigsaw.
2.) Cut two 13″ long x 1.5″ wide pieces as your support for your top, and then nail them in place.
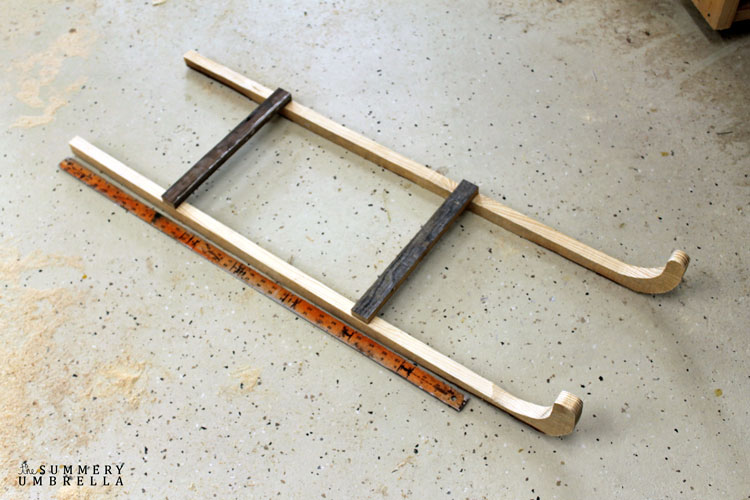
3.) Cut out two 32″ long x 4″ wide pieces for your exterior, and then one 35″ long x 4″ wide piece for the middle of your vintage sled.
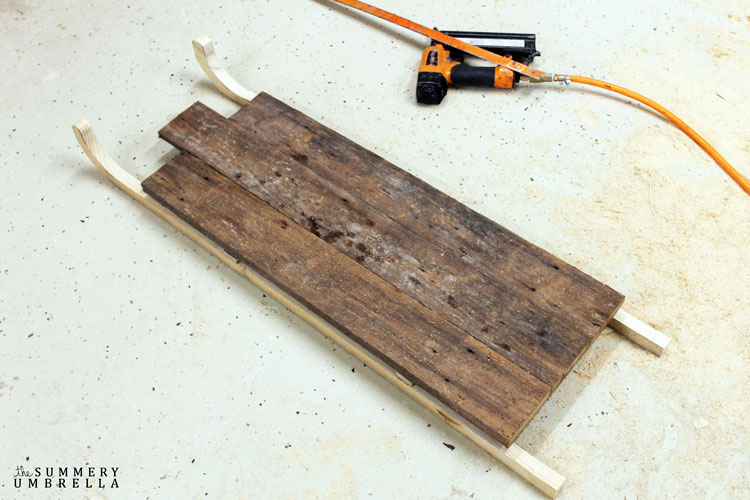
How to Make a DIY Vintage Sled
4.) With this next step, there are a variety of ways you could proceed. What I did in order to get the rounded edges at the top of my boards is used a 32 fl oz can of stain that I had in the workshop. I just put it at the edge of my board (see pic below) and drew out my rounded edge with a marker.
5.) Then, I used the bandsaw (or you can use a jigsaw) to cut out these curves. However, I did not want as much of a curve on the bottom of my sled so I just used a sander to smooth them out.
6.) Then, nail your boards into your support pieces. I’m a huge fan of our brad nailer so I took this route.
7.) Sand down all of your boards so there aren’t any rough edges or potential splinters poking out.
8.) Paint your runners! I have a huge crush on Fusion Mineral Paint so of course, I used their Fort York Red paint to beautify my runners. All I needed was one coat. ONE. That’s it. AND, it dries so fast. Sigh. I really love this paint.
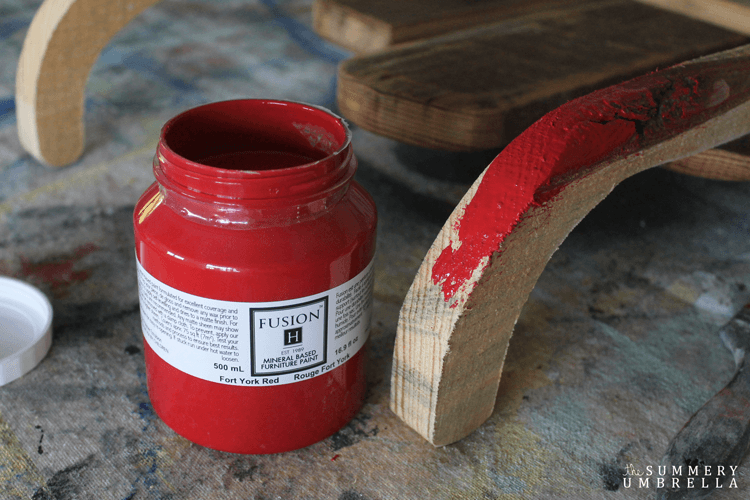
9.) Honestly, I started off wanting to add vintage writing or even my version of racing stripes to the front of this baby. However, the barn wood that I used was sooooo incredibly pretty I just couldn’t do it.
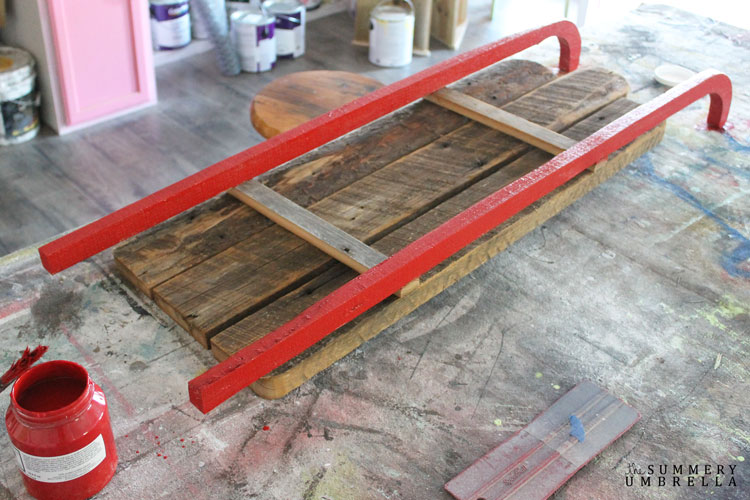
So instead I added a little bling with a rope pulley of sorts. I just drilled in a few holes and tied up my rope.
How to Build a Vintage Sled
Wasn’t that soooo easy? So simple!
And I didn’t have to go out and buy a thing. Everything I used was bits and pieces that I already had.
Looking for even more DIY winter decor? Check out these 20 Incredible DIY Winter Decorations!
NOTE: Just to make sure we are all on the same page–this sled was designed for decorating purposes only. Please do not try to use this as a real sled. My abilities to construct a real and functional sled end here at the decorative level. 😉
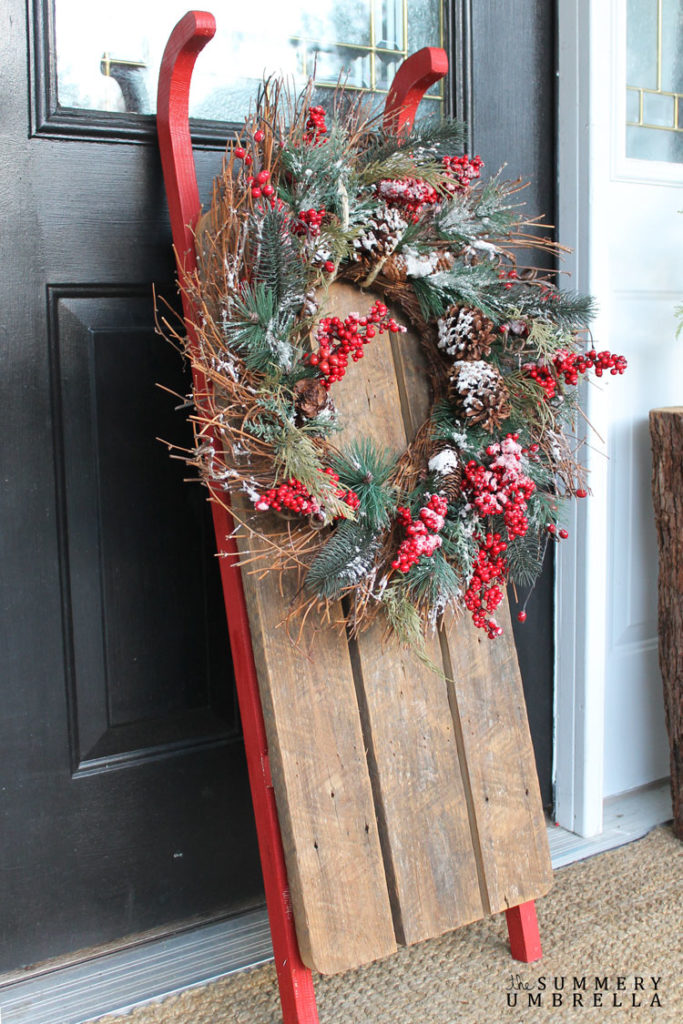
Psst! Want to keep the festive magic flowing? Hop over to my Seasonal Holiday Decor Projects page for a year-round celebration of creativity! From spooky Halloween hacks to merry Christmas miracles, and everything in between – it’s your one-stop shop for holiday inspiration that won’t break the bank.
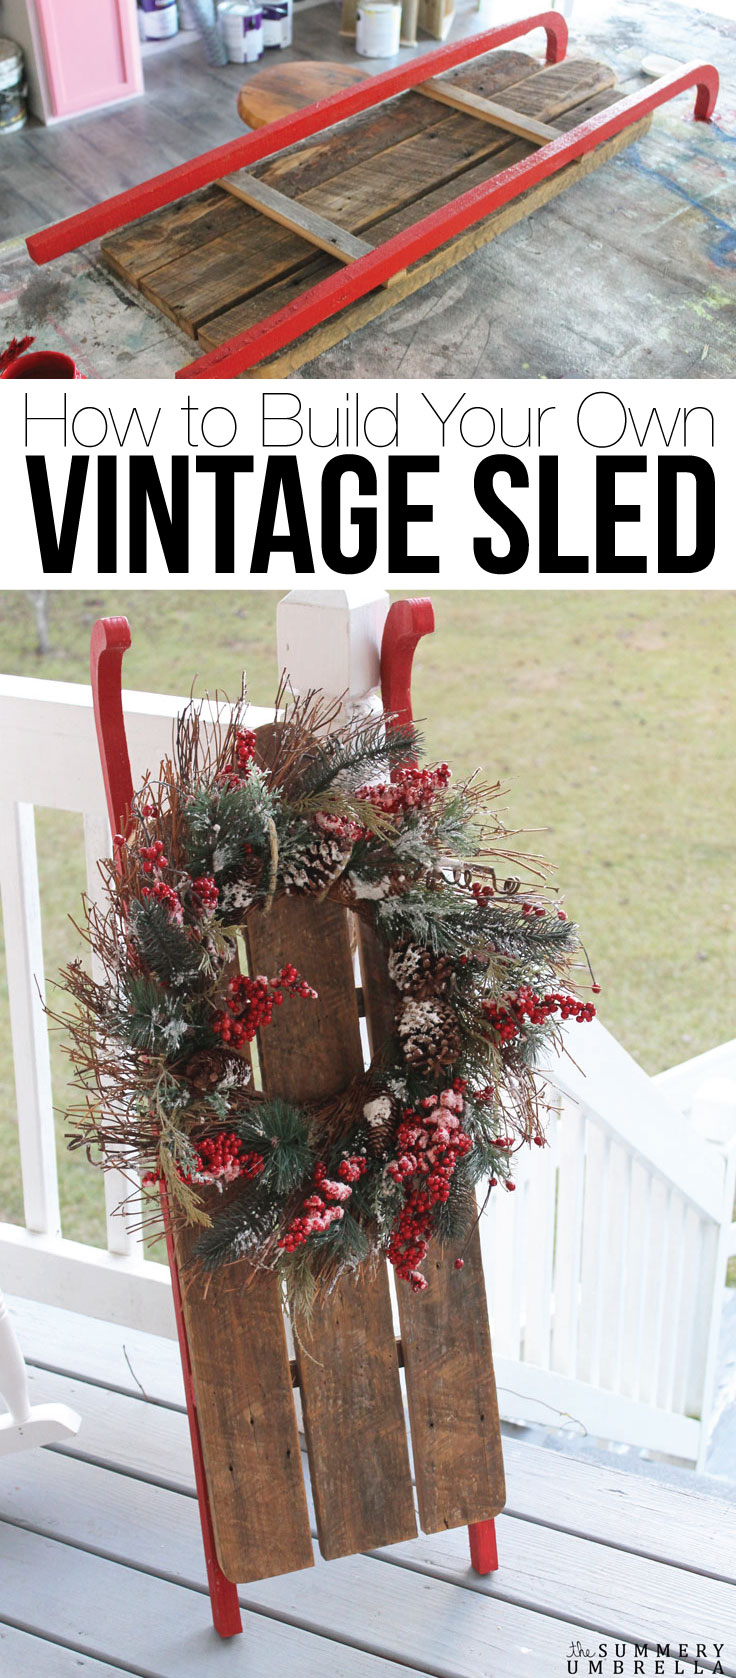
Not only can you use your sled as is, but you could also add a wreath to it and make it really shine!
Or, use it as a wreath on your door! However, I unfortunately will not be able to take this route. My daughter and dogs are wayyy to rough on that poor door as it is. Have a wonderful holiday season and until next time!
More of What You Love: Check Out These Recommended Posts!
- Bargain Bliss: Seasonal Decor That Won’t Break the Bank
- Festive Fusion: Mastering the Art of Year Round Holiday Decor
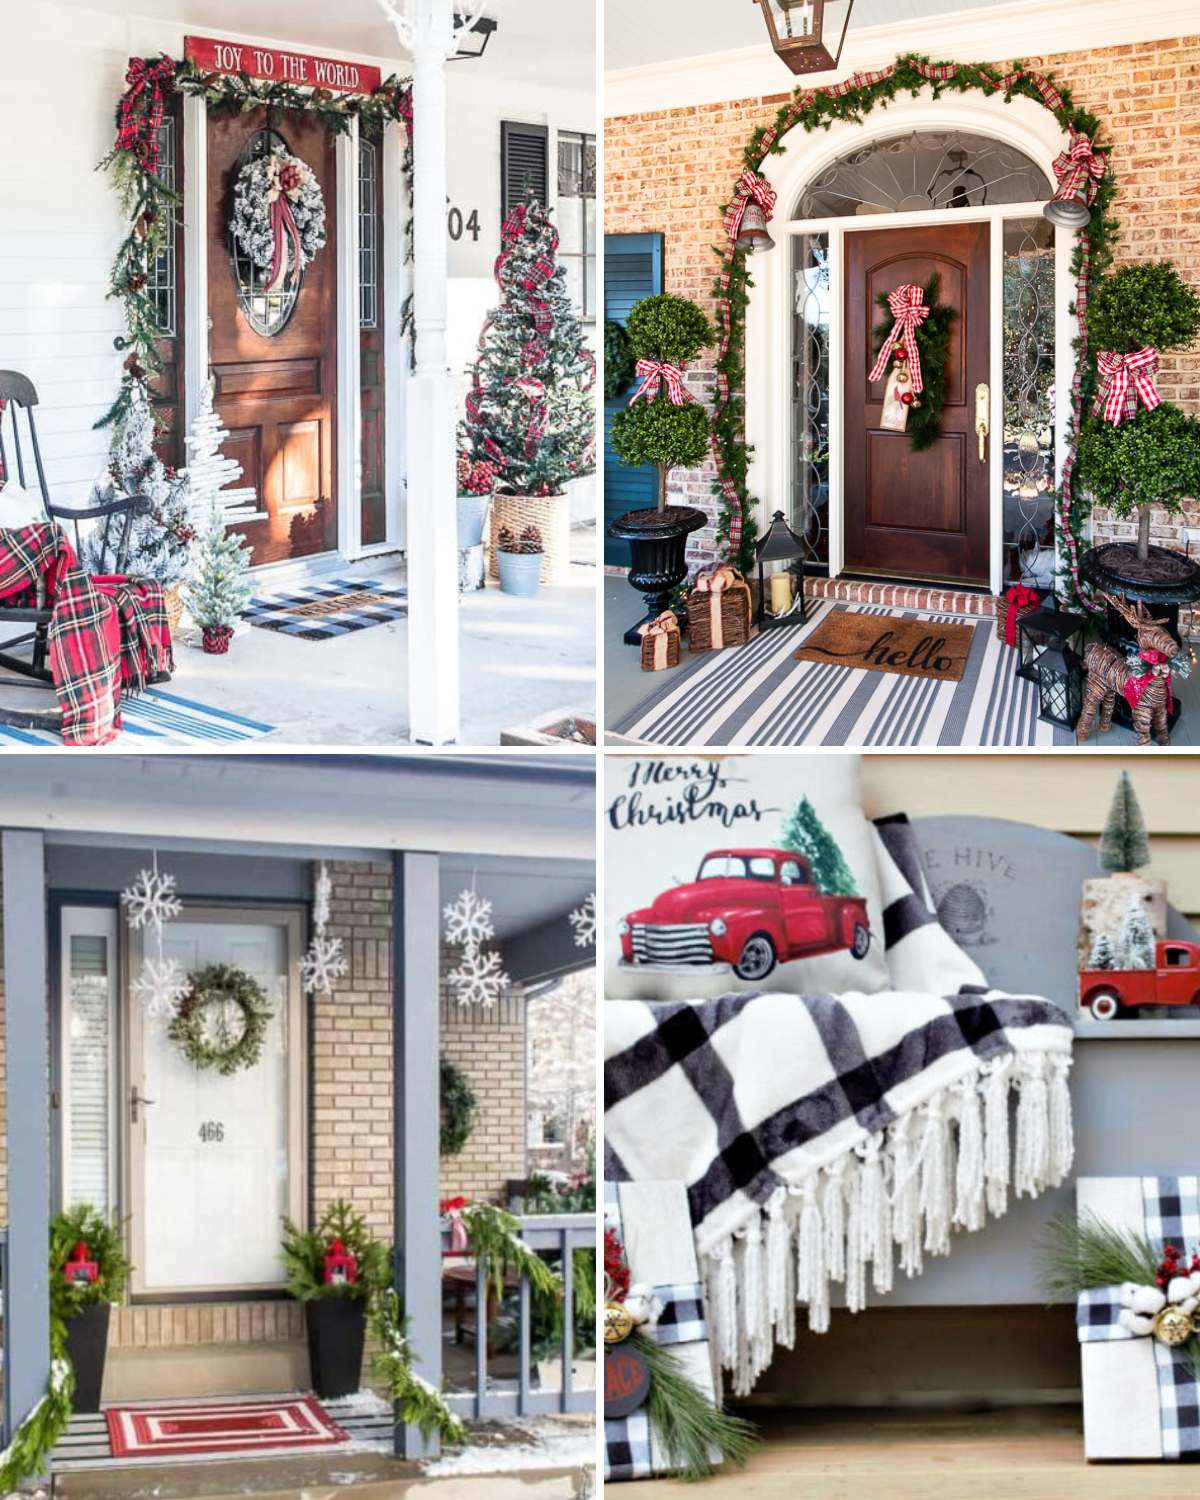
- 23 Swoon-Worthy Christmas Porch Decorations To Inspire
- Cozy & Charming: Craft Your Rustic Christmas Table Decor Magic!



SO, SO cute!!! Can’t wait to give this a try!
Thank you so much, Kristi!! You will not be disappointed. It’s soooo easy 🙂
oh my!! this is totally stunning, LZ!!! i always feel that we miss so much of the fun if we buy stuff all the time, especially those things we enjoy creating, and can make better, such as this gorgeous sled! xoxo
I think that all the time! Plus, it is most DEFINITELY more fun to make it yourself 😉
That is adorable, doesn’t even look too hard to do, but what a great way to dress up your entry. #WorthwhileWednesday
Thanks so much, Karen! It is veryyyy easy. You definitely will want to make this cutie-putie 🙂
LZ, this sled you built is awesome!! The wreath and the red rails really add some beautiful detail!! Thanks for the tutorial!! 🙂
Thank you so much, Keri! The red is definitely an amazing addition 🙂
I love this! Thanks so much for sharing it Brag Worthy Thursday! Hope you will join us again this week!
-Shonee
http://www.hawthorneandmain.com
Thank you so much, Shonee! I most definitely will 🙂
Good morning!! I love the Vintage Sled that you posted. I was on my I phone and could have sworn that I saw a place in the body of the steps on how to build it that there was a printable template for the pieces of the sled. Is there a template for it that I am just missing? I would love to make this for my wife and surprise her with it. You have many great projects that I will be attempting.
Thanks and hope you have a great day.
Hi Cory and thank you! Unfortunately I do not at this time, but that is such a great idea. If only I had a clone so I could accomplish everything I wanted to 😉 I’ll pencil it in my calendar, and try to squeeze it in!
I love this sled! Where did you get the wreath that is pictured on it? Or did you make it?
Hi Pam and thank you!! I had so much fun making it, and so happy it is still around to share with everyone 🙂 I want to say that I got that wreath a few years back at Michael’s. They usually have amazingggg sales right after the season. Have a great day!