How to Make a DIY Wire Mesh Basket
Have you always wanted to create your very own DIY wire mesh basket? Then you’re in luck today! Learn how with this tutorial NOW!
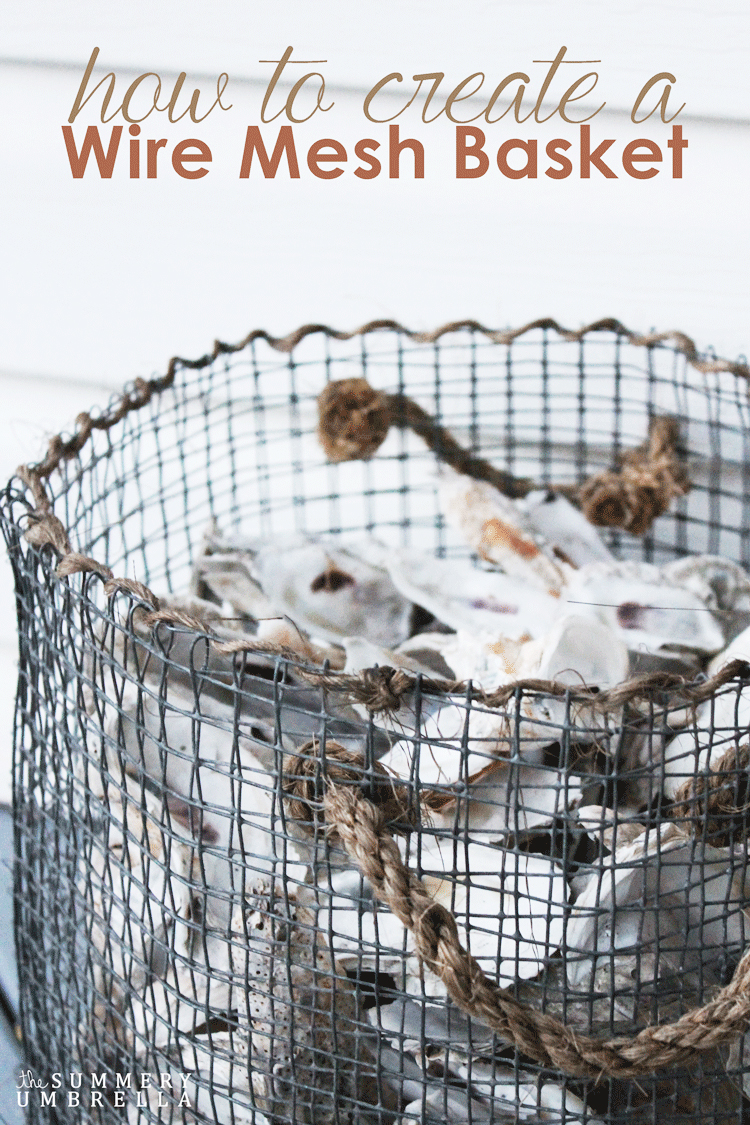
I always seem to have leftover pieces from previous DIY projects, and today’s tutorial is the product of a few of these random items that I’ve been saving. I just can’t seem to be able to part with them. Do you have that people too?
My husband thinks I’m crazy for saving all of these bits and pieces, but I seem to always have a use for them so, I’ll just go ahead and keep doing what I’m doing!
Materials and Tools Needed
- Twisted Sisal Rope
- Wire Mesh
- 24 Gauge Wire
- Wire Cutters
- Scissors
- Hitachi Cordless Drill/Driver
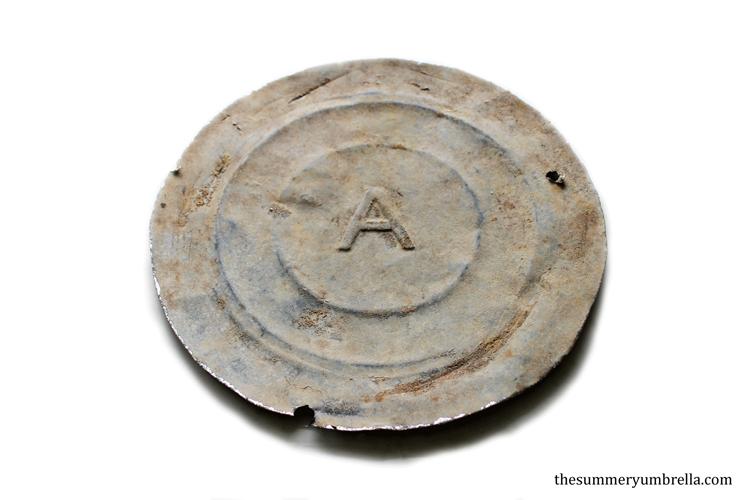
Below is part of the remains of our old dog fence, and it was in such good condition there was no way this little guy was going to the dump. The beauty of this DIY Wire Mesh Basket project is that you can make your own bucket as big or small as you would like. Like normal, I didn’t measure out any particular length, but it was approximately 2.5 to 3 feet in length. The height was approximately the same, but that just seemed too tall for my purposes so I folded it in half.
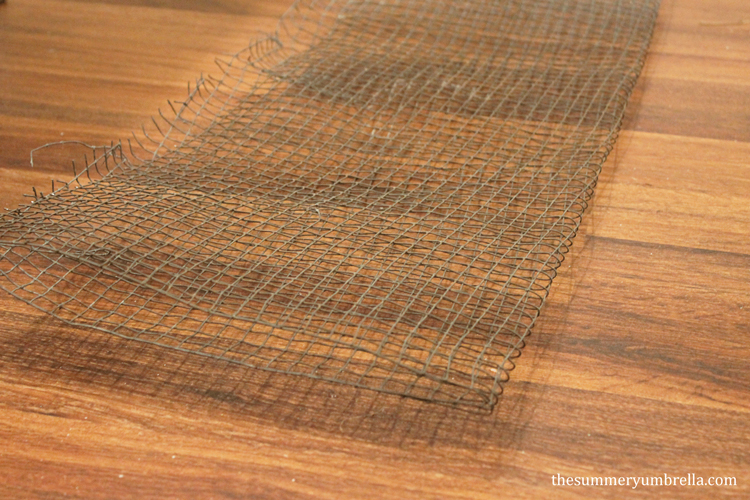
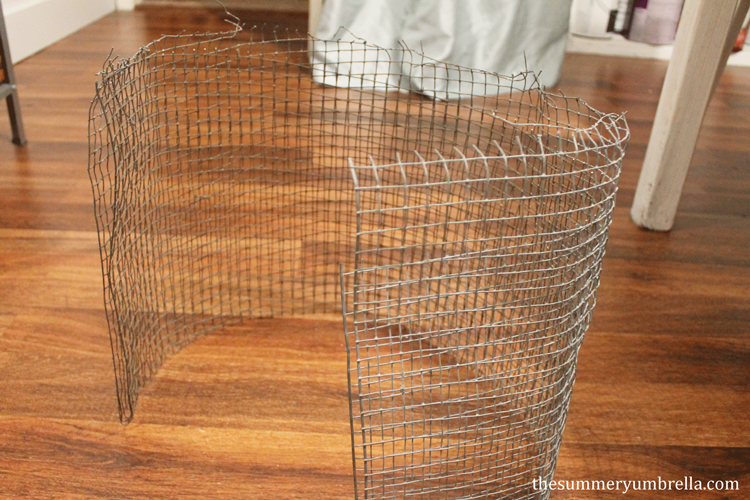
I originally tried a thicker wire to tie the two sides of this wire mesh together, but it was extremely difficult and frustrating. So, I pulled out the 24 gauge wire, and it worked perfectly! It’s pliable and just strong enough to make this basket come together.
Looking for more DIY projects to try this weekend?
- DIY Rustic Reclaimed Window Inspiration Board
- DIY Reclaimed Wood Desktop Organizer
- Fairy Tale Reclaimed Wood Signs
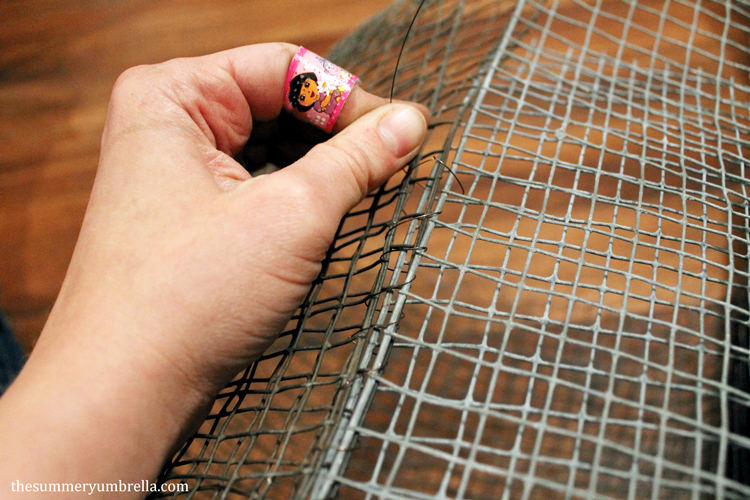
There’s really no special way to sew or tie this wire mesh together. Whatever works the easiest for you!
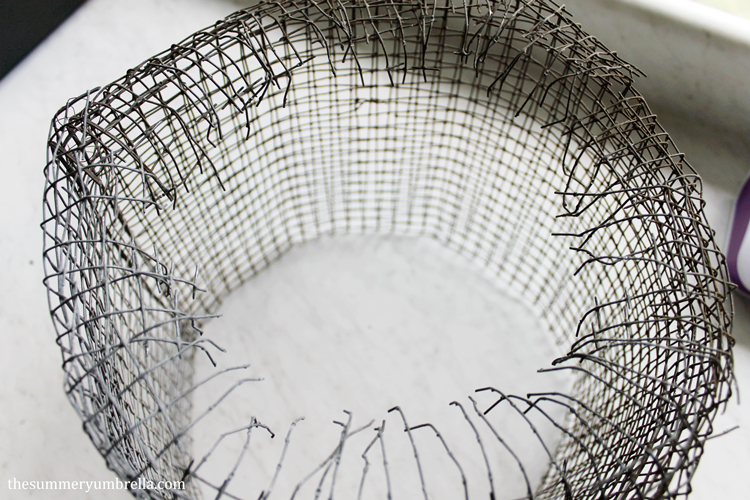
Woo hoo! All done! Ok, this next part was the hardest part for me. In order to use the circular metal piece for a bottom you will need to bend down the wire a little bit for support.
I used my cutting pliers to accomplish this feat. As you can see from the below pictures once you clip the wire (the part that is going horizontally) you’re left with thinner pieces that are easier to bend over. I believe I had to cut down approximately four rows to have enough support for the metal base.
After you flip your DIY wire mesh basket back over you might need to measure your metal base to see if it’ll be too small, big, or just right. Thankfully mine was the perfect diameter
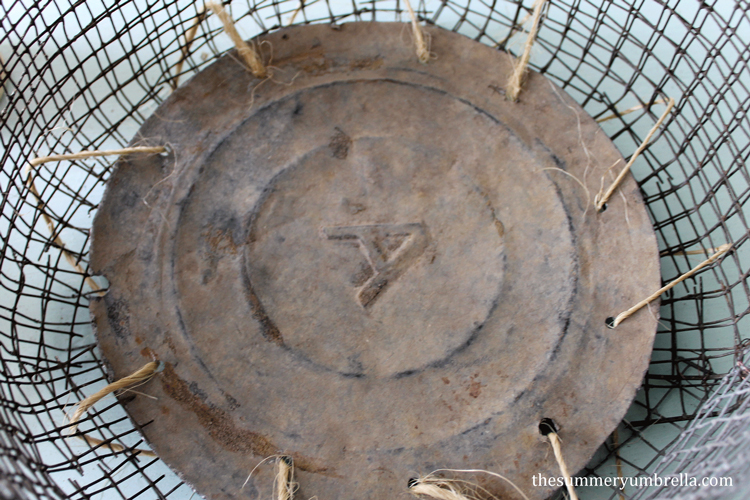
How to Make a DIY Wire Mesh Basket
Make a knot with your rope on the bottom of your basket, and then pull through the first hole of your base. Once again, you can use any method to tie your base to the basket. Just make sure it is sewn in tight enough so it will not fall out.
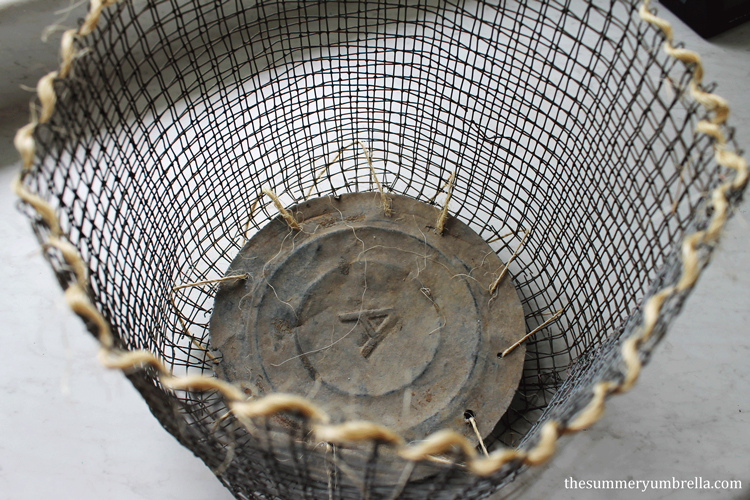
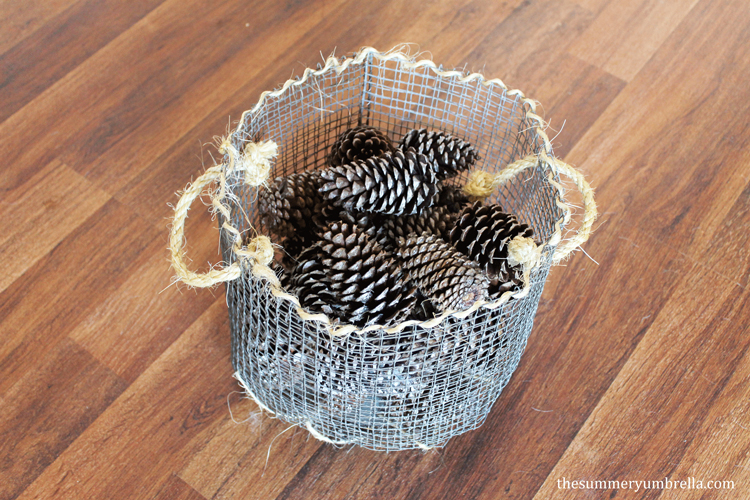
Then, no basket is complete without a few handles! I found a slightly thicker rope that I also had on hand, pulled both ends through the top of my basket and tied a few knots into them.
And voila! Your very own handmade, wire mesh basket was pretty painless.
You can use this basket in all kinds of different ways! Just think about all of the upcoming holidays. You could use it for holding leaves, small pumpkins, branches, ornaments, Christmas lights, etc.
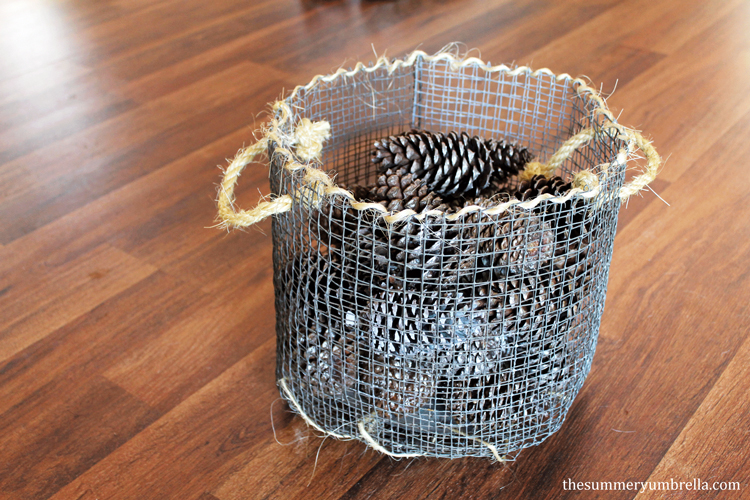
Currently, I am using mine filled up with pinecones on my front porch. By any chance did you see my post from yesterday about my new fall front porch? You can see this beauty on the right-hand side next to a few pumpkins.
If you loved these ideas then you’ll definitely want to browse some of my other DIY projects that are full of step-by-step tutorials as well as freebies galore! Can’t wait to see you again! – LZ
Let’s be Social

This post was originally created in September 2014, and then updated in September 2020.






Your basket turned out so cute. Great tutorial and I love the rustic look!
Hi Amy! Thank you for your kind words, and stopping by 🙂
Great looking basket – excellent idea. We always love to see original, new, and unique ways our products are being used.
Keep up the good work and let us know if we can help in any way –
-Bwire
http://www.bwire.com
Thank you, and will do 🙂