DIY Reclaimed Wood Love Sign PLUS Free SVG Cut File
Looking for a new crafting skill? Learn how to create your very own DIY Reclaimed Wood Love Sign with this FREE stencil!
Happy Monday!! I am so psyched for this DIY Reclaimed Wood Love Sign post today. You know why?
Well, it’s for a few reasons.
- I love creating new items.
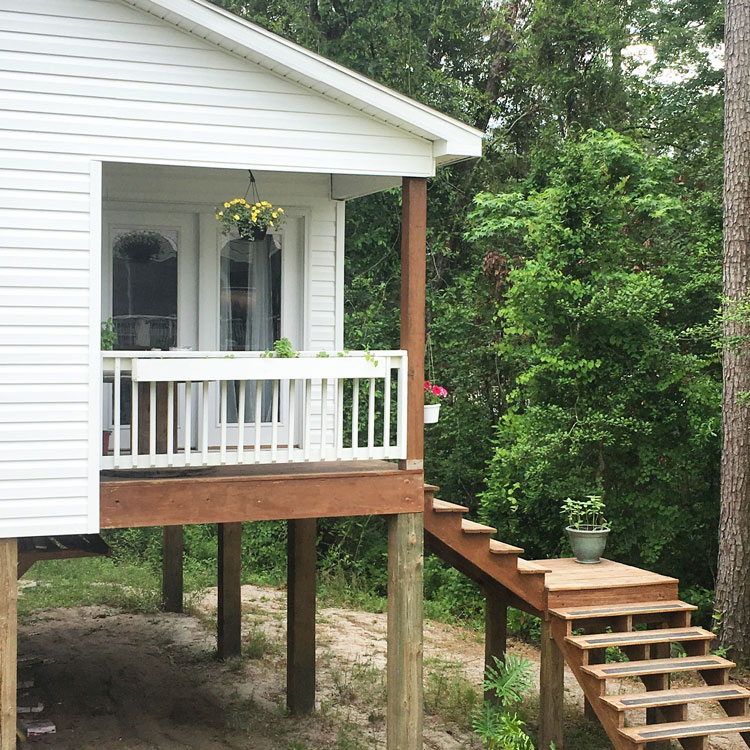
- I’m using this particular sign (along with many, many others) in my new studio in a picture gallery so of course I’m really excited to get that party started!
- Not to mention, I am also sharing with you a few of my “secrets” that I was kind of nervous to share prior to this post. I think it’s just an artist thing. You don’t want to tell everyone all of your tips and tricks, but you know what? It’s all good. I can’t think of anybody else I would rather share these tips with than with all of my favorite readers!! 🙂
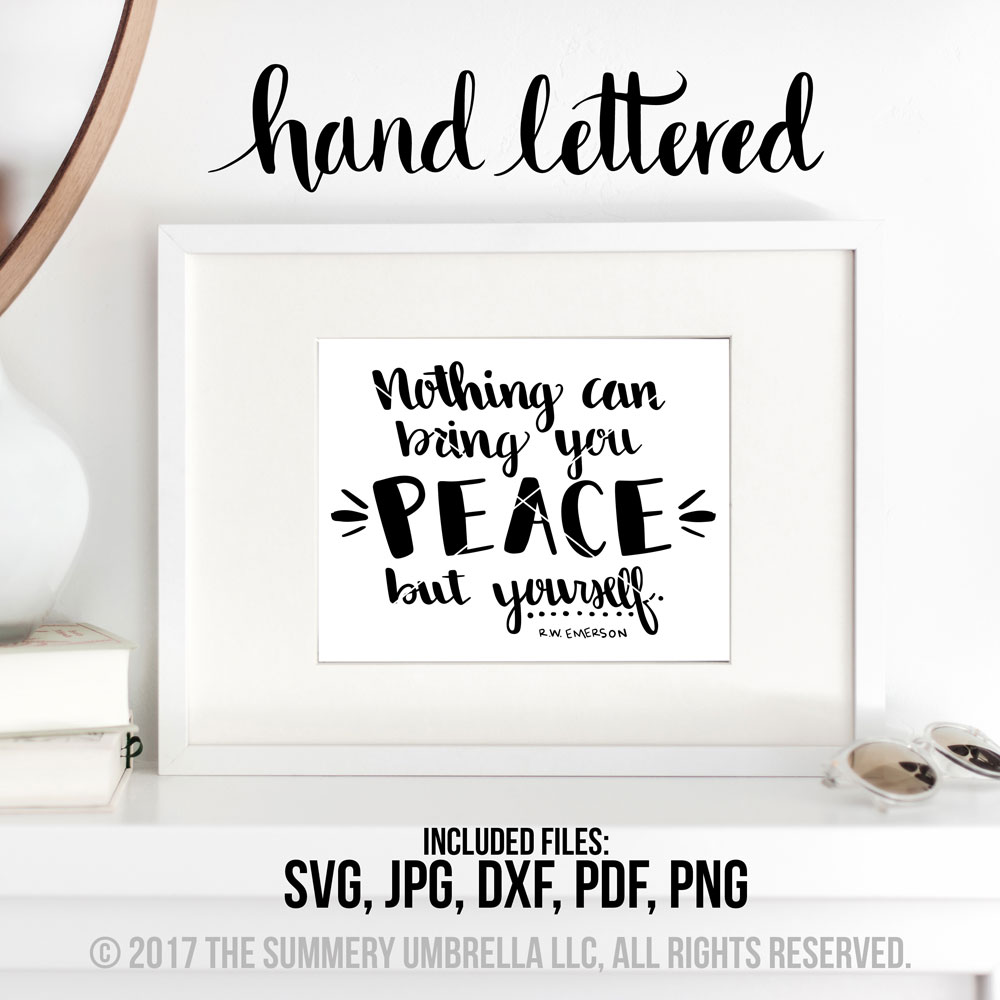
- This stencil is also created using my own, personal handwriting. It was drawn out on paper, converted into a vector, and now available for you! PLEASE, PLEASE, please, please keep in mind that this stencil is ONLY for personal use. If you would like to use it for commercial use just send me an email, and we’ll talk about how you can use it in your own shop.
So, let’s get started!
DIY Reclaimed Wood Love Sign
Materials Required:
- Reclaimed wood – I used 18 inches by 5.5 inches
- Paint
- Love SVG Cut File
- Stencil Maker like the Silhouette Cameo
- Vinyl
- Razor
- Spray Paint
Directions
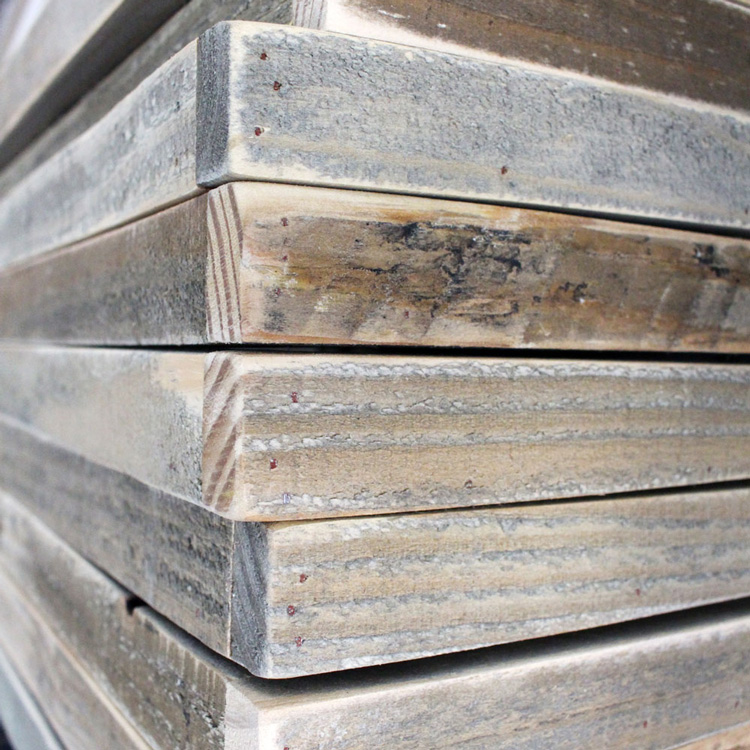
1. ) As always, pick out your favorite piece of reclaimed wood that you just so happen to have hanging around. The piece that I am using is 18″ long by approximately 5.5″ wide.
2.) Then, paint it whatever color that your heart desires! Loving the color I’m using? Here’s the exact label! In fact, this is my “orchid” color on my color wheel. Use it wisely, my friends. 😉
You can find ColorPlace paint just about at any Walmart, and highly recommend using exterior paint. Why? Because it lasts so much longer than interior paint. Ever had a paint go bad? Ugh. The smell is pretty horrendous. Trust me on this one!
This post does include some affiliate links, but they are for your convenience. I promise! Please click here to read my full disclosure policy.

3.) After your paint has dried (it could take a few hours depending on the humidity in your area) you are now ready to use the stencil!
4.) I highly recommend using a stencil maker for this project. Do you have to? No, but it will make your life so much easier and I can honestly say that I use both my Silhouette Cameo and Cricut Explore Air on nearly a daily basis.
Which is better – Silhouette Cameo or Cricut Explore Air?
I bet you’re wondering… which one should I buy? Well, each one has their own advantages and disadvantages obviously, but the biggest thing for me (as a designer) is whether or not it can easily use designs I’ve created through other programs.
For instance, the Silhouette Cameo does not convert my Adobe Illustrator files very well, but they have an upgrade you can purchase (I believe for $50-60) that I have not bought. Whereas the Cricut Explore has a built-in program that can automatically convert a variety of files into stencils in a blink of an eye.
For today’s project I’ll be using my Cricut since I created the original file in Adobe Illustrator.
5.) Like I said earlier, you don’t have to use a stencil maker to create this sign, but it does make it a whole lot easier. If you’ve decided to just print it out keep in mind that the stencil is formatted for 18″ long so you’ll need two standard sheets of 8.5″ x 11″ paper. Then, I would suggest using a razor blade (or Xacto knife) to cut out the shape.
If you’ve decided to take this route go ahead an use this PDF download now!
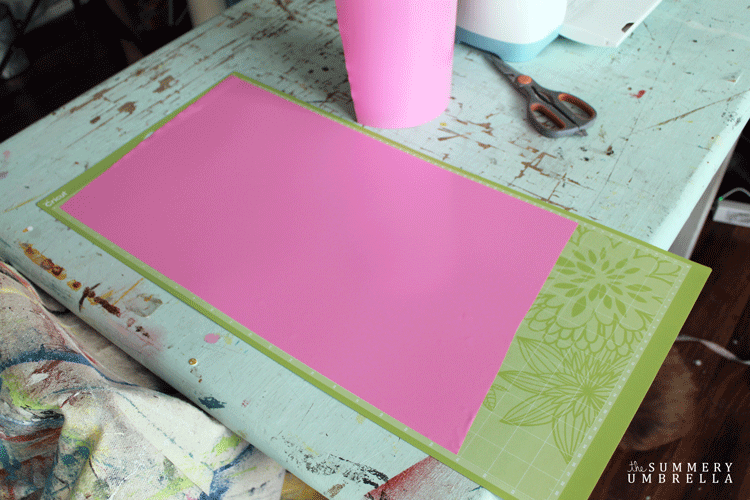
6.) Since this stencil is relatively long it required me to use the 12×24 mat so it could fit the entire word on one piece of vinyl.
DIY Reclaimed Wood Love Sign
You can buy vinyl from a variety of stores and even in the Silhouette or Cricut brand, but I find that it’s easier to buy in bulk since I just use it as a stencil and the color doesn’t matter. US Cutter is my personal favorite (click on the link for the brand and size that I typically use). See, I told you that I’m letting the cat out of the bag on this one! 😉
7.) Unfortunately I will not be going into exact details on how to use the Cricut Explore today, but hopefully one of these days soon I will come up with a video tutorial or something. Thankfully Cricut does have a ton of beginner videos so if you need assistance with learning the basics just head on over to their site, and they’ll be able to help you out!
8.) After you have cut out your stencil (by hand or with your machine) it is now time to place it on your board!
TIP: If you haven’t used/purchased transfer tape before when using your stencil machine I would highly recommend purchasing some to make transferring your vinyl onto your board soooo much easier. Here’s what I use.

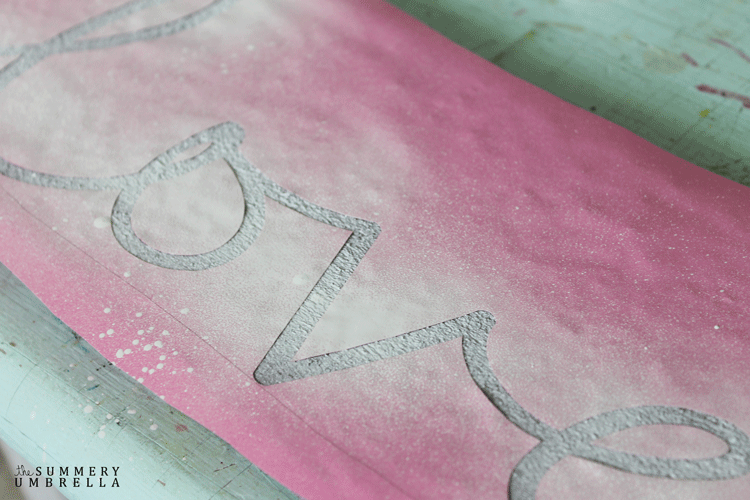
9.) After your stencil has been placed on your board where you would like it to be (I like to use a measuring tape to ensure accuracy on this part!) it will now be time to paint it up! I recommend using spray paint for this part, and not just any spray paint. I use Liquitex Professional Spray Paint. Why? Because I can use it in the house since it has low fumes, and it’s super durable for outdoor use as well. Definitely a win-win!
10.) Like with anything you spray paint make sure to do multiple, light coats. This part is ESSENTIAL! If you don’t do light coats your paint can run underneath your stencil causing an ugly mess underneath. Definitely no fun cleaning up.
DIY Reclaimed Wood Love Sign
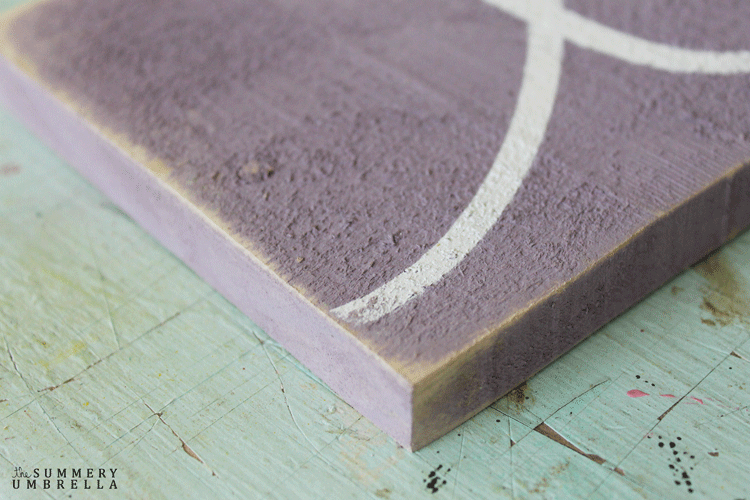
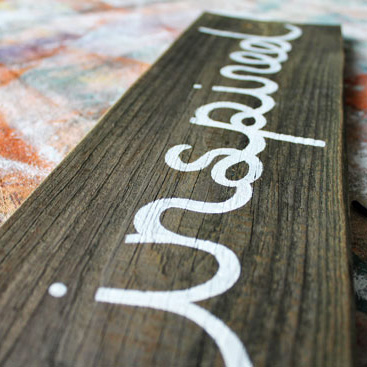
11.) Then, rip that stencil off! Doesn’t that look awesome? It looks like I just painted it on by hand doesn’t it?

12.) Now, depending on your style you might want to omit this next step, but I love a good distressed sign. I just lightly distressed my board on all of the edges and a little bit over the word.
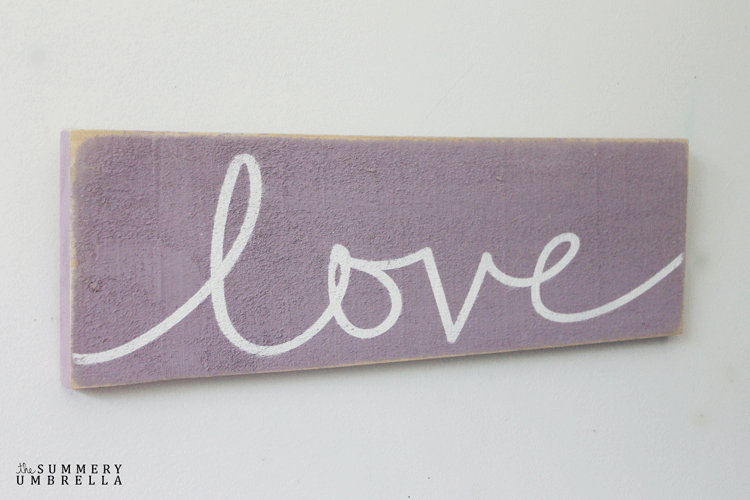
And that’s it! You have a beautiful, DIY reclaimed wood love sign that will look great in any room of your home. Gorgeous, right!?
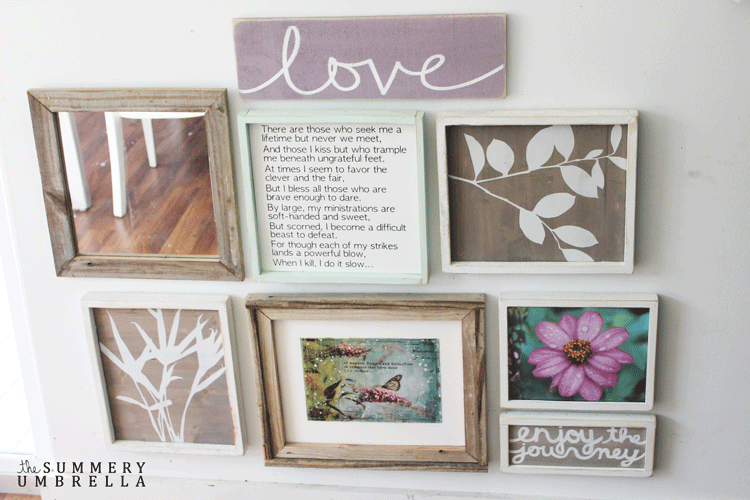
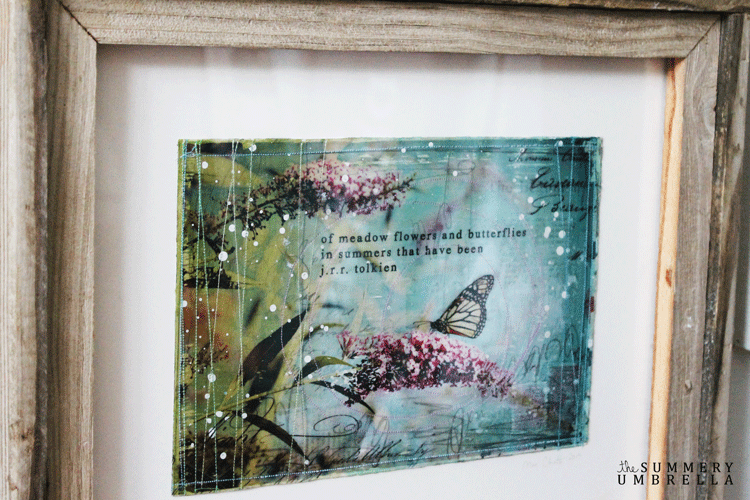
Since, my new studio isn’t done yet I just made an “make-shift” photo gallery of what I would like to use when I can finally put it up. I’ve decided to go with a Spring theme so I’m loving all of the light and bright colors that are streaming through all the frames.
On Instagram yesterday I declared that I am a self-proclaimed bookworm. Always have been, and probably always will be. Anybody else love a good read? I go through these spurts of reading a certain type of genre, but have always been obsessed with sci-fi and fantasy.
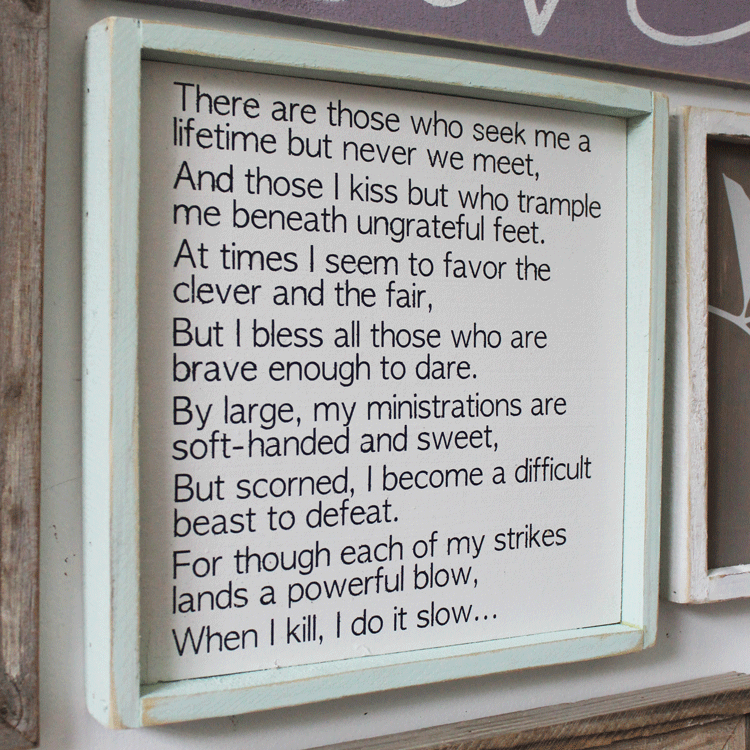
One of my favorite authors Sarah J. Maas has recently released her brand new series “A Court of Thorns and Roses“, and once again she has completely rocked it!
This particular quote (seen below) is actually a riddle from the book. I bet you can’t guess what it is! 😉
I can’t wait to hear what you guys think, and if you have any problems just let me know,
and I’ll do my very best to help fix them ASAP. Have a wonderful week 🙂


This is so cute! i love that subtle shade of purple. AND I love the tutorial on how to use the stencil/stencil-maker, since my handwriting needs some work. Thanks for sharing your secrets! 😉
Thank you, Lauren! It was a little scary at first, but so happy that I did! I hope you enjoy it 🙂
Hi Liz, wowsers you know I purchased a Cricut earlier this year and I have not played with it yet…The manual scares me I need for you to come show me how to use it…lol….Pinning this!!!! THanks so much for the inspiration.
Christine from Little Brags
It can be a little daunting at first, but you got this! Thankfully it is super user-friendly so that’s a major plus in my book 🙂 Hopefully I can do more in depth tutorials soon to help you out!
That Orchid paint is so pretty! And I can’t believe it, bu t I have never thought to use spray paint on a stencil! I am all over that idea now!
Thank you so much for sharing at Soe thing to Talk About!
Karen
Hi Karen and thank you! Spray paint is definitely the way to go! It makes my life a hundred times easier 😉
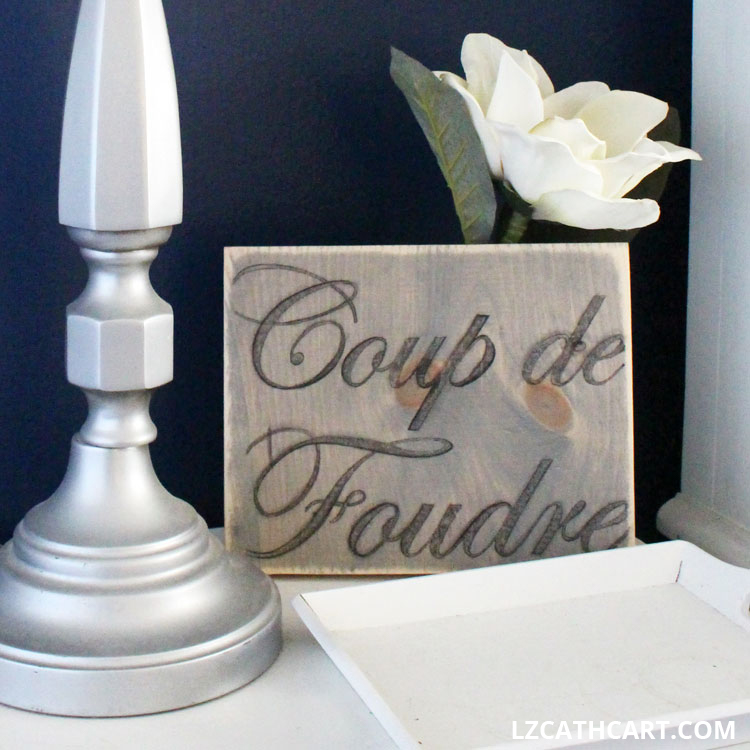
Love reclaimed wood projects ~ this is awesome! I also love your other botanical signs shown here.
Thank you for sharing this week at Brag About It link party on VMG206 (Mondays at Midnight).
~ Megin of VMG206
Thank you so much, Megin!! I’m such a sucker for botanicals of any sort 😉
Gorgeous! I love all your pieces. You are so talented!!
Thank you, Chrissa! I just adore making these little cuties 🙂
Wow, I am really loving that purple! It’s such a pretty shade! I’m actually getting ready to do a stencil project too, so this post was perfect! I can’t wait to get started. I love how your sign turned out. :o)
That’s awesome! I will definitely have to stop by to see how gorgeous your turns out 🙂
This is so pretty! Love the colors and design. I didn’t know liquitex made spray paint – totally going to try that. Thanks for sharing your secrets with us! 🙂
No problem, Meredith! Every once in awhile it’s nice to let it all hang out. Lol. 😉
Love how you have used your hand writing and converted it into stencil. The “Love” sign looks perfect. Thank you for sharing with us @ #HomeMattersParty .We would love to have you again next week.
Hi Sahana and thank you so much for stopping by 🙂 Can’t wait to see you next week!
So cute! Thanks so much for sharing at The Living With Style Linky Party! Have a great day.
Hugs, Lory
http://www.therobinsnestdesigns.com
Hi Lory and thank you!! 🙂
Your sign is adorable, and I so appreciate all your tips on stenciling! I finally allowed myself to buy a silhouette, and I am just starting to experiment with creating my own stencils.
Thank you, Jenny! It does take a little getting used to, but once you got the hang of it… the possibilities are endless 🙂