How To Create a Reclaimed Wood Sign Using Your Own Handwriting
Learn how to create a reclaimed wood sign using your own handwriting in a few simple steps. It’s so easy you are going to be AMAZED!!

I’m not sure about you, but I’ve always, always, always have had a hard time revealing my inner most thoughts, feelings and basically anything that was near and dear to my heart.
Why? Well, for starters, it’s scary. No one wants to hear someone laugh in their face, or roll their eyes when they hear your “big idea”.
But you know what? You’re never going to be able to please everyone, and that’s ok. This is a realization that I have recently accepted, and one of the main reasons that I have decided to push forward and share what I have learned over the years through my business and shop.
My plan is to start off this series exactly how I started sign making for my shop, and then work my way through a collection posts on how I got to where I am today.
There are so many different ways to make a sign so without further ado, let’s get started!
How To Create a Reclaimed Wood Sign Using Your Own Handwriting
First, grab a piece of reclaimed wood. I have found that my favorite size to work with is 18.5″L x 5.5″H. One of the best things about reclaimed wood is that it can be found or used from a wide variety of items. Feeling stumped? Here are a few ideas to get you started on what to look for:
- old fence panel
- barn wood
- pallet wood
- a torn down clubhouse
- vintage boxes
- the wood from your deck
- railings

You by no means need to use the same dimensions that I have for my signs, but for the purposes of this post I’m going to explain from this standpoint just to make it easier to understand.

When using your own handwriting for a sign it is essential to practice a few times on a piece of paper before getting the paint out. ESPECIALLY if you plan on using the natural wood as a background.
Why? Because removing a mistake with a natural background is much harder than when your wood is painted. For instance, if this sign was painted white and I made a mistake all I would have to do is repaint that mistake in with white. It’s a little more complicated to fix a mistake on natural wood since you have to scrub off the mistake, and then hope you didn’t make a horrible patch on the wood. Then, if you have made a horrible patch it’s going to be hard to find or create a paint color to match.
Needless to say, practice!
So, what I do is measure out on a piece of kraft paper the dimensions of my sign. Sometimes I find that you’ll need to make a halfway point (or a “resting point”) as well to help see where your letters need to line up.

You don’t have to use both a pencil and a marker like I did below. I just wanted to make sure you could see my “practiced” handwriting. One of the biggest reasons that you’ll need to practice your handwriting before you start painting is to ensure that all your letters line up.
I can’t tell you how many times I’ll forget about letters like “p”, “q”, “g”, etc, and line up my initial word incorrectly because I won’t have enough room to fit the full letter into the space. The same will go for letters like “d”, “b” and “k” as well.

Don’t worry about making mistakes on your paper. This is where you are learning where the best placement is going to be. Worse case scenario, turn your paper over and try another method.

Once you feel comfortable with how your practice paper looks go ahead and grab a paintbrush and paint. I’m sure you’re wondering what kind of paint to use, right?
I actually started using acrylic paint (because I didn’t know any better!), and while it will work (not for long periods of time though) I wouldn’t suggest this method. Especially if you will be using your sign outdoors. Since I have no idea the mass majority of the time if my customers will be using their sign indoors or outdoors I always use exterior latex paint in satin. I don’t have a preference for a brand (I’ve tried them all!) so this is up to you. If you plan on using your sign indoors an indoor paint will be fine too.
Next I’m sure you’re wondering what paintbrush to use. Honestly, the cheaper the better! When using latex paint the artificial brushes work better. For some reason the natural hair brushes encourage the paint to dry quicker, and it leaves you with a matted mess in your brush. Definitely no bueno!
So, some of my favorite brushes are the variety packs that you can pick up from Walmart or Michaels. Determining what brush size you would like to use will ultimately depend on how thick or thin you would like your letters to look. I would try something thinner at first, and then move to the next size if you would like something different. It’s always easier to add rather than take away!
With this next step I like to paint a “sketchy” outline of my word on my sign. This way if I make a mistake (since it’s on a natural background) it’ll be easier to fix rather than when it is completely painted in.

Now, the fun part! Go ahead and paint in your beautiful word or phrase.

I don’t know about you, but I’m a complete perfectionist! Sometimes I have found that if I have trouble with a certain curve in a letter or a knot in the wood if I turn my sign upside down it’ll give me a different perspective, and it’ll allow me to accomplish my troublesome area.

Since I buy all of my paint by the gallon (or more!) I’ve put a sample of each in spice jar containers (see this post where I created this time saver) to help with constantly dipping my paintbrush.


Originally when I started drawing out this sign I thought I would like it to say “be inspired”. So, when I started sketching it out on my sign I soon realized it wasn’t exactly what I was going for.
Remember how I was saying how hard it is to fix a mistake on natural wood? Well, here are a few tips on how to fix it with the least amount of damage:
- Identify the mistake as quickly as possible–hopefully before the paint dries
- Have a spray bottle of water nearby and lightly soak the area were the mistake is
- With a few cotton swaps (aka. Q-tips) gently scrub the paint off (only the paint!)
- Gently is the key here!
- Let the area air dry.
After it air dries and it looks a little horrid there is one other method you can try. Mix up a little bit of paint that is comparable to your wood. You won’t need a lot so just put together a small batch. Then, water it down. Not just a little bit, a lot bit! Then, dab a little bit in the area that there is the mistake, and gently dab at it with a paper towel. This particular method takes a lot of practice to get right! I’ve been using it for years, and sometimes it just doesn’t work. However, it doesn’t hurt to try.
Like I’ve said before, don’t be afraid to make mistakes! We all make them, and this is how we learn.

Woo hoo! It’s all done! Now, take a step back and admire your work 🙂
This sign couldn’t have been a better fit for my studio. I have it displayed right above my reclaimed window inspiration board that I created a few weeks ago, and it is such a great addition for my space!


Thanks for joining me today, and I would love to
see your signs when you create some of your own!
Follow me on:
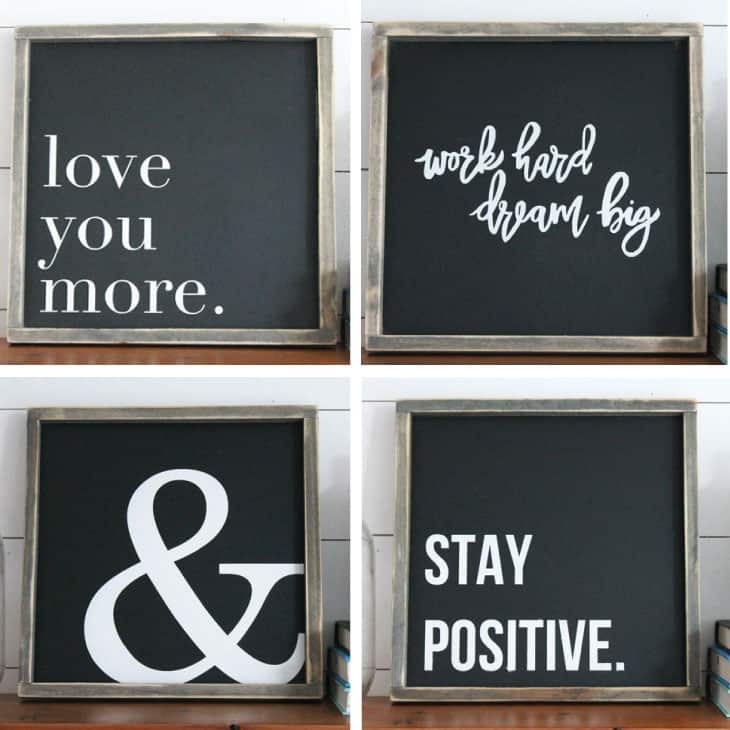
Need more sign inspiration? No problem! Check these out:


Lovely idea 🙂 nice tutorial too
Sarah @ EDEA Smith
http://www.edea-smith.co.uk
Hi Sarah! Thanks for the compliment and stopping by 🙂
I love your site. i have always wanted to do “old” signs. I have a ministry that has a community craft shop in my SOS Ministry so I can make extra money to help our neighborhood. who are a lot of unemployed or on disability or retired. Any thing I can make will be just clear profit to ad to our help pot. Thanks again . Oh do you have a dvd on the process?
Hi Tina, and thank you so much! At the moment I do not, but I’m in the “works” of creating a few more tutorials. Definitely stop by soon 🙂