• Disclosure & Privacy Policy
  • Shop Policies
  • Login

LZ Cathcart

Delightful designs and illustrations.

  • About
  • Blog
    • Crafts
    • Decor
    • Holidays
    • Living
    • SVG Files
  • Learn
  • Shop
    • Apparel
    • Art Prints
    • Freebies
    • Mugs
    • Phone Cases
    • Pillows
    • Stickers
    • Tote Bags
    • SVG Vector Art
  • Portfolio
  • Contact
  • 0 items

Decor

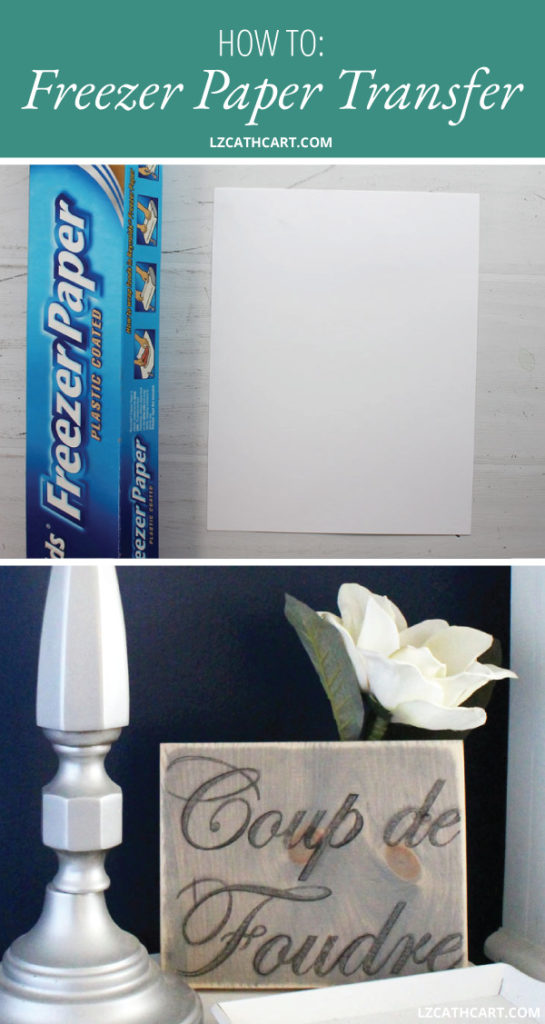
How to Use a Freezer Paper Transfer to Make a Wood Sign

This post may include affiliate links. If you purchase something through the link, I may receive a small commission at no extra charge to you. Please read my disclosure policy for more details.

Tweet
Pin51
51 Shares

You’ll be amazed at how easy this freezer paper transfer method is for creating beautiful wood signs! Learn how with this step-by-step and video tutorial.

You'll be amazed at how easy this freezer paper transfer method is for creating beautiful wood signs! Learn how with this step-by-step and video tutorial. #freezerpaper #freezerpaperstencil #freezerpapertransfer #imagetransfer #woodsign #diywoodsign #diyimagetransfer #diytransferpaper

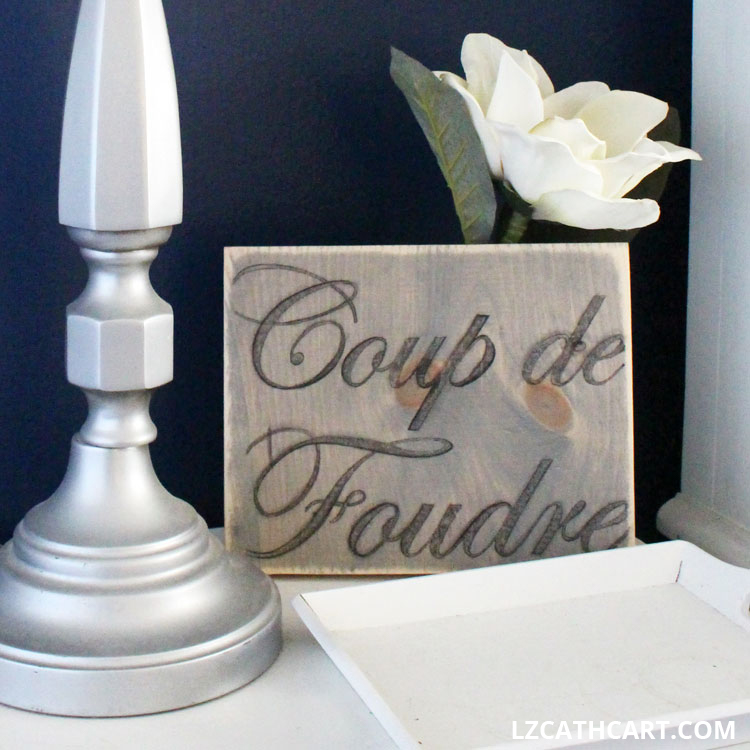
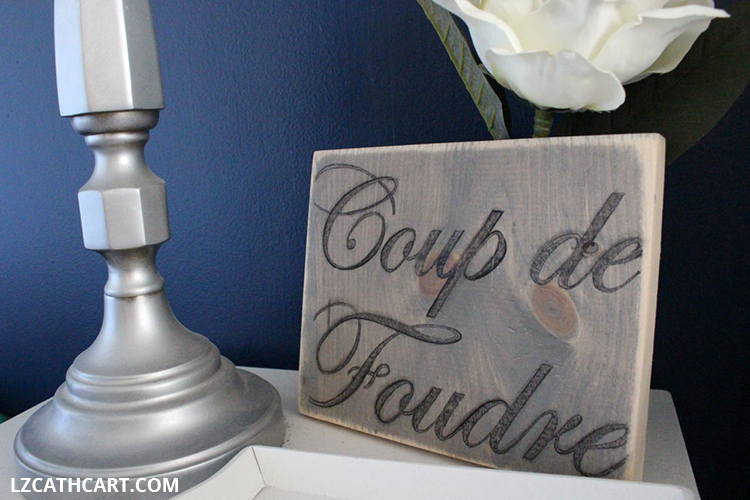
Coup de Foudre (is French for) = Love at First Sight

Have you found that a lot of your craft supplies are from products that have multiple uses? For instance, freezer paper. I’m not exactly known for big batching my family’s meals so freezer paper is a little out of my realm.

However, after I bought my first roll of it (many moons ago!) I haven’t been able to keep in out of my craft room.

Learn how to create GORGEOUS signs with
my FREE guide!

    We respect your privacy. Unsubscribe at anytime.

    It’s one of those supplies that is not only a great paper transfer method, but also works wonders as an easy clean-up “mat” for kids. Tape it down to the counter, and then just throw it out once they’re done. Amazinggg.

    With that being said, let’s get this transferring party started!

    diy paper transfer

    How to Use Freezer Paper to Make a Wood Sign

    Materials

    • Squeegee (a sturdy credit card will work great too)
    • Cutting Machine (Silhouette or Cricut — your choice!)
    • 1 – 1/2″ Cabinet Grade Plywood (cut to 8”x10”)
    • Wood Stain
    • Plastic Gloves
    • Rust-Oleum Matte Top Coat Spray Paint
    • Reynolds Freezer Paper
    • Card Stock
    • Glue Stick
    • InkJet Printer
    • Sander

    Steps

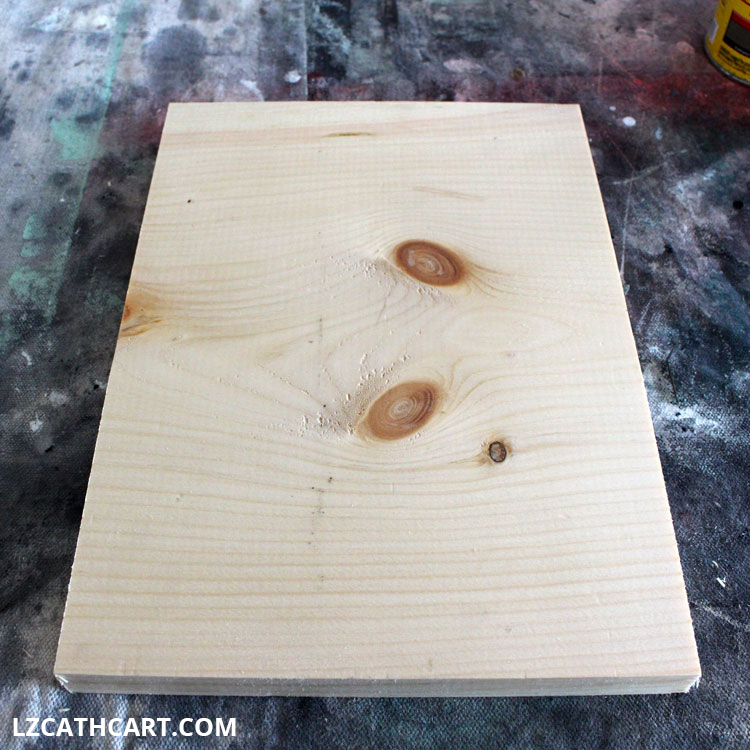
    1. Cut your 1/2″ Cabinet Grade Plywood to 8”x10”.

    freezer paper method

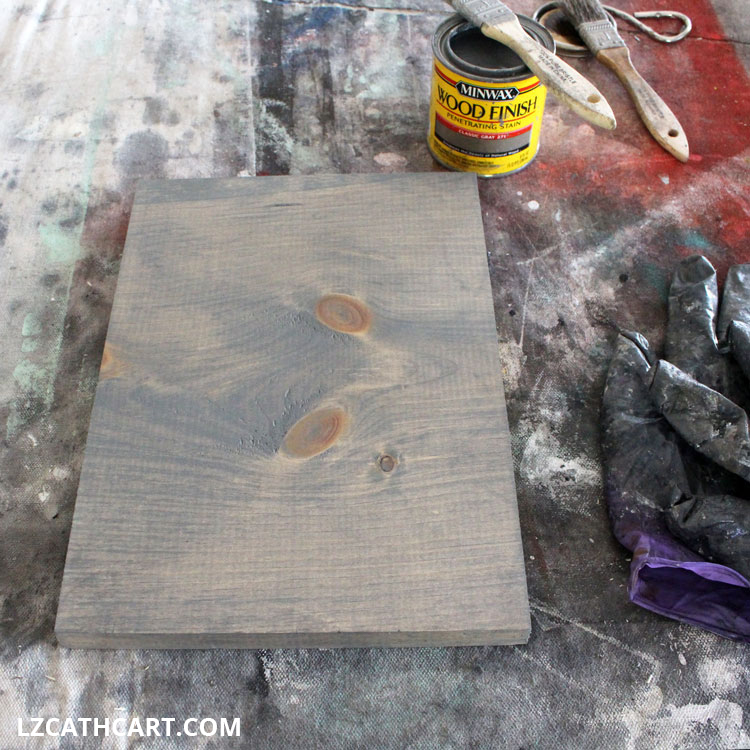
    2. Stain your board with your favorite stain. I highly recommend using plastic gloves while staining.

    NOTE: My sign board was stained using a combination of Minwax Classic Gray and Ebony colors.

    Minwax Classic Gray stain

    3. Next, download the template below.

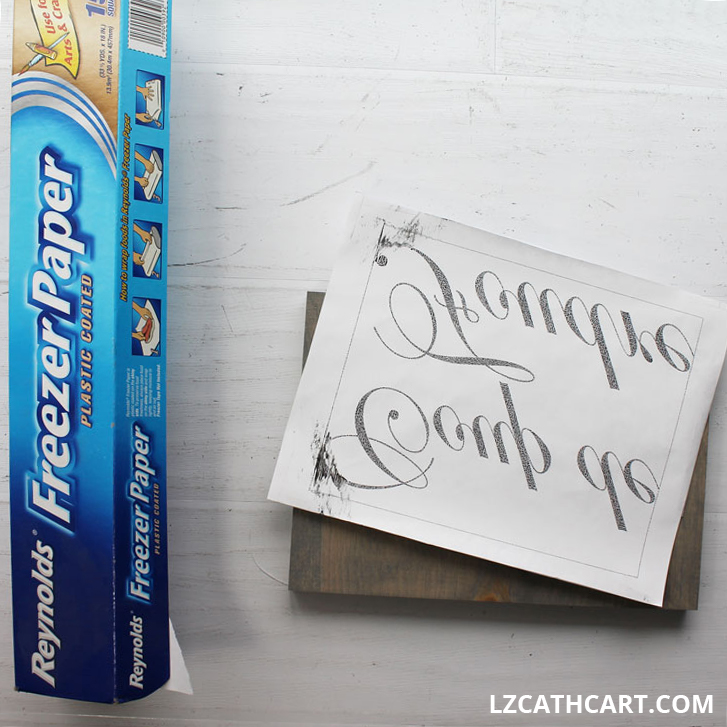
    4. Cut your freezer paper down to the size of a standard piece of printer paper (8.5” x 11”).

    5. Then, with your glue stick lightly add a layer to your card stock.

    TIP: Make sure you glue all of the edges to ensure your freezer paper will stick properly as well as feed into your printer.

    6. Apply your freezer paper to your cardstock with the waxy side up since you’ll be printing on this side. Carefully smooth down all corners and edges and tape anything that is not behaving.

    7. On your computer, flip the template design horizontally (or mirror the image) before you print it out.

    TIP: Also use the best or highest quality setting to print out your image.

    diy transfer paper

    How to Use Freezer Paper to Make a Wood Sign

    8. After your image has printed immediately and carefully flip your image onto your board.

    9. Using your squeegee firmly push down the design into your board going over it several times to ensure the ink has imprinted.

    10. Gently lift up your design and allow it to dry.

    At this point you can distress the image with sander if you like, or leave it as is. I thought mine came out too light so using a gel pen I gently outlined my letters.

    11. Last, add a light layer of your top coat spray paint for protection and let it dry.

    wood transfer method

    What did think? It’s definitely a veryyy different method than my typical wood sign tutorials, but still just as fun!

    If you loved this project then you’ll definitely want to browse some of my other Wood Signs that are full of step-by-step tutorials as well as freebies galore! Can’t wait to see you again, and Happy Crafting! – LZ

    Pssttt… don’t forget to download the file before you go!

    Let’s be Social

    • Instagram @thesummeryumbrella
    • Pinterest summeryumbrella 
    • DIY Flowers Quote Wood Sign
    • we still do svg
      We Still Do Wood Sign
    • funny laundry room sign
      DIY Laundry Sign
    • How to Paint Your Metal Front Door
    • how to paint metal bar stools
      How to Paint and Distress Metal Bar Stools
    • How to Create a Pretty and Functional Chicken Coop
    • Easy Hand Lettered DIY Wood Sign
    • diy mason jar pendant light
      DIY Mason Jar Pendant Light
    • DIY Nightstand

    This post was originally created in May 2020 and then updated in September 2020.


    2 Comments

    About LZ Cathcart

    LZ is an artist who loves creating illustrations, custom hand lettering and patterns for gifts, home decor, fabric, and wallpaper. She is also the creative mind behind The Summery Umbrella where she shows you how to make handmade signs, various DIY projects and gorgeous home decor.

    When she’s not dreaming up new projects and designs you can typically find her drinking her fair share of coffee, hanging out with her super handy husband and her sweet and sassy daughter. They all have a hard time sitting sit so this family is constantly on the go!

    Don’t Miss Out!

    Learn how to create GORGEOUS signs with my FREE guide. It's the perfect source for getting started and moving forward!

    « How to Make Rustic DIY Reclaimed Wood Pumpkins
    How to Make a DIY Wire Mesh Basket »

    Comments

    1. [email protected] says

      May 16, 2020 at 8:44 am

      Sharing on the weekend edit at Everyday Edits dot co.
      I want to try this. Fingers crossed. I need to reread the print instructions.

      Happy Day! Laura in Colorado

      Reply
      • LZ Cathcart says

        May 16, 2020 at 1:01 pm

        Thank you so much, Laura! It’s definitely a fun project, and I just know you’ll enjoy it 🙂

        Reply

    Leave a Reply Cancel reply

    Your email address will not be published. Required fields are marked *

    Recipe Rating


    This site uses Akismet to reduce spam. Learn how your comment data is processed.

    Hi! I'm LZ, and welcome to my humble abode! Don't be shy. Come on in! This is my happy place where I share my life, creativity as well as my quirky and country sense of humor on a daily basis. So, grab yourself a tall glass of something yummy, and let me introduce you to my realm. :)

    I want to find…

    Post Categories

    Featured On

    Let’s be social

    Last, but certainly not least, this final piece of Last, but certainly not least, this final piece of the "Kate the Spunky Sheltie" collection is my favorite look of all... "What?"
    We've had several ducklings over the years, but th We've had several ducklings over the years, but this is the first year for Miss Kate. She wasn't so sure how to act, but the ducklings were convinced that she was their new mama and followed her all around the yard wherever she went. In fact, they still do it to this day!
    Believe it or not, Katie is a water-loving dog! Ev Believe it or not, Katie is a water-loving dog! Ever since she was a puppy she's loved to swim in the pool, river, and even on a surfboard. She's not the only one looking forward to warmer weather in our household!
    I just love when Katie stares out the window. Some I just love when Katie stares out the window. Sometimes it's the window in my room (where she watches for squirrels) while other days she stares out the front window (where she also watches for squirrels as well as stalks our active neighbors on their morning walks). Don't worry. She always sees everythinggggg... even if I don't! 😂
    A few weeks ago I caught Katie all cuddled up on t A few weeks ago I caught Katie all cuddled up on the couch as she kept bobbing her head up and down while trying to stay up for just a few more minutes. So sleepy, but still convinced she needed to stay vigilant.
    This is totally a posed photo. I wish it was all K This is totally a posed photo. I wish it was all Katie, but nope, I definitely had to bribe her with a favorite treat to pose oh-so-sweetly!
    Follow on Instagram

    Copyright © 2021 · LZ Cathcart of The Summery Umbrella, LLC

    Log in