19 Stunning DIY Spring Centerpieces You Don’t Want to Miss!
Find the perfect spring centerpieces to brighten up your home. Explore this collection of 19 stunning designs to make your table pop!
Elevate Your Décor: Stunning Centerpieces
One of the easiest ways to welcome spring into your home is to create a stunning centerpiece in the vibrant colors of spring.
Whether you’re hosting a brunch, a family dinner, or just looking to add a touch of springtime charm to your home, creating your own centerpieces can be a fun and rewarding project.
In this blog post, we’ll look at some creative ideas with easy-to-follow tips to help you craft the perfect centerpiece that captures the essence of spring.
So take a look around and get inspired by these stunning DIY spring centerpieces!
19 Stunning DIY Spring Centerpieces You Don't Want to Miss!
From vibrant flowers to fresh greenery, we have the perfect spring centerpiece options for you.
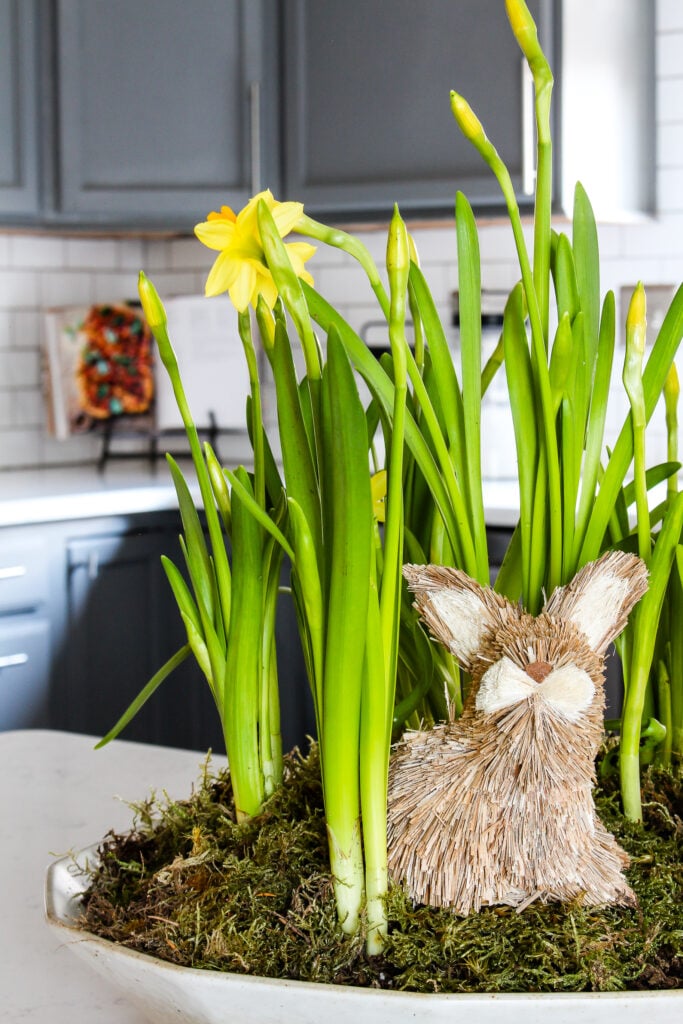
Laura from Inspiration for Moms shares an adorable Spring centerpiece made with fresh daffodils and a sweet little bunny.
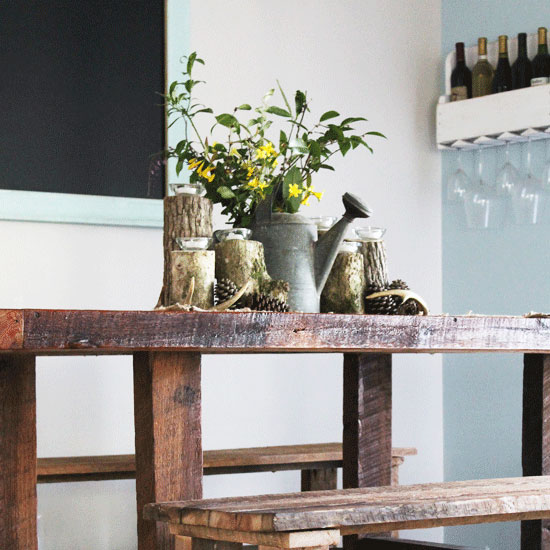
Add a bit of rustic charm to your spring decor with a unique vintage inspired table centerpiece idea.
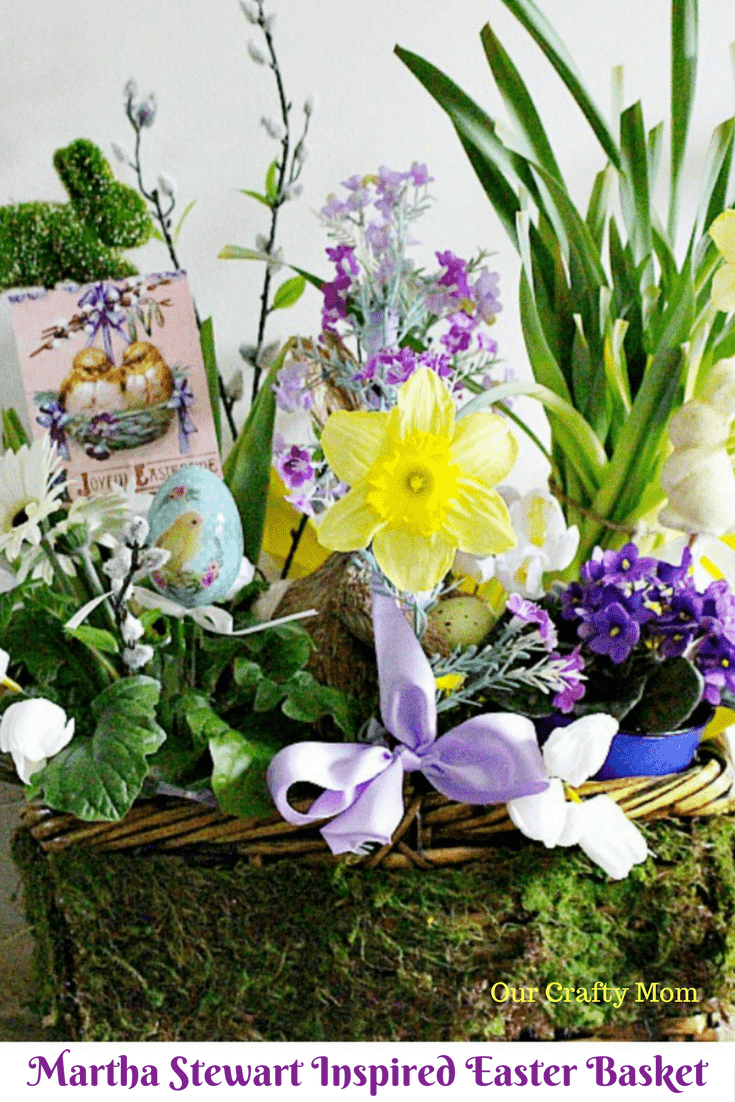
Learn how to make a gorgeous spring basket perfect for a hostess gift, or to decorate your spring and Easter tablescape. It includes a mix of fresh and faux flowers.
Yvonne from Stone Gable shares her tips for creating a lovely spring centerpiece DIY in just 20 minutes!
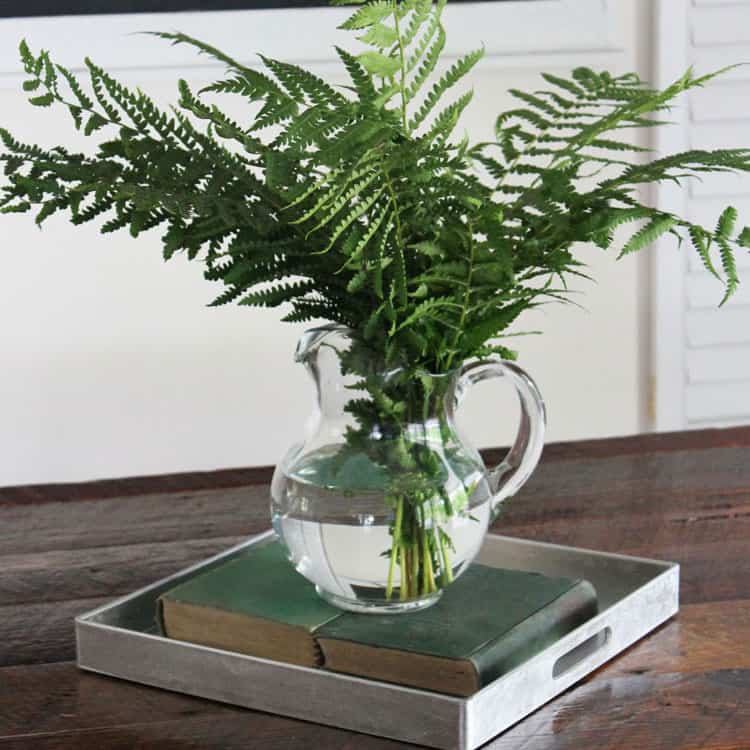
We love to bring the outdoors in for spring. A few clipped ferns in a glass pitcher make a great presentation.
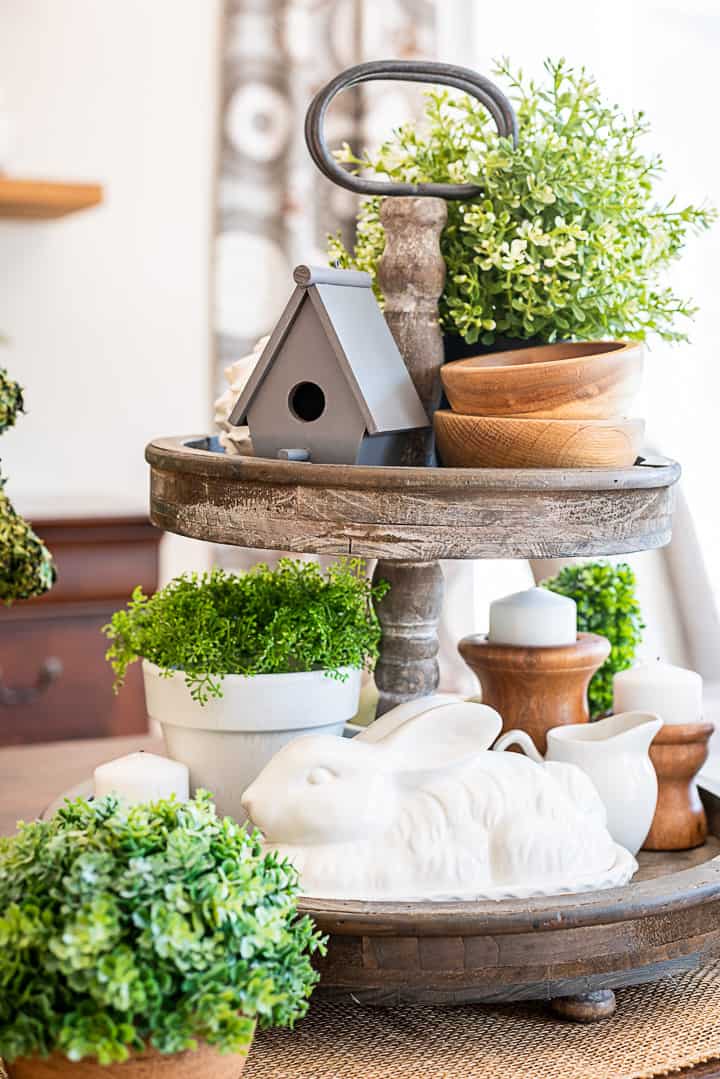
A tiered tray centerpiece with A nod toward Easter is a creative way to decorate your table or island.

Turn an inexpensive basket into a beautiful centerpiece with a few simple steps.
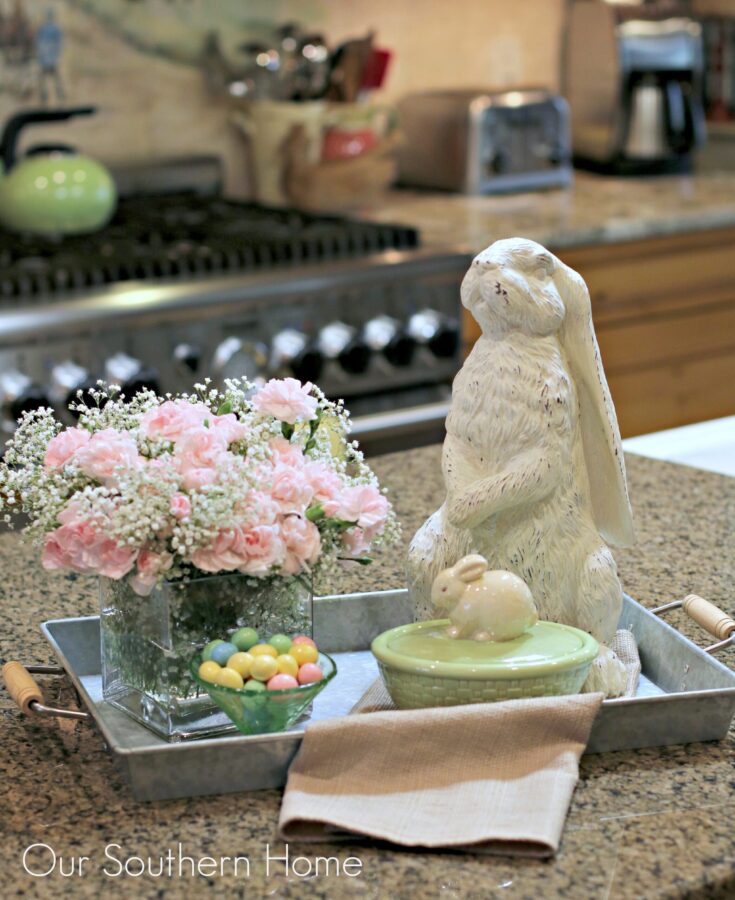
Decorating with trays for any season is always a good idea. Add a bunny and pretty pink flowers for an easy spring centerpiece.
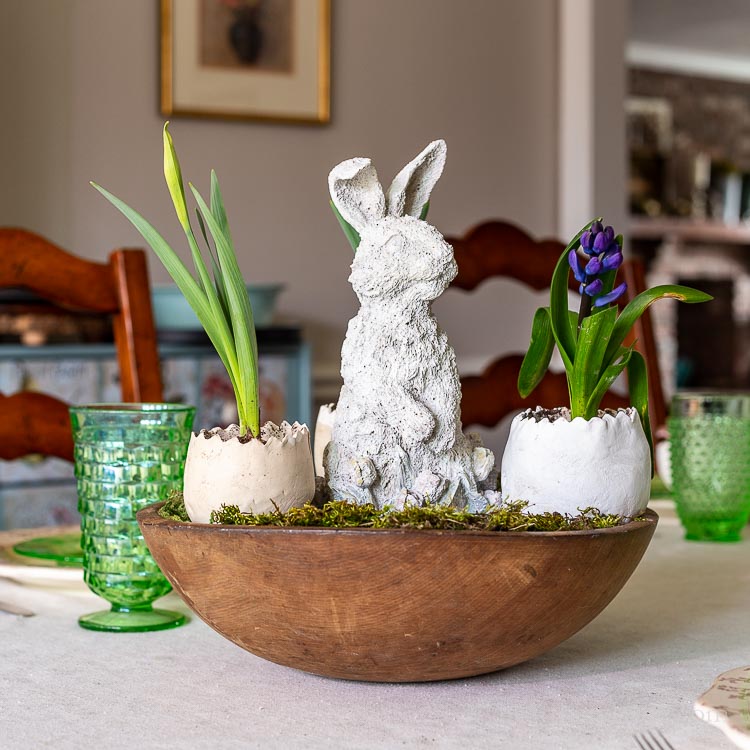
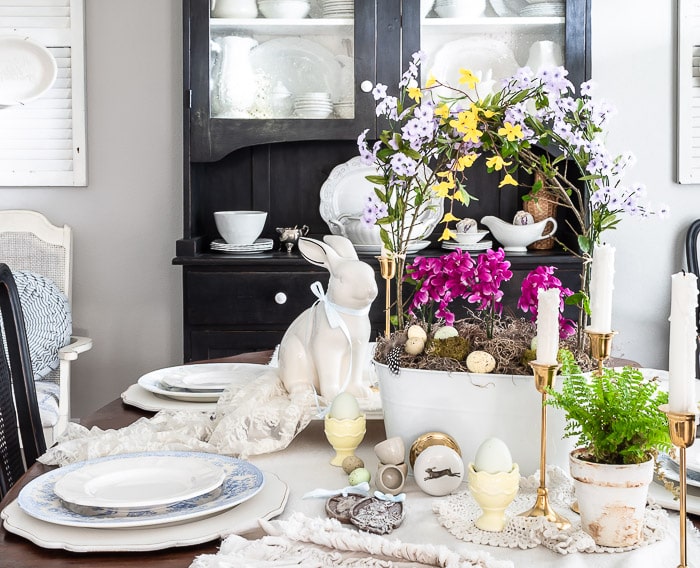
Moss and flowers added to a dough bowl look just gorgeous along with a bunny filled with texture. This is a great idea for neutral or farmhouse decor.
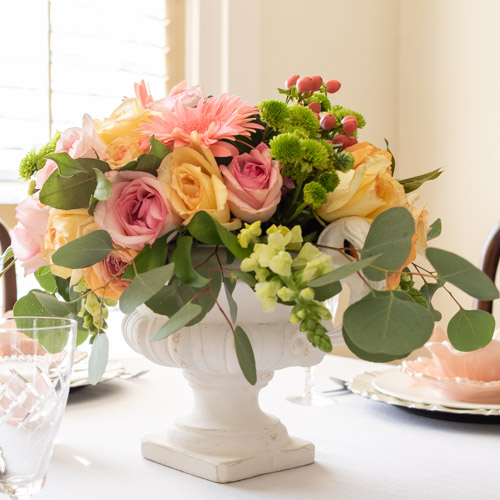
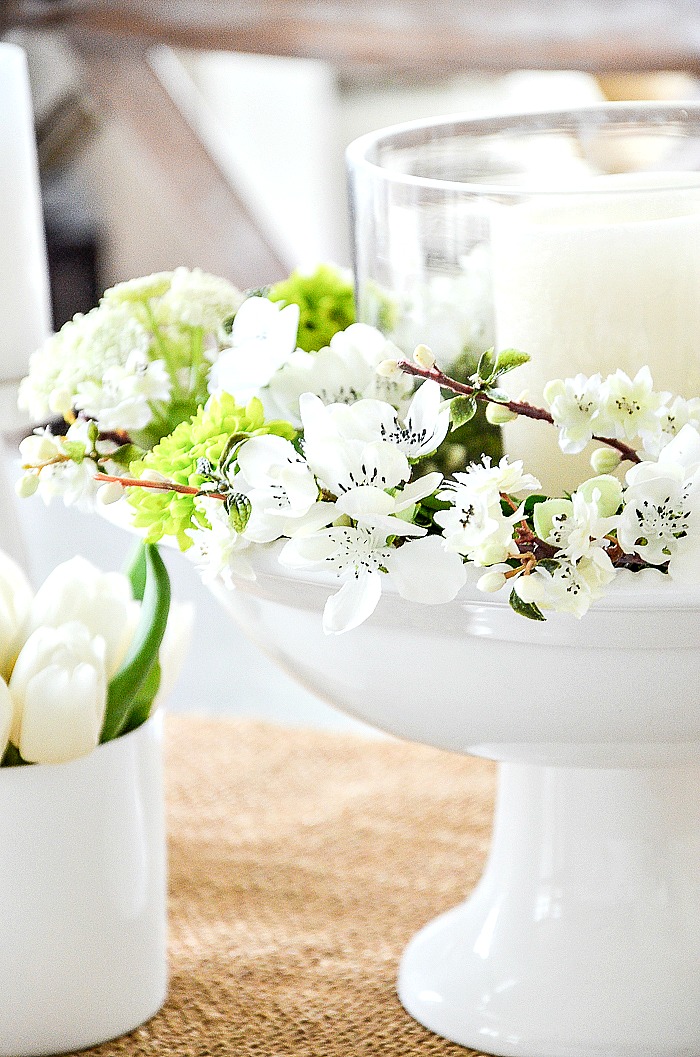
Follow this step-by-step tutorial on how to make an absolutely stunning table centerpiece for spring using fresh flowers.

You can't go wrong with terracotta pots for a bit of spring home decor. Add a large rustic pitcher filled with colorful tulips or other spring blooms for a quick and easy centerpiece.
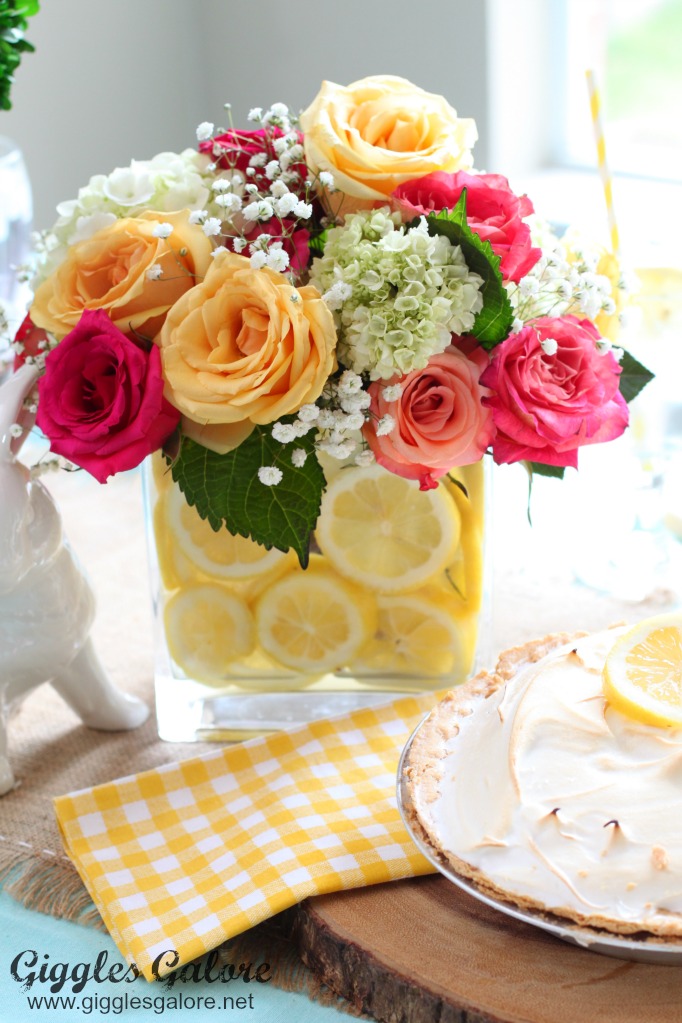
Lemons not only keep fresh flowers alive longer, but they also look so fresh and bright in a clear glass vase. Get all the details to make your own.
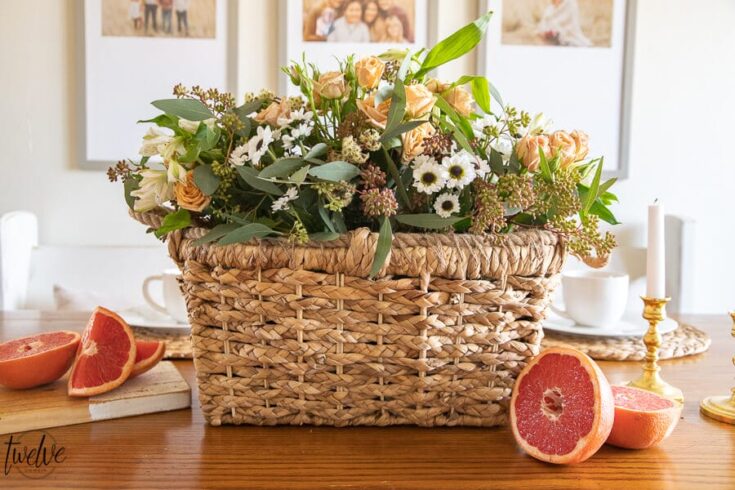
Baskets in different sizes are perfect to upcycle into a centerpiece for any season. This sweet idea uses spring plants and flowers in different shades.
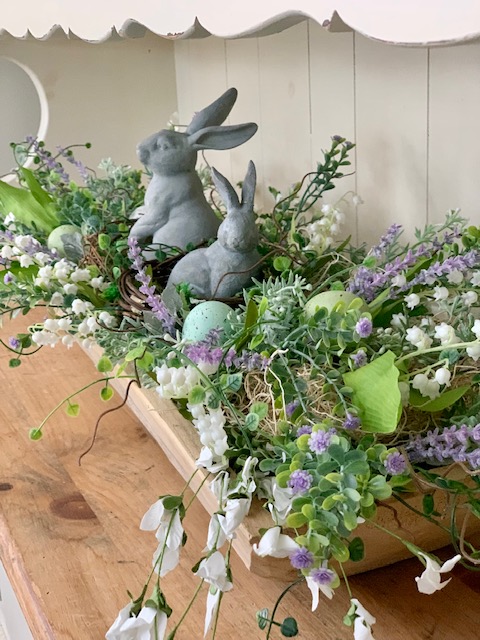
Get ready to make a statement with an oversized dough bowl filled with bunnies, Easter eggs and spring flowers for that wow factor.
Follow these simple four steps to make your own centerpiece for spring. Great for a tablescape, buffet table or center island.
Cindy from DIY Beautify shows us how she made a unique and fun centerpiece for her spring tablescape. Don't you just love the "handle" she created with stems?
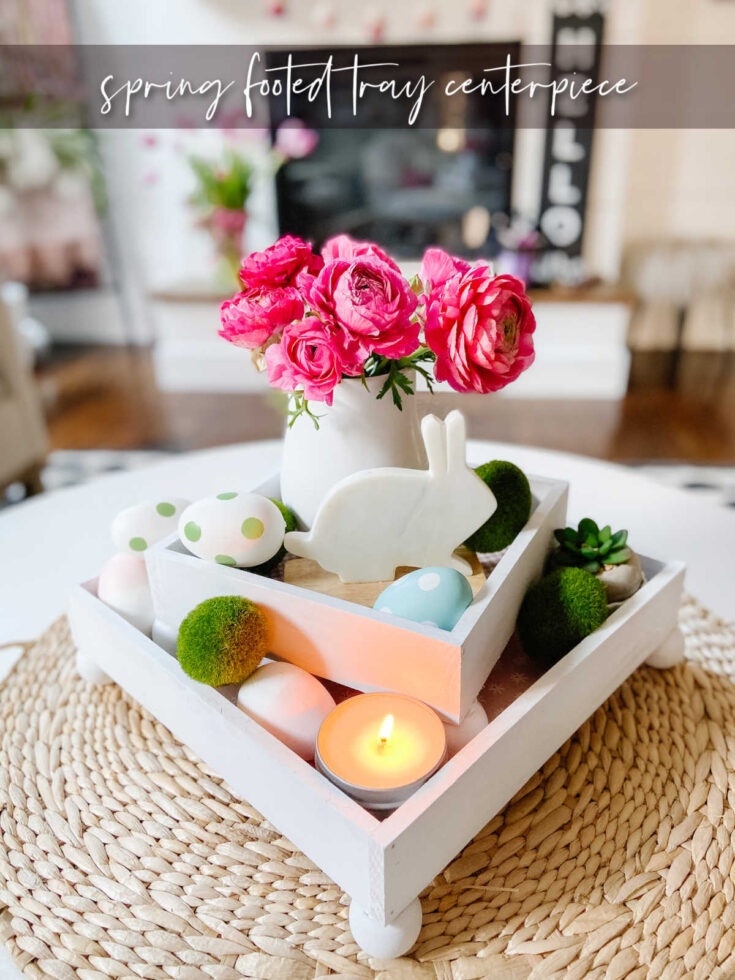
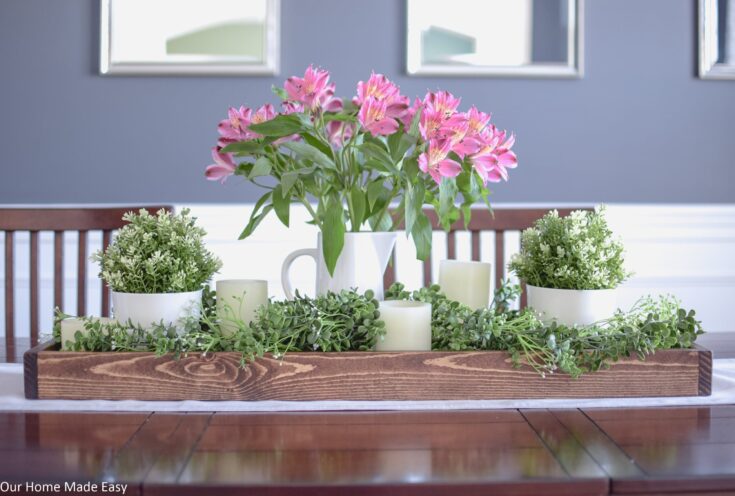
A quick and easy DIY is to use a footed stacking tray to make a layered centerpiece. This can be switched out for each season or holiday.
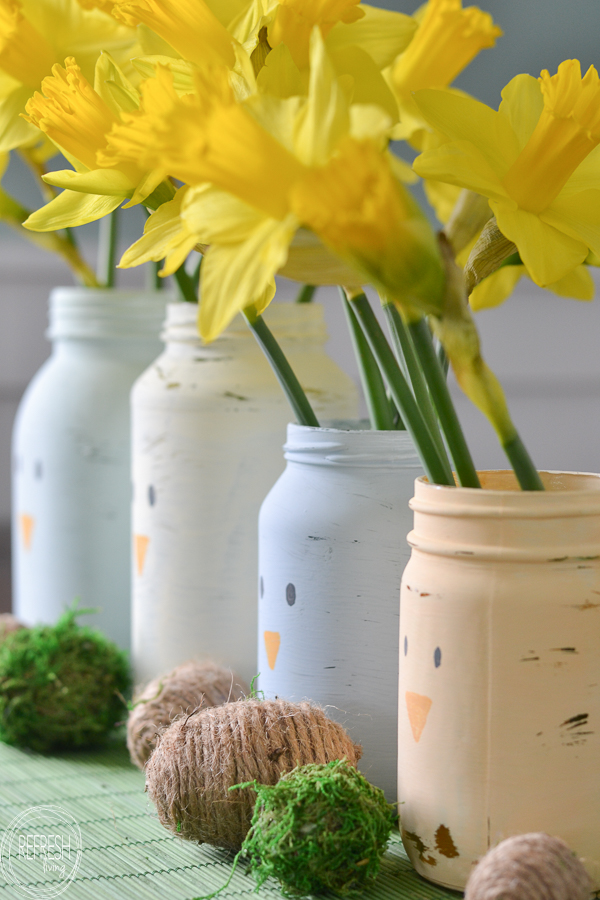
Mason jars are a classic choice for home decorating, especially when they are painted and decorated with seasonal decor. They can be used year after year.
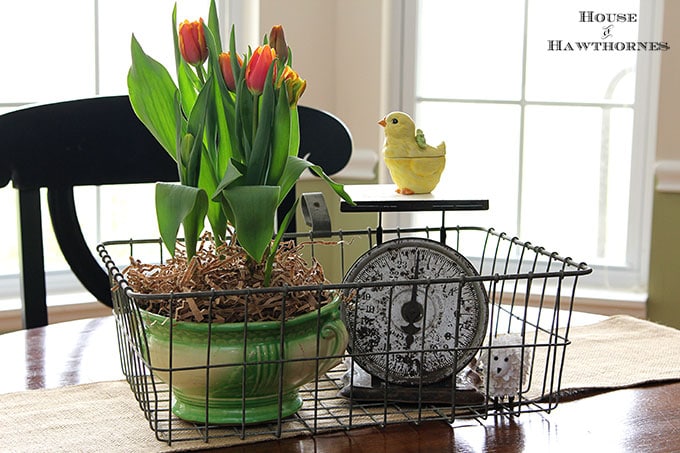
If you are looking for a unique centerpiece idea, try using rustic elements like wire baskets, vintage scales and other thrift store finds.
Creating DIY spring centerpieces is a delightful way to infuse your home with the fresh and vibrant spirit of the season. These centerpieces not only add a touch of natural beauty to your space but also allow you to unleash your creativity.
Here’s a simple guide to help you craft stunning spring centerpieces:
- Gather Your Materials: Start by collecting a variety of materials such as vases, mason jars, or baskets as your base. You’ll also need fresh spring flowers, greenery, floral foam, scissors, and any decorative elements like ribbons or beads.
- Choose Your Theme: Decide on the theme or color scheme for your centerpiece. Spring offers a plethora of options, from pastel hues to vibrant blooms. Consider incorporating seasonal elements like Easter eggs, butterflies, or bird nests for added charm.
- Prepare Your Base: If you’re using a vase or container, fill it with water. For arrangements in foam, soak the foam in water until it’s fully saturated, then place it securely in your chosen vessel.
- Arrange Your Flowers: Trim the stems of your flowers at an angle to ensure they can absorb water efficiently. Begin arranging the larger blooms in the center and work your way outward, adding smaller flowers and greenery to fill any gaps. Aim for a balanced and visually appealing composition.
- Add Texture and Depth: Incorporate different textures and heights to create visual interest. Mix in branches, berries, or foliage to add depth to your arrangement. Don’t be afraid to experiment with varying shapes and sizes.
- Finishing Touches: Once you’re satisfied with your arrangement, add any finishing touches such as ribbons, bows, or decorative accents to complement your theme.
- Display with Style: Place your DIY masterpiece in a prominent location such as your dining table, mantelpiece, or entryway to showcase its beauty. Consider grouping multiple centerpieces together for a cohesive look throughout your home.
Celebrate Spring in Style: Display Your DIY Centerpieces with Panache!
Creating DIY spring centerpieces is a fun and rewarding way to celebrate the season’s beauty while adding a personal touch to your decor. Let your imagination blossom and enjoy the process of bringing the essence of spring indoors.
Here are even more spring decorating ideas to get you started!
- Spring Porch Decor
- Refresh Your Home for Spring
- DIY Spring Wreath
- Spring Gardening for Beginners
- Spring Decor from Dollar Store
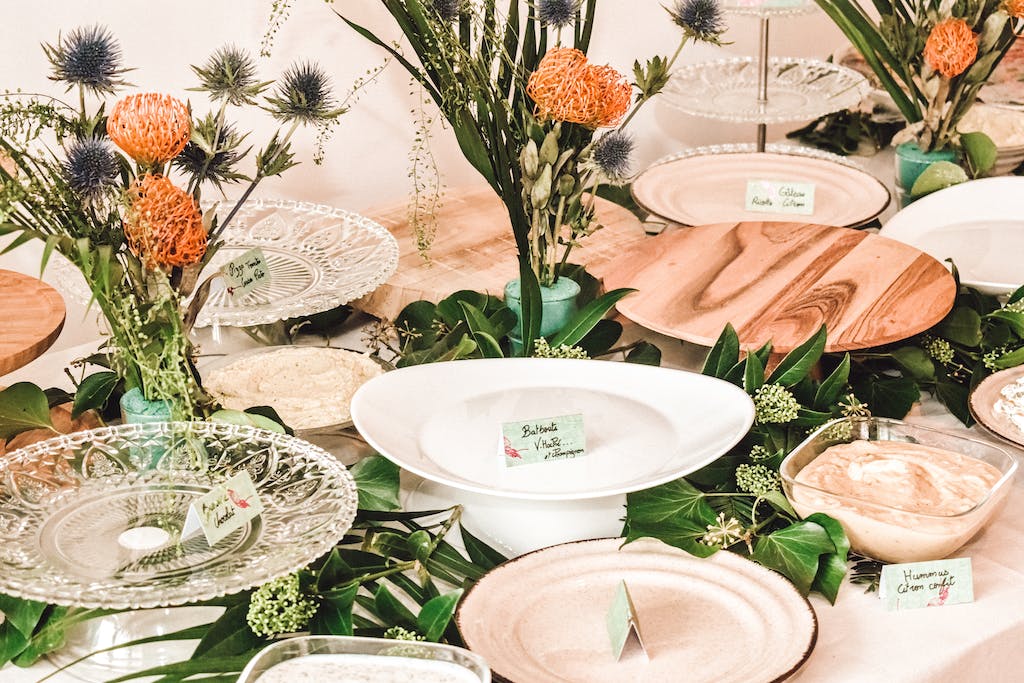
- 12 Cake Stand Ideas You Can’t Miss!
So what do you think? Are you inspired to make your own spring centerpiece after seeing all of these beauties? Be sure to pin them so you have them to refer back to.
Happy Spring!