Step-by-Step Procreate Lettering Tutorial: Learn How to Create Beautiful Designs
Want to learn how to use a clipping mask AND create a gorgeous quote using Procreate lettering techniques? In today’s tutorial, you’ll be able to do all of that plus it includes a metallic background for free!
Short on time? Pin it for later!
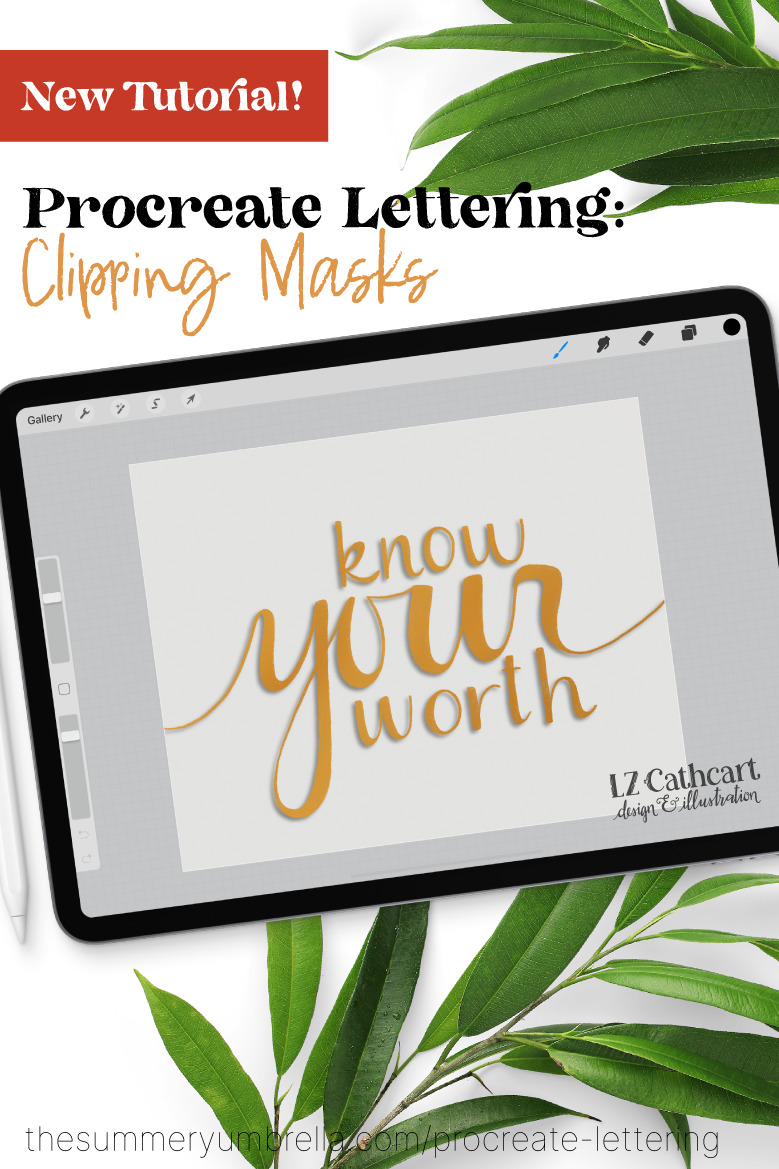
Procreate Lettering: How to Use a Clipping Mask
In this tutorial, I’ll be using one of my favorite brushes and a customized metallic background (created by yours truly) that is just for… you! All links, hardware, and a written tutorial can be found below the video.
This post may contain affiliate links. Please see our full disclosure policy for details.
Mentioned and/or used in this video
- Metallic Background (free)
- 6B Pencil Brush (Procreate brush)
- iPad Pro (3rd generation, 11″, 256GB)
- Apple Pencil (2nd generation)
- Paperfeel/Matte Glass Screen Protector
- iPad Case
How to Use a Clipping Mask: Written Tutorial
- Open your Procreate app, create a new canvas, and turn on your Drawing Grid.
- Start by sketching out your quote with the 6B Pencil Brush.
- Turn down the opacity on your quote sketch.
- Create another layer and draw out a cleaner version of your quote.
- Delete your quote sketch layer.
- Download the free Metallic Background at the link above and save to your photo album on your iPad.
- Using the Actions menu (wrench icon) click on the Add icon, click on Insert a photo, and select the Metallic Background from your photo album.
- Open your Layers panel and you’ll see the Metallic Beckground on its own layer. Tap on that layer and click on the Clipping Mask Option.
- Next, in the Layers panel swipe left on your completed quote and select duplicate.
- Click on the Transform button (arrow icon) and move your duplicate layer down and to the left to create a shadow.
- In the Adjustments menu (wand-like icon) click on Gaussian Blur. Using slide your pencil from the left to right on the screen until you see the percentage between 6-8%.
- Last, turn down the opacity on this layer to complete the shadow effect.
- All done!
Want access to all of my freebies? Sign up for access to my resource library below.
Procreate Lettering: How to Use a Clipping Mask
Did you enjoy this post? If so, please make sure to check out a few of my other art tutorials! Can’t wait to see you again!

Like this post? Check out my other tutorials!
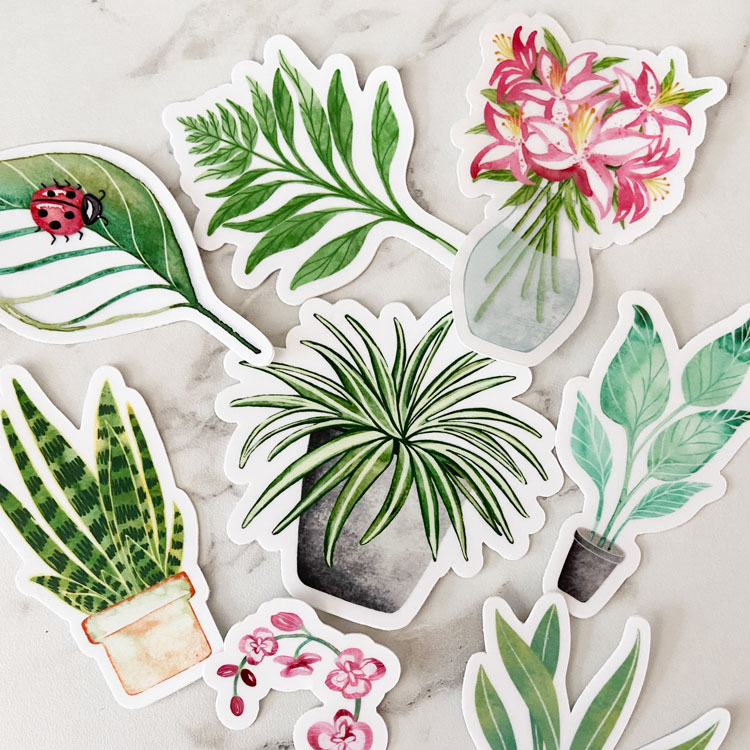
- How to Draw: Botanical Illustrations in Procreate
- Drawing Practice: A 4-Day Challenge for the Anxious Creative
- Marker Mania: Why Art Markers are a Must-Have for Artists
- Instagram @thesummeryumbrella
- Pinterest summeryumbrella