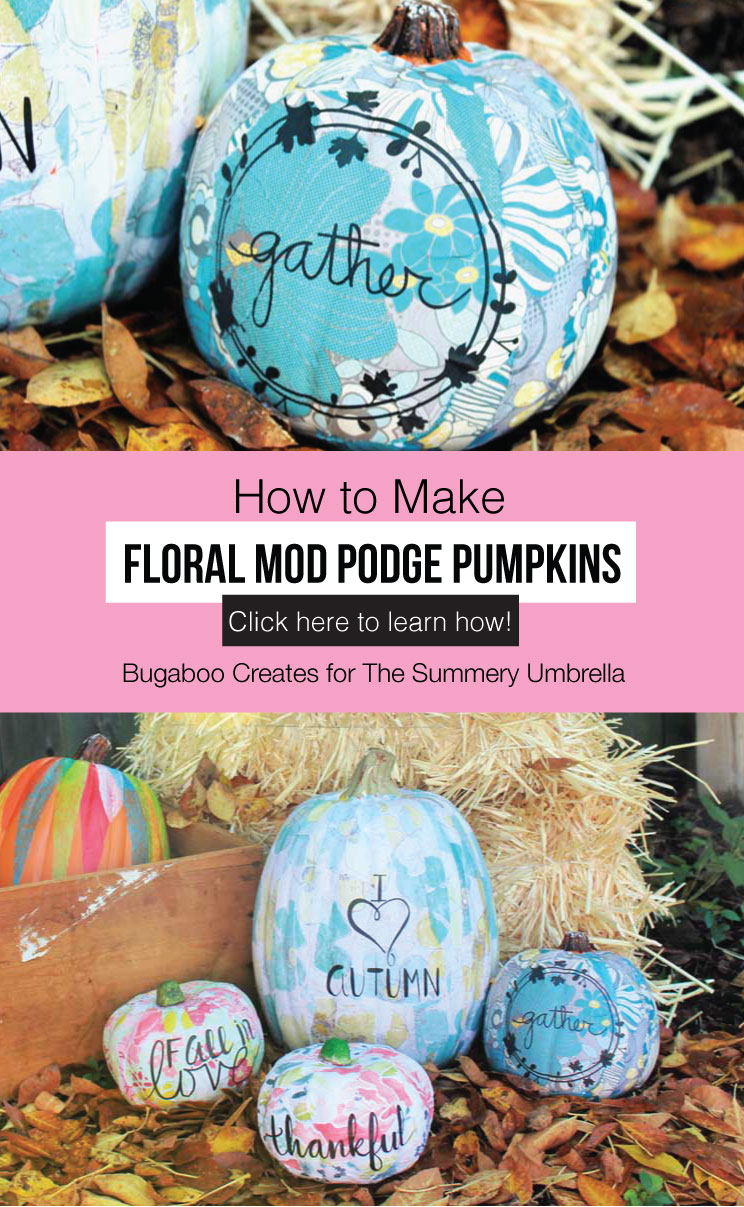
How to Make Floral Mod Podge Pumpkins
Get ready to transform plain pumpkins into works of art! Join us in crafting gorgeous Floral Mod Podge Pumpkins that will make your home bloom with beauty.
Hi! I’m Kimberly Mueller, and I blog at Bugaboo Creates (which was formerly the blog bugaboo, mini, mr and me.) I love making things – be it new shutters for the house, easy crafts with the kids, fun and simple parties, yummy edibles, or any number of crafty creations!
I usually recruit my family, including my husband (the brains behind most house DIY’s) and my four kids to help me out. We had so much fun making these floral pumpkins for LZ and all of you!
Mod Podge is a great crafting medium because it’s so versatile! You can use regular matte or glossy Mod Podge if they’ll be displayed inside. If you’re going to display them outside, you should use an Outdoor Mod Podge.
How to Make Floral Mod Podge Pumpkins
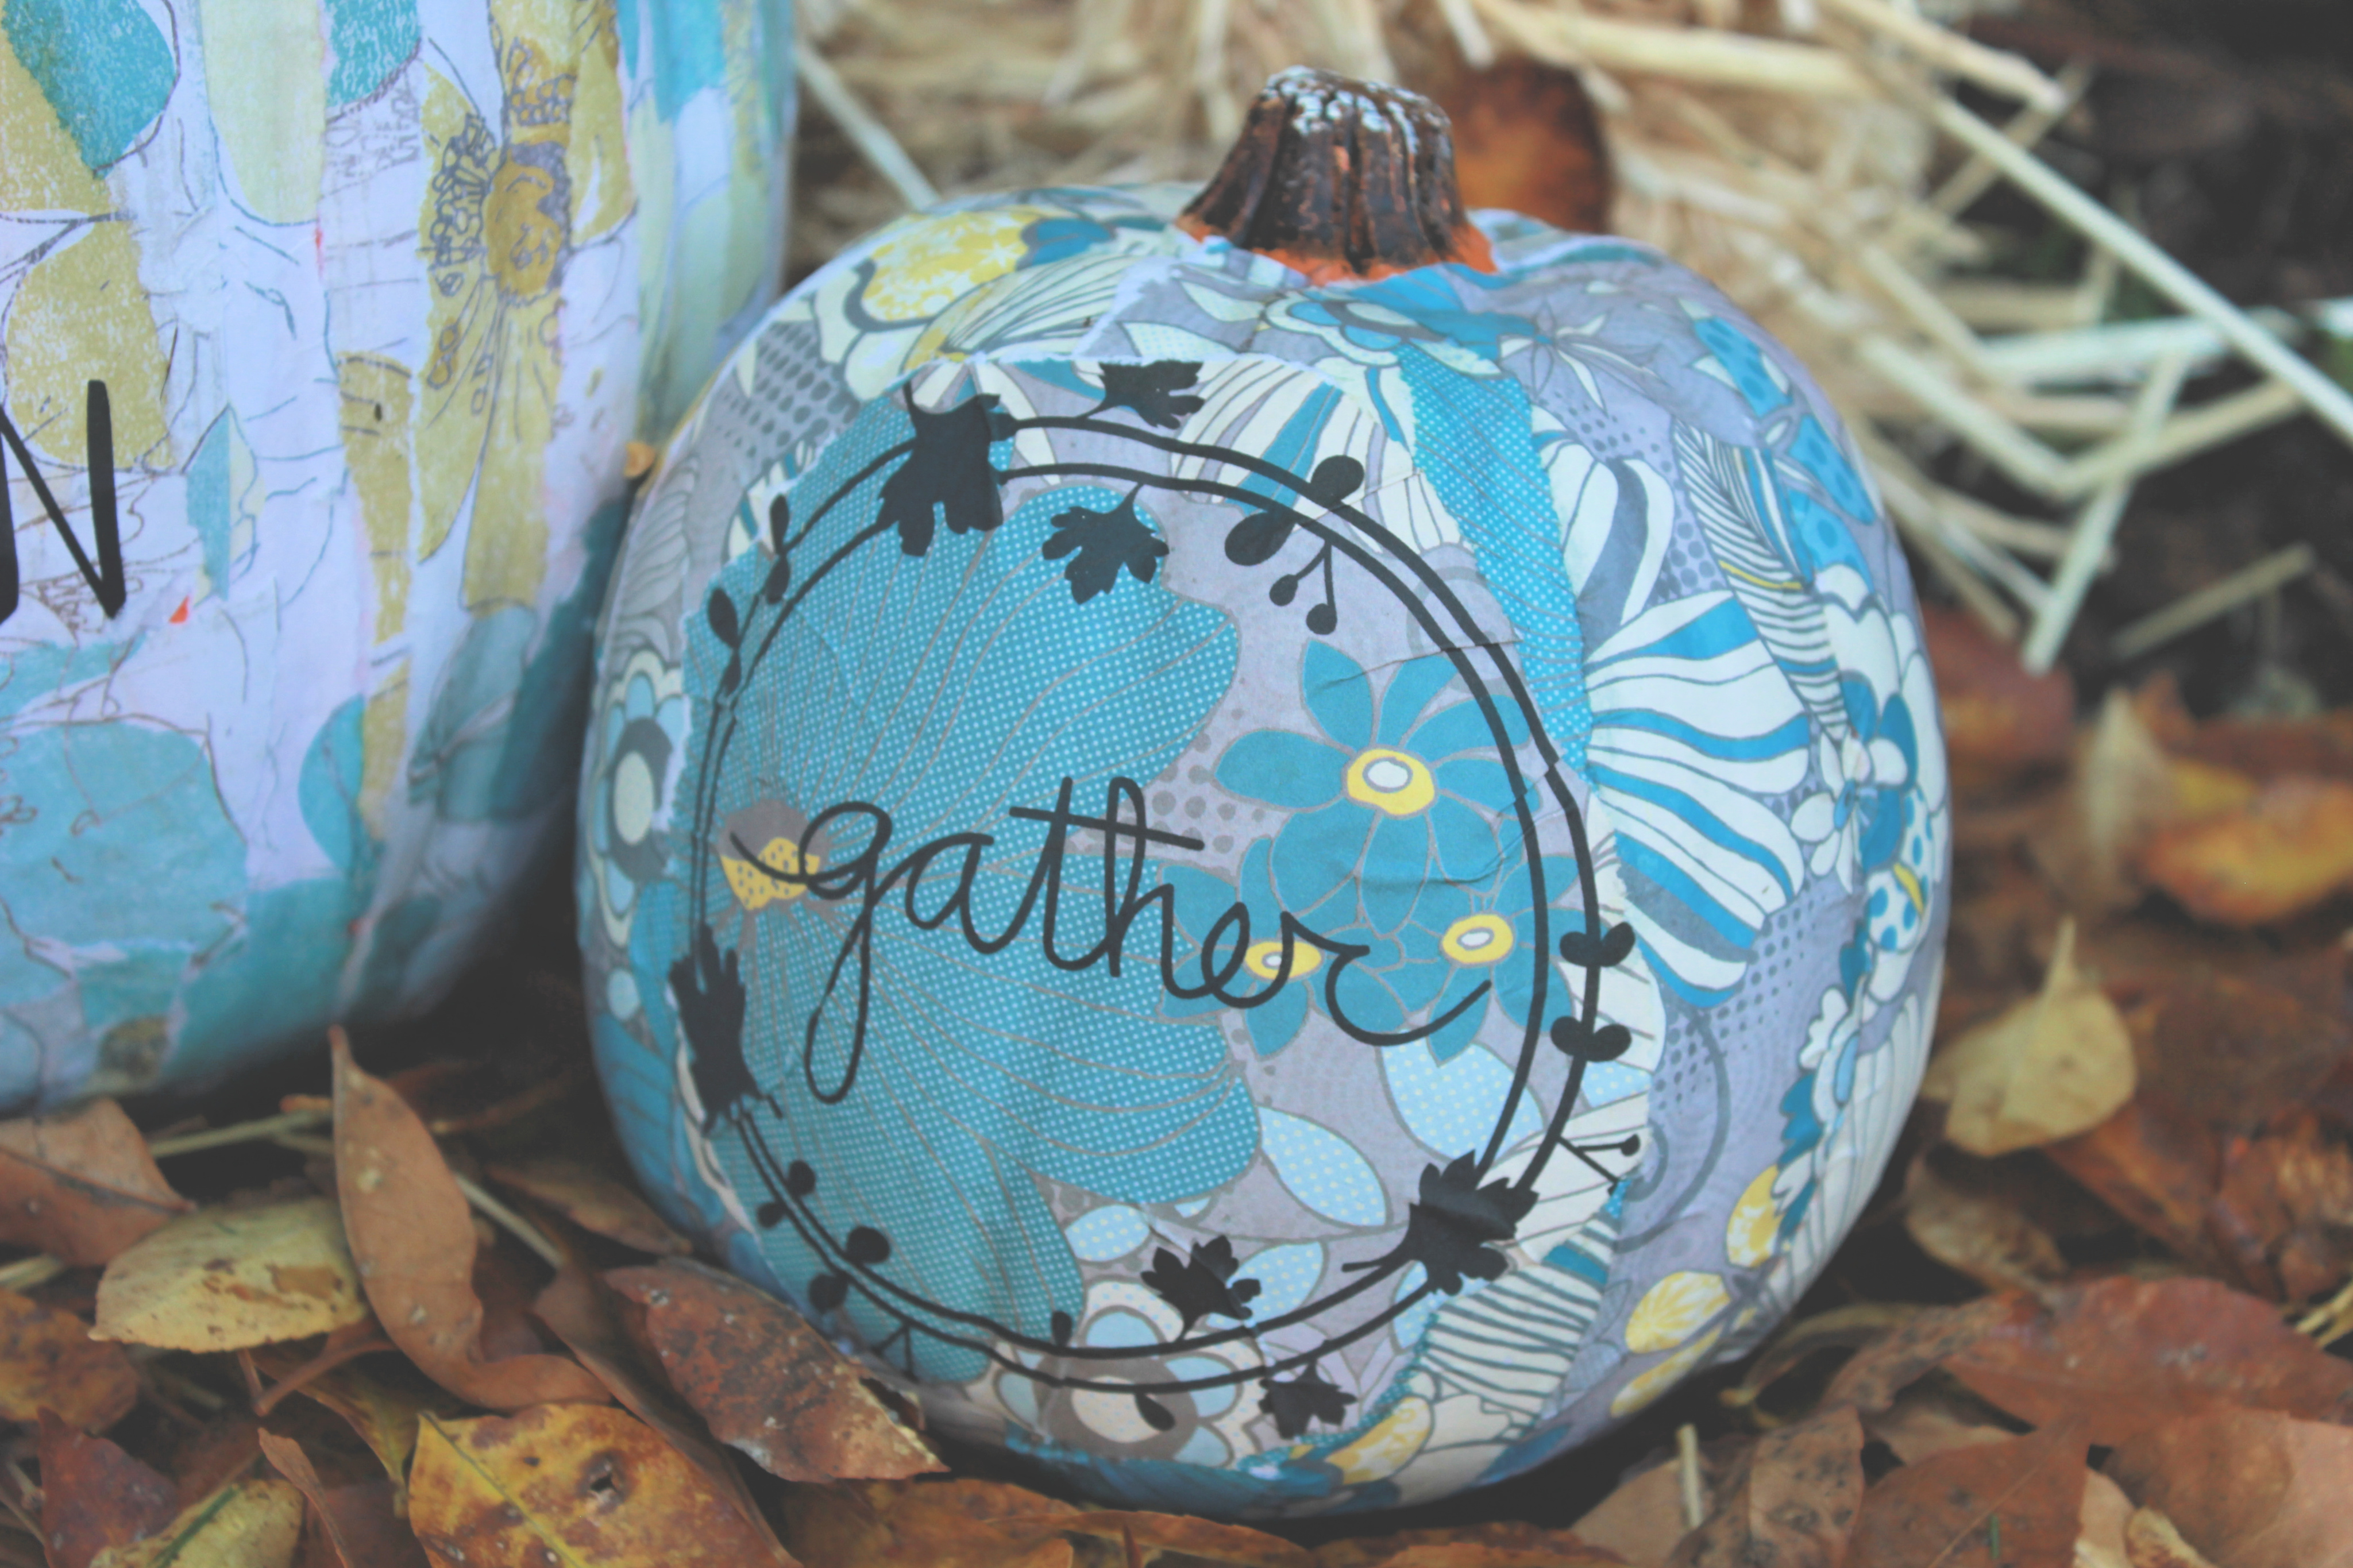
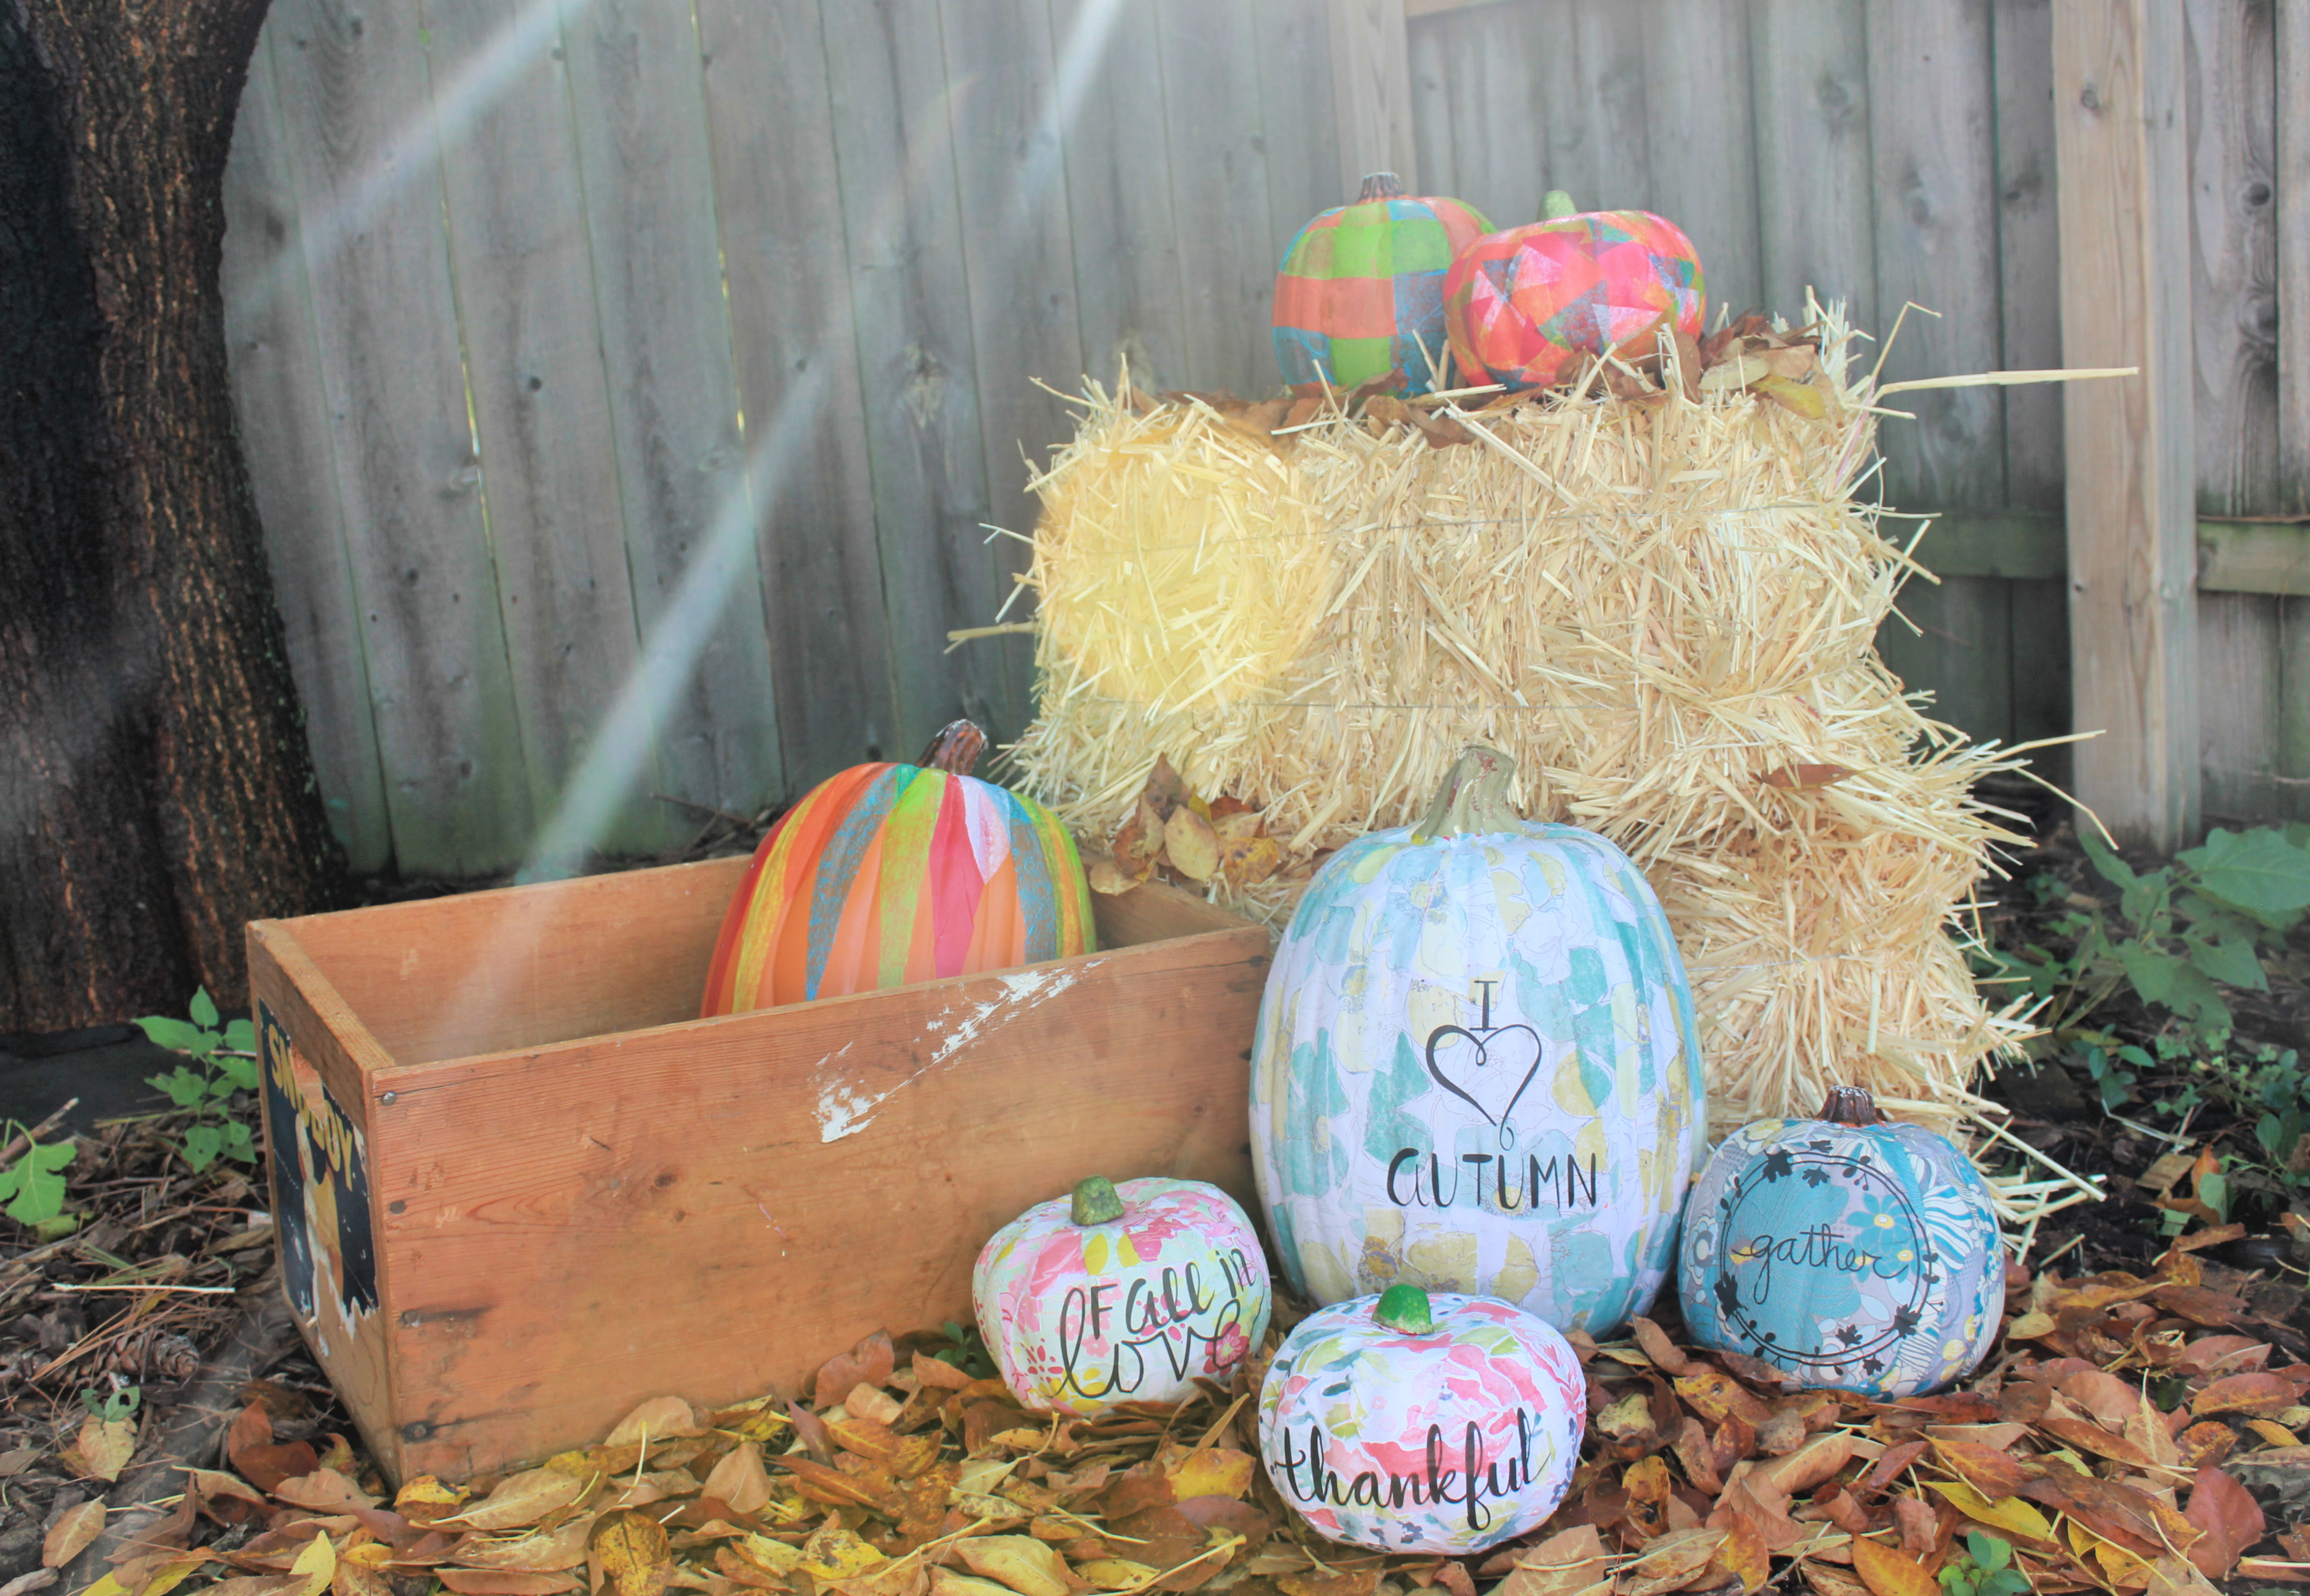
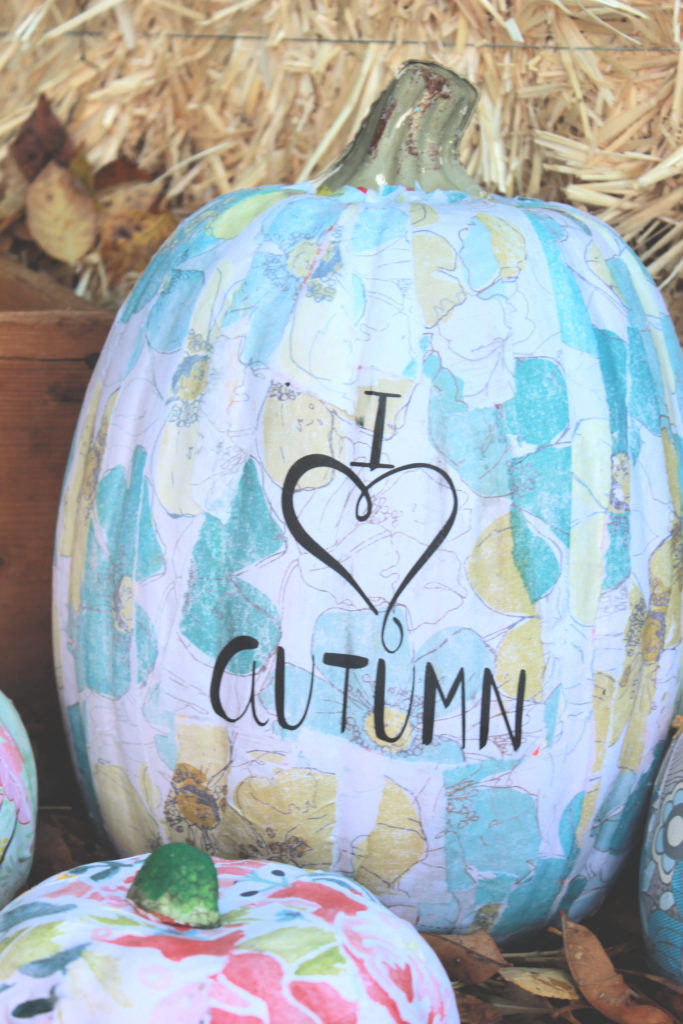
I love that floral patterns are everywhere right now! Floral is fun and delicate, and can totally be adapted to match the season or holiday! I used a variety of floral scrapbook paper for these pumpkins, but I tried to stick to a predominant color scheme throughout so they would match – utilizing teal and neutrals, with a little pink thrown in.
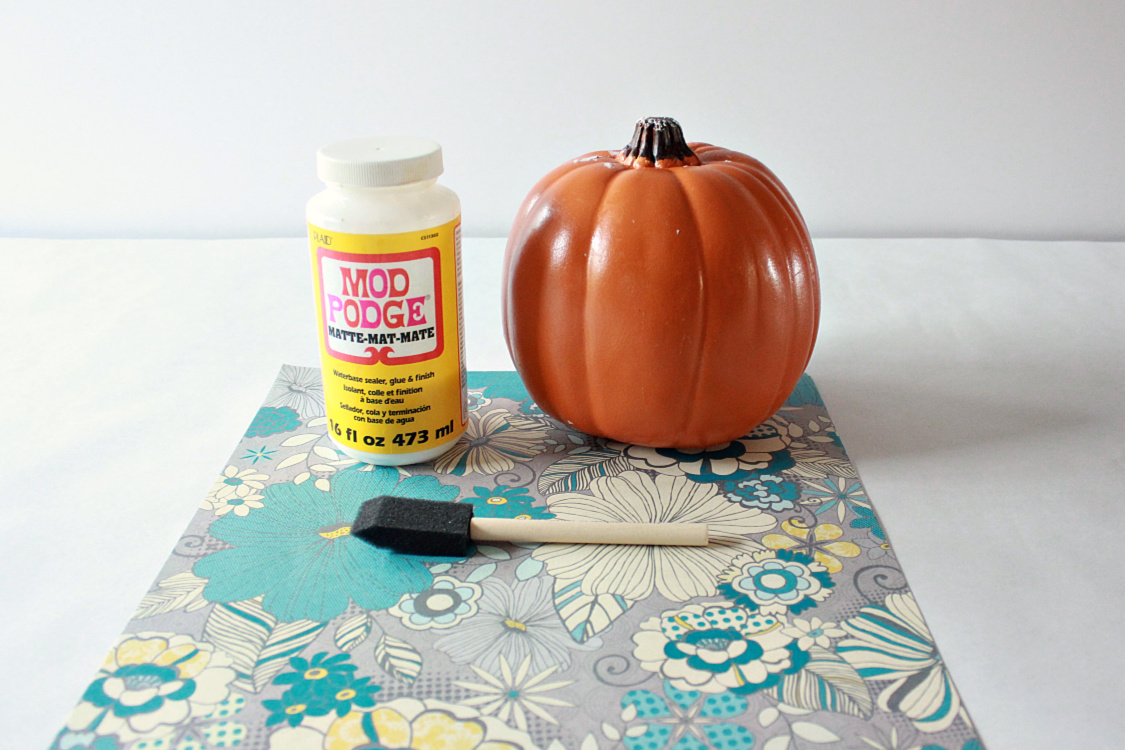
What you need:
- Mod Podge
- Foam brush
- Floral Scrapbook paper
- Printer
- Fake Pumpkin (Just about any kind of pumpkin would work, even a real one!)
- Fall-themed vector images from The Summery Umbrella shop (download them all by joining her newsletter below!), but there are so many to choose from!
Instructions:
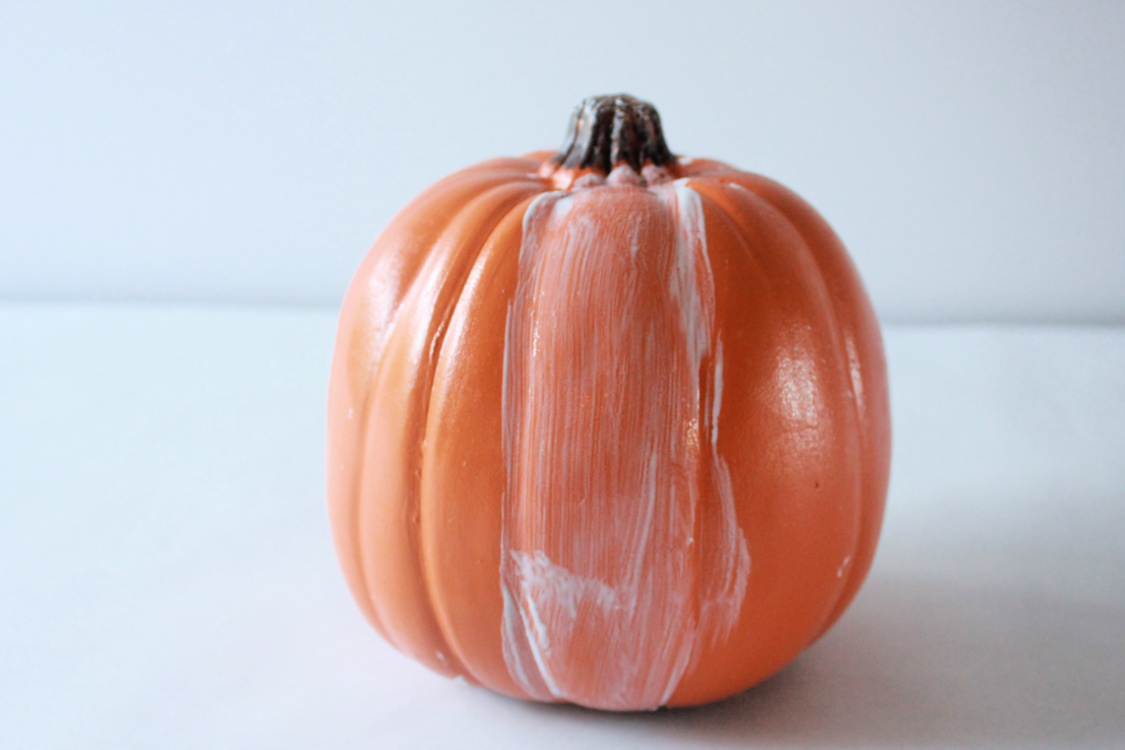
Gather your materials. You can use a fake carvable pumpkin, a styrofoam pumpkin, or even a real pumpkin. I used artificial pumpkins because I want them to last forever! You will also need at least three sheets of the same floral scrapbook paper, possibly more if your pumpkin is big.
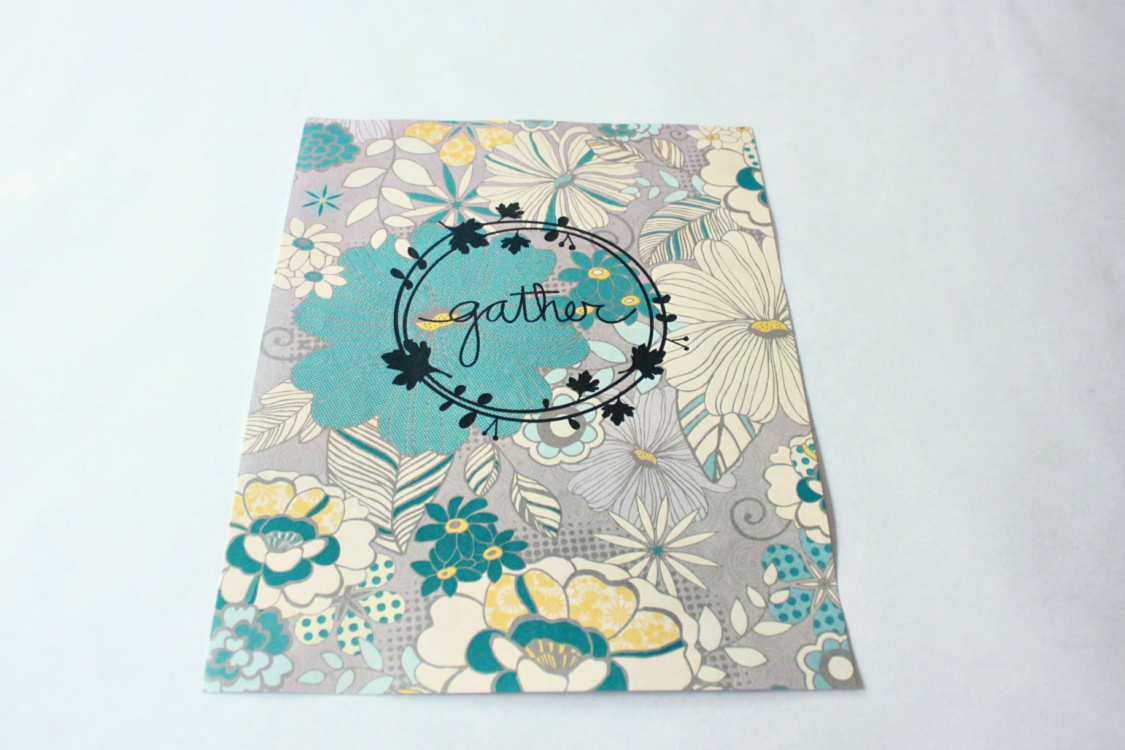
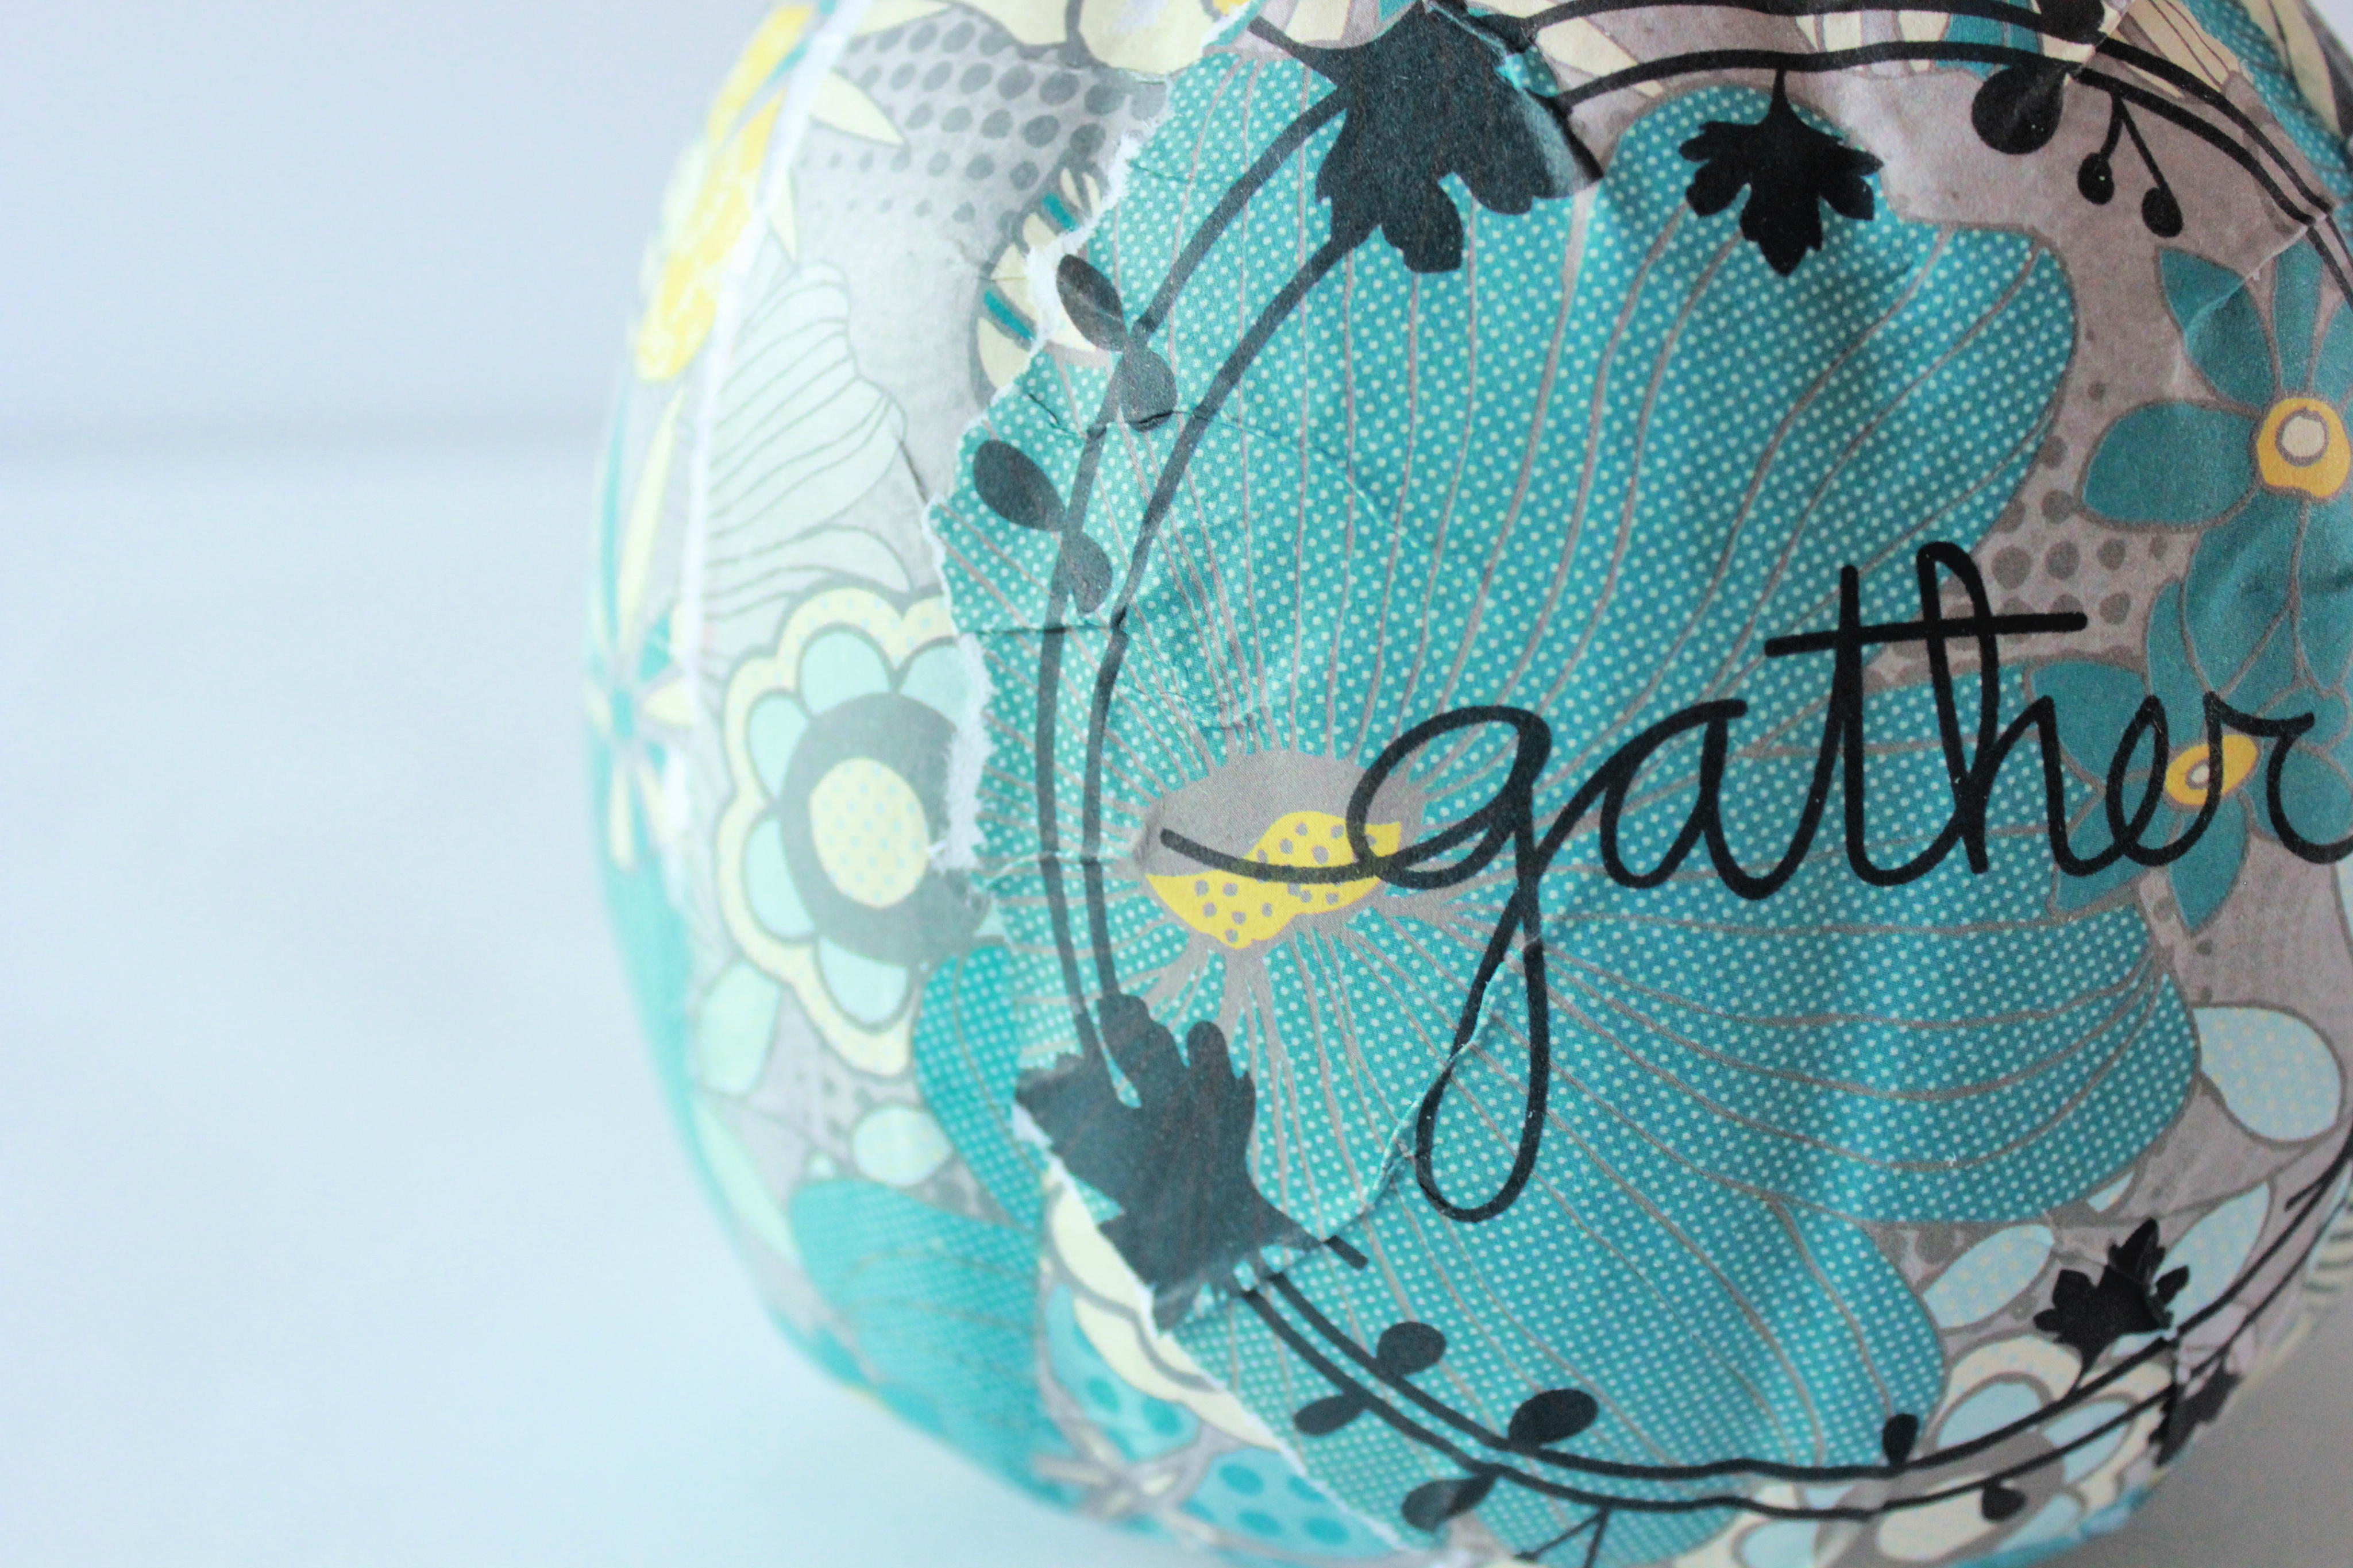
Cut one sheet of paper to fit in your printer. Next, download and print out your vector image.
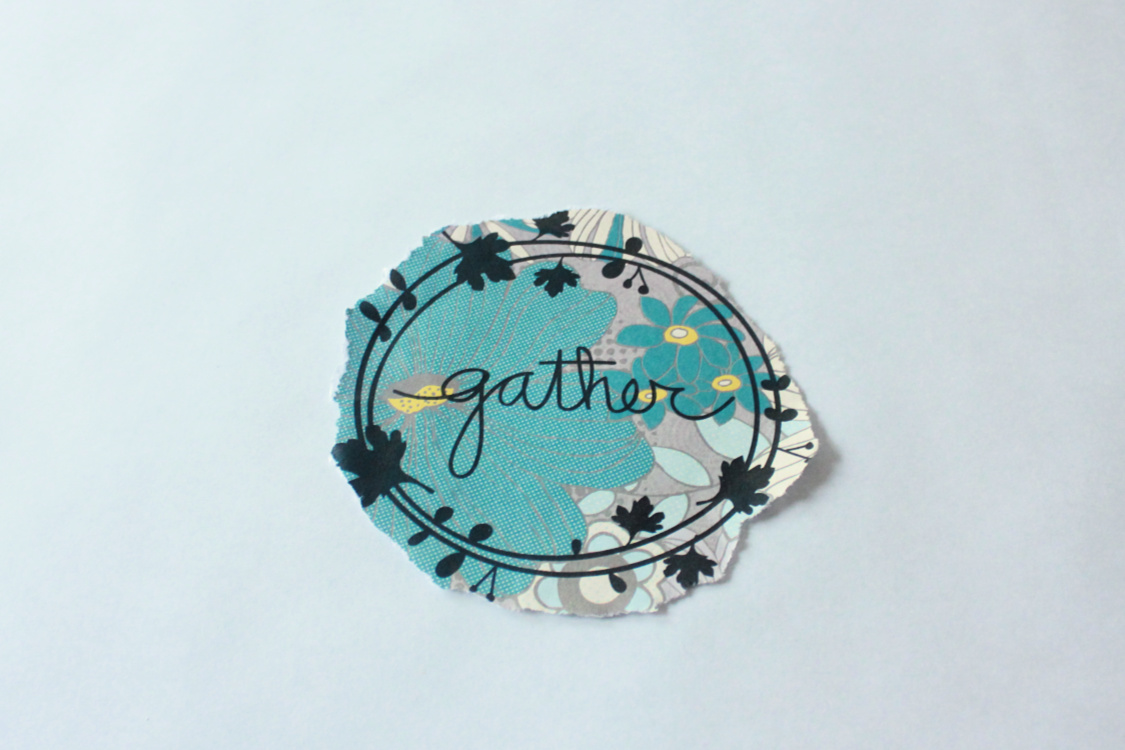
Tear around your image to give it an organic look.
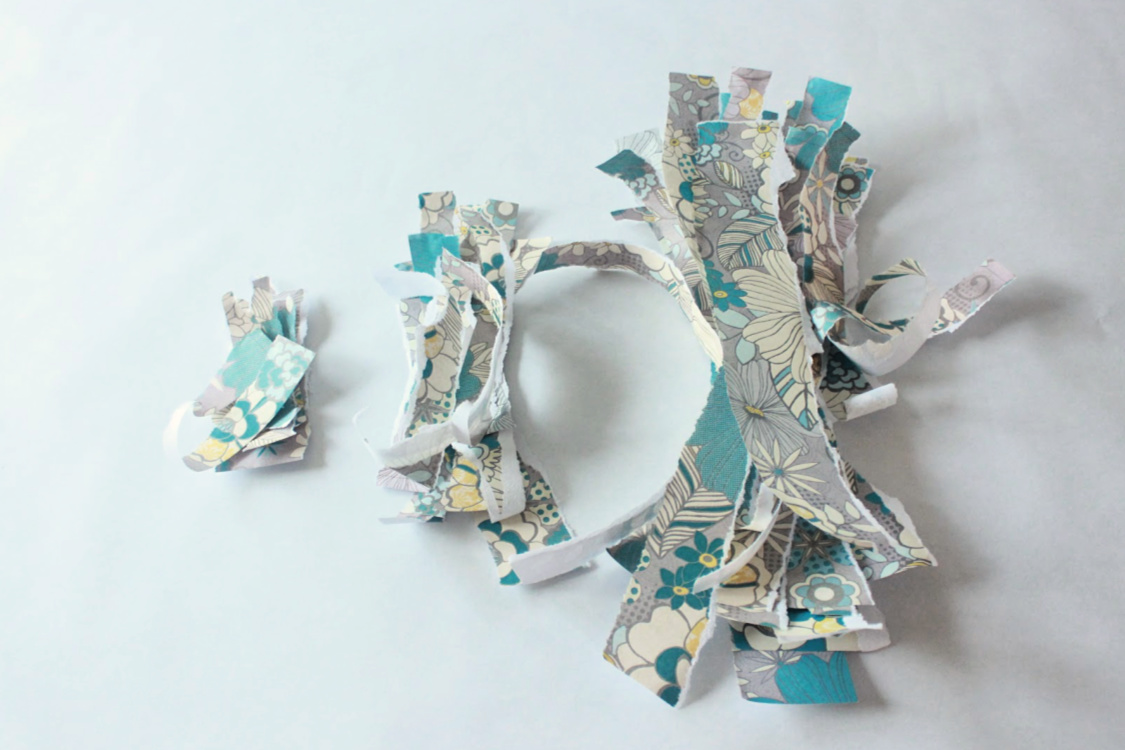
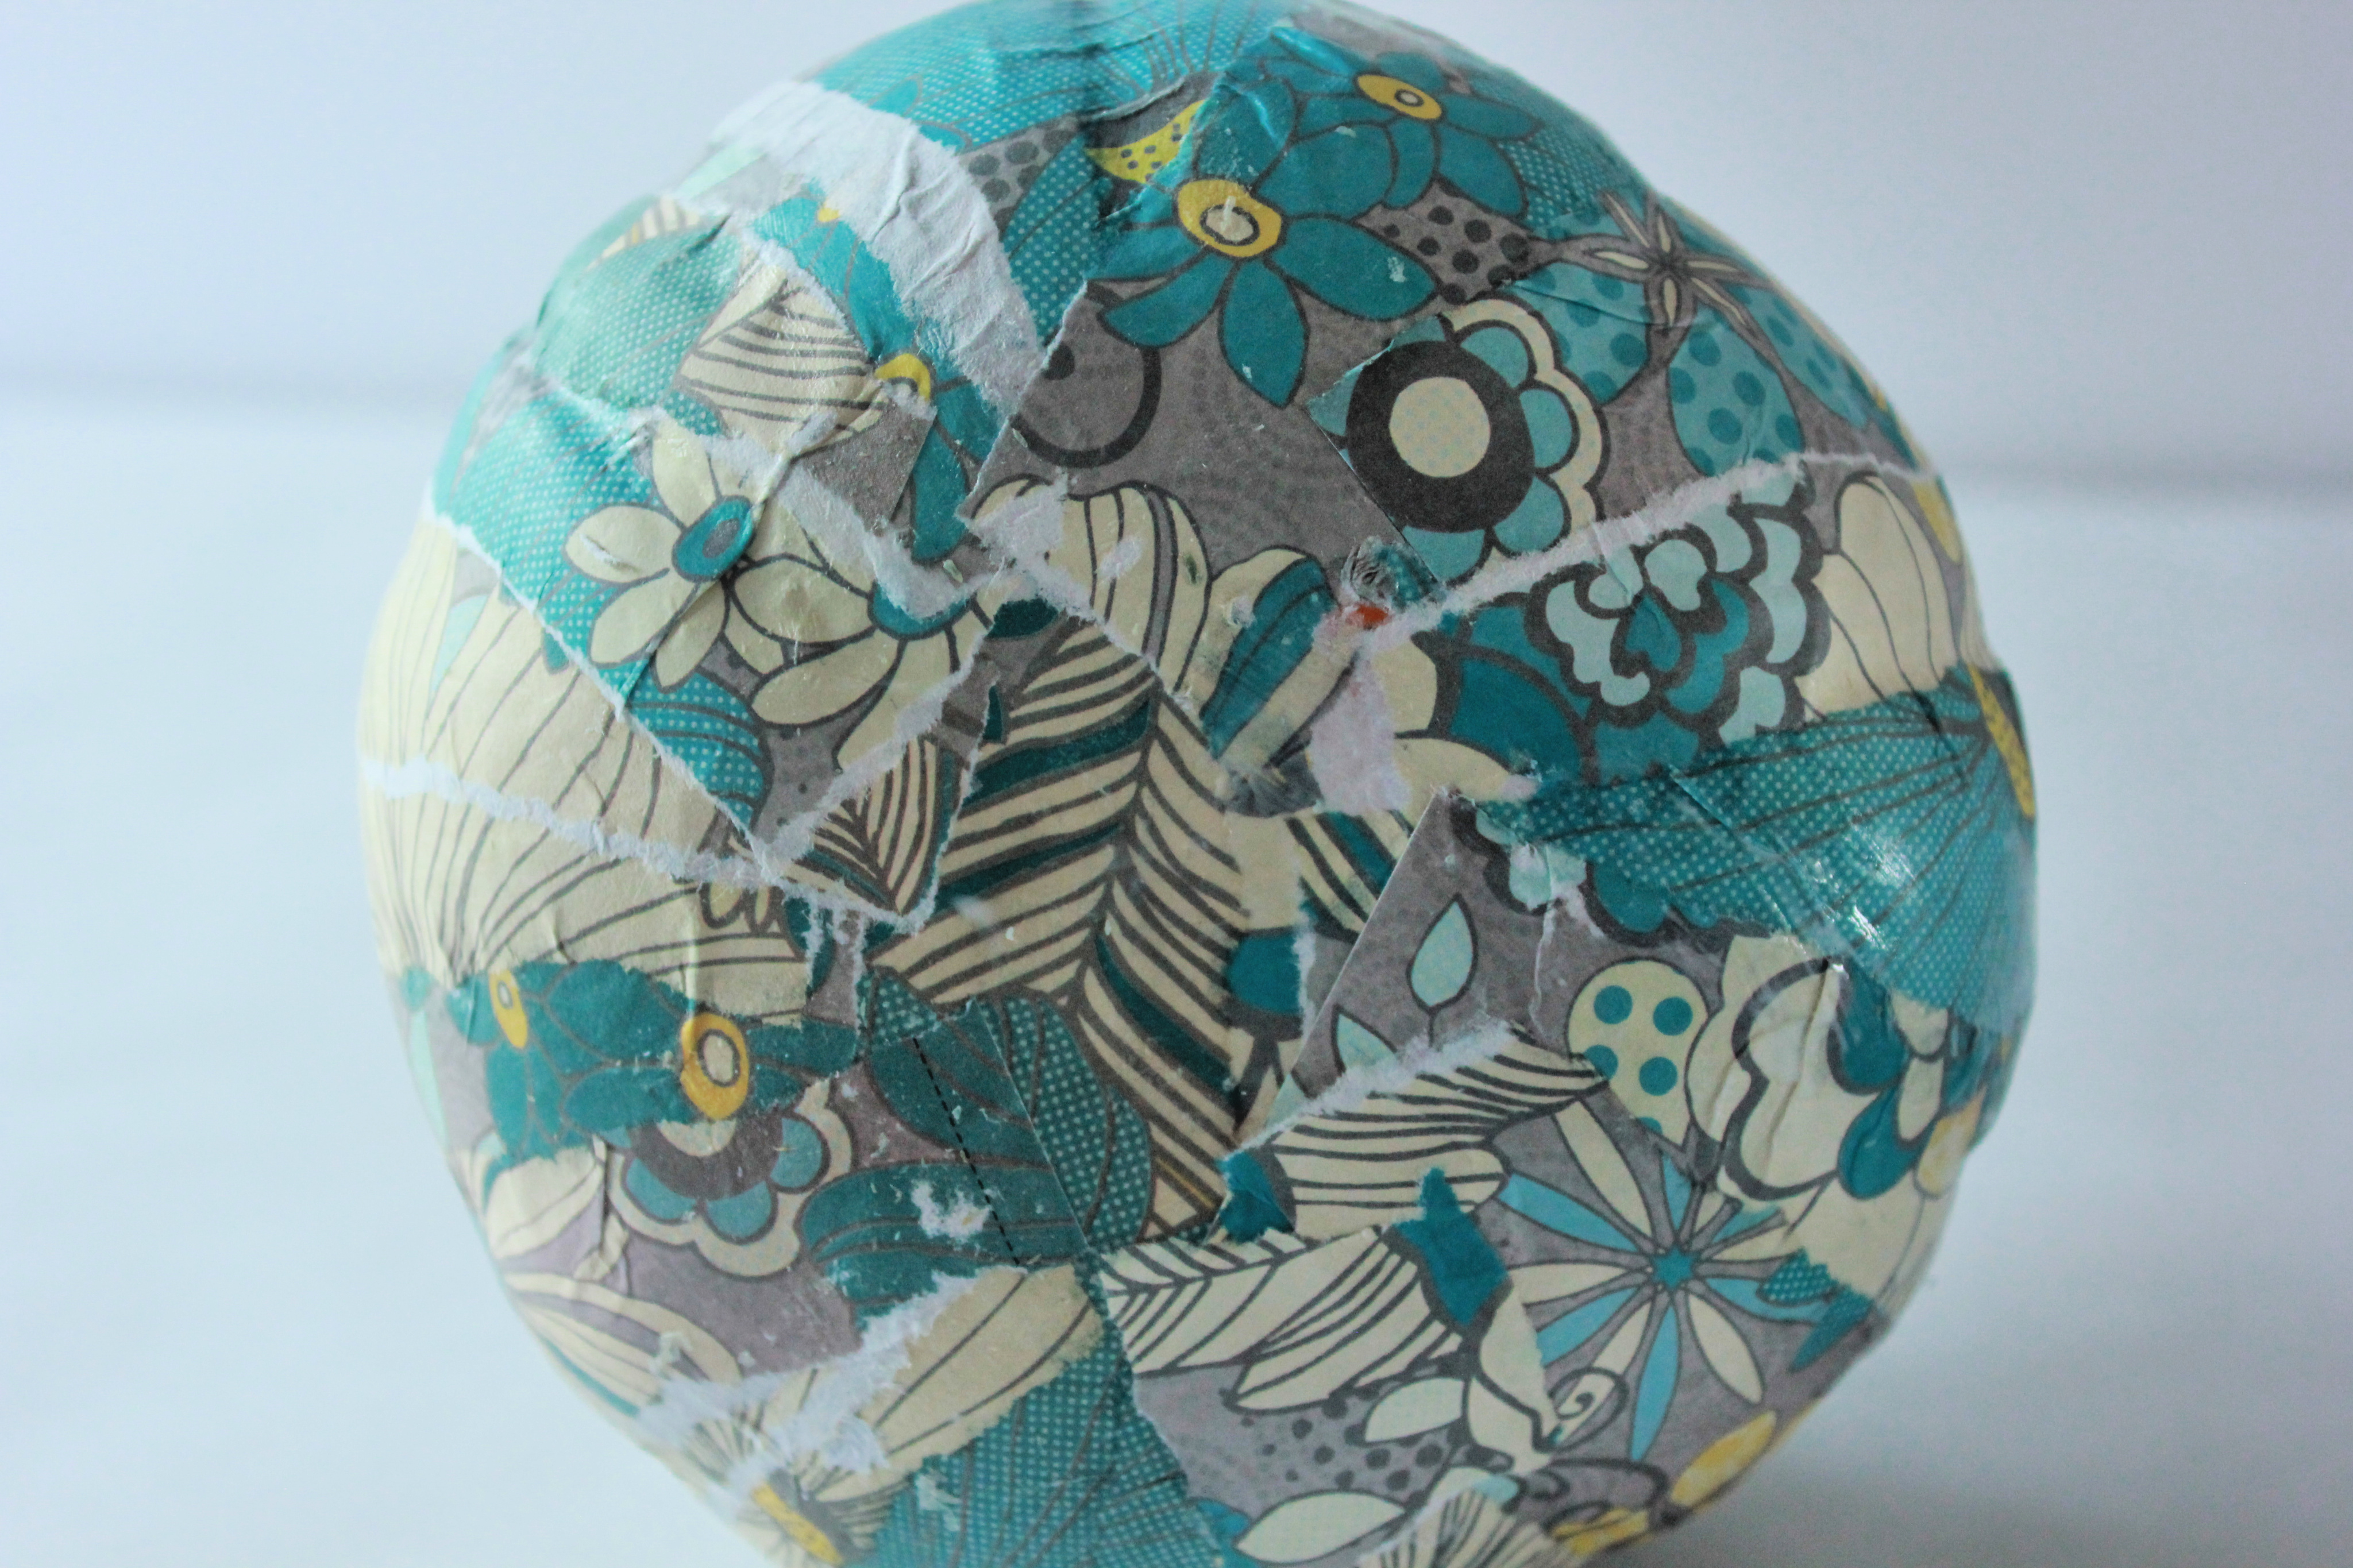
Tear the rest of your scrapbook paper into strips, about an inch wide or smaller.
Use your foam brush to spread Mod Podge onto one “section” of your pumpkin – in between the lines of the bumps.
Lay down a strip of paper, making sure to press firmly, especially along the edges. You don’t want any bubbles, but the paper will wrinkle a bit and this is fine.
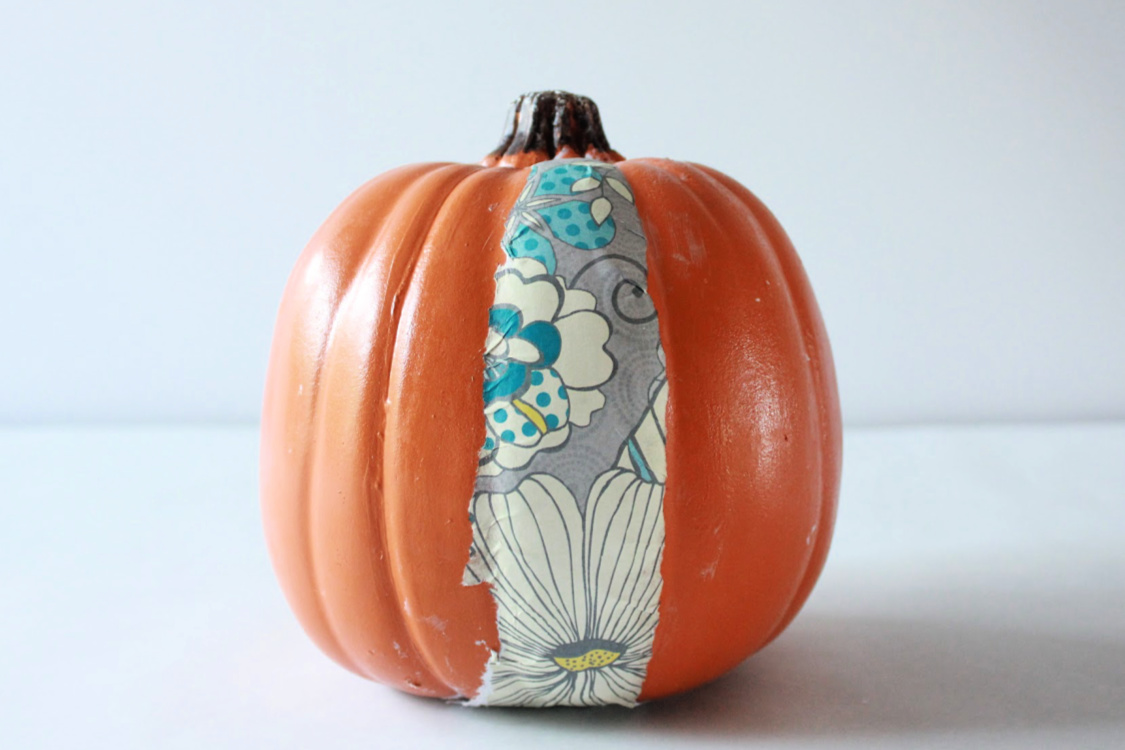
Do the same thing again, next to the strip and overlap slightly.
Keep doing this all around your pumpkin. Make sure to overlap the strips. You may need to fill in small areas with smaller strips. Make sure the top around the stem is pressed down very firmly.
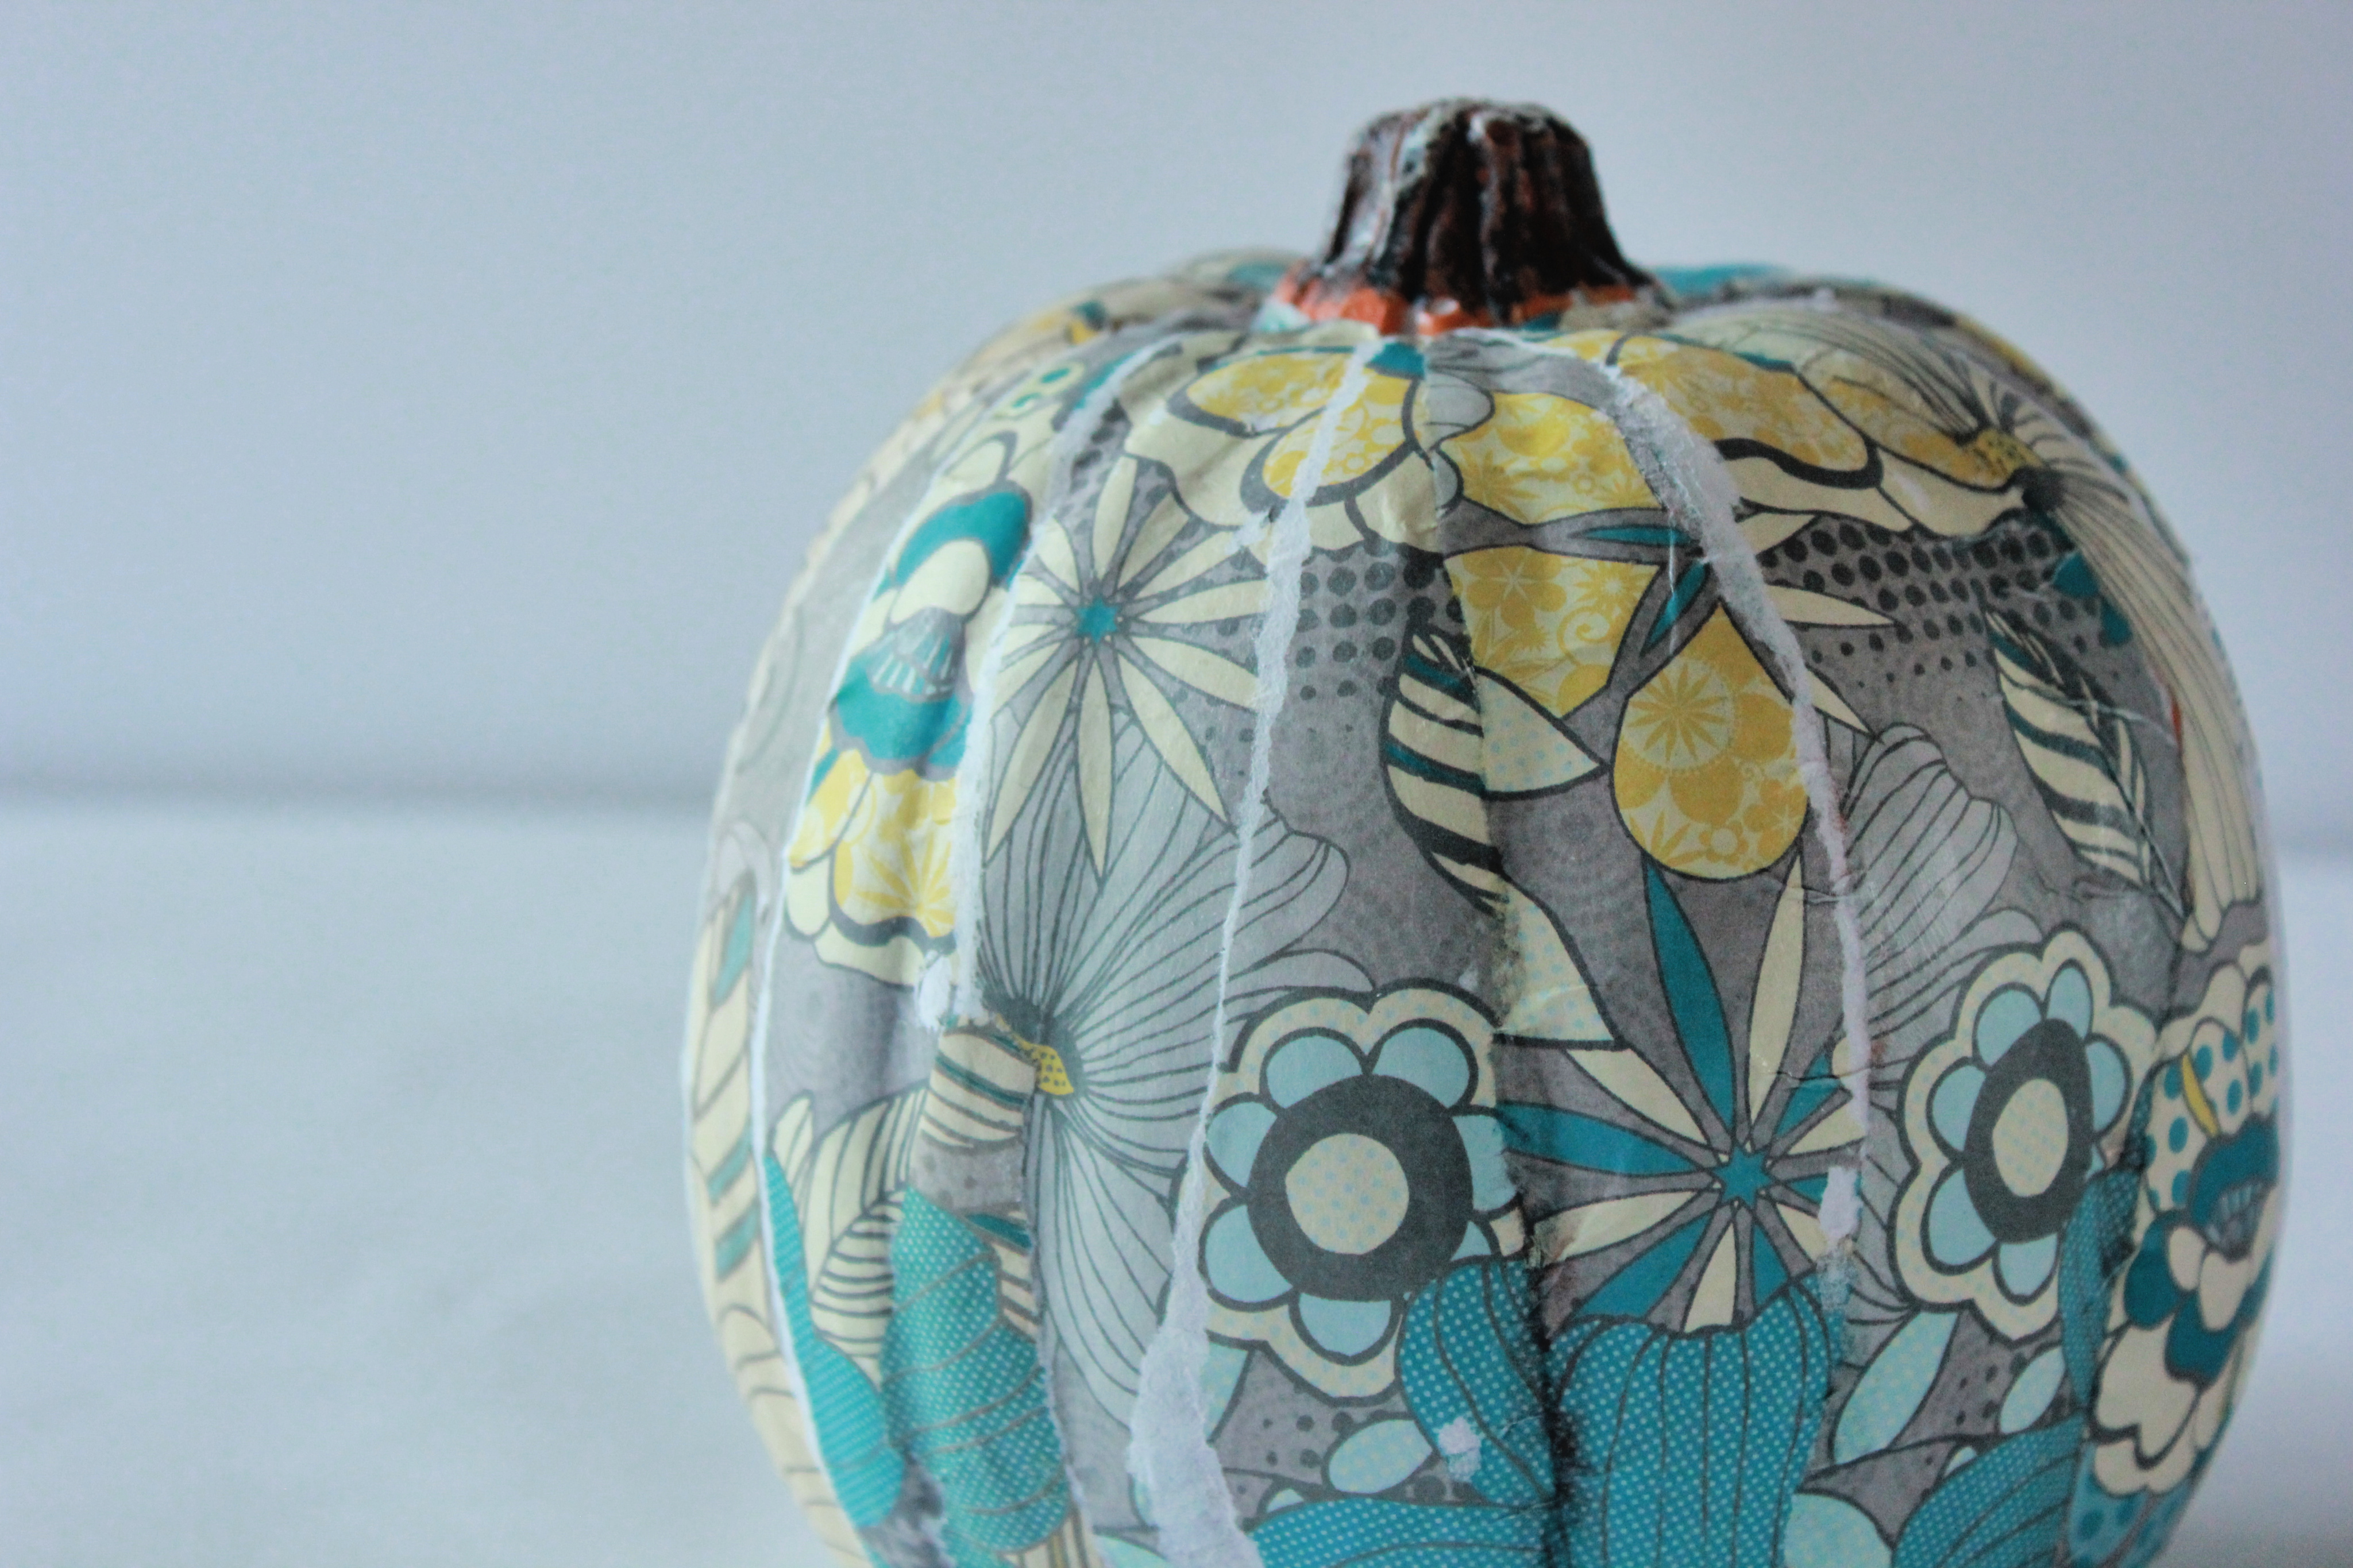
The bottom of the pumpkin should also be covered with overlapping strips.
How to Apply Your Vector Image to Your Pumpkin
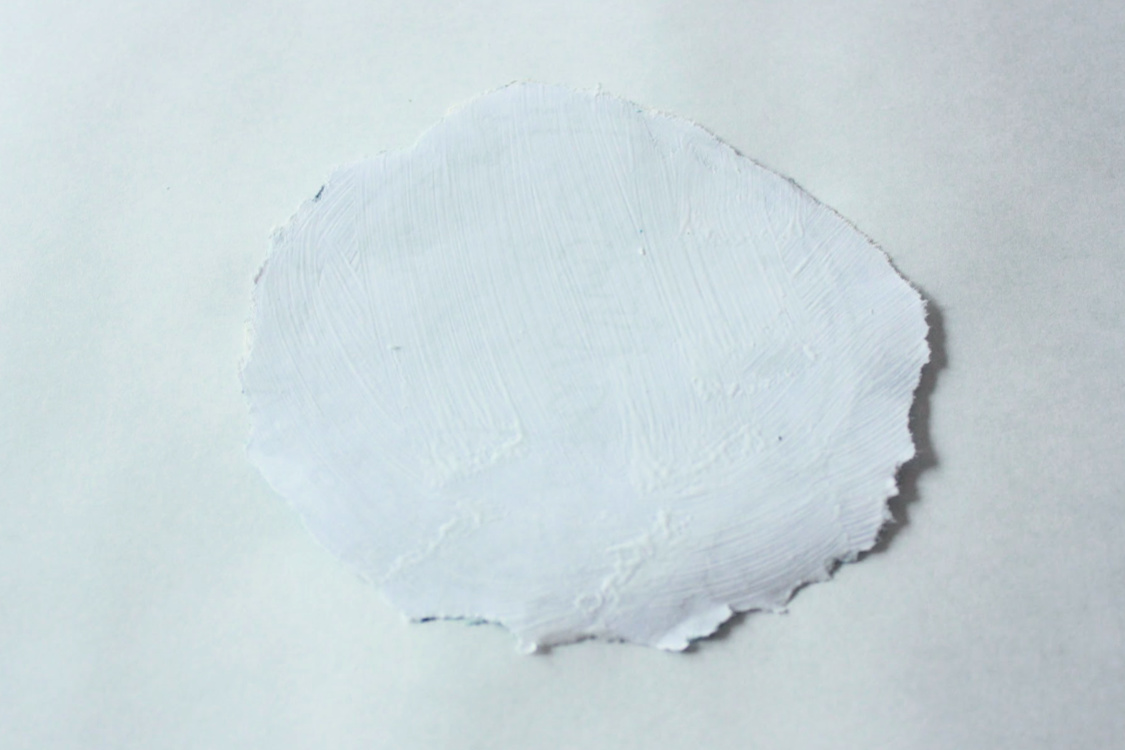
Now, pick which side will be the front of your pumpkin. Spread Mod Podge over the backside of your vector image printout.
Gently push it onto your pumpkin where you want it to be.
The last part is a little tricky, but you just press firmly all around your image, making sure to especially press the edges down and push into the natural dents and ridges of the pumpkin. You don’t want any air bubbles, but you will get some wrinkles. Try to smooth it out so the wrinkles are only on the edges and you can still read the words.
You don’t need to go over the whole thing with Mod Podge, unless you are putting your pumpkins outside. Then you’ll want a protective coat over the whole thing. And that’s it! You’re finished!
Tips and Tricks
Larger pumpkins will obviously use more paper. Make sure to tear all your strips ahead of time and have some smaller strips for tiny areas that peek through.
Lastly, press firmly along the natural indents of the pumpkin as you go. You want to see these through the scrapbook paper because they look so much more pumpkin-y than a flat and smooth pumpkin. But don’t press TOO hard, you don’t want to tear the paper.
Don’t forget to check out a few of these ideas too!