Kitchen Island Makeover Before and After: Transform Your Space
Is your kitchen island desperately in need of a makeover, but not sure where to start? In this stunning kitchen island makeover before and after transformation I’m going to show you how! From a tear down to applying the perfect paint, we’ve got you covered. Say goodbye to dull and dated cabinets and hello to a fresh and stylish kitchen island that will elevate your entire space!
Before we dive into the nitty-gritty of our kitchen island makeover journey, let’s rewind to where it all began.
Back in 2018 my family and I had recently purchased this home. As I’m sure you remember, we’ve previously painted our kitchen cabinets, but you know me… I just love a good DIY project ever few years. Even if I’ve already done it before! 😉

From Chaos to Calm: Our Island Renovation Journey
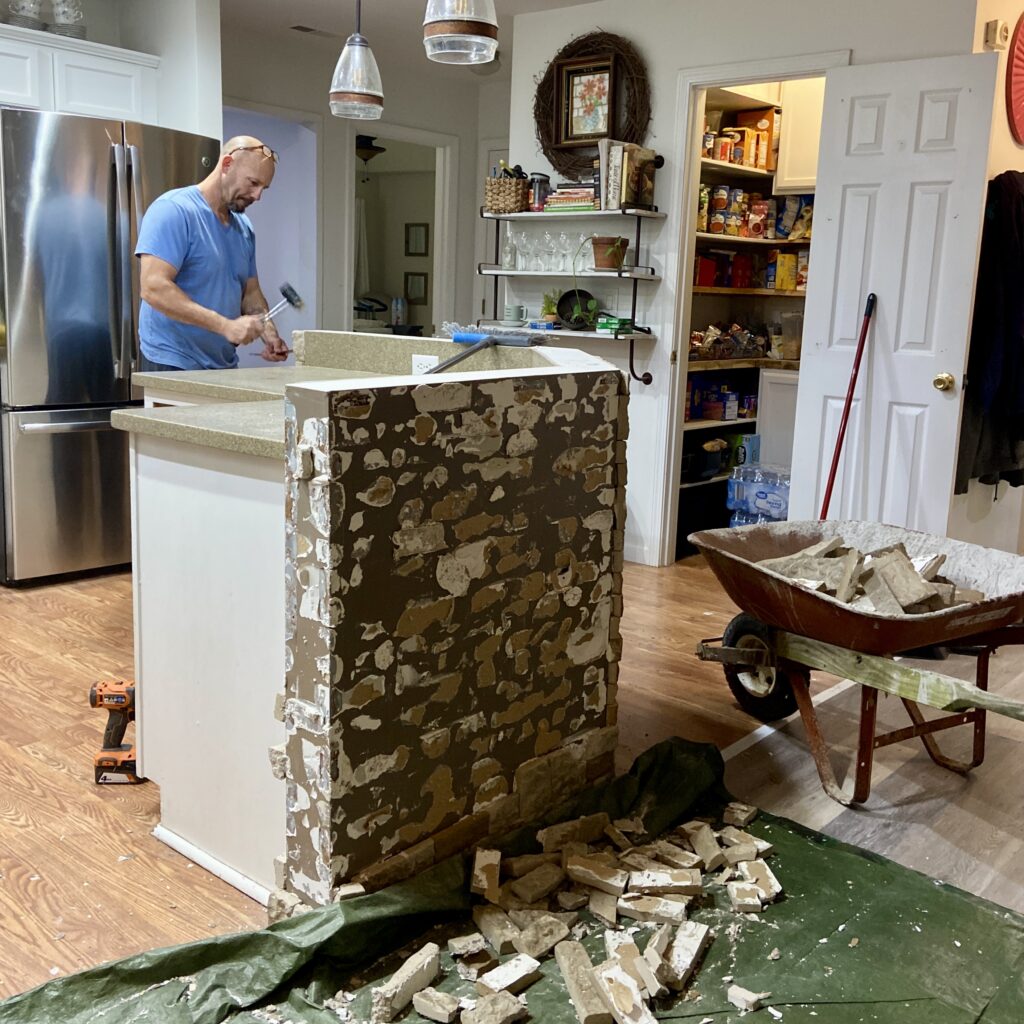
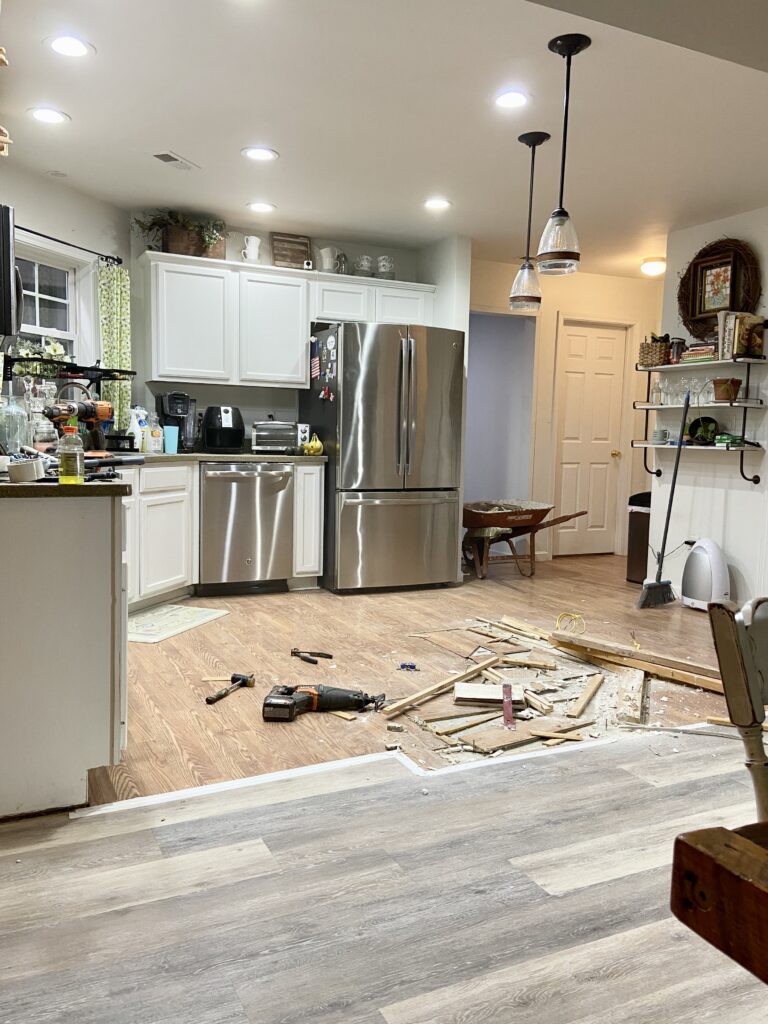
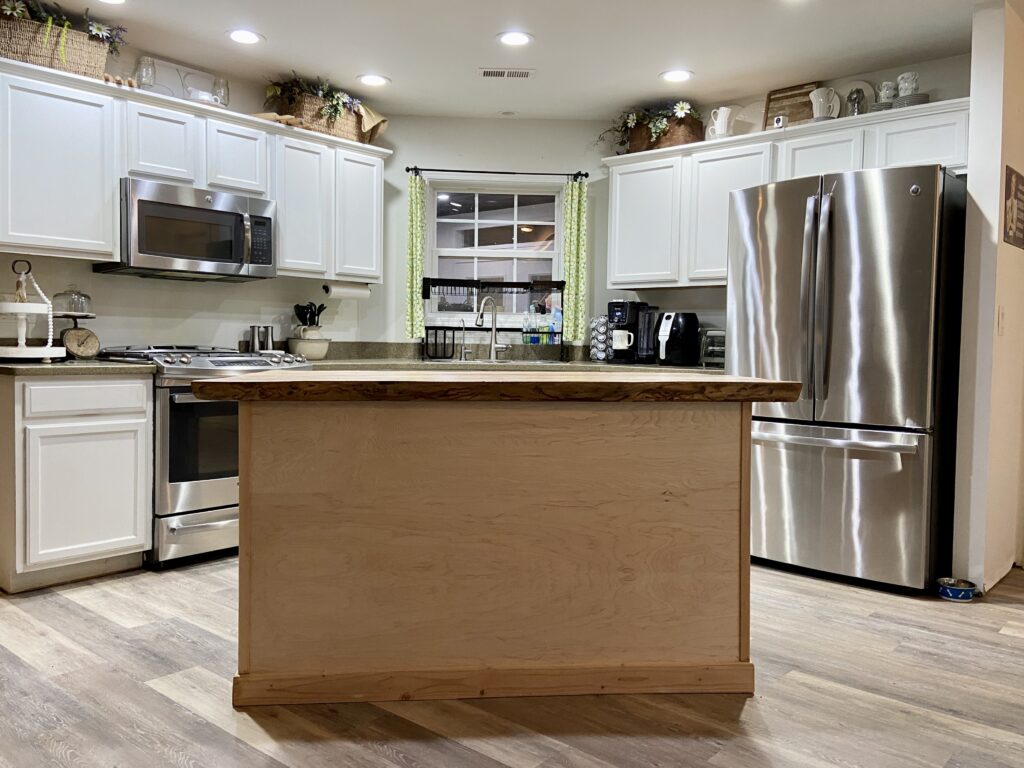
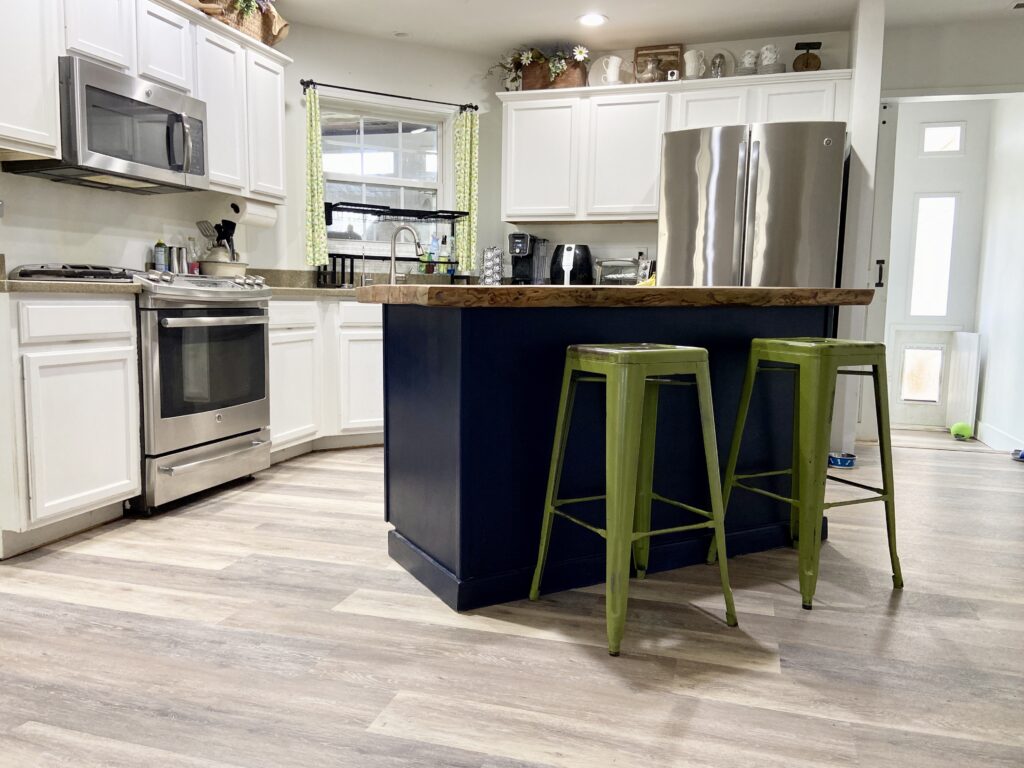
So, picture this: my husband, armed with determination and a trusty toolkit, decided it was high time to tear down our outdated kitchen island. With a few swift swings of the hammer and some strategic demolition work, our once L-shaped island (of sorts!) was soon reduced to a blank canvas awaiting its transformation.

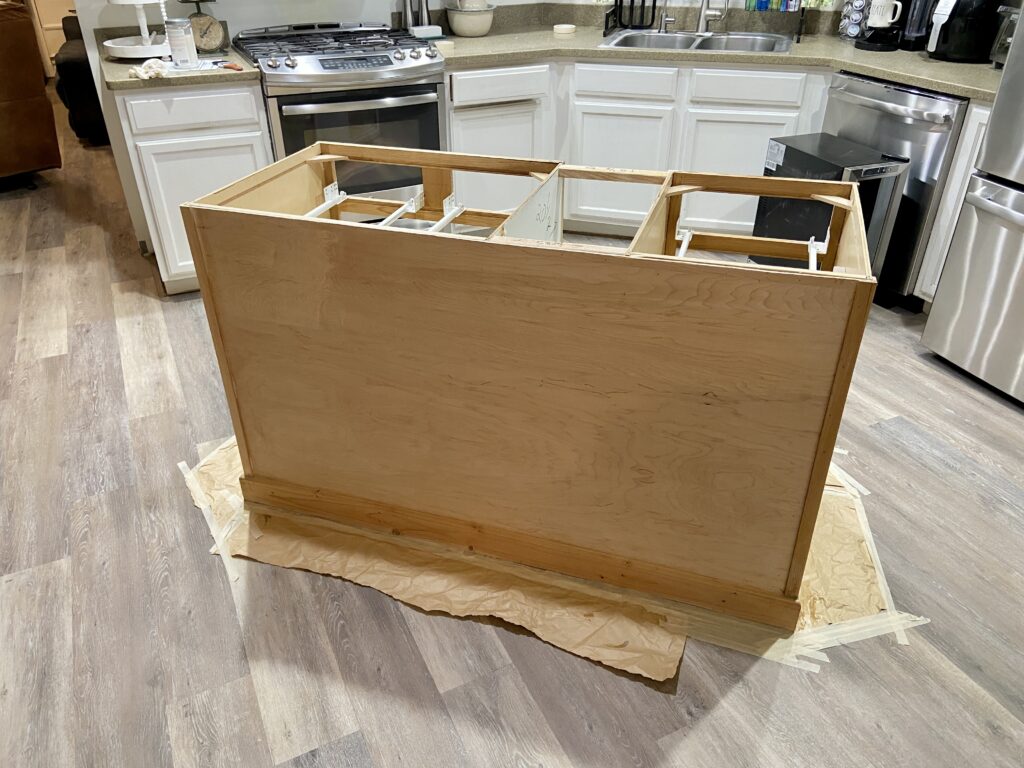
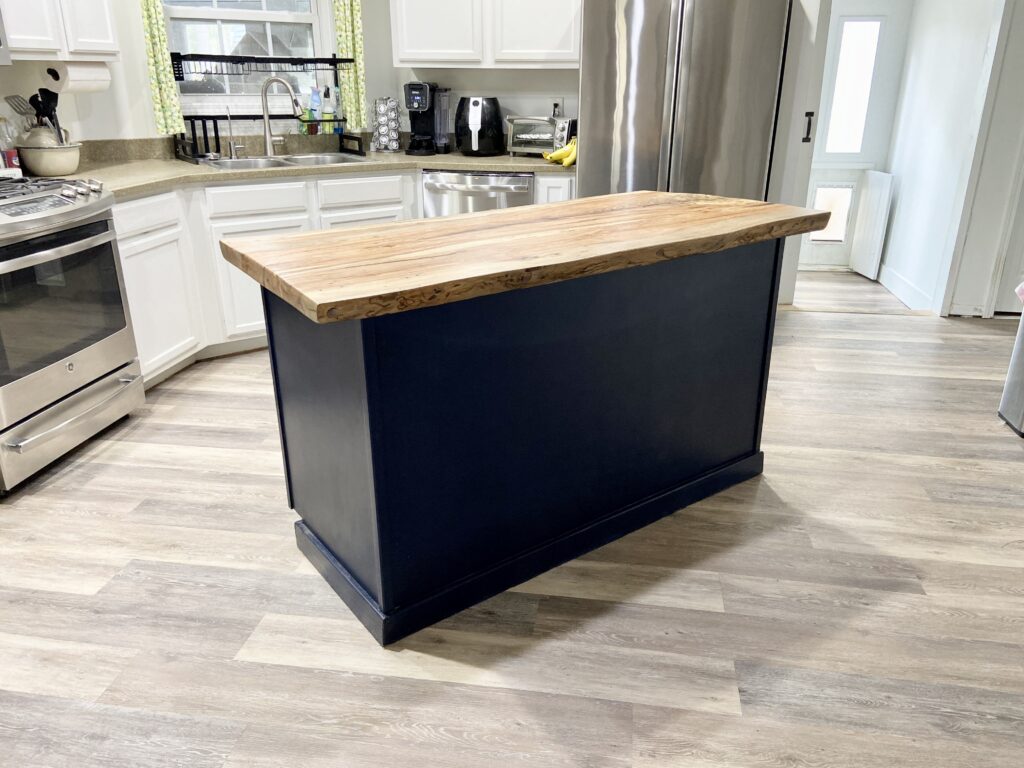
But instead of replicating the same old design, we opted for something fresh and functional—a sleek, rectangular island that promised to maximize both space and style in our culinary haven.
Crafting Kitchen Magic: The Spalted Pecan Wood Chronicles
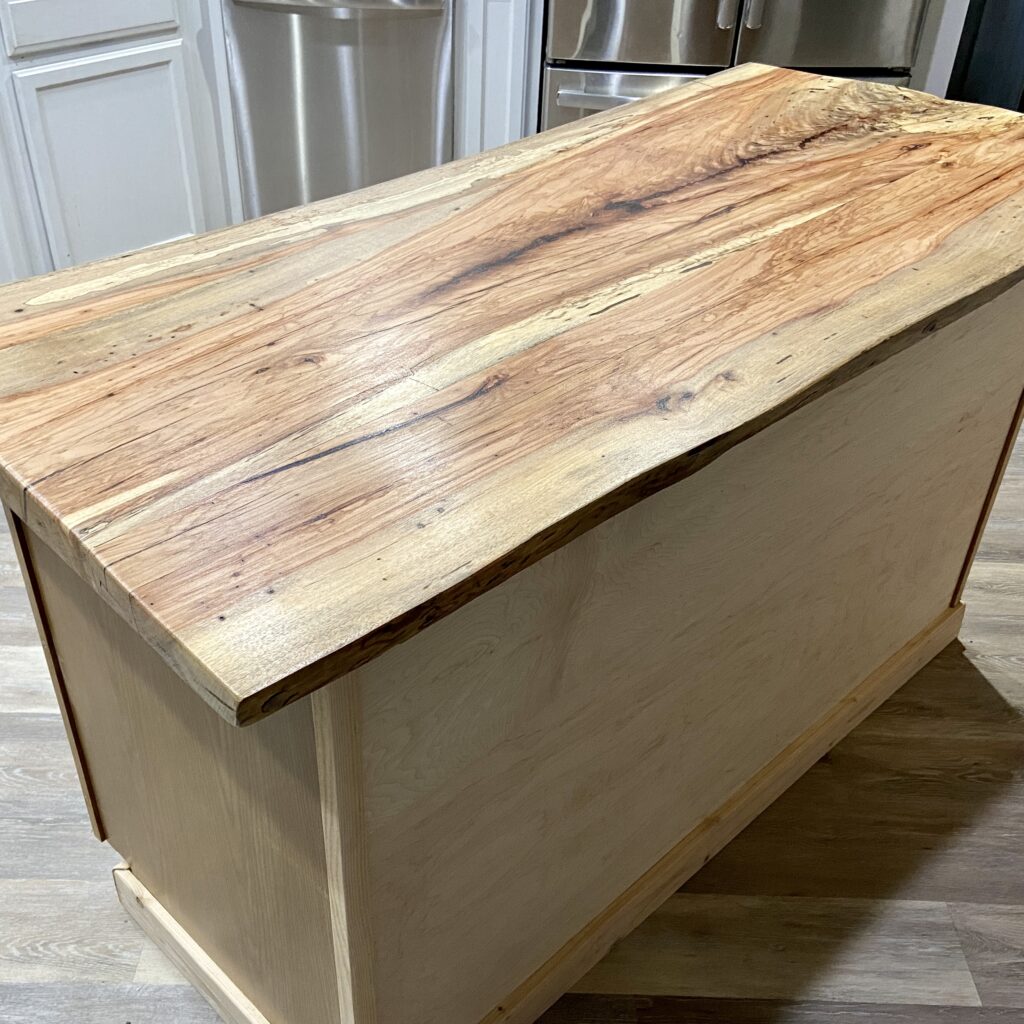
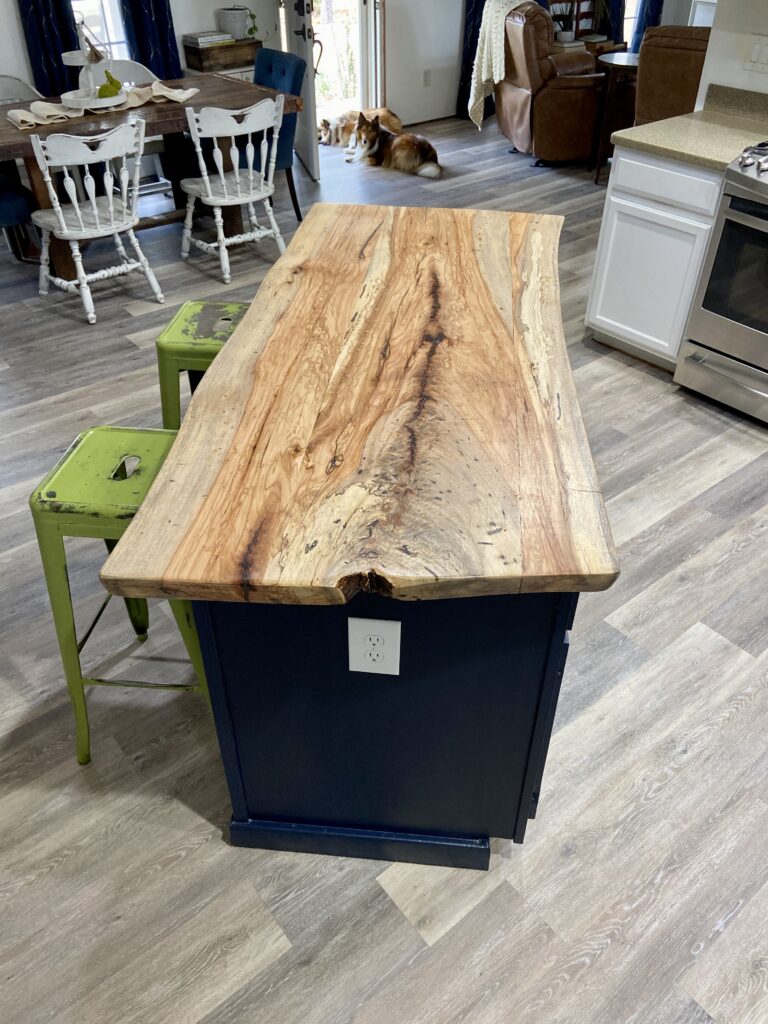
And when I say that we decided to change things up… I literally mean, everything! Not only the size, shape, color, and location, but also the countertops too! Believe it or not, we really missed our wood countertops like we had in our old house, but decided to go with locally milled pecan wood this time around.
Why, you might ask?! Well, with each knot and grain, the wood tells a story, infusing our kitchen with warmth and character. Now, our island isn’t just a workspace; it’s a gathering spot, a culinary adventure zone, and a testament to our love for all things unique and sustainable!
Modernizing the Heart of the Kitchen: Cabinet Refinements
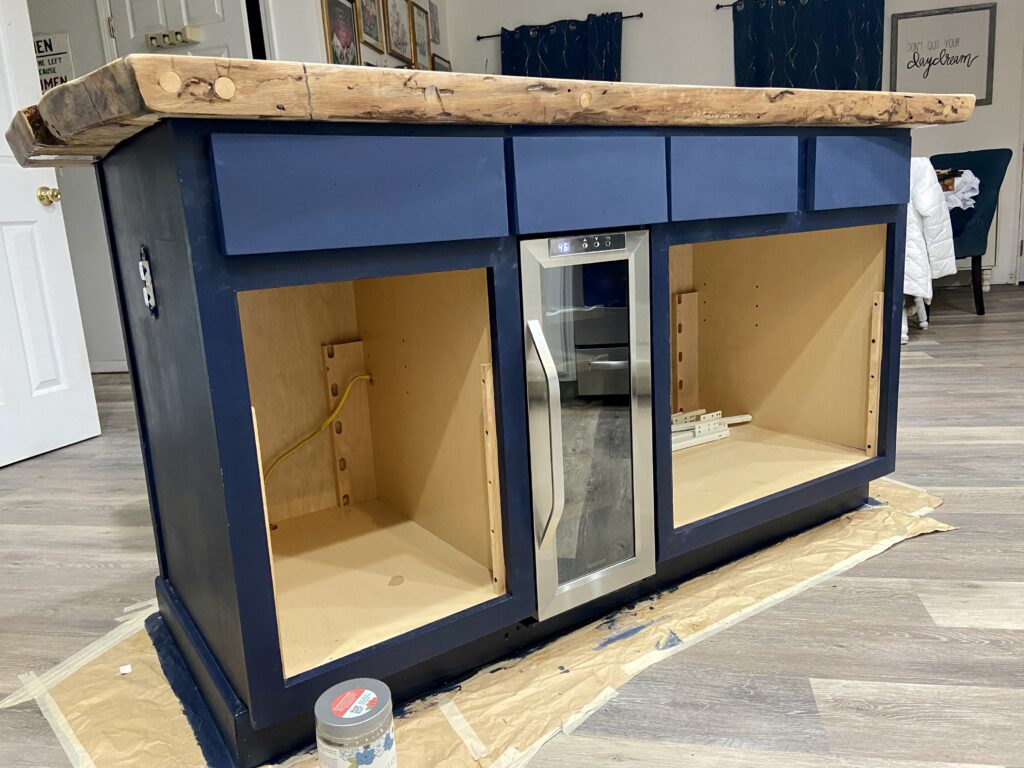
And that’s not all! In a stroke of genius, we decided to add a small wine fridge to the mix, turning our island into the ultimate entertaining hub for family and friends. With the stage set and our vision in place, it was time to roll up our sleeves and embark on our DIY adventure.
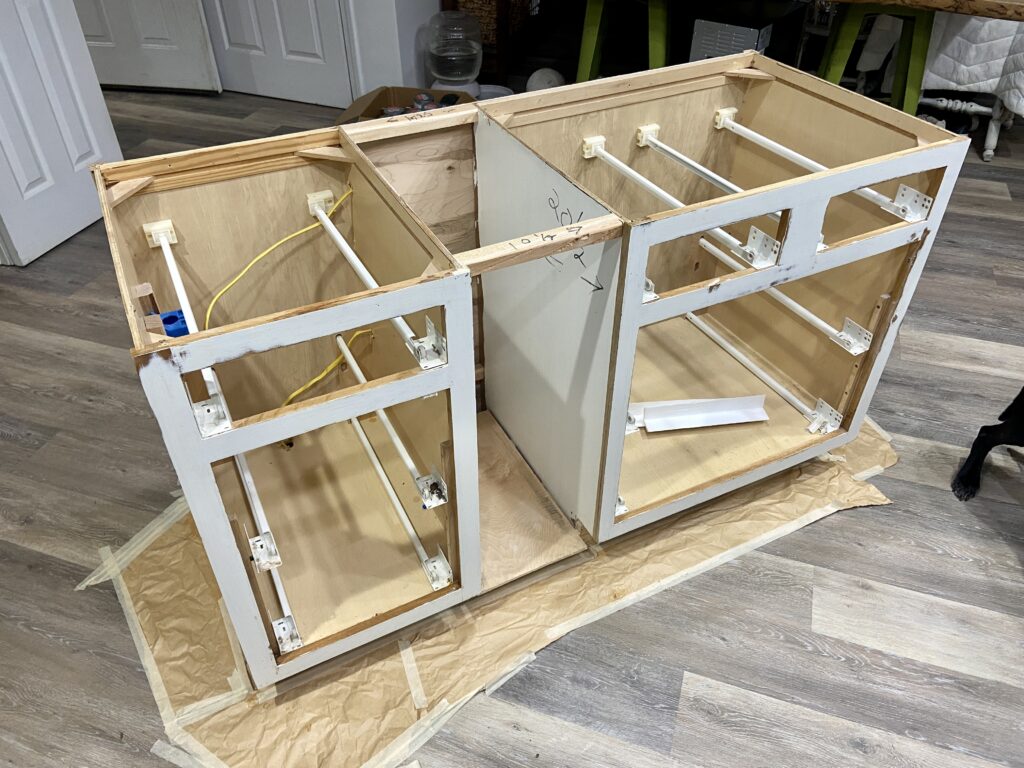
In addition to revamping the structure of our kitchen island, my husband took it upon himself to level up our cabinet game. With his keen eye for design and craftsmanship, he squared off our cabinet doors and drawers, giving them a modern and sleek appearance that perfectly complemented our new island aesthetic.
This small yet significant touch not only added to the overall cohesiveness of our kitchen space but also set the stage for the transformative paint job that was about to take place.

This post is sponsored by the wonderful folks at Country Chic Paint. However, I will still be providing my amazing readers with opinions that are 100% my own, and based on my personal experience using their AWESOME products. It also will include some affiliate links, but they are for your convenience. I promise! Please click here to read my full disclosure policy.
What You’ll Need:
- mineral spirits or lacquer thinner
- a roll of painter’s tape
- paper towels
- paintbrush(es)
- Country Chic Paint in Peacoat
- Country Chic Paint Clear Coat
- Country Chic Paint Primer
- Country Chic Paint Sponges
- mini foam roller kit
Step 1: Let’s Get to Cleanin’!
Before we bust out the paintbrushes, it’s time to roll up our sleeves and give those cabinets a good scrub-a-dub-dub! Take off those cabinet doors and get ready to banish grease and grime like a pro. A little mineral spirits, lacquer thinner, or even vinegar and water will do the trick to ensure your paint job sticks like glue!
NOTES:
- Keep those knobs and hinges safe and sound in a Ziploc baggie so they don’t go wandering off.
- Don’t forget to tape off any areas you do not want to accidentally get paint on. Ex. floors, countertops, etc.
Step 2: Paint Like a Pro (But First, Let’s Prime)!
I’m not even going to try to pretend that I do this every time… I told you I wouldn’t lie to you! However, before you unleash your inner artist, you really should use primer. Especially on a surface that you are touching every day.
If you and your family are anything like mine, your kitchen is well-liked and well-used. Do yourself a favor and use primer! I highly recommend using two coats and waiting at least a few hours in between each coat.
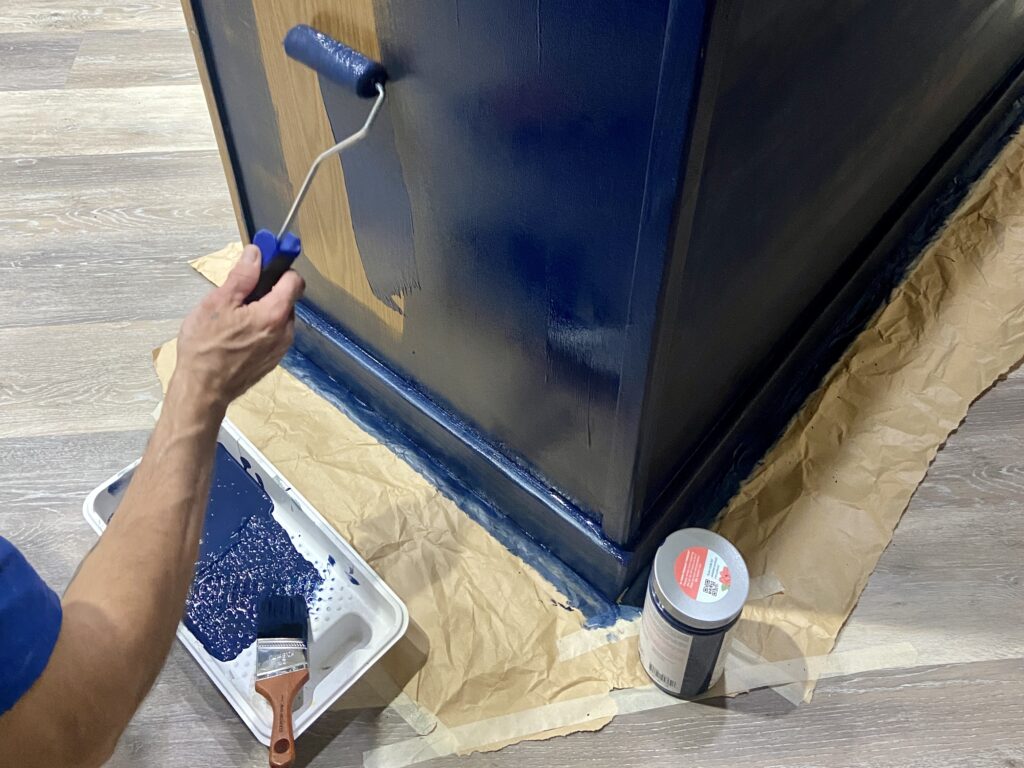
Step 3: Let the Painting Party Begin!
Cue the confetti and break out your favorite hue! Whether you’re feeling bold and beautiful or calm and collected, I just know you’ll find a color to match your kitchen dreams.
First, don’t forget to shake, stir, and pour like a pro for a flawless finish that will make your kitchen island the star of the show!
Also, remember that multiple thin coats are always better than one thick coat! Trust me, your cabinets will thank you later.
Last, I’ve found over the years that brushes work wonders around edges and corners, but a mini foam roller is amazingggg for large areas.
Step 4: Seal the Deal with Clear Coat
Before you call it a day, it’s time to seal the deal with a coat of clear coat. This magical potion will protect your masterpiece from daily wear and tear, ensuring your kitchen island stays looking fabulous for years to come.
Grab your sponge or brush and get ready to seal the deal like a true DIYer! Just remember to do multple, thin coats just like your paint.
More of What You Love: Check Out These Recommended Posts!
- All My Kitchen Posts
- How to Effectively Update Your Rustic Coffee Station with Paint
- Astonishingly Easy Repurposed Table Turned Wood Tilt Out Trash Can
- The Ultimate Pantry Makeover: How to Organize, Declutter, and Beautify Your Kitchen Storage
- Ready to Drool? 12 Cake Stand Ideas You Can’t Miss!

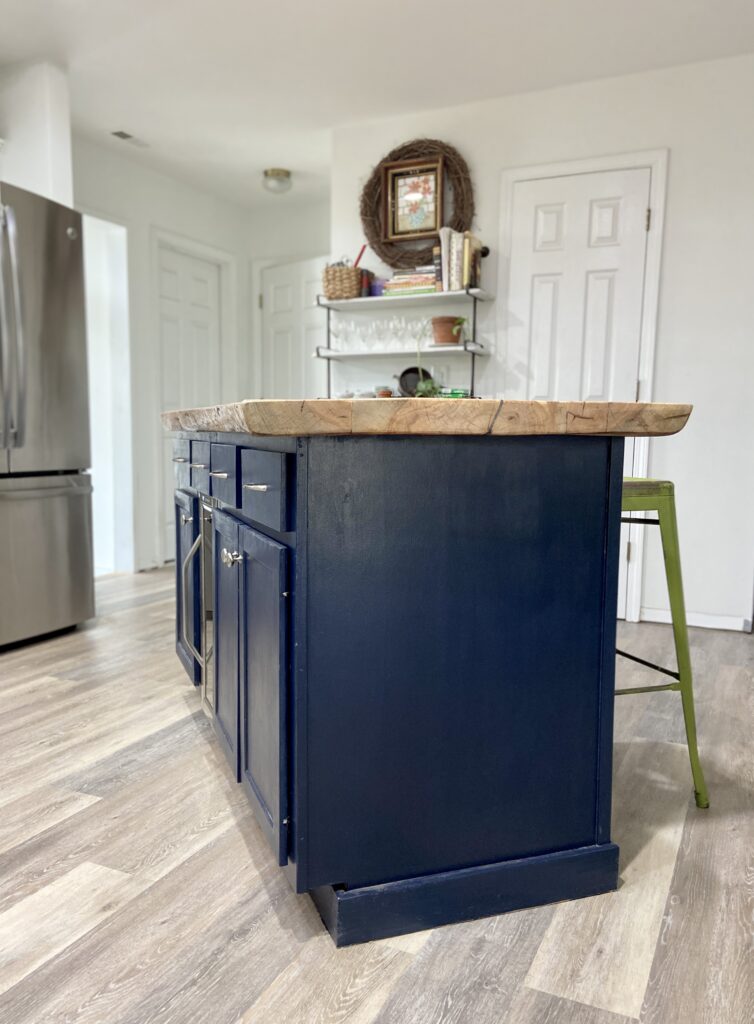
Kitchen Island Makeover Before and After
My husband and I still plan on repainting the rest of the kitchen, and renovating the countertops, so keep your eyes and ears open for that beauty of a post!
But for now, that’ll be a wrap! With a little bit of elbow grease and a whole lot of creativity, you can transform your kitchen island from drab to fab in no time flat. So what are you waiting for? Let’s get painting!