• About
  • Artist Resources
    • Classes
  • Blog
    • Crafts
    • Decor
    • Holidays
    • Living
    • SVG Files
  • Portfolio
    • Illustrations
    • Surface Pattern Designs
    • Typography
  • Work With Me
    • Disclosure & Privacy Policy
  • Contact

LZ Cathcart

Delightful designs and illustrations.

  • My Account
    • Shop Policies
  • Apparel
    • Baby & Kids
    • Women
  • Art Prints
  • Mugs
  • Phone Cases
  • Pillows
  • Stickers
  • Tote Bags
  • SVG Vector Art
  • Freebies
  • 0 items

Decor SVG Files

DIY Farmers Market Sign PLUS Free SVG Cut File Just for You!

This post may include affiliate links. If you purchase something through the link, I may receive a small commission at no extra charge to you. Please read my disclosure policy for more details.

Tweet
Pin218
Share4
222 Shares

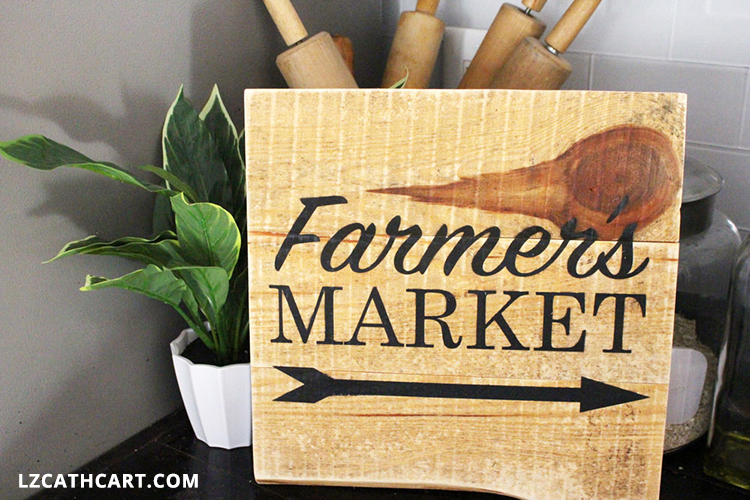
Create this super, easy DIY Farmers Market Sign with just a few simple supplies. PLUS, it comes with a FREE SVG Cut File just for you!
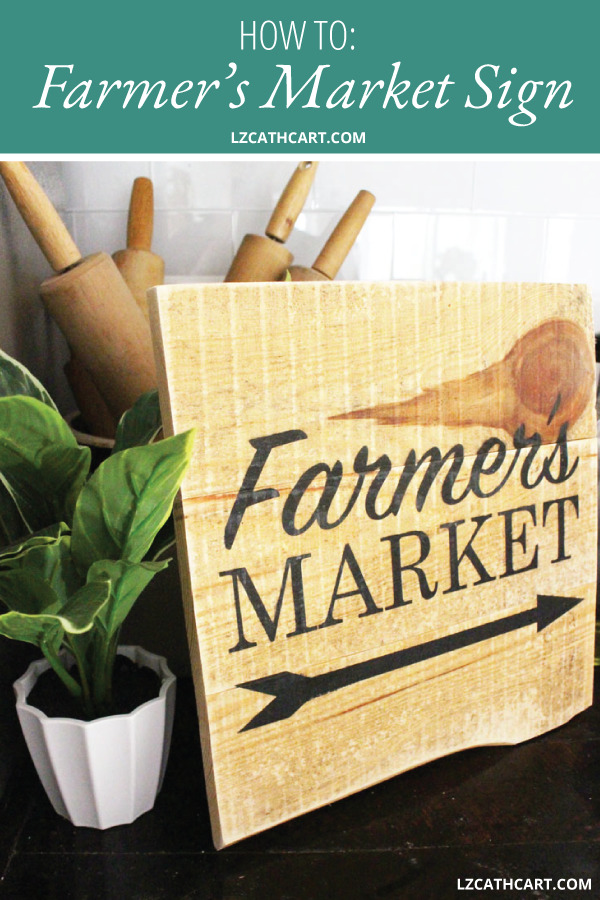
Create this super, easy DIY Farmers Market Sign with just a few simple supplies. PLUS, it comes with a FREE SVG Cut File just for you! #farmersmarketsign #farmhousesign #diywoodsign #diyreclaimedwoodsign #woodsign #diyfarmersmarketsign #diyfarmersmarketsign

Don’t you just love the look of a vintage or antiqued sign? For me, the older and rustier it looks, the better!

However, purchasing those kinds of signs can be super expensive, and I know that all you crafters out there will agree with me… why spend your hard earned money when you can DIY it, right?!

Plus, one of the best things about this particular project is that you can make it as old or new looking as you’d like.

So, let’s get DIY this Farmers Market Sign ASAP!

DIY Farmers Market Sign PLUS Free SVG Cut File Just for You

Materials

  • 3 – Pallet Wood Pieces (12″L)and 2 – Wood Pieces (2″W x 8-10″L for back support)
  • Vinyl (this is my favorite brand!!)
  • Transfer Tape
  • Squeegee (a sturdy credit card will work great too)
  • Cutting Machine (Silhouette or Cricut — your choice!)
  • 6″ x 6″ Cabinet Grade Plywood
  • 1-3/16″ Brad Nails (or finish nails)
  • Brad Nail Gun (or hammer)
  • Sander or sand paper
  • Black Spray Paint 
  • Matte Top Coat Spray Paint 
FARMHOUSE SIGN

Steps

1. First, you’ll need to clean and sand off your pallet boards. I like to literally brush off all of the dirt from my surface after sanding them. This will help ensure that you have not missed any random debris.

Learn how to create GORGEOUS signs with
my FREE guide!

    We respect your privacy. Unsubscribe at anytime.

    2. Line up your three boards on a flat surface so they sit evenly next to each other.

    3. Next, take your two back support pieces and place them evenly away from each other on the backside. Nail into place.
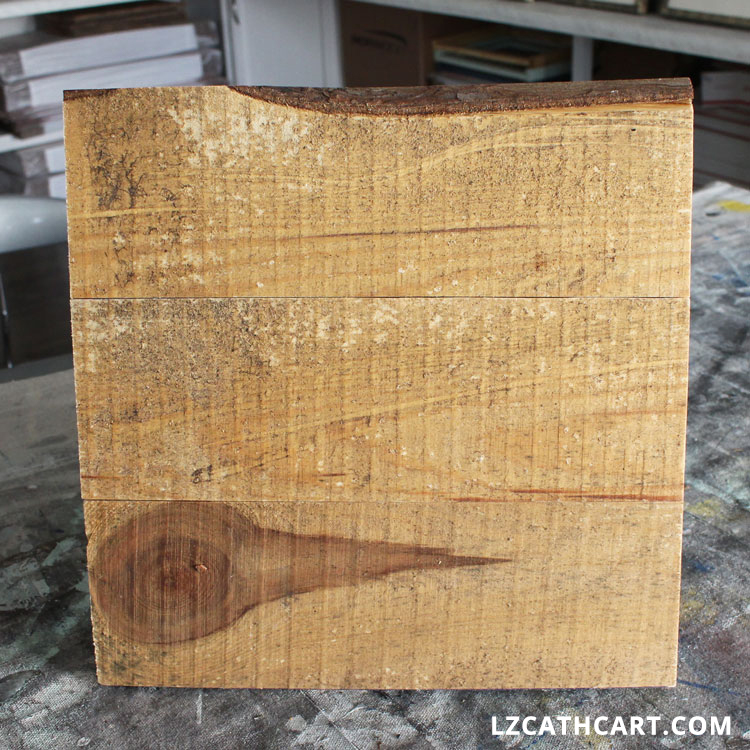
    DIY wood sign

    4. Then, add a light layer of your top coat spray paint to help reduce the amount of your paint you will be using. Let it dry.

    5. Download the SVG template at the below link.

    6. Next, it’s time to add your design! It’s extremely important that you do not apply too much paint, or it will go underneath your stencil creating a less than perfect design. Always use several, light layers.

    7. Using your cutting machine of choice cut out the SVG cut file design with the vinyl on your mat. 
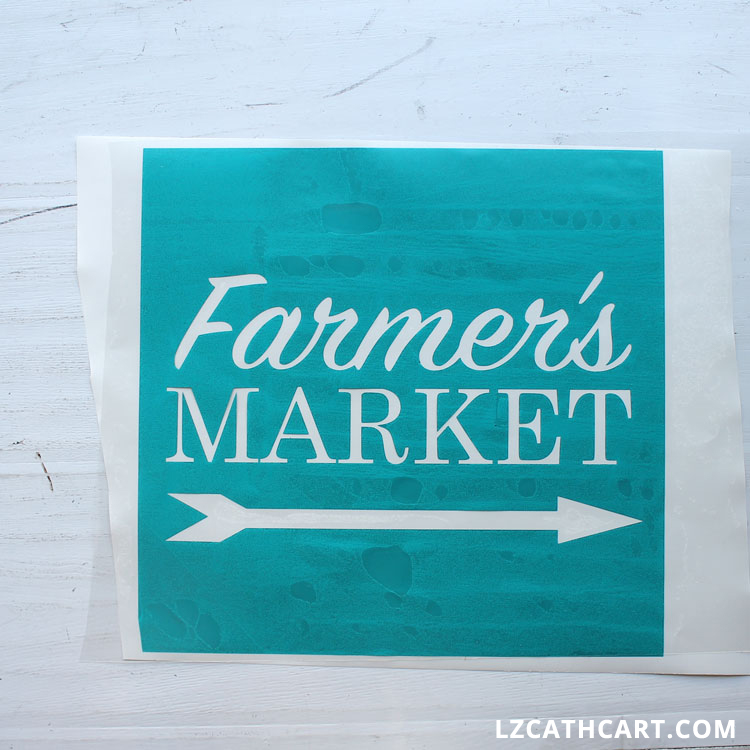
    farmers market SVG

    DIY Farmers Market Sign PLUS Free SVG Cut File Just for You!

    8. Remove the vinyl from your mat, and apply your transfer tape.

    9. Now, remove the backing from your vinyl, and carefully take out the vinyl pieces of your design that you will be painting.

    10. Once you have removed all your vinyl pieces it’s time to apply your stencil to your sign.

    Line up your vinyl with your board so it will be applied evenly, and using your squeegee firmly push it down. 
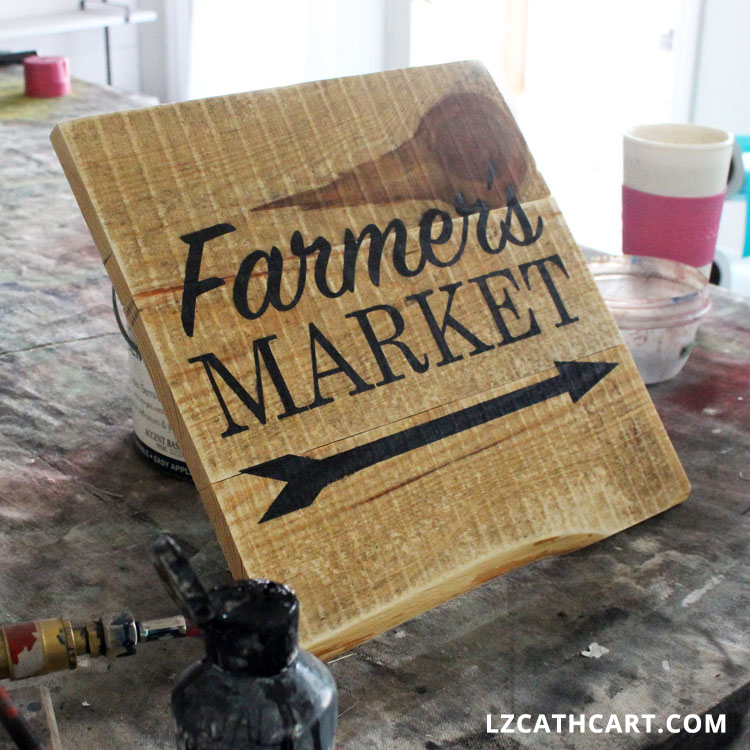
    11. Slowly remove your transfer tape so that only your vinyl is left on your board.

    In a ventilated area, evenly apply a light coat of spray paint it (or with lacquer paint and your airbrush) to your vinyl. Allow it to dry and then apply your next coat. Repeat this step until your desired color has been achieved.

    12. Once your paint has completely dried remove your vinyl. For a more vintage look use your sander and lightly distress the edges as well as your entire wood sign.

    13. Add a light layer of your top coat spray paint for protection and let the wood sign dry.

    14. Last, add hangers to this beauty and hang it up!
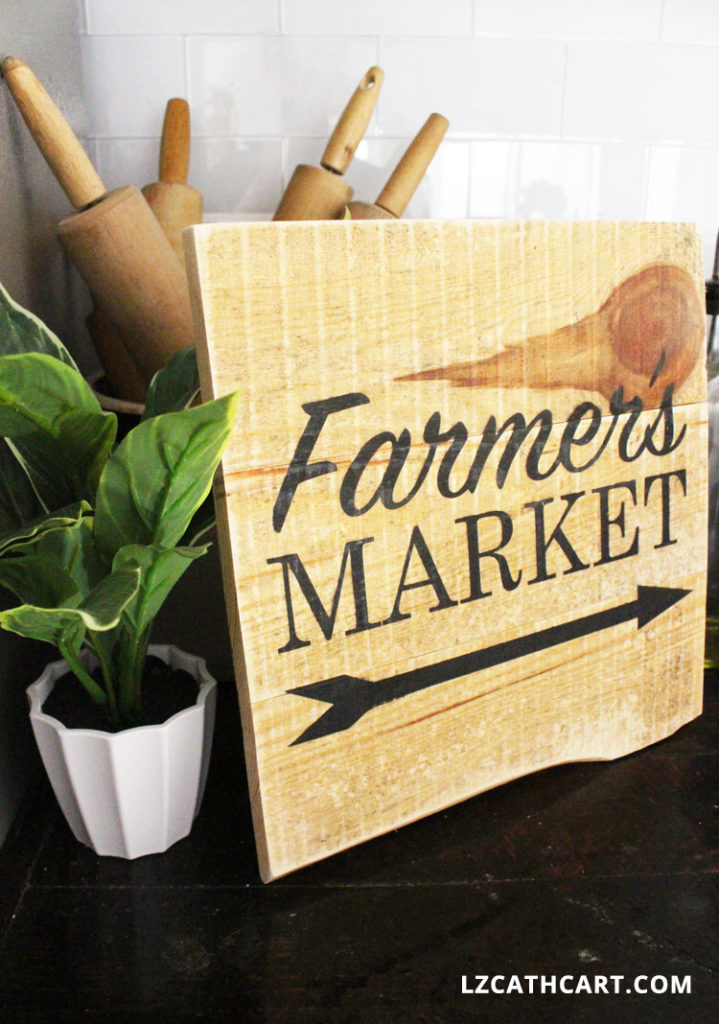
    how to farmers market sign

    Gorgeousness! Didn’t that turn out great?! Now, go ahead and grab that FREE SVG file below, and make yourself one too!

    If you loved this project then you’ll definitely want to browse some of my other Wood Signs that are full of step-by-step tutorials as well as freebies galore!

    Can’t wait to see you again, and Happy Crafting! – LZ

    Pssttt… don’t forget to download the file before you go!

    Let’s be Social

    • Instagram @thesummeryumbrella
    • Facebook The Summery Umbrella
    • Pinterest summeryumbrella 
    • DIY Flowers Quote Wood Sign
    • we still do svg
      We Still Do Wood Sign
    • funny laundry room sign
      DIY Laundry Sign
    • How to Paint Your Metal Front Door
    • how to paint metal bar stools
      How to Paint and Distress Metal Bar Stools
    • How to Create a Pretty and Functional Chicken Coop
    • Easy Hand Lettered DIY Wood Sign
    • diy mason jar pendant light
      DIY Mason Jar Pendant Light
    • DIY Nightstand

    This post was originally created in April 2017, and then updated in April 2020.


    Leave a Comment

    About LZ Cathcart

    LZ is an artist who loves creating illustrations, custom hand lettering and patterns for gifts, home decor, fabric, and wallpaper. She is also the creative mind behind The Summery Umbrella where she shows you how to make handmade signs, various DIY projects and gorgeous home decor.

    When she’s not dreaming up new projects and designs you can typically find her drinking her fair share of coffee, hanging out with her super handy husband and her sweet and sassy daughter. They all have a hard time sitting sit so this family is constantly on the go!

    Don’t Miss Out!

    Learn how to create GORGEOUS signs with my FREE guide. It's the perfect source for getting started and moving forward!

    « How to Make Your Very Own Wood Burned Signs
    How to Make a DIY Wood Slice Clock »

    Leave a Reply Cancel reply

    Your email address will not be published. Required fields are marked *

    Recipe Rating


    This site uses Akismet to reduce spam. Learn how your comment data is processed.

    Hi! I'm LZ, and welcome to my humble abode! Don't be shy. Come on in! This is my happy place where I share my life, creativity as well as my quirky and country sense of humor on a daily basis. So, grab yourself a tall glass of something yummy, and let me introduce you to my realm. :)

    I want to find…

    Post Categories

    Featured On

    Let’s be social

    Do you like to change it up sometimes? Maybe with Do you like to change it up sometimes? Maybe with decor, your art, food, etc. As for me, I do it... ALL. THE. TIME. It's a force of nature, but it definitely keeps it interesting! ⁣—⁣For instance, my new favorite "change" is mixing up watercolor paints with oil pastels. Sigh. Soooo interesting and amazing!
    Don't worry, my friend. Just grow plants. ⁣—⁣Purchase one or many and ... get FREE shipping.⁣⁣#stickeraddict #stickers #decals #stickerlove #stickerart #watercolor #digitalart #homedecor #acrylic #canvas #mixedmedia #homedesign #interior #modernart #abstractpainting #painter #artstudio #abstractartist #interiors #acrylicpaint #decoration #floralpainting #creativeart #draw #instaart #instahome #homestyle #thesummeryumbrella #lzcathcart
    Stickers, stickers, and oh yea... more stickers! Y Stickers, stickers, and oh yea... more stickers! You could definitely say that I've caught sticker-fever. 🤒 ❤⁣—⁣Purchase one or many and ... get FREE shipping.
    I'm sooo loving on these summer-inspired fruit pop I'm sooo loving on these summer-inspired fruit popsicles. ❤⁣—⁣Purchase one or many and ... get FREE shipping.
    If you've been following me through my stories you If you've been following me through my stories you'll know that I very recently finished my greenhouse. I cannot even begin to explain how excited I am to have this beautiful space so close to my home, and how much I already enjoy using it to relax and .. duh... grow plants 🤣⁣—⁣Do you have a favorite place to go and relax?
    Last year (isn't that so weird to say?!) I created Last year (isn't that so weird to say?!) I created these two cuties and I always felt like they were talking to each other. Nothing too complicated or crazy, but talking nonetheless. With that being said, I decided to add in the "hi" and "hello" afterward to give it a little nerdy character! ⁣—⁣Do you ever make up stories for the animals in your life? Obviously, you already know that I do!! You should hear the stories I make up for the squirrels! 🤣
    Follow on Instagram

    Copyright © 2021 · LZ Cathcart of The Summery Umbrella, LLC

    Log in