DIY Terrariums: An Exquisite Mini Garden In 8 Simple Steps
Looking to add a little character to a room with DIY terrariums? Or perhaps you want to add a touch of nature by adding a mini-garden to your small apartment.
Maybe you just love the idea of a self-contained ecosystem that thrives with minimal intervention. Or maybe, just maybe, you want something that is low-maintenance and won’t die if you ‘occasionally’ forget to water it.
(Hey! We’ve all killed a houseplant at some point. Trust me, it happens to the best of us.)

Whatever the reason, the truth is that DIY terrariums make for exquisite mini-gardens for every room! And there’s something so calming about them.
Unfortunately, many people get overwhelmed when they read the words “DIY terrarium,” when in reality, building a mini garden is quite soothing and can be done in 8 simple steps!
What You’ll Need:
Here’s a list of materials and tools you’ll need to get started on your terrarium:
Equipment and Tools
- Gloves for protection and cleanliness
- A watering can for gentle, controlled watering
- A trowel for moving soil and placing plants
Materials
- A glass container (Opt for one that suits the decor of the room. (It also helps if you know where you want to place it.)
- Horticultural charcoal for drainage and impurity absorption
- Potting mix, preferably peat-based, for tropical terrarium plants
- A selection of terrarium plants with similar light and water needs
- Sheet moss to enhance aesthetics and help with moisture control
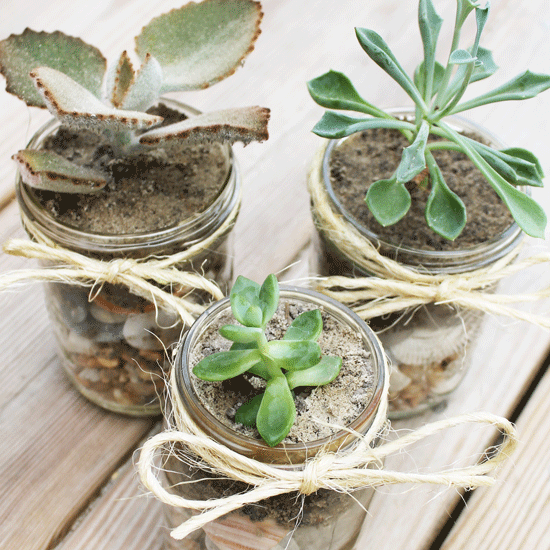
Step 1: Choose Your Container
Find a container that complements your room’s decor. Whether a simple glass jar or an ornate geometric design, the size should fit your space.
Smaller containers are great for small spaces and require fewer plants, which makes them easier to manage.

Step 2: Select the Right Plants
Opt for plants with similar water and light requirements for a harmonious terrarium. Starfish plants, air plants, and nerve plants are excellent choices. Each brings unique textures and colors.
Consider the plants’ growth habits and how they will look together in the container. This is the part where you play around and match the theme of your room or space!
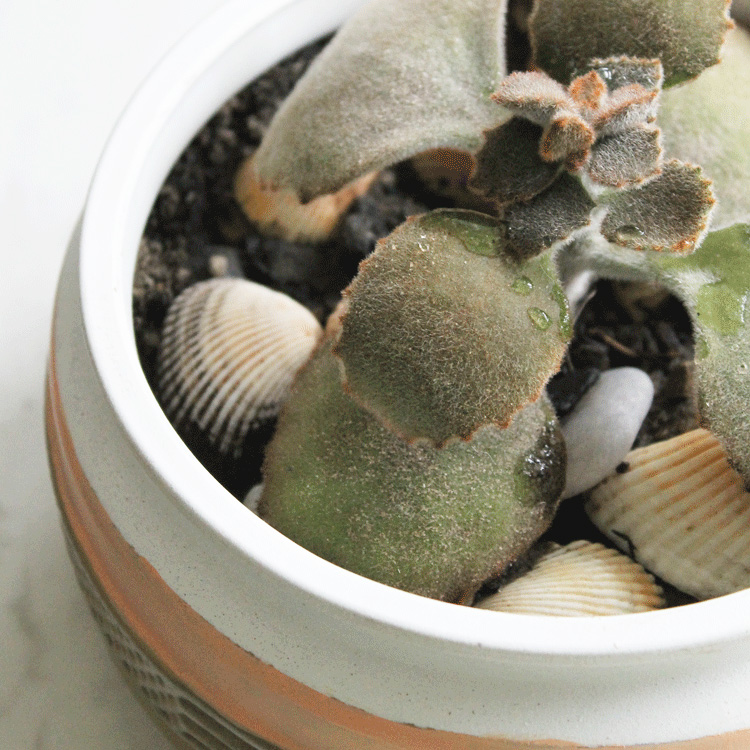
Step 3: Prepare the Container
Start with a layer of horticultural charcoal at the bottom. This helps with drainage and keeps the water fresh. Then add your potting soil, pressing it down lightly.
For better root health, mix some charcoal into the soil. This setup mimics the plants’ natural growing conditions and helps prevent root rot.

More of What You Love: Check Out These Recommended Posts!
- DIY Upcycled Light Cover Planter
- How to Create Your Own Amazing DIY Mason Jar Succulents
- Root Box™ Large Terrarium Kit
- Creating a Lush Haven: Top 20 Low-Maintenance Indoor Plants
- This Repurposed Toolbox Turned Flower Planter is Perfect for Your Porch!
- Step by Step Guide to Making Your Own DIY Hanging Planter
Step 4: Arrange Your Plants
Gently take your plants out of their pots. Arrange them on the soil, keeping in mind their height and spread.
This step is crucial for planning your terrarium’s layout. Ensure every plant has space around it so it can grow.
Step 5: Start Planting
Put on your gloves and use your trowel to create small holes for each plant.
Be sure to plant them at the right depth. A good way to check is to make sure that the roots are fully covered, but the plants don’t stick out too much. This ensures that your plants will have enough room to establish themselves.
Step 6: Add Moss
Now add the moss between the plants.
Moss is not just decorative; it is crucial to maintaining the terrarium’s ecosystem. It helps control moisture levels and absorbs any unpleasant odors, contributing to the overall health of your mini garden.

Step 7: Water
Check the soil’s moisture level before watering. If the soil is dry, water the plants lightly.
The key is to provide enough moisture without waterlogging the soil, as terrariums have limited drainage. Overwatering is a common mistake in terrarium care.
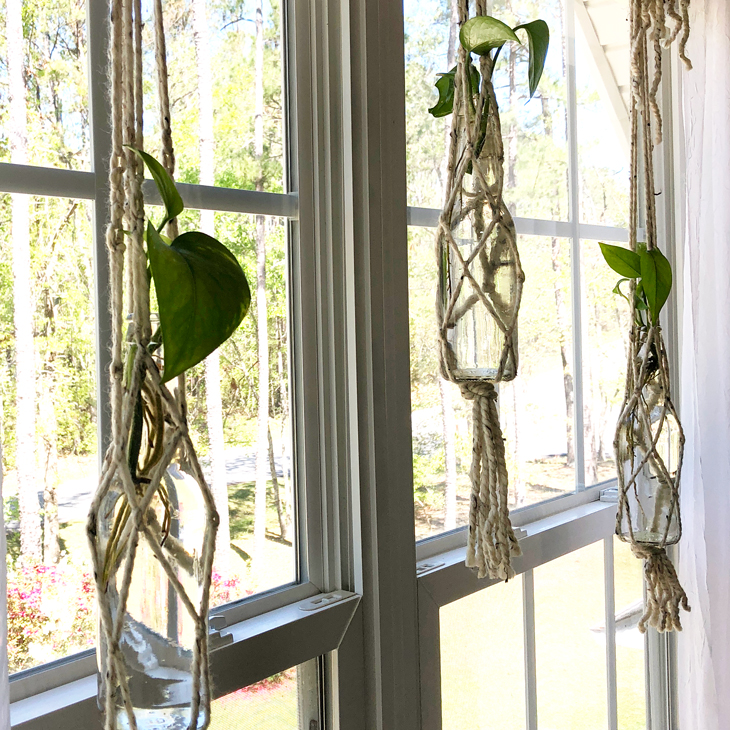
Step 8: Find a Nice Spot
Place your DIY terrarium in an area that receives bright but indirect light.
Direct sunlight can be too harsh for many terrarium plants. The location should also be stable in temperature, avoiding spots too close to heating or cooling vents.
And that’s it!

Maintaining your DIY Terrariums
While a terrarium is low-maintenance, it does require regular upkeep.
- Make sure to check for any signs of disease or decay, like wilted or yellowing leaves, and remove them promptly.
- Keep the glass clean for both aesthetics and plant health.
- Trimming overgrown plants will maintain the terrarium’s appearance and prevent overcrowding.
Now sit back and enjoy your living art piece. You’ll notice your DIY terrariums are great conversation starters. Just remember to take regular care, which will ensure your terrarium remains beautiful and healthy for a long time.