DIY Dresser Update: Antiquing Power at its Finest!
Sometimes your furniture is in great condition but just needs a little tweak. Kind of like this DIY Dresser Update! Plus, it’s sooo EASY!

DIY Dresser Update
A long time ago (let’s say a few years back) in a galaxy not so far away lived a little girl with a dream. She wanted to become an artist (I prefer the term designer nowadays), but had no clue where to begin.
As a young child, she had high hopes of working for Walt Disney in their animation studios since she enjoyed so many of the Disney classics on her VCR (yes–I am that old!), but soon realized that it definitely was not her forte.
Next, she tried her hand at portrait pencil drawings, and while she loved doing them they just didn’t satisfy the itch she was trying to scratch.
Ok, ok. Let’s skip forward about seven years to my first house.
I really wish I had pictures to show you guys my first decorating job. It’s truly laughable, but holy cow did I desperately need some words of advice in the home decor department! I used the following colors in my first house:
- rust (hallways)
- lilac (master bath)
- mint green (Technically this wasn’t my fault. This color was already in one of the bedrooms when I bought it)
- maroon (2nd guest bedroom–also not my fault)
- plum (living room)
- pacific blue (master bedroom)
DIY Dresser Update: Antiquing Power at its Finest!
Yowzers, right?!
While I’ve always had an eye for design I’m sure you can relate that decorating an ENTIRE home is quite different.
Use too many colors and your home can look like a circus. Use only one color and then it can look too plain!
It just goes to show you that with practice (ahem–and a lot of it–for me apparently!) you can improve and also create a delightfully beautiful home.
Just in case you’ve forgotten here’s a little reminder of my dresser situation earlier in the month. It’s main function?
To hold clean clothes, but not always in the drawers.
Now, this dresser is by no means in a horrible state. It just lacks in purpose, and I wanted to add a little bit of white to it so it’s a little more cohesive with our now super-white bed frame.
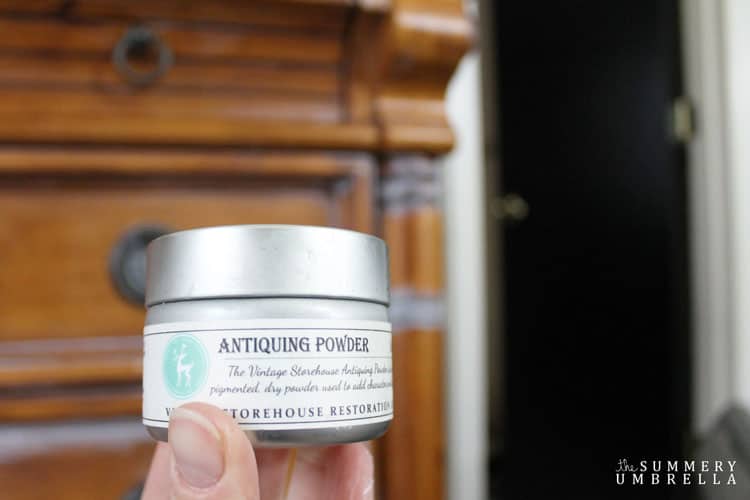
How did I accomplish this? I used a little thing called antiquing powder. It’s super easy to use, and I love how it gives my dresser just a little bit of color without overdoing it.
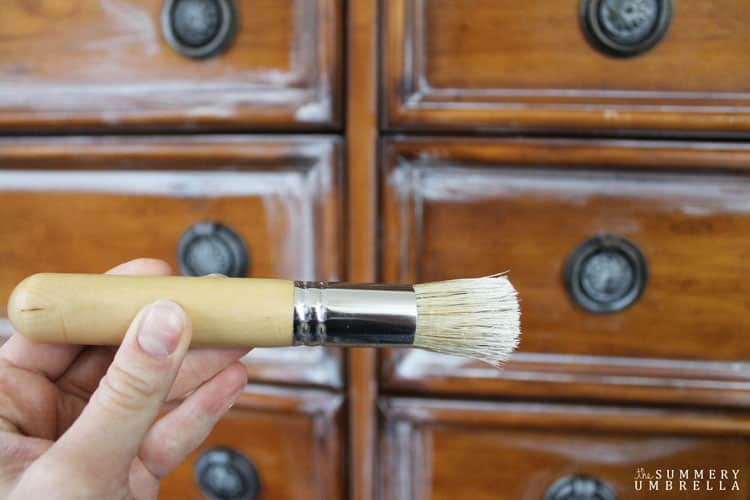
All you need is a round brush (it just makes it easier!) and some furniture wax. Remember when I used chalk paint on my bed frame update?
The last step is to add a little bit of wax for an added layer of protection. I had a little bit leftover, and it worked out just fine for this project too!
DIY Dresser Update: Antiquing Power at its Finest!
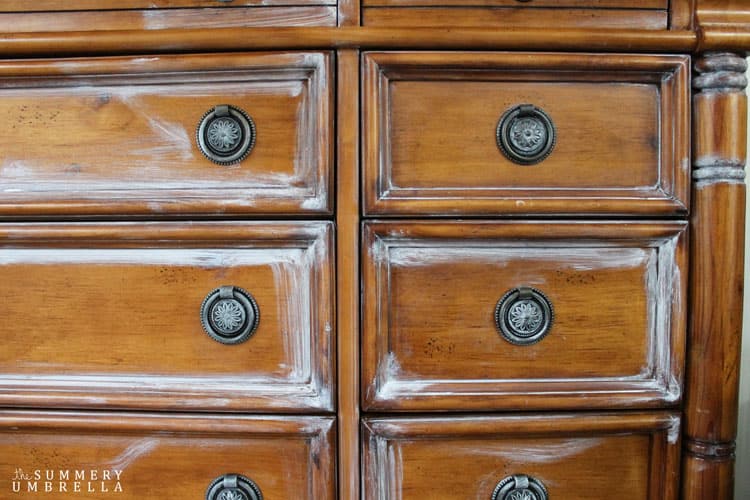
So, what I did was added a thin layer of wax to my dresser drawers, handles, and all the nooks and crannies.
Then, I put the antiquing powder directly onto the wax.
NOTE: I noticed that if you waited a few minutes and let the powder sit on the wax it stayed where it was supposed to a little better than if I wiped it off right away. This post does include some affiliate links, but they are for your convenience. Please click here to read my full disclosure policy.
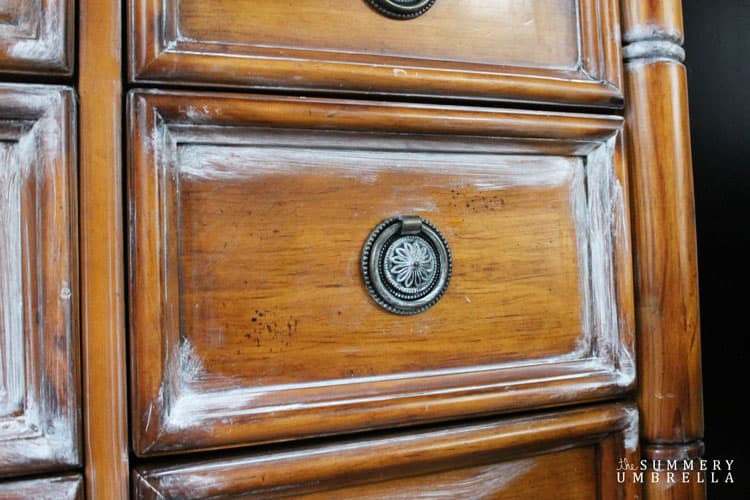
What’s awesome about this powder is that you can keep as much or little of it on your furniture piece of choice. The key here is to ensure that the powder sticks to spots that typically are not the focal point.

For instance, see image below.
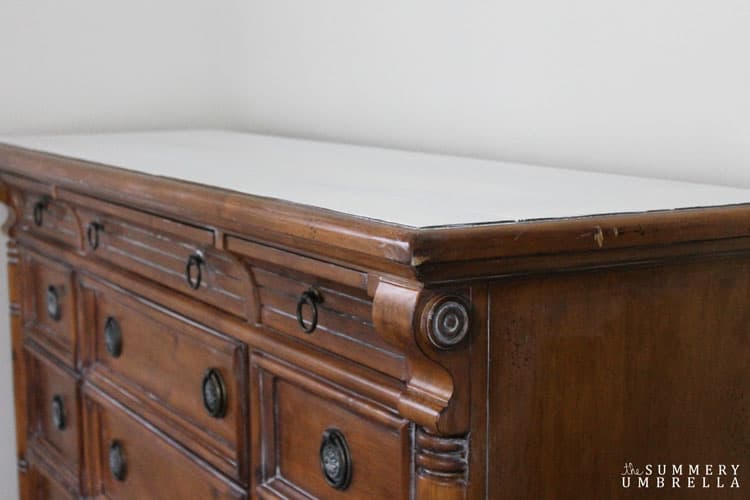
After I wiped up all of my access powder with a paper towel I realized that I still wanted more white for my own taste. Thankfully I still had a little bit of white chalk paint leftover (also from the bed frame redo), and coated the top of the dresser with a thin layer.
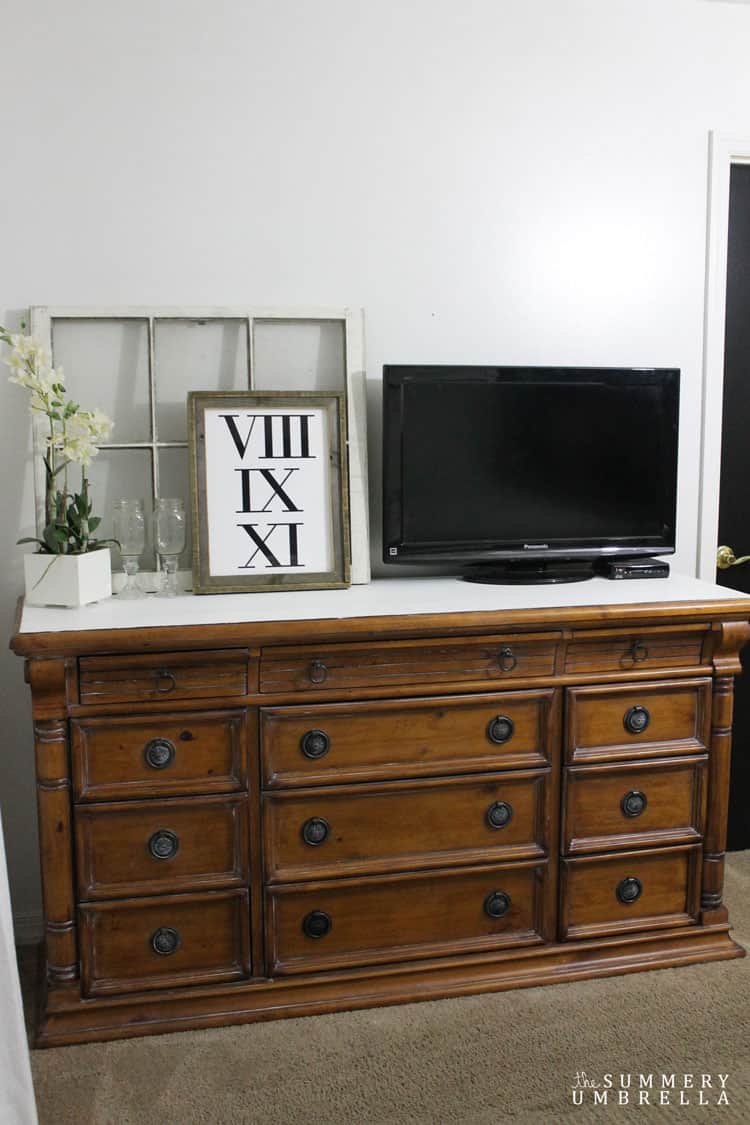
DIY Dresser Update: Antiquing Power at its Finest!
Now, I don’t think this is exactly how I want to style my dresser for the “final reveal” (I really want to add pink or coral bursts!), but not too shabby huh?
Nothing too extreme, but just something to change it up!
3.) new sheets and bedskirt (keep duvet)
4.) design/create bedside tables
5.) update the lighting
6.) add a rug
8.) add a little wall bling
Have a great weekend!





LZ, this is a great way to add a little something, something to furniture!! I haven’t heard of this antique powder….I’ll have to put that on my list of “must try products”. Your dresser looks fantastic!! 🙂
Thank you so much, Keri! I’m not sure how “new” this method is, but I’m definitely a fan. You must try it 🙂