Easy DIY Chandelier for Our Master Bedroom
Life is complicated enough as it is. Create this easy DIY Chandelier for your Master Bedroom in a few simple steps!

Easy DIY Chandelier for Our Master Bedroom
I cannot stress how important it is for me to not only create beautiful products and home decor projects, but it’s also gotta be easy to put it all altogether and make it happen.
Time is just not on my side, and until I figure out how to buy a clone of myself (fingers crossed sometime soon 😉 I most definitely need to work smarter, not harder!
I am embarrassed to say that even though I am working smarter when it comes to updating our master bedroom it sure is taking FOR-EVER to finish this puppy up.
Honestly, if I (or you!) had two full weekends completely free I do believe I could have finished up this room with no problem.
But, as we both know… “completely free” never happens.
Just as long as the project/room gets done (sometime or another) we’re doing pretty good, right?!
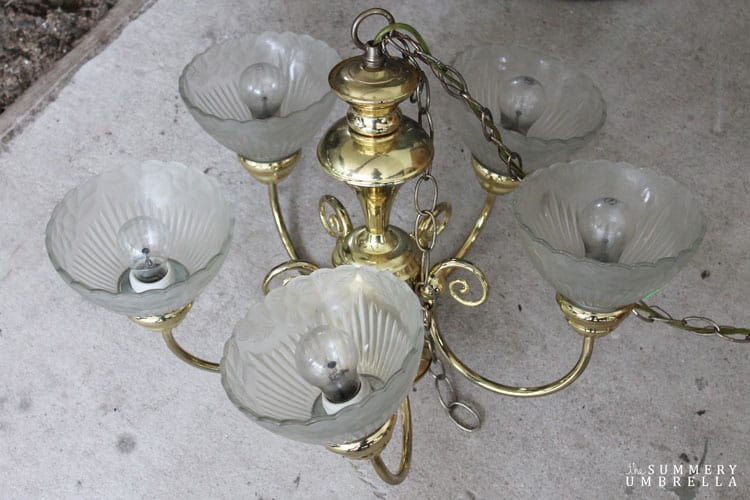
Can you believe that I picked up this old brass chandelier at my local Restore shop for only $5?
Yea.
A whole whopping $5.
I still can’t believe it myself! This post does include some affiliate links, but they are for your convenience. I promise! Please click here to read my full disclosure policy.
So, just in case you’ve forgotten. Below you’ll find a picture of what our lighting situation used to look like.
Don’t worry. I never can remember anything either 😉
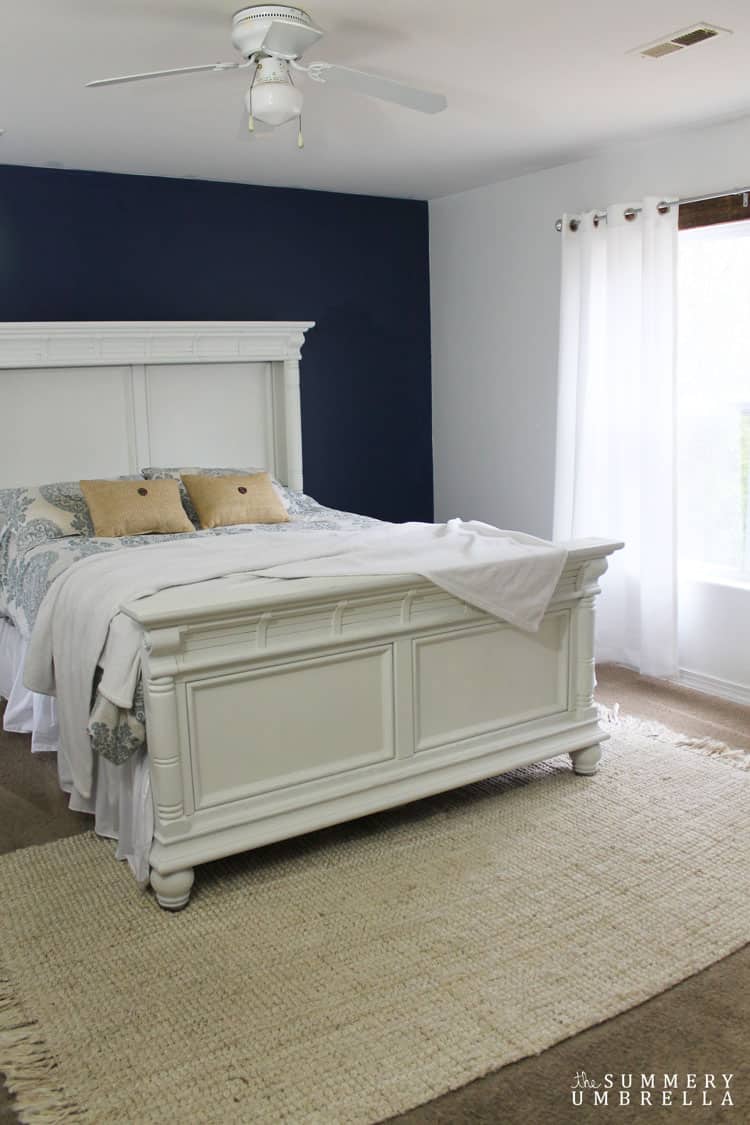
Please don’t judge my ceiling too much! Who knew switching out our lighting situation would reveal so much of a paint difference?!
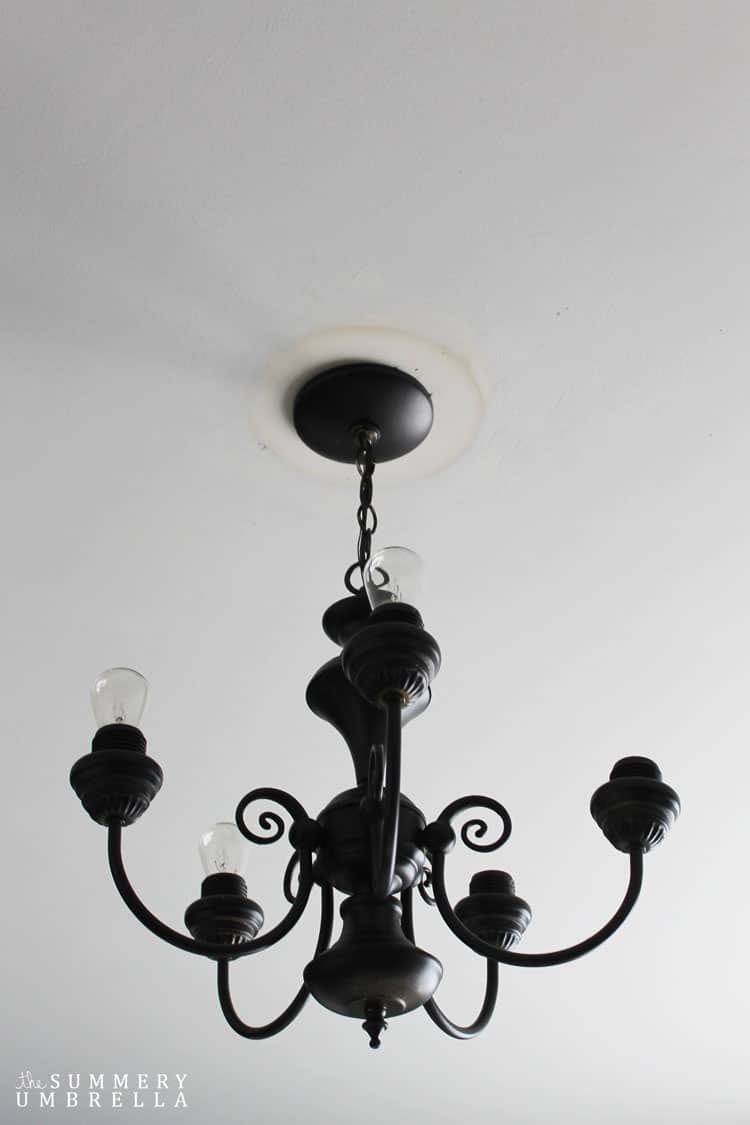
Easy DIY Chandelier for Our Master Bedroom
After purchasing this chandelier I simply spray painted it with my favorite Rust-Oleum Oil Rubbed Bronze Spray Paint, and then had Mike (aka. super talented hubby) install it.

Last, but not least, I added a few simple Crystal Acrylic Bead Strands to add just a little bit of that “bling” factor” to it.
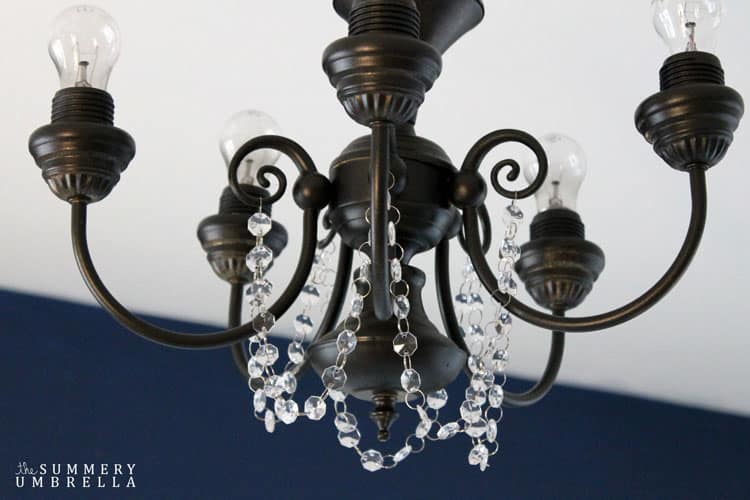

Isn’t this amazingly easy? HUGE difference, right?!
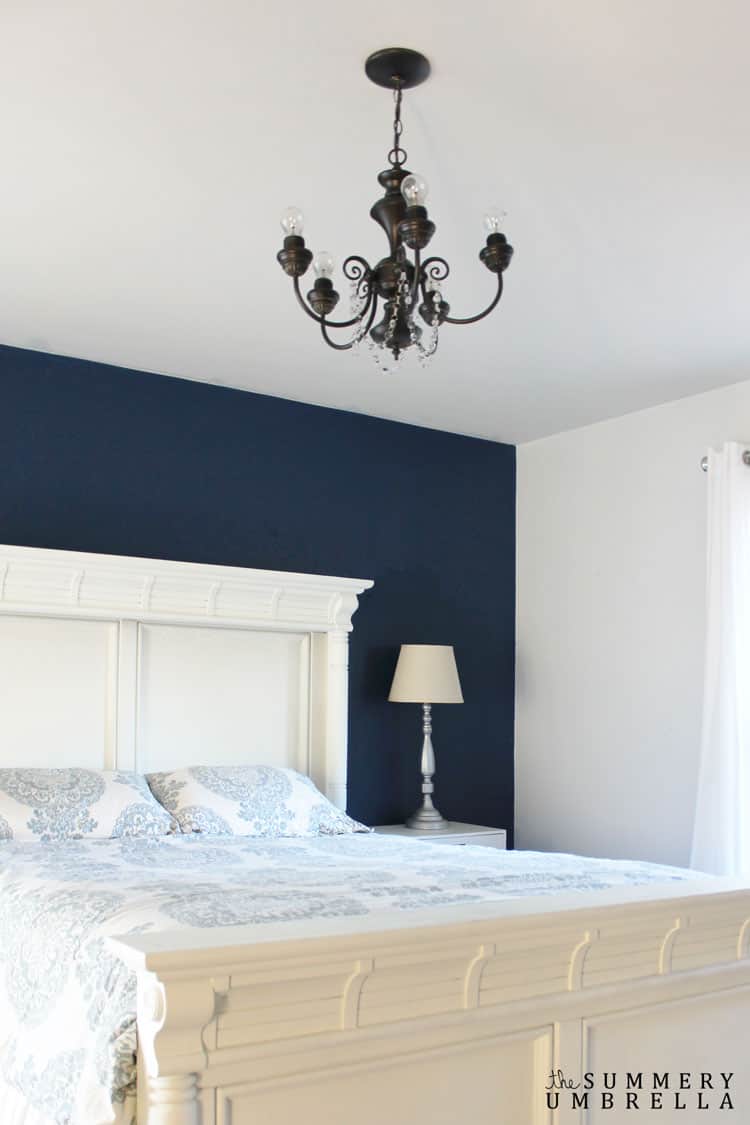
Have a great week!

