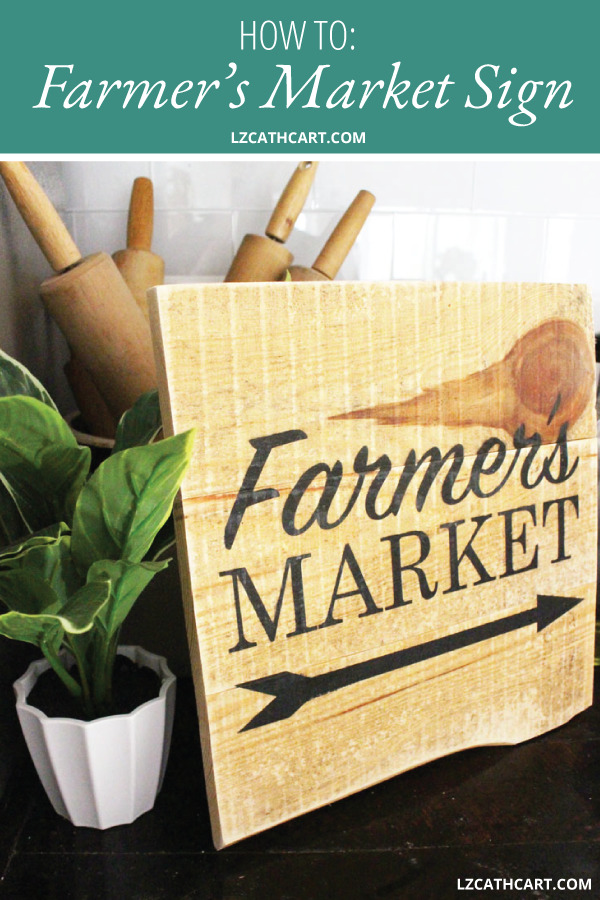
DIY Farmers Market Sign PLUS Free SVG Cut File Just for You!
Create this super, easy DIY Farmers Market Sign with just a few simple supplies. PLUS, it comes with a FREE SVG Cut File just for you!
Don’t you just love the look of a vintage or antiqued sign? For me, the older and rustier it looks, the better!
However, purchasing those kinds of signs can be super expensive, and I know that all you crafters out there will agree with me… why spend your hard-earned money when you can DIY it, right?!
Plus, one of the best things about this particular project is that you can make it as old or new looking as you’d like.
So, let’s get DIY this Farmers Market Sign ASAP!
DIY Farmers Market Sign PLUS Free SVG Cut File Just for You
Materials
- 3 – Pallet Wood Pieces (12″L)and 2 – Wood Pieces (2″W x 8-10″L for back support)
- Vinyl (this is my favorite brand!!)
- Transfer Tape
- Squeegee (a sturdy credit card will work great too)
- Cutting Machine (Silhouette or Cricut — your choice!)
- 6″ x 6″ Cabinet Grade Plywood
- 1-3/16″ Brad Nails (or finish nails)
- Brad Nail Gun (or hammer)
- Sander or sandpaper
- Black Spray Paint
- Matte Top Coat Spray Paint
Steps
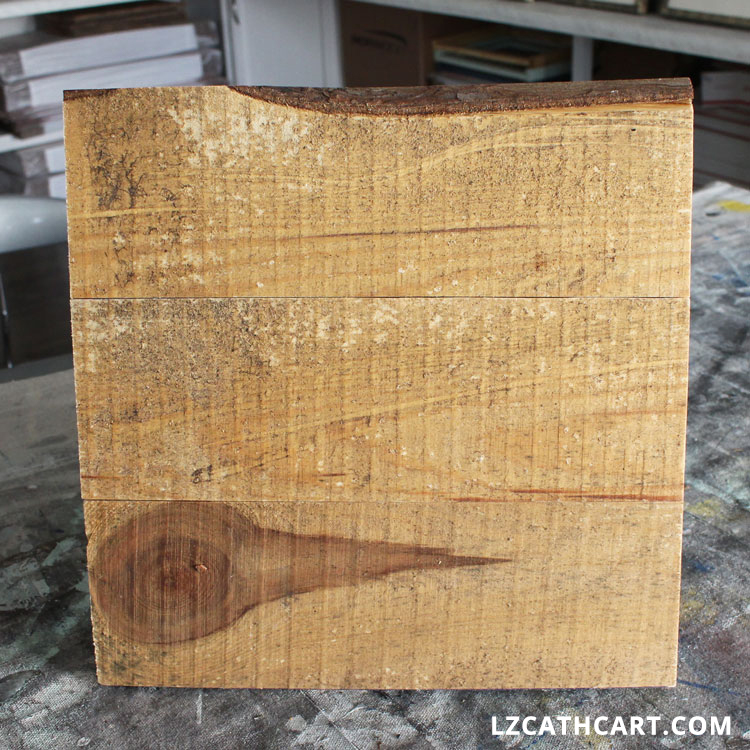
1. First, you’ll need to clean and sand off your pallet boards. I like to literally brush off all of the dirt from my surface after sanding them. This will help ensure that you have not missed any random debris.
Want this freebie? Sign up for access to my resource library below.
2. Line up your three boards on a flat surface so they sit evenly next to each other.
3. Next, take your two back support pieces and place them evenly away from each other on the backside. Nail into place.
4. Then, add a light layer of your top coat spray paint to help reduce the amount of your paint you will be using. Let it dry.
5. Download the SVG template at the resource library above (aka. freebies galore!).
6. Next, it’s time to add your design! It’s extremely important that you do not apply too much paint, or it will go underneath your stencil creating a less-than-perfect design. Always use several, light layers.
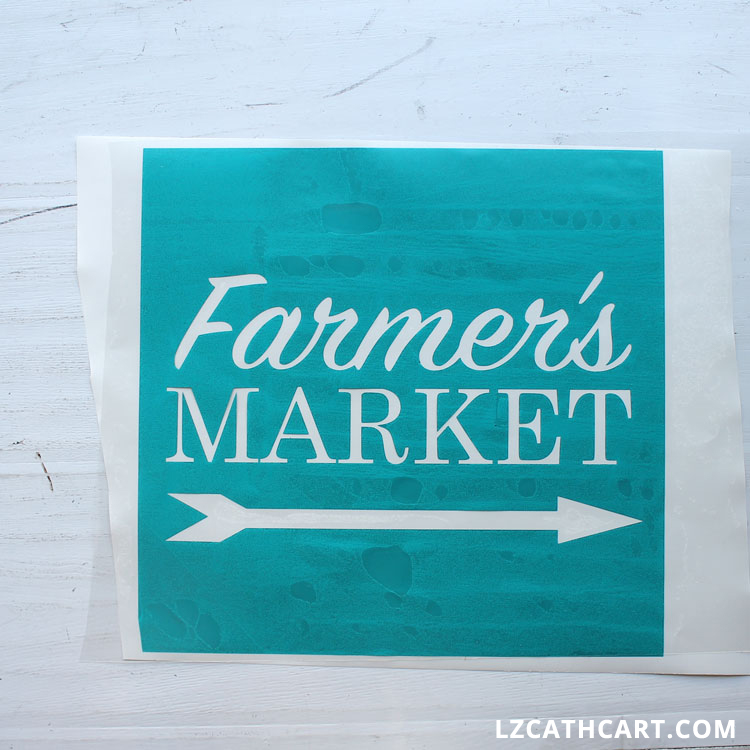
7. Using your cutting machine of choice cut out the SVG cut file design with the vinyl on your mat.

DIY Farmers Market Sign PLUS Free SVG Cut File Just for You!
8. Remove the vinyl from your mat, and apply your transfer tape.
9. Now, remove the backing from your vinyl, and carefully take out the vinyl pieces of your design that you will be painting.
10. Once you have removed all your vinyl pieces it’s time to apply your stencil to your sign.
Line up your vinyl with your board so it will be applied evenly, and using your squeegee firmly push it down.
11. Slowly remove your transfer tape so that only your vinyl is left on your board.
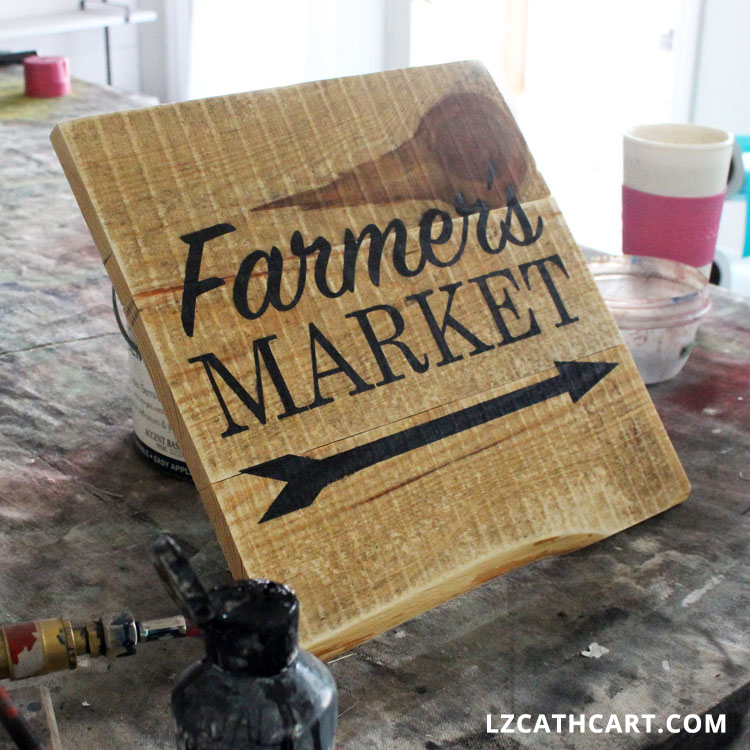
In a ventilated area, evenly apply a light coat of spray paint it (or with lacquer paint and your airbrush) to your vinyl. Allow it to dry and then apply your next coat. Repeat this step until your desired color has been achieved.
12. Once your paint has completely dried remove your vinyl. For a more vintage look use your sander and lightly distress the edges as well as your entire wood sign.
13. Add a light layer of your top coat spray paint for protection and let the wood sign dry.
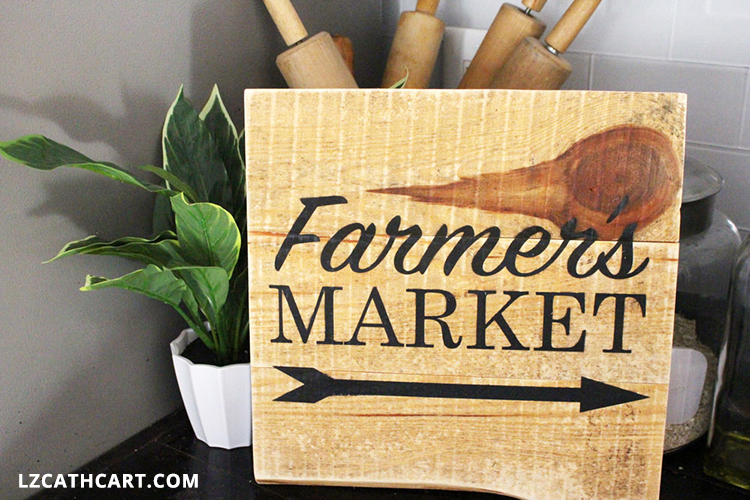
14. Last, add hangers to this beauty and hang it up!
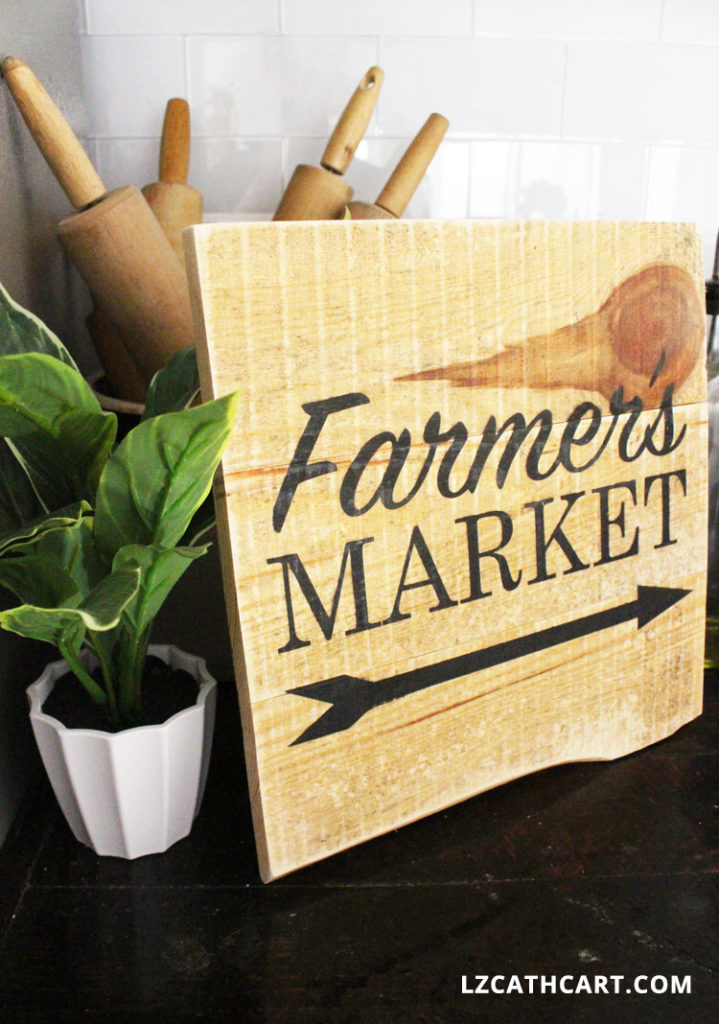
Gorgeousness! Didn’t that turn out great?! Now, go ahead and grab that FREE SVG file below, and make yourself one too!
If you loved this project then you’ll definitely want to browse some of my other Wood Signs that are full of step-by-step tutorials as well as freebies galore!
Can’t wait to see you again, and Happy Crafting!

Psstt… don’t forget to download this free SVG file by signing up for my resource library above!
Let’s be Social
This post was updated in April 2023.