DIY Curtains in No Time: The Iron-On Tape Trick You Will Love
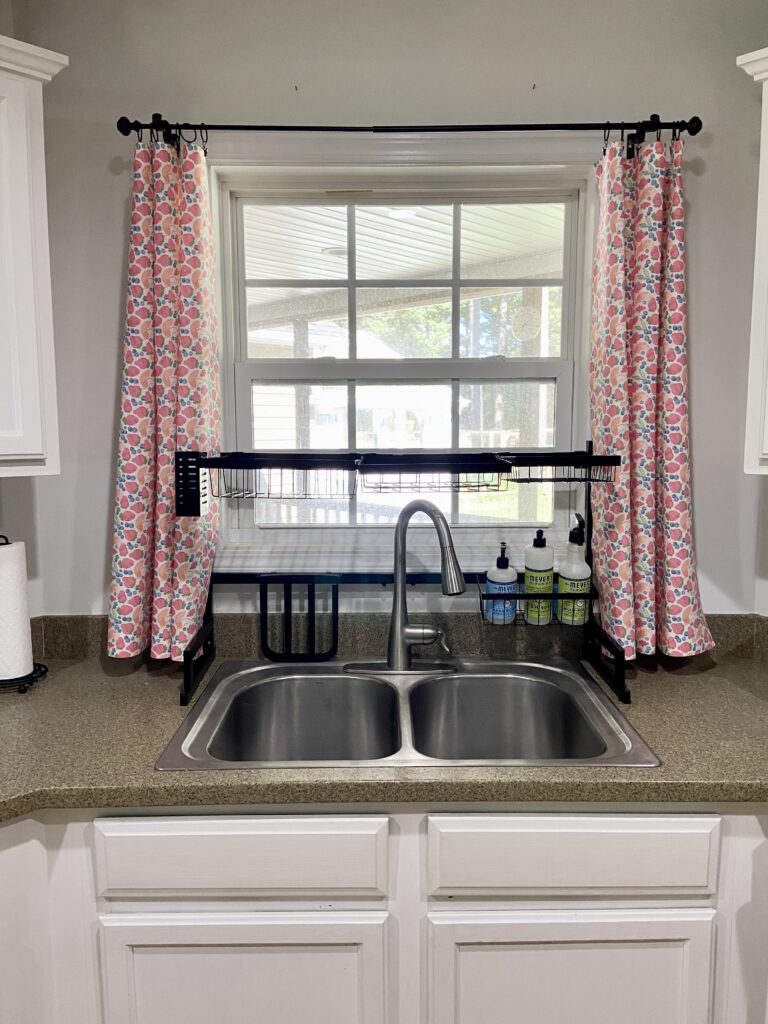
If you’re looking for an inexpensive way to spruce up your kitchen and add a little bit of style to your room, look no further than creating your own curtains! All you need is some fabric, iron-on tape, and a little bit of creativity. And don’t worry if you think sewing skills are required – we’ve got a great tutorial that doesn’t require any needlework at all. Let’s get started!

I know, I know.
It’s a shameless plug, but this beautiful fabric is designed by none other than little ol’… me! As you probably already know, I absolutely love designing surface patterns, and I’m always looking for ways to use them around the house. For instance, this pattern is called Summer Fruit Salad but you can find over 100 different patterns in my Spoonflower shop. Plus, you can buy sample fabric, by the yard, or even a variety of home decor goods.
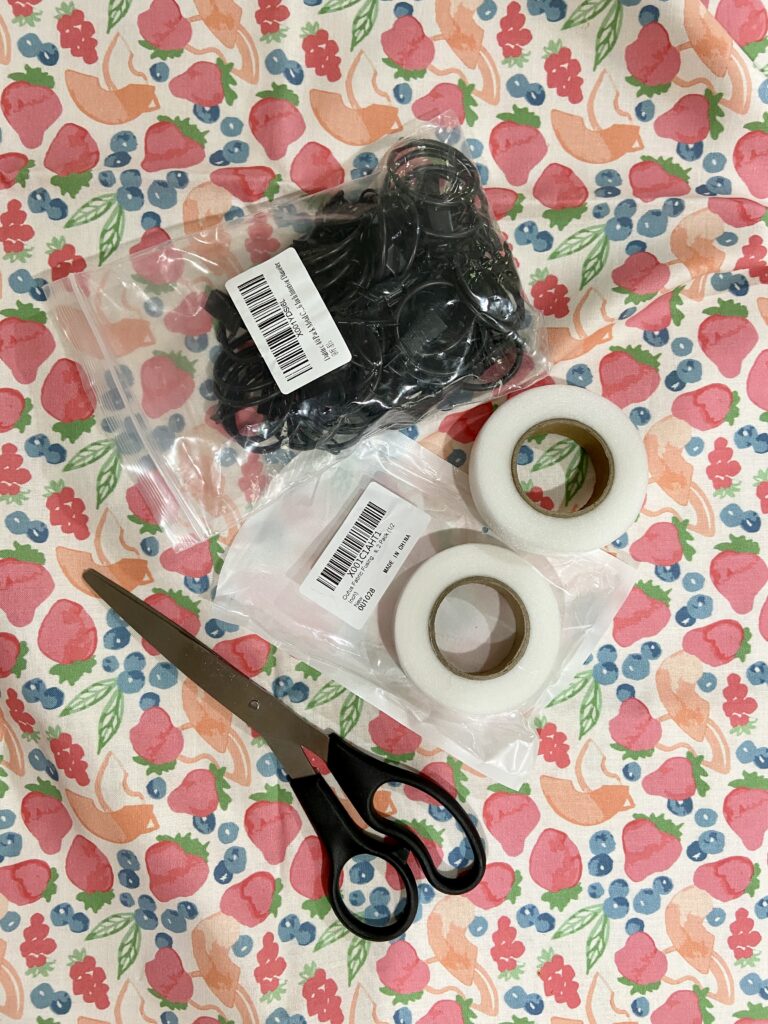
Ok, enough about me, let’s get to work! 🙂
Materials
- Fabric (in Petal Signature Cotton)
- Iron On Tape
- Iron
- Scissors
- Metal Curtain Rings
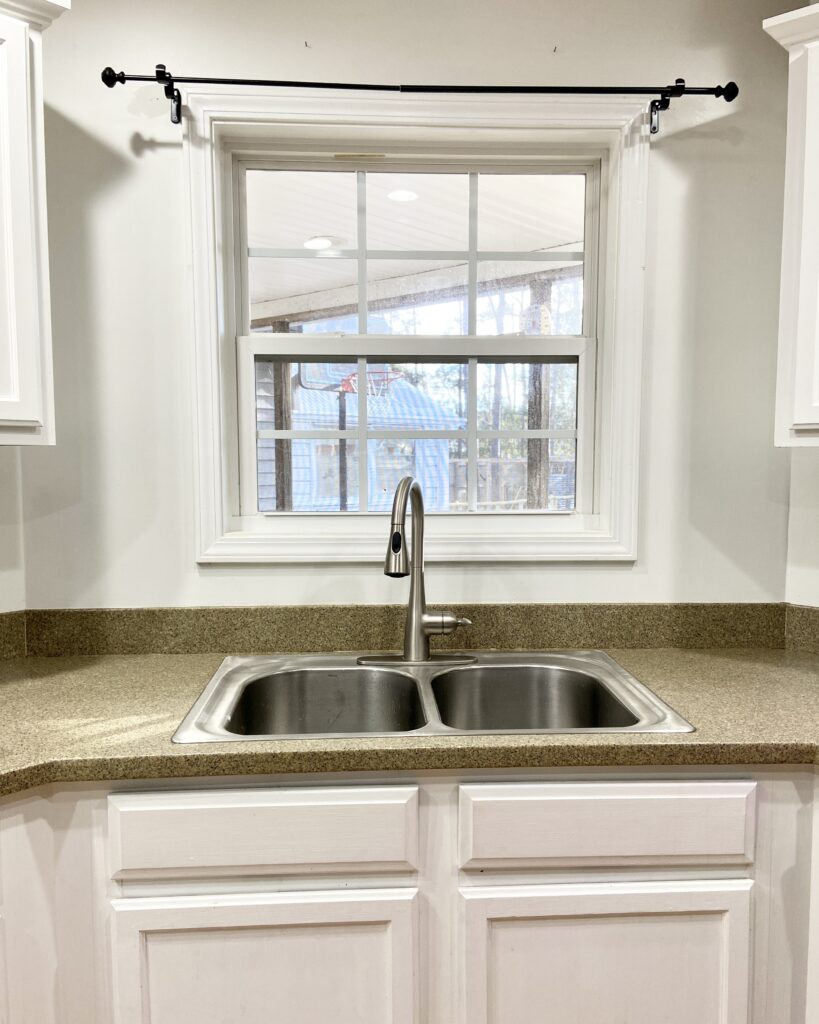
I’m a very visual and hands-on type of person so I wanted to include photos for you of my kitchen window prior to adding the curtains.
As you can see, I don’t have a whole lot of room to add curtains, but the main reason I’m creating my own is due to a lack of custom options.
I didn’t want to add a short valance or some sort of halfsies curtain thingy. Plus, it’s so plain. Sure, I can add a sign above the window, but it just doesn’t fix the problem.
Step One
First things first, measure out how much fabric you will need for each curtain. To do this, measure the length of the window from top to bottom as well as how wide it is across.
Tip: If you’d like the pattern to be on each side of your panels then double each measurement (for example, if your window is 35 inches tall and 45 inches wide, then you’ll need 70 inches by 90 inches of fabric).
Once you’ve done this, make sure to buy enough iron on tape so that it can go along each side of that measurement (so if you’re doubling the measurements in the “tip” above, you’d need 130 inches of iron on tape).
Note: Don’t be like me… I bought 4 yards of fabric for one window. This was completely unnecessary. However, on a positive note, I have plenty of leftovers for other projects now. 🙂

Step Two: Cut Out Your Fabric
Now comes the fun part – actually cutting out your fabric into curtains!
Take the measurements from Step One and cut out one piece per curtain panel. Make sure not to forget about adding seam allowance (1/2-3/4 inch) to both the bottom and the top of each panel.
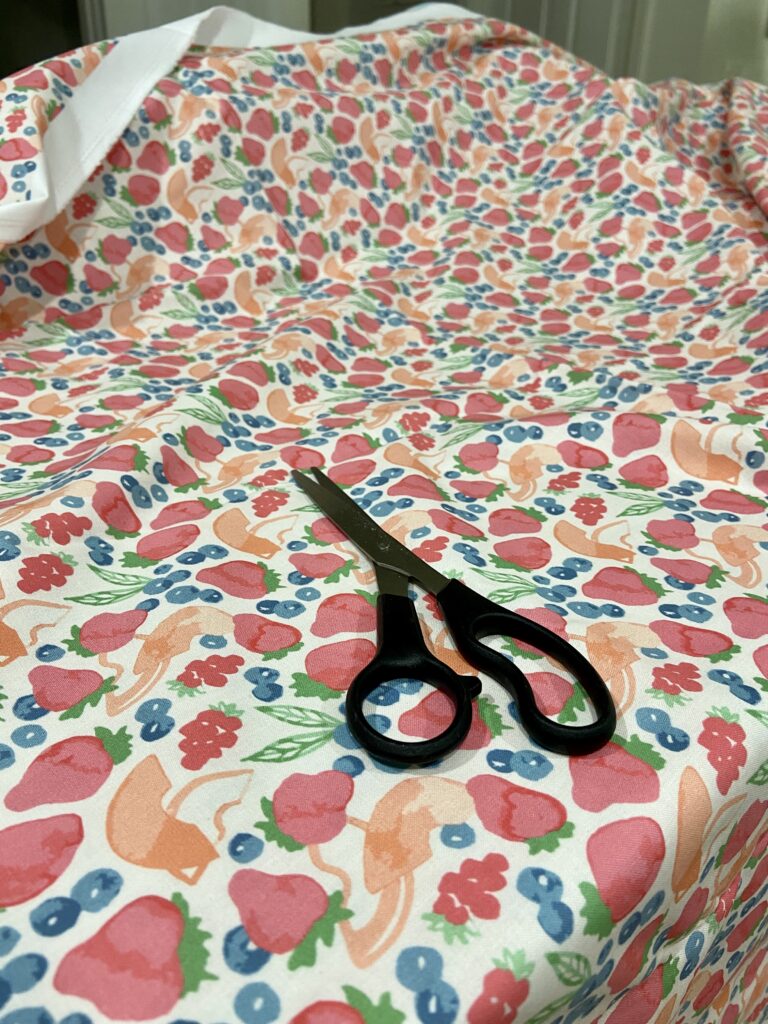
After cutting out your pieces, lay them out on a flat surface with the wrong sides facing up so they’re ready for Step Three.
Note: If you’d like to have your pattern on both sides of your panel make sure to cut out two pieces per curtain panel instead of the one that I suggest above. You’ll then need to use the iron tape to attach the panel together instead of just hemming as I demonstrate in Step Three.
Another Note: I didn’t use fabric scissors for this DIY project and I absolutely regretted it. Trust me. Get a pair if you don’t have some already!
Step Three: Attach Iron On Tape
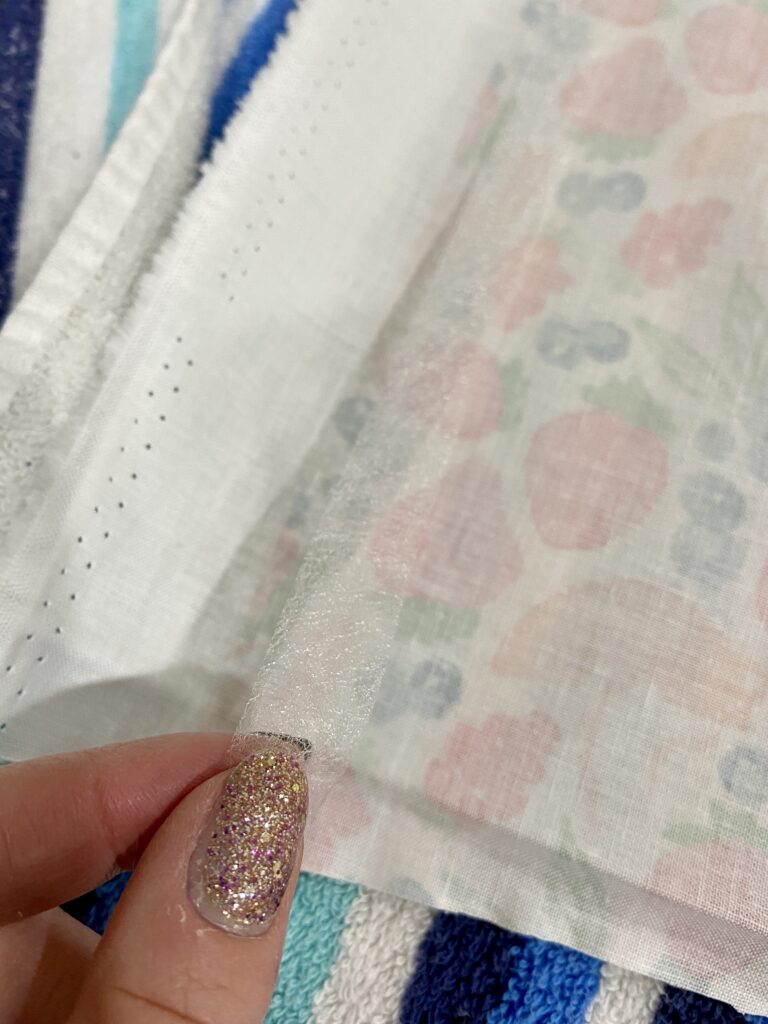
This step is where the magic happens – using iron on tape to smooth down the tops and bottoms of your curtain panels without having to sew anything!
To start off, make sure that the shiny side of the tape is facing up and place it along one edge of the one-panel piece. You’re then going to fold over the edge of the curtain panel as mentioned earlier regarding seam allowance (approximately 1/2-3/4 inch).
Place a cloth or towel under your fabric before ironing down firmly onto your fold until it is attached together; repeat this process on the top and bottom of each panel.
And voila – you have yourself some DIY kitchen curtains without needing a single stitch!
Check out this Quick Tutorial Below!
DIY Curtains in No Time
Step Four: Attach the Metal Curtain Rings
Attach your metal curtain rings to each panel (as many as you’d like) until they are evenly spaced out. It took me a few tries to get them exactly the way I wanted them to be displayed, but don’t worry, it wasn’t hard. It was just me being OCD… again.
What I love the most about these metal curtain rings is that they are clip-on hangers! I can trade out my curtains and fabric as much as I want because they aren’t permanent.
And you know how much I like options!

As much as I wanted these curtains to drag on the countertops I knew this would be a very non-functional idea. Our countertops are always filthy and there is just no way I’ll have time to wash my curtains that often.
How to Clean Your DIY Curtains Using Iron On Tape
Was this one of your questions? Me too!
So, can you put these DIY curtains in the wash? According to the particular iron on tape that I reference in this post, yes, you can. It also has fantastic reviews so I’m going to lean toward that being a positive thing!
However, I’ve never personally tried it so I’m a little hesitant to point you in that direction. My advice, hand wash if you can. I know it’s a pain in the butt, but I really like my new curtains. I don’t want anything to happen yours or mine! 😉
Like this post? Check out these other DIY projects too!
- How to Use Silhouette Heat Transfer Vinyl PLUS Free Flower SVG Cut File
- The Easiest Image Transfer Method (to Wood) Using Your Fave Photos
- How to Make DIY Reverse Canvas Wall Art or Signs
- How to Make a DIY Pillowcase Laundry Bag

Creating DIY kitchen curtains doesn’t have to be difficult or require any special skills – with only four easy steps outlined in this tutorial, you’ll be able to create beautiful curtains perfect for sprucing up any room in no time at all! Plus, with my pattern design collection to browse, there’s never been an easier way to add a little flair without breaking the bank.
I hope this tutorial was helpful – now let’s get crafting those curtains!




This was a excellent tutorial. Thank you, I am not getting your post like I use to . I found this in my junk? This makes me want to try curtains if my own.
Thank you so much, Linda! That’s so weird that it’s ending up your junk email. Definitely whitelist my email so you’ll get all of my tutorials 🙂