Super Easy DIY Herringbone Coffee Table with Hairpin Legs
Have you ever wanted to create your very own DIY Herringbone Coffee Table with Hairpin Legs? Today, I’m going to show you how! MUST SEE!
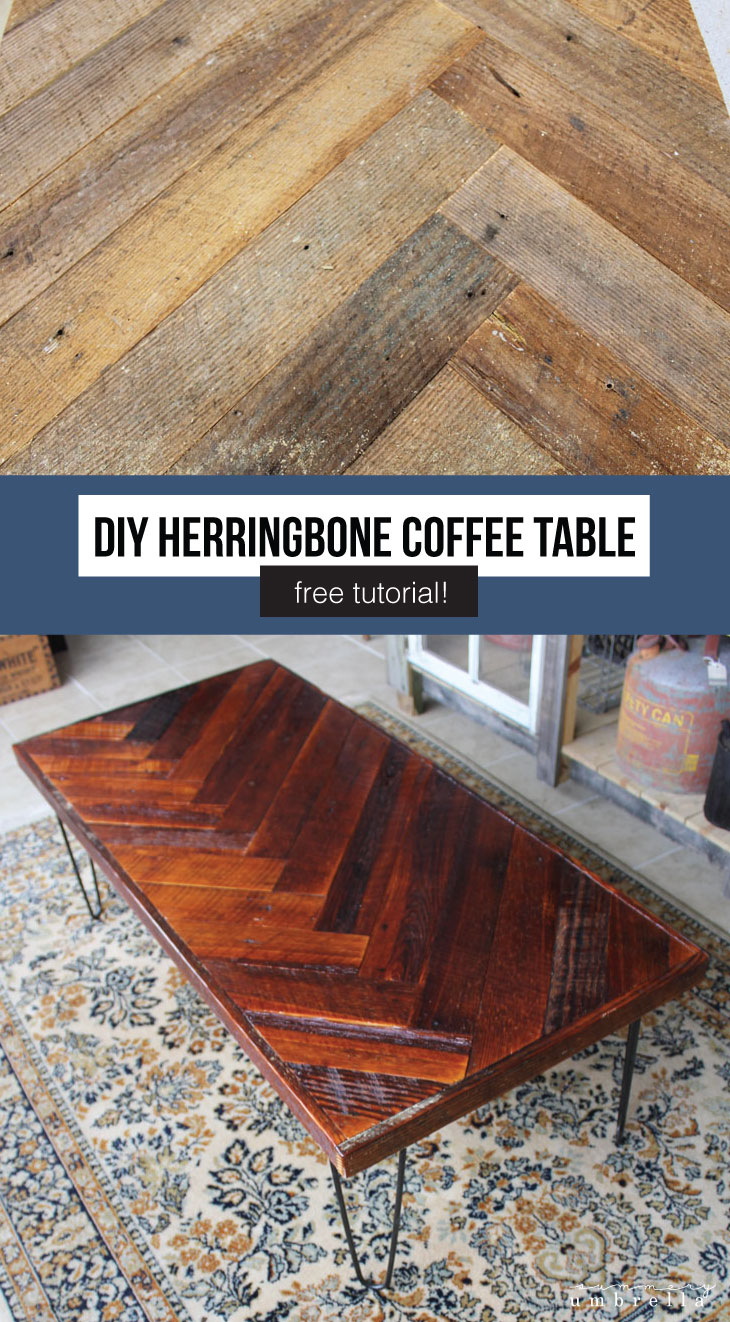
Do you love DIY furniture? If so, you’ll be surprised how easy it is to make your own gorgeous coffee table!
I love a good pattern, but I have to admit that I was a little nervous about this one!
Why?
While the design of this herringbone coffee table looked pretty simple, my brain and I don’t always see eye-to-eye. Shocking, right?!
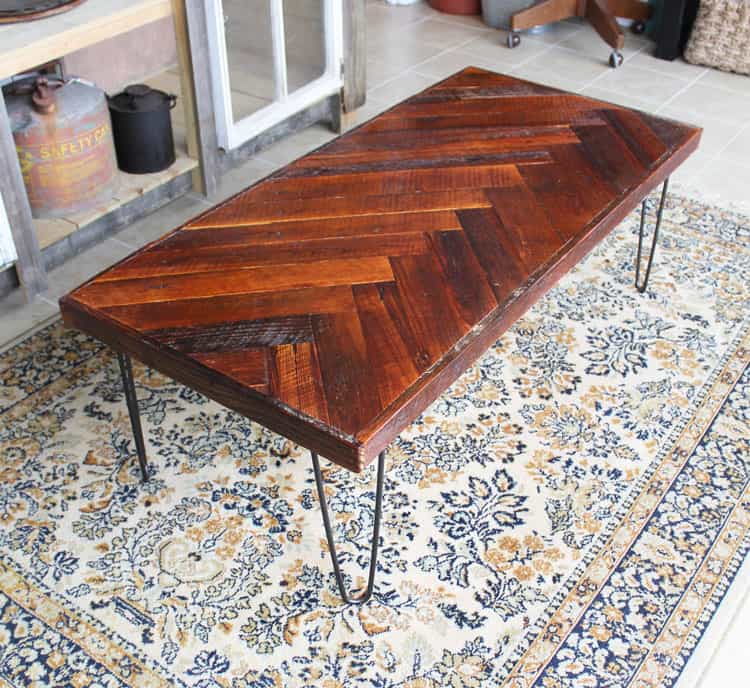
DIY Herringbone Coffee Table with Hairpin Legs
You see, I am a hands-on kind of person. For instance, when it comes to anything that requires “engineering” I can’t just look at something and process it right away. I have to actually create, touch and get involved in the process before it truly sinks in.
On the other hand though, when it comes to my art and knowing whether or not a decorative item will “work”… then I’m your girl!
Can you relate?
At first, I used to be embarrassed by this little “flaw,” but now I understand what is required for me to grasp a concept, so I make sure that I participate so I don’t become frustrated.
You know what’s funny though? This DIY herringbone coffee table was actually one of the easiest patterns Mike (aka Super Talented Hubby) and I have ever done. Once we figured out the initial layout it was absolutely easy-peasy.
Plus, besides the hairpin legs, we made the entire DIY coffee table out of reclaimed barn wood, which you know is one of my all-time favorite materials to use when creating DIY projects.
So, have I convinced you? Are you ready to learn how to make this incredibly EASY DIY Herringbone Coffee Table with Hairpin Legs?
Let’s get started!
DIY Herringbone Coffee Table with Hairpin Legs
MATERIALS
- 1/4 sheet 1/2″ plywood
- 16″ hairpin legs, set of 4
- 4 pieces of barn wood, 1″x4″x8′ (approximately 10 sq ft)
- nails
- 12 1″ black panhead wood screws
- spar varnish
- wood glue
TOOLS
- drill and bits
- sandpaper
- carpenter’s square
- table saw or circular saw
- pencil
- measuring tape
- brad nail gun
- ruler or anything with a straight edge
STEPS
1. First, cut the 1/2″ plywood to 23″x47″. This will be your base. After your edge is added your end result will actually come out to 24″x48″.
2. Rip your barn wood to 3.5″ strips (or just use 1″x4″).
3. Then, on your base, mark the starting point with a square. We chose to offset ours to be a little different, but a very common herringbone pattern is centered.

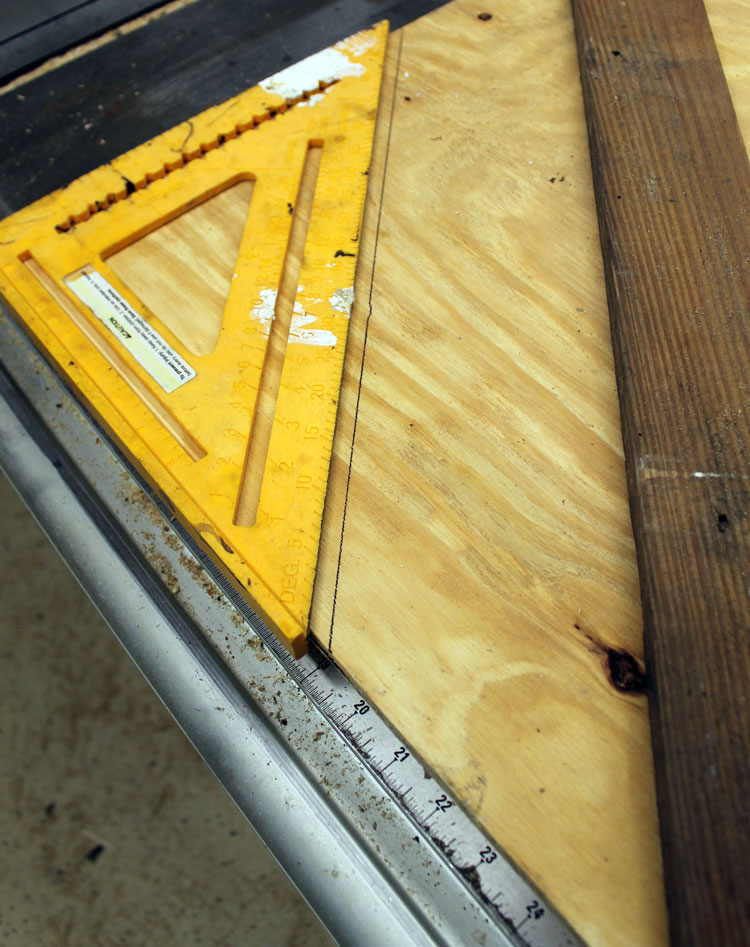


4. Apply glue to the underside of your barn wood boards and position along the marked line. From underneath the coffee table, secure into place with 1″ brad nails (make sure to overlap the edge — you’ll cut off the extra in just a second).
5. Butt the edge of the next board up to the first board checking for square. The first boards and their placement are the most important because they will provide the outline for the rest of the project.
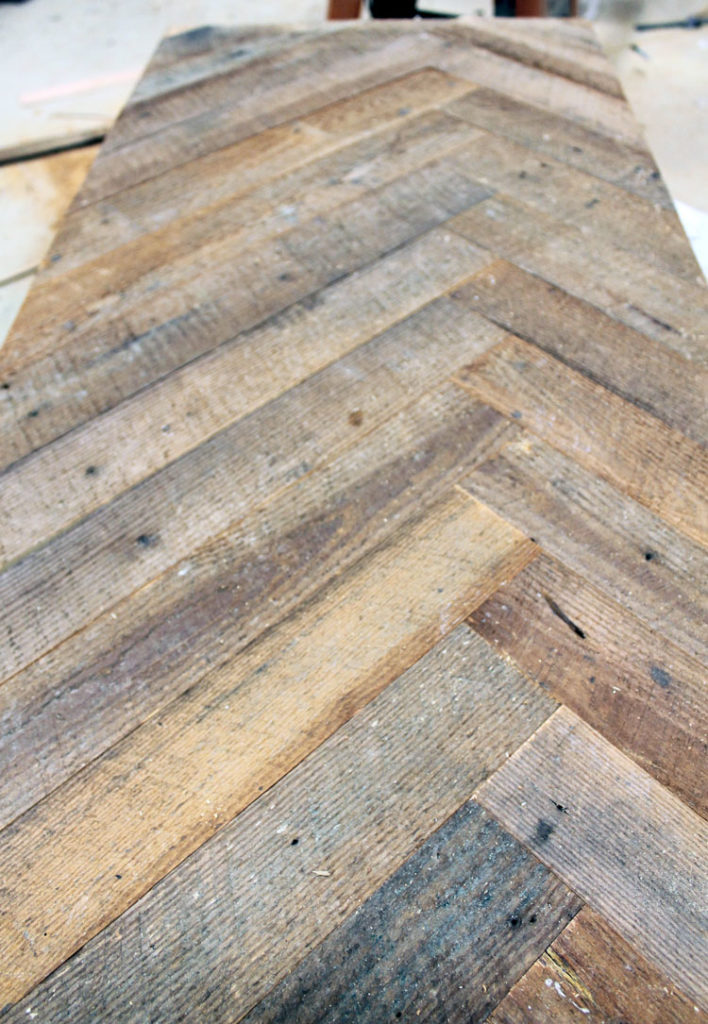
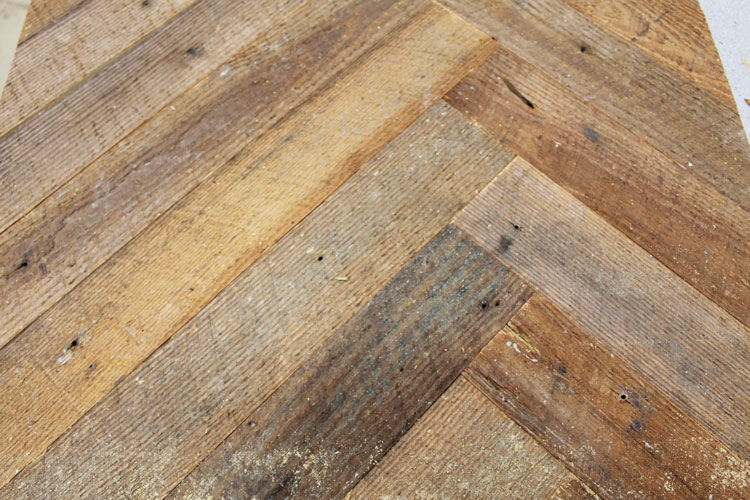
6. Continue this pattern the entire length of your table. As we worked our way down we trimmed the larger lengths off so we could use the scraps to fill the smaller places on the ends. We used a circular saw to do this.

Super Easy DIY Herringbone Coffee Table with Hairpin Legs
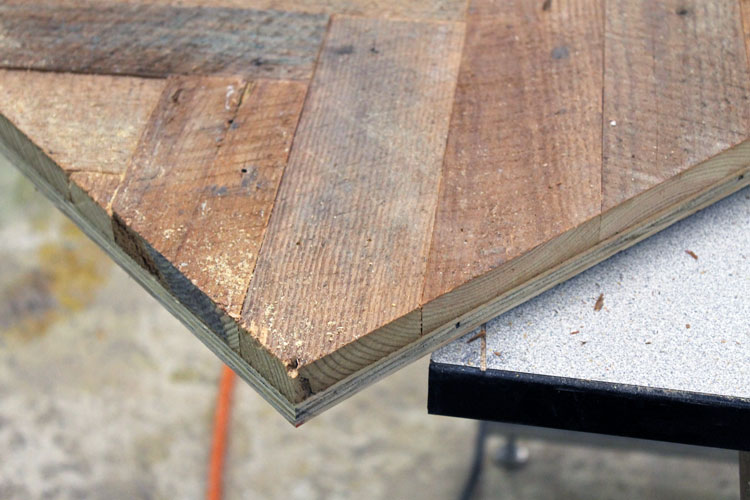
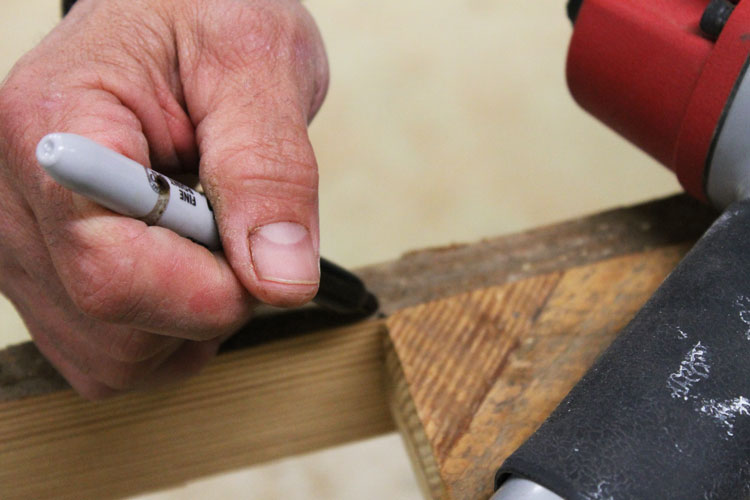
7. Trim all edges flush to the plywood underneath. This can be done with the handheld circular saw as well.
8. Next, using a table saw or circular saw cut your wood into 2″ strips for trim.
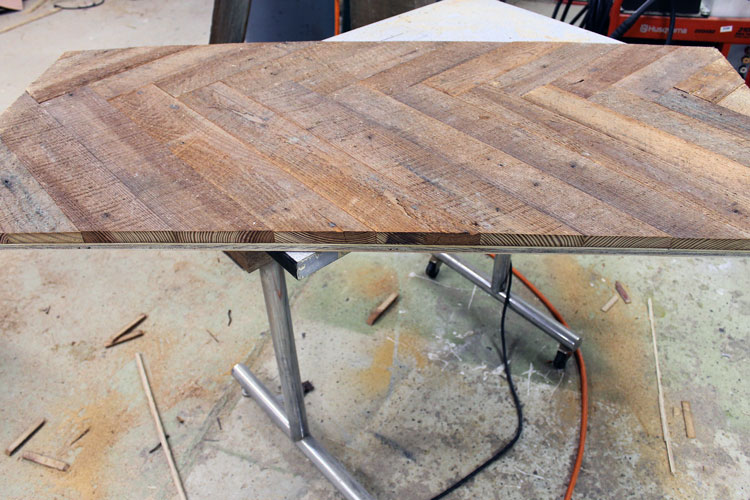
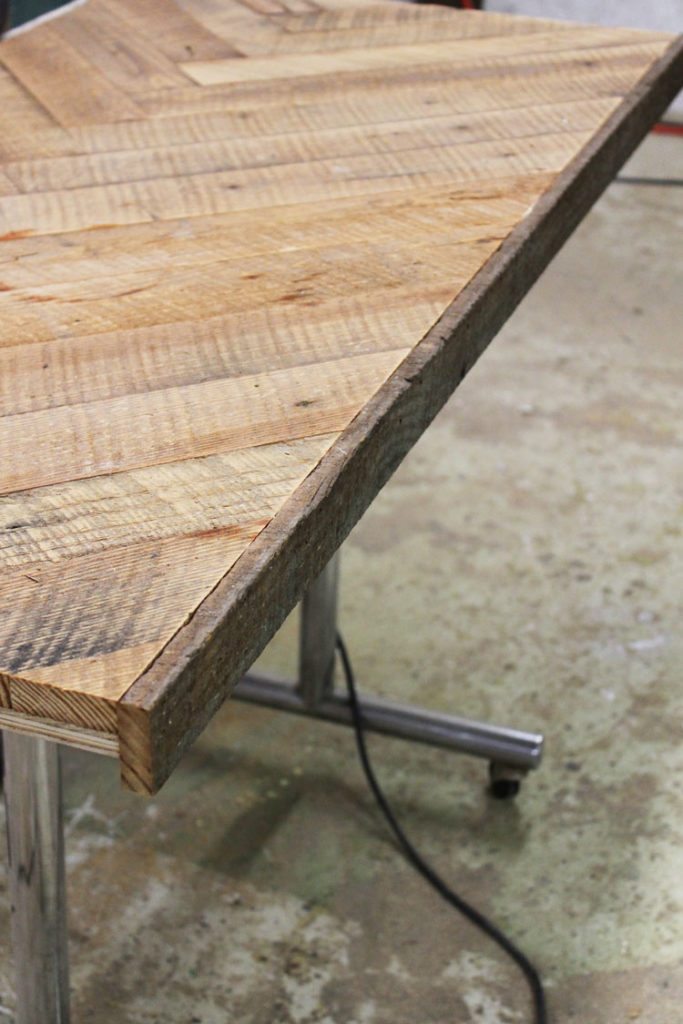

9. Apply the trim to the sides with glue and 1 1/4″ brad nails.
10. Next, lightly sand the entire coffee table with 60 grit sandpaper because you’ll want to knock down the splinters. Then, apply Spar Urethane to add a beautifully shiny protective coat. We added 4 coats of the spar varnish on our barn wood and as a result, we got this gorgeous sheen! This particular finishing product is great for old, dry wood because it flexes with the wood.
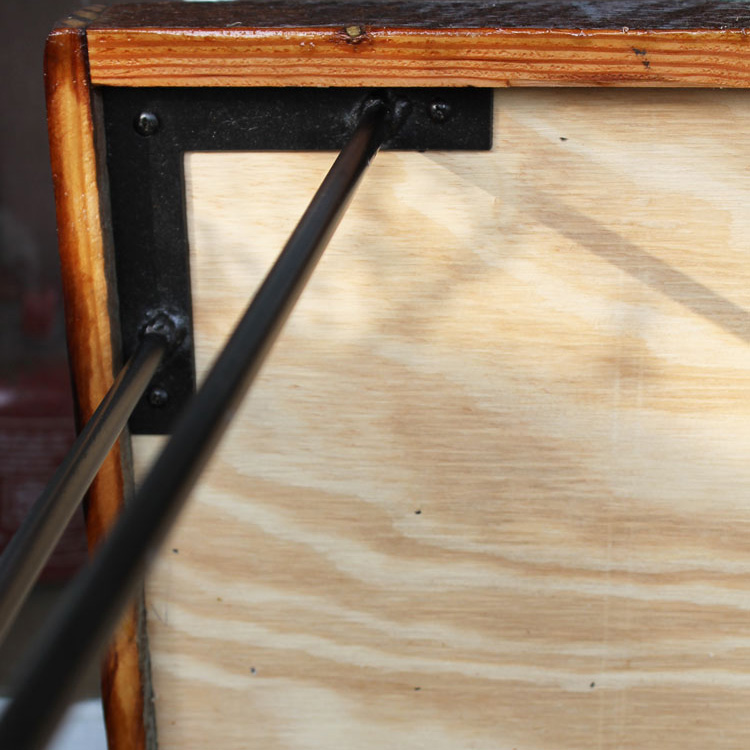
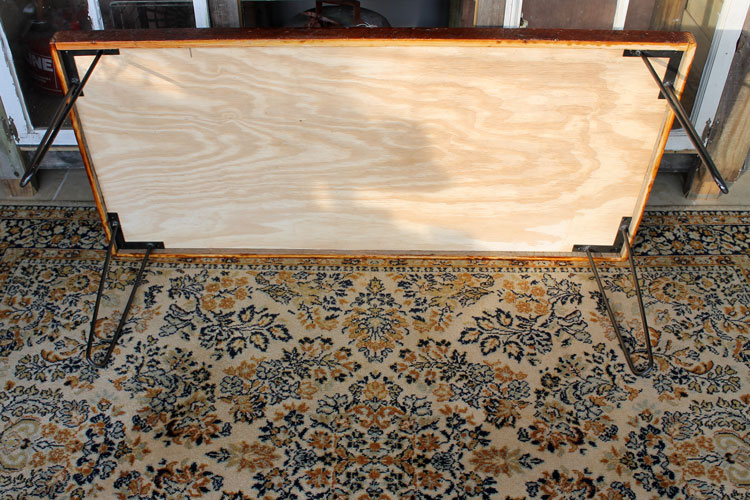
11. As the last step, add your hairpin legs. The set of 4 that we purchased was ridiculously easy to install as you can see in the below picture. If you would like to pre-drill your screws you most definitely can, but I did not think it was necessary.
More of What You Love: Check Out These Recommended Posts!
- How to Paint Metal Furniture Like a Pro
- How to Paint Furniture with Minimal Prep Work
- How to Paint and Distress Metal Bar Stools Like a Pro
- How to Paint Your Metal Front Door the Easy Way
- 14 DIY Outdoor Furniture Projects to Create this Weekend
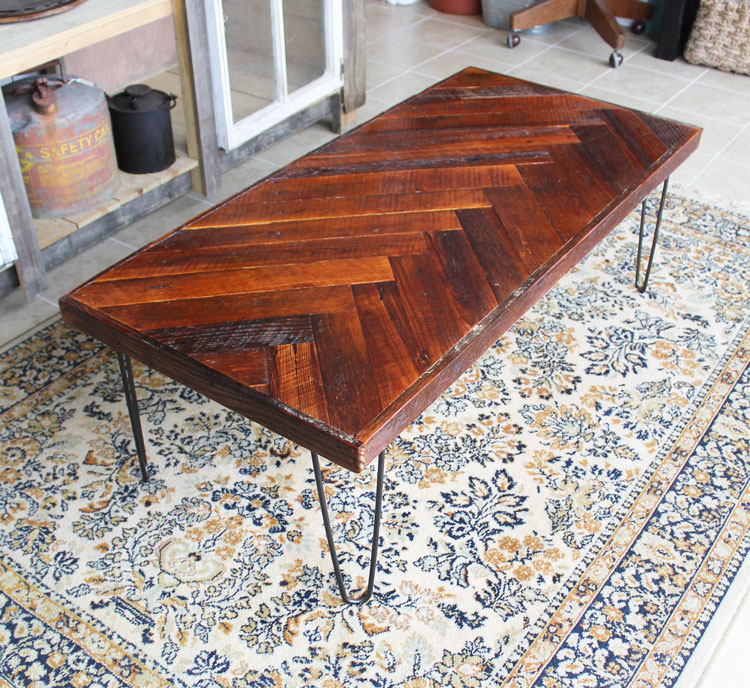
Woohoo! You’re done!


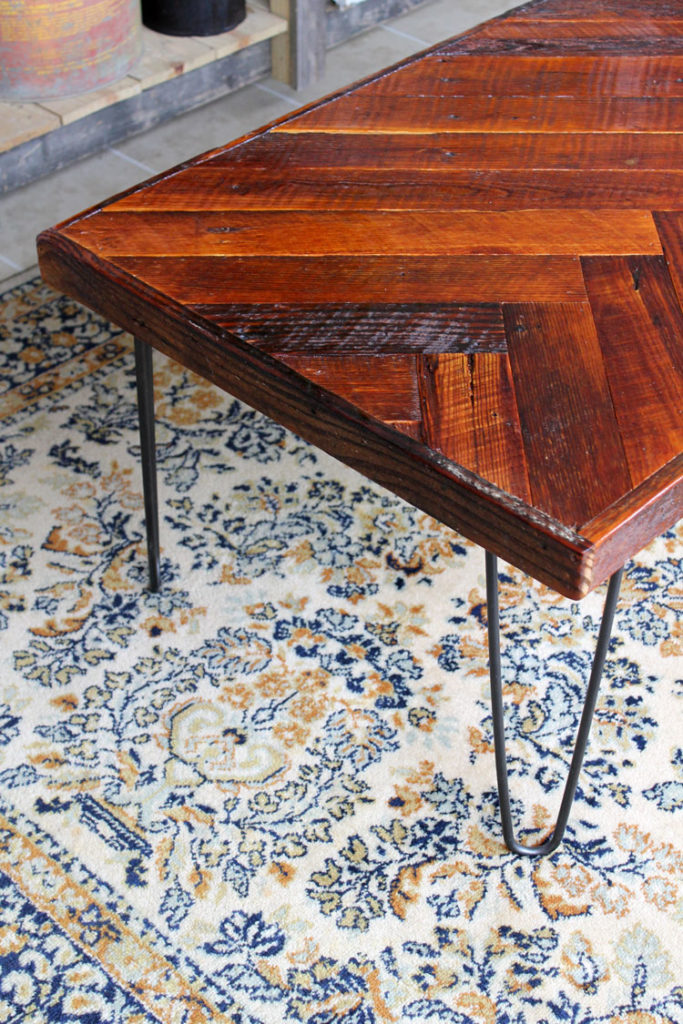
DIY Herringbone Coffee Table with Hairpin Legs
This DIY coffee table is not only simply amazing, but it will also need to be shown off because of how gorgeous it is!
Definitely add layers of your favorite finds to add a personalized touch to your coffee table. For instance, try adding vintage finds, flowers, DIY Wood Pumpkins, or your favorite decor. The sky is the limit with decorating ideas for this table!
COST AND TIME INVOLVED
- Hairpin Legs: $50
- Spar Varnish: $32
- Total Cost: $82
Total Time: You could easily do this project in 2 days if you have all of your supplies on hand. In fact, it only takes approximately 4 hours to build your DIY coffee table and add your first coat of varnish. Additional coats of varnish will add extra drying time.
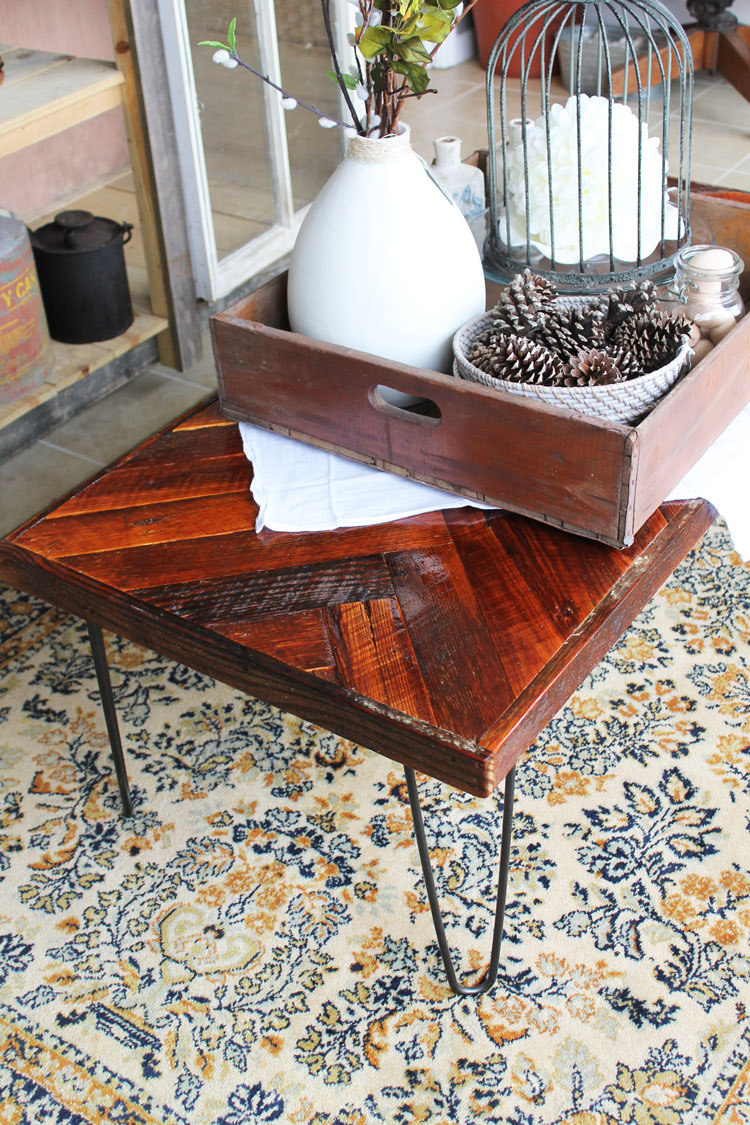
I cannot even begin to tell you how happy I am about how gorgeous this DIY Herringbone Coffee Table turned out! In fact, you can find it over on my Remodelaholic contributor post for this month as well.
If you loved these ideas then you’ll definitely want to browse some of my other DIY projects that are full of step-by-step tutorials as well as freebies galore! Can’t wait to see you again! – LZ


Love it! thanks for sharing on craft schooling Sunday!
Thank you, Sara 🙂
I love the herringbone pattern, too, and have made it with paint sticks to recover an end table top. It is rather simple, and simple is good!
What a great idea, Audra! I definitely will stop by and check it out.
Wow…this table is so beautiful! Thanks so much for sharing it with us at Share The Wealth Sunday. I’m going to check out the guest post right now 🙂
Awesome and thank you, Lisa!
This is beyond gorgeous – I wish I had this talent!
Thank you so much, Morgan! You are too kind 🙂
You are amazing! I hope I can make something this beautiful one day!
I would love it if you would consider sharing this on my weekly Link Up:
http://www.twentysomethinginthe2010s.com/peace-love-linkup-010/
Hope to see you there! : )
love it!
I just made a floating herringbone wall for my rental business. And I know exactly what you mean with this whole pattern/putting it together thing. It took me a bit to get it to adjust properly in my head in order to move the project along. But once I did, it turned out amazing.
Thank you so much, Taylor! Plus, I’m glad I’m not the only one 😉
Love the herringbone coffee table. Thanks for sharing at the Inspiration Spotlight party. Have a great week ahead. Shared.
I’m like that too, having to throw myself into things – but the end result of your tabletop is so fun! Thanks for sharing with us at Throwback Thursday!
Mollie