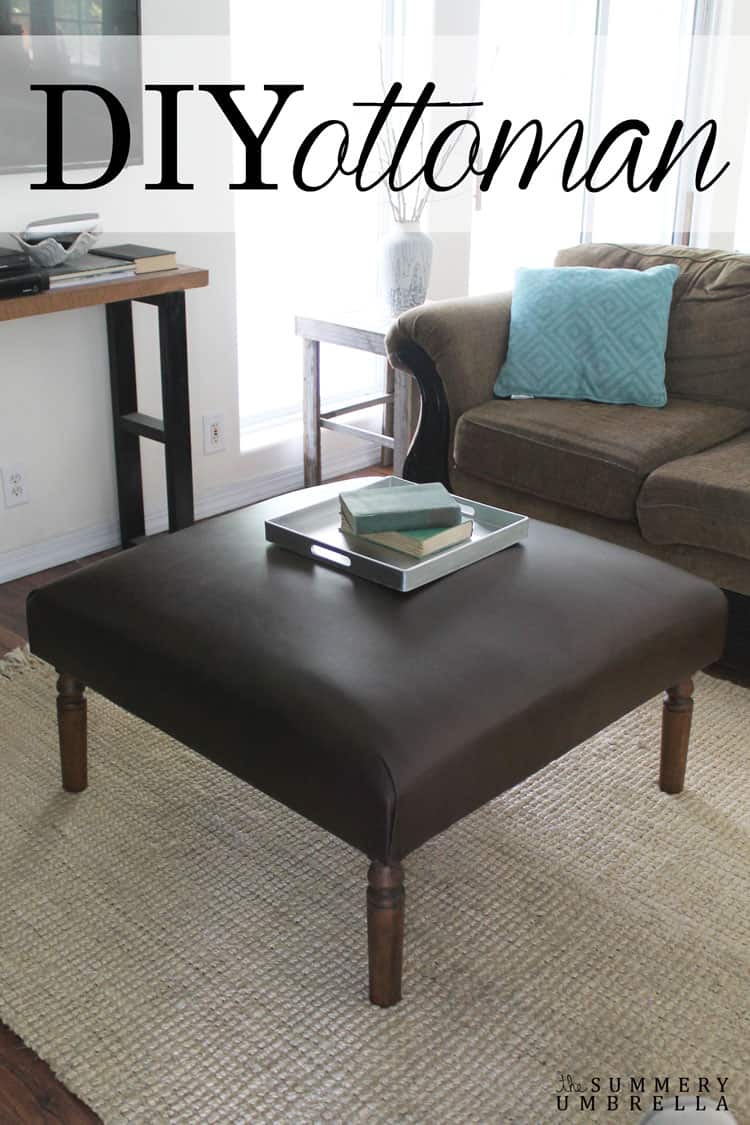
Our DIY Leather Ottoman for Large Spaces
Kickback, relax, and put your feet up on your very own DIY leather ottoman! It’s so easy you’ll wonder why you haven’t tried it before.
This post is sponsored by the Leather Hide Store. However, I will still be providing my amazing readers with opinions that are 100% my own, and based on my personal experience using their AWESOME products.
DIY Leather Ottoman
When you start off a new project what do you look for?
Simplicity?
A particular style?
Or maybe you just like to stick to a favorite color theme?
Me? I stick to the easiest and cheapest way to go!
I hate spending a lot of money on a product when I know I (or Mike–aka. Super Talented Hubby) can just make in a few short hours.
Recently we have been revamping our living space (slowly, but surely!), and realized that an ottoman would greatly enhance this area. Mike is a huge fan of leather furniture so of course the Leather Hide Store was our first stop when designing this beauty of a piece!
So, without further ado… here is (in my personal opinion) one of the EASIEST ways to make your very own DIY Leather Ottoman.
Our DIY Leather Ottoman for Large Spaces
STEPS:
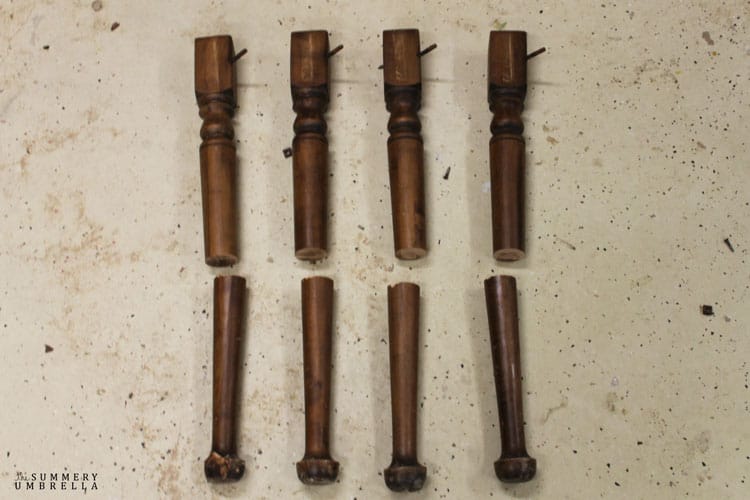
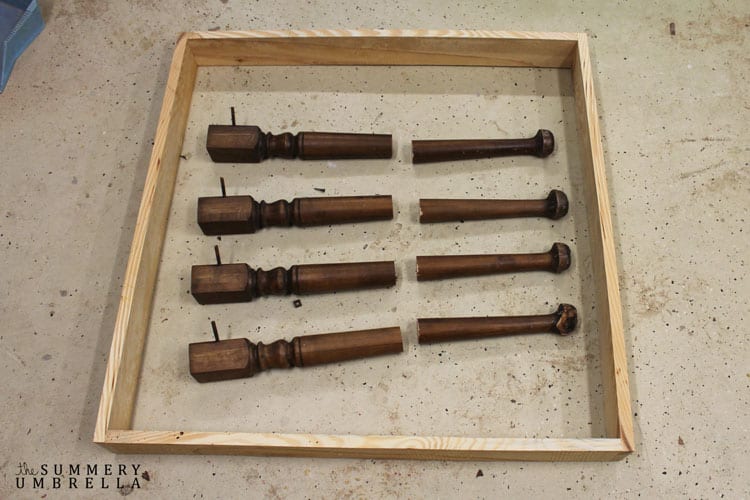
- We found an old table with nice solid legs (the legs alone can sell for $25 each brand new). We got the whole table for a whooping $5! Heck yea!

- It took ten minutes to disassemble the table and cut the legs to length, 14 inches in our case.
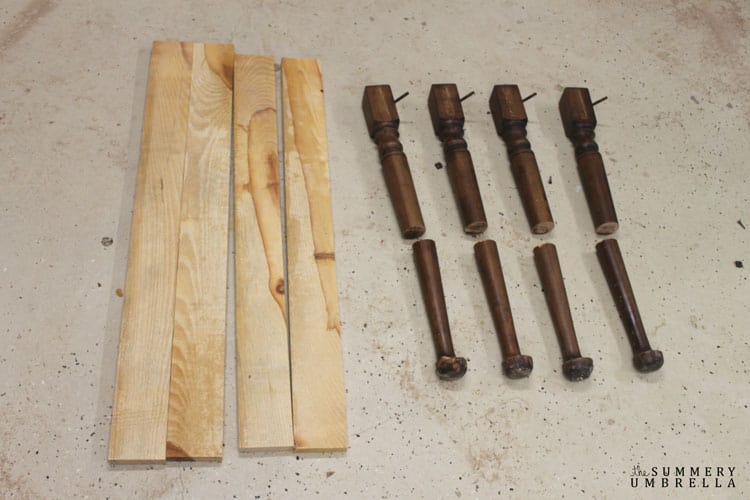
3. We wanted a large ottoman so we went with an overall size of 42″x42″ so for our frame we use 1″x4″ pine and cut two boards to 42″ and the others to 40&1/2″ (when butted against the others they’ll total 42″ as well).
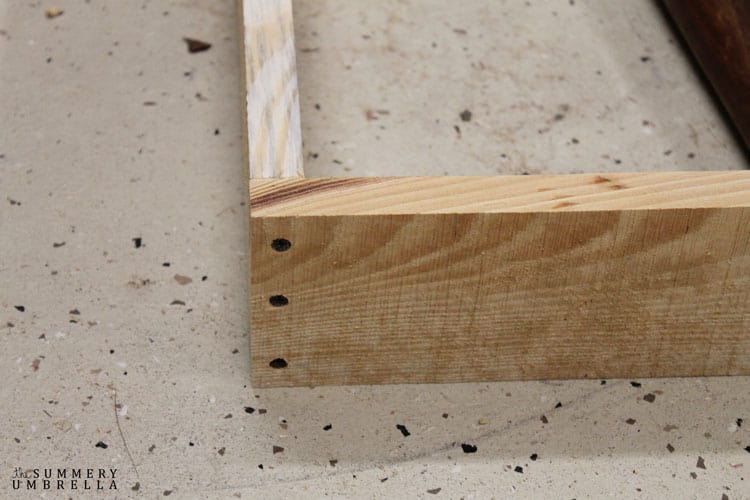
4. We then pre-drilled three holes on each end of the 42″ boards with a 1/8″ drill bit.
TIP: Pre-drilling is absolutely necessary to avoid splitting this close to the ends.
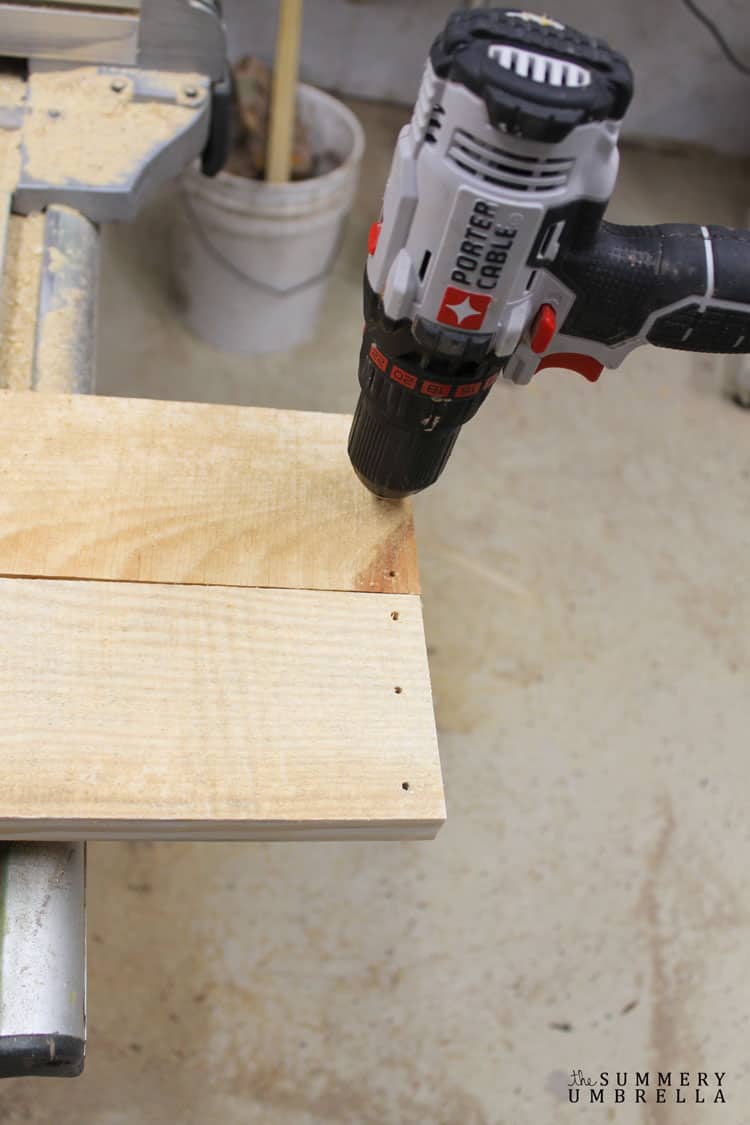
5. With some wood glue and 2″ coarse drywall screws (coarse threaded screws have more bite into wood) we joined our frame together.
More of What You Love: Check Out These Recommended Posts!
- How to Paint Metal Furniture Like a Pro
- How to Paint Furniture with Minimal Prep Work
- How to Paint and Distress Metal Bar Stools Like a Pro
- How to Paint Your Metal Front Door the Easy Way
- 14 DIY Outdoor Furniture Projects to Create this Weekend
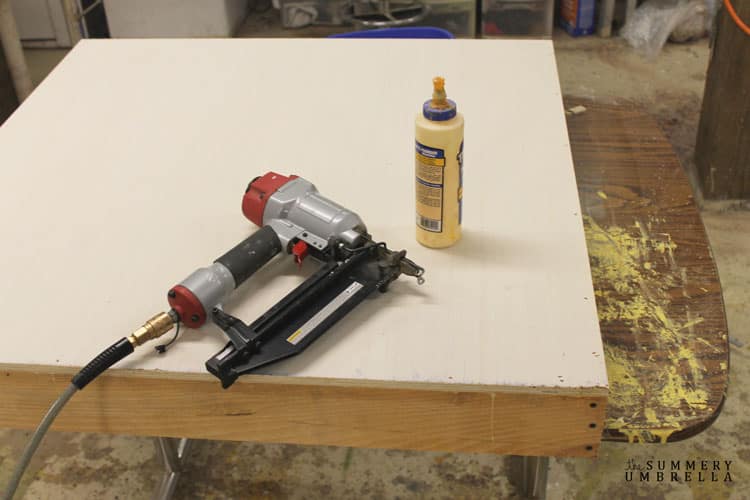
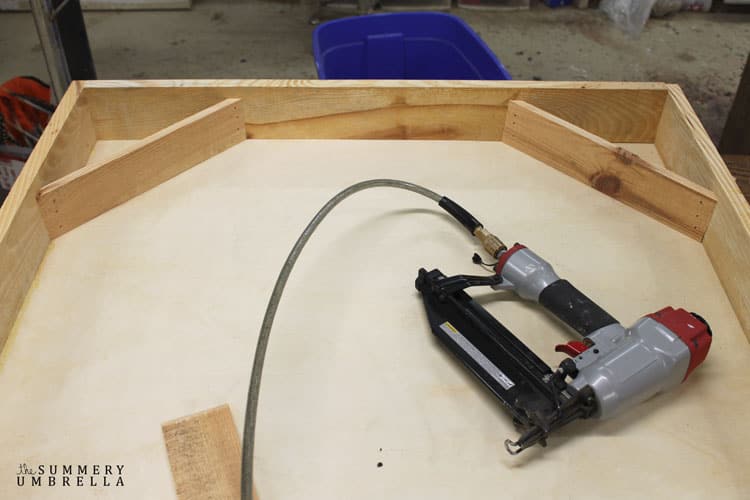
6. Cut 1/2″ plywood 42″x42″ and attach to the top of the frame. We chose 1&1/2″ 16 gauge nails and nail gun for to save us time, but if you don’t have a nail gun this could be done with 1&1/4″ coarse drywall screws.
TIP: Use wood glue as well!
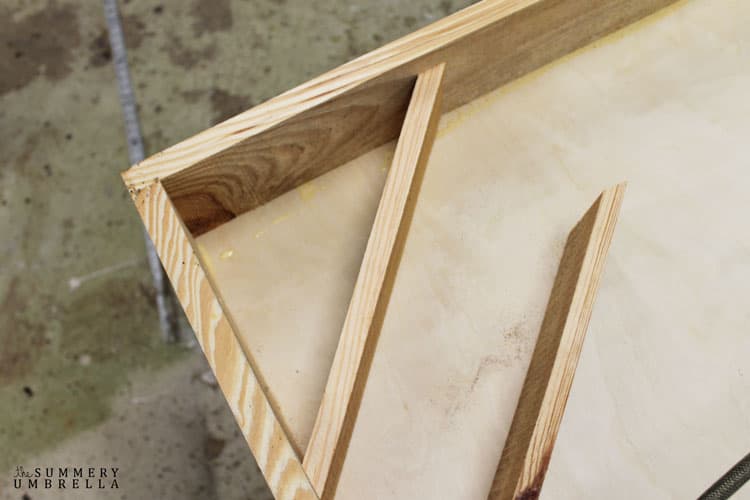
7. Cut four 1″x3″s 14″long mitered to 45degrees on the ends and attach them in each corner. The placement of these boards will sturdy up the frame and take a lot of the flex out of the plywood.
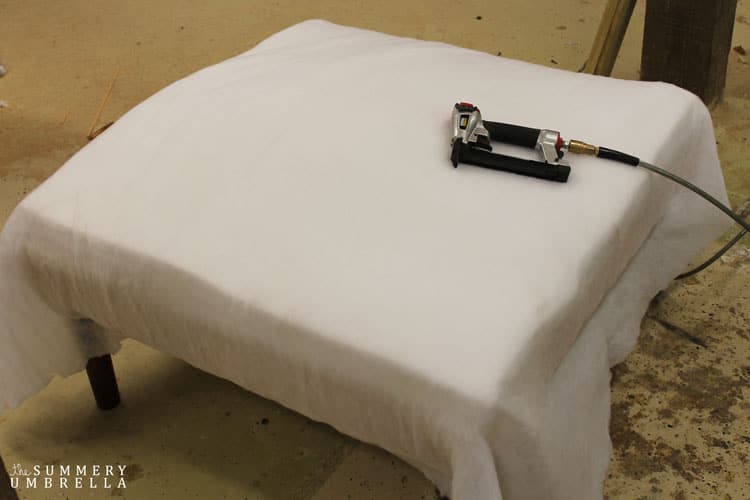
8. Then cut and affix your padding.
Our DIY Leather Ottoman for Large Spaces
This step will depend on your preference. Since we really wanted the center to give an “overstuffed” appearance we layered our foam as follows; 1″thick 42″x42″ square piece of high density foam, a 24″ round piece of 1″ hdf centered, a 42″x42″ piece of batting material, another square piece of 1″ thick hdf 42″x42″, a 20″ round piece of 1″ hdf centered, another piece of batting material 42″x42″, a final 42″x42″ piece of hdf, and finally……a piece of batting material draped over everything to about 70″x70″.
9. Last, we covered our ottoman with leather. I draped the leather material over the entire piece with plenty of extra on all sides (approximately 72″X72″) .
TIP: Start by tacking each side in the center with a couple of staples. getting a snug but not overly tight fit. Then, fold over the corners, stretch, and tack your way around ensuring all of the staples are hidden underneath.
Love the color of our leather? We used this Creamy Chocolate color. P.S. Don’t forget to check the size to ensure you get the right one!
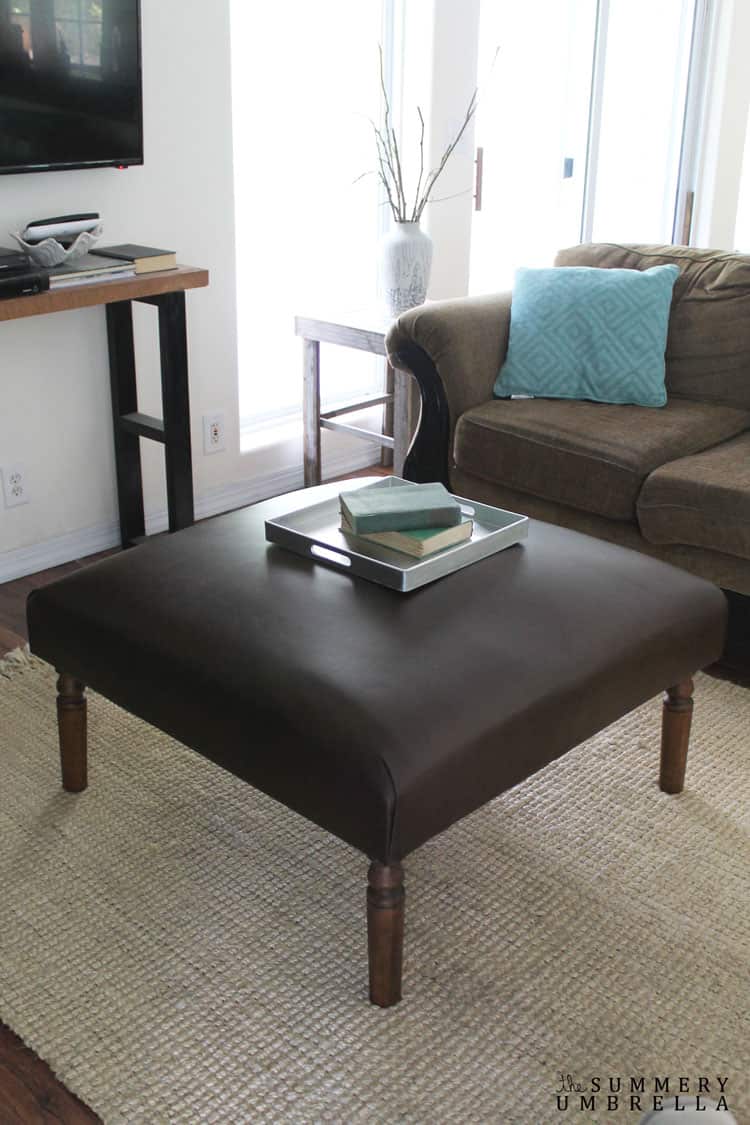
How gorgeous did this new beauty turn out?!


Awesome right?
Happy DIY’ing this weekend 🙂


LZ, this ottoman is absolutely stunning! I would expect to pay $$$ for this beauty. Great job!
You are so sweet, Angela!! Thank you so much for stopping by 🙂 I definitely LOVE how this beauty turned out!
Absolutely gorgeous ottoman. The leather really takes it to another level and it looks so smooth and rich. I am hosting a new link party , Sweet Inspiration and would be happy if you joined us/ It runs Friday till Tuesday.
Oh my gosh! Beautiful! You did an awesome job. xo
Thank you so much, Mary!! It was definitely super easy to put together as well. A win-win 🙂
Wow, I love this! Thanks so much for sharing your project with us at Snickerdoodle Sunday! Pinned to share.
Thanks so much, Laurie!
Love your ottoman! Using old table legs was a genius idea!
I just love a good repurpose with a little bit of new! Thank you so much!! 🙂
You are amazing and I seriously can’t believe you do these things yourself! The ottoman turned out fabulous and I’m so glad you linked up with us at Share The Wealth Sunday! xoxo
The ottoman turned out so beautiful. What a great job.
Thank you so much! I’m so excited how well it turned out too 🙂
Hi LZ, I just wanted to stop by and let you know that your post has been chosen by one of our hostesses to be one of our features this week on #OMHGWW and will be in a Slideshow and is on Youtube. Its also be pinned to our WW Board!! Stop by and linkup again this week. YouTube: https://youtu.be/jiImmlxUAu8
Hope you have a wonderful week.
Karren
Host~Oh My Heartsie Girl
Yay!! Thank you so much, Karren! I can’t wait to see it 🙂 Thanks again!!
Absolutely love this ottoman, so gorgeous and looks like it has come from a very expensive boutique! Thank you for sharing with #OMHGWW, so happy to have your ottoman as my feature this week!! http://fromevijawithlove.com/2016/05/24/buying-our-first-home-and-wonderful-wednesday-link-party-4-may/
Hi Evija and thank you!! I’m so excited to be featured, and can’t wait to see it 🙂
I love how your DIY turned out. Thanks for sharing at the Inspiration Spotlight party. Shared