DIY Branch Floor Lamp: A Creative and Affordable Lighting Solution
This DIY Branch Floor Lamp is not only beautiful but incredibly easy to create as well. Let me show you how with just a few simple steps.
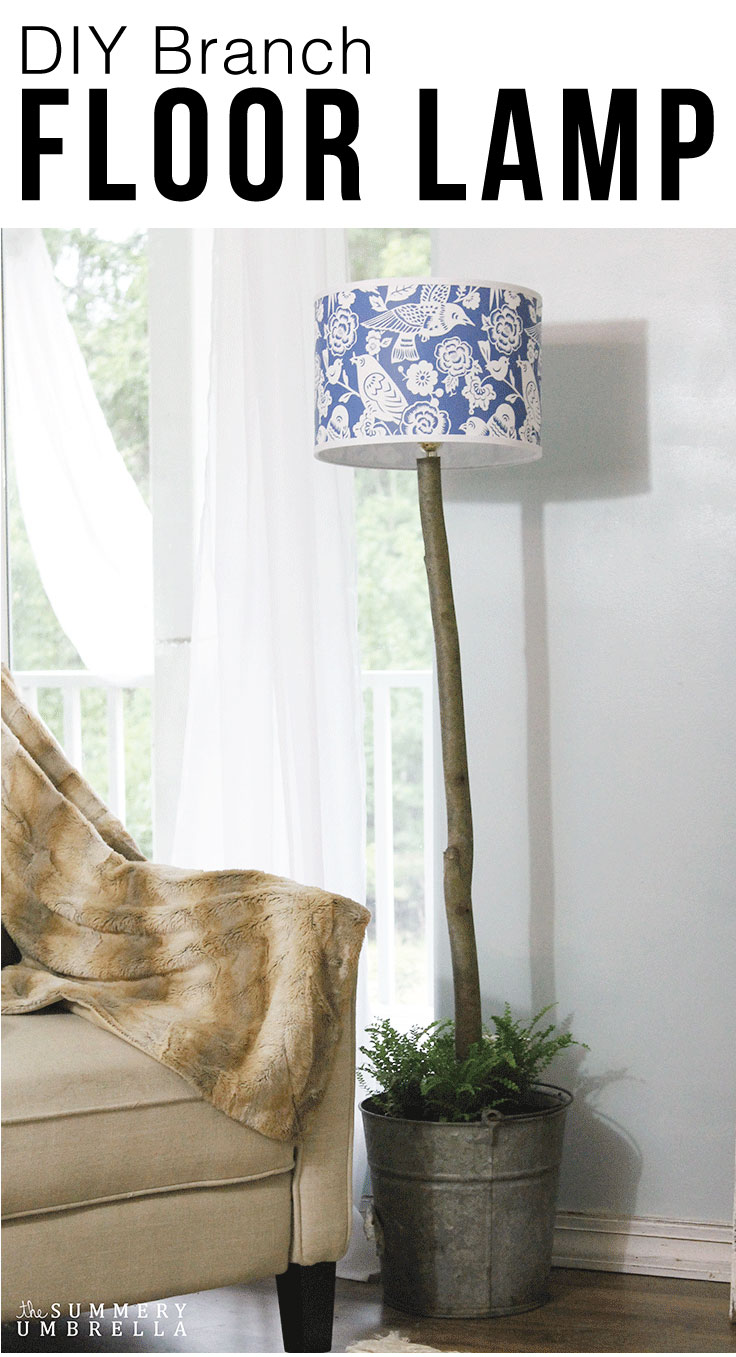
This post is sponsored by Lamps Plus. However, I will still be providing my amazing readers with opinions that are 100% my own, and based on my personal experience using their AWESOME products.
Somewhere around 90% of the time or more, my three-year-old daughter is in my studio providing me with her opinion on my day-to-day dilemmas and home decorating trials and tribulations.
What absolutely baffles me is how good she already is with coordinating colors, patterns, and other random bits that I find to make my home feel more comfy-cozy.
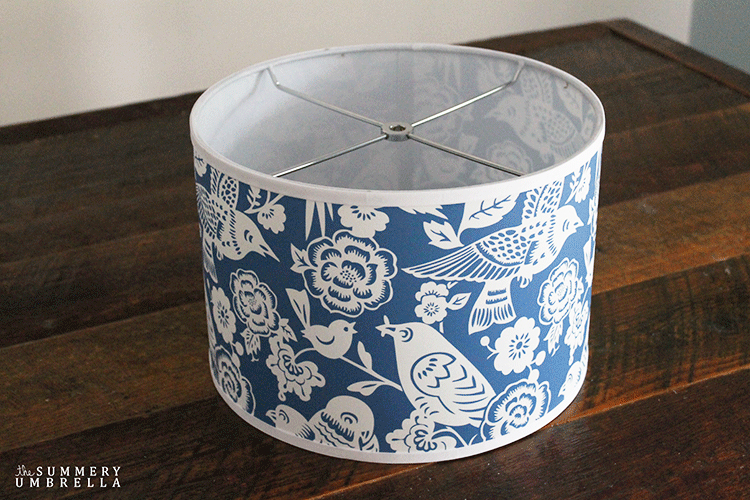
For instance, I have been wanting to create this DIY Branch Floor Lamp for months now, and when the opportunity and time arose I jumped on it! Then, as it came time to find the perfect lamp shade my darling little Ava actually picked out this Seedling Lamp Shade by Thomas Paul as her first choice.
Of course, you know me. I had to look at every single one of the lampshades, weigh my options, write down the pros and cons, and do a full-blown data analysis of my results. Just kidding! It wasn’t that in-depth, but it did take me a little bit of time.
However, when it was all said and done I had to admit that this one was also my favorite.
Maybe next time I’ll just listen to her.
DIY Branch Floor Lamp
Materials
- branch
- tin bucket
- lamp shade
- light kit
- concrete mix
- screw
Tools Recommended
- table saw
- hot glue gun (and glue)
- screwdriver
Steps
1.) First things first, find a branch. It can be any height and width that you desire. Just make sure it is good and clean prior to bringing it into your home. You wouldn’t want to bring any buggies inside!
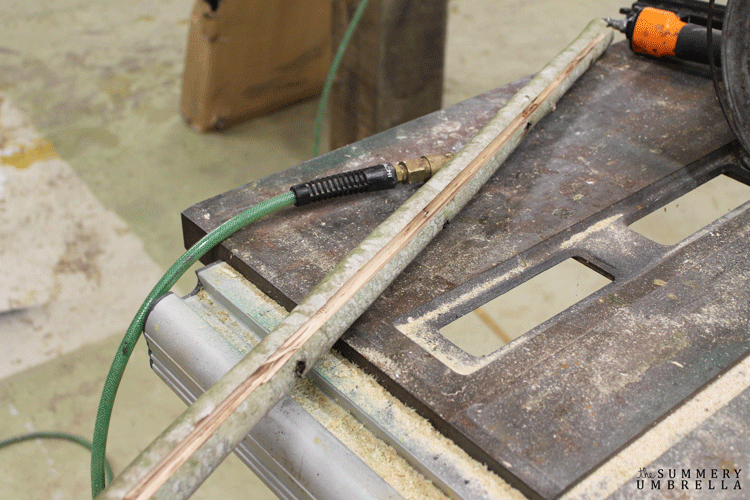
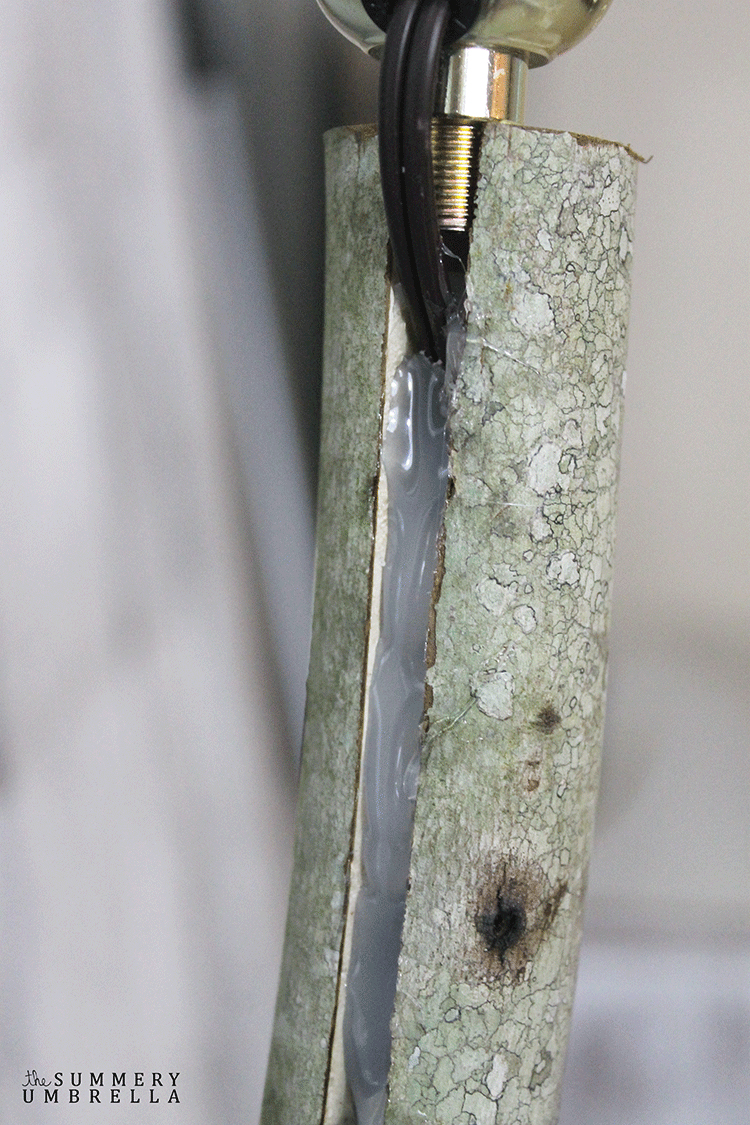
2.) In order to hide the cord from your lamp kit you will need to cut a groove along the length of your branch. This can be a little tricky if you are not used to using a table saw. Personally, I felt more comfortable having my husband do it for me since my branch has a few curves in it.
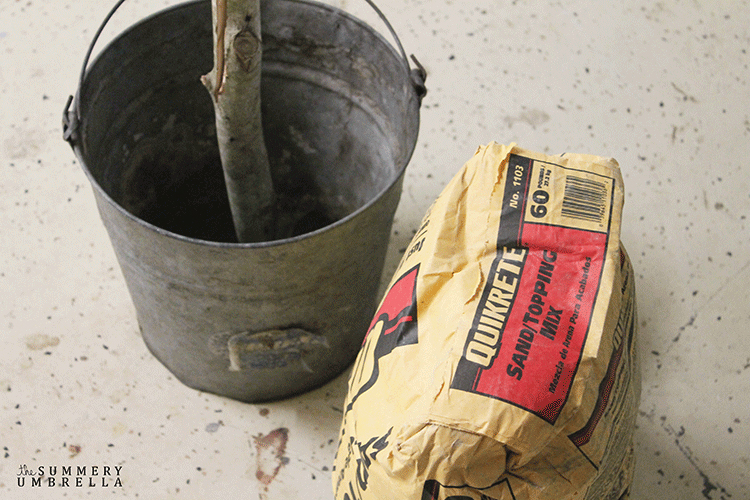
3.) Next, center your branch in your tin bucket and secure it with a screw from the outside. This will keep your branch in place while your concrete sets.
4.) Then, add your concrete mix into your bucket according to the bag’s directions. Make sure to allow enough time for it to dry before proceeding. I believe mine took approximately 5-6 hours.
More of What You Love: Check Out These Recommended Posts!
- DIY Ladder Light
- Mason Jar Pendant Light
- DIY Rustic and Industrial Bucket Light
- How to Paint Metal Furniture Like a Pro
- How to Paint and Distress Metal Bar Stools Like a Pro
5.) After your concrete is good to go it’s now time to add the lighting! My lighting kit just so happens to be one that I had on hand for a mason jar. However, any lighting kit will do. Just make sure you select one that has a threaded pipe so your light fixture can be pushed into the grove in your branch. A tight fit into your grove doesn’t hurt either! See the below picture.
6.) Then, push your cord into the grove of your branch and secure it in place with hot glue. I was originally going to use superglue, but we have a tendency to fight. AKA it sticks to my fingers and I can’t get it off. 😉
7.) Attach your lamp shade of choice to your light fixture.
Don’t you just love this pattern? I can’t help but stare at it!
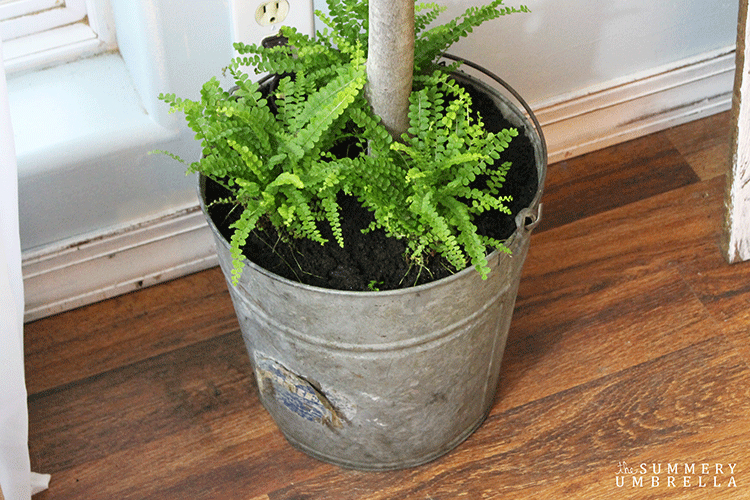
8.) Last, add greenery or whatever elements you would like to the top of the bucket to add a little bit of color. Artificial greenery does wonders!! 🙂
I’m just head over heels for this light! How gorgeous did this beauty turn out?!?
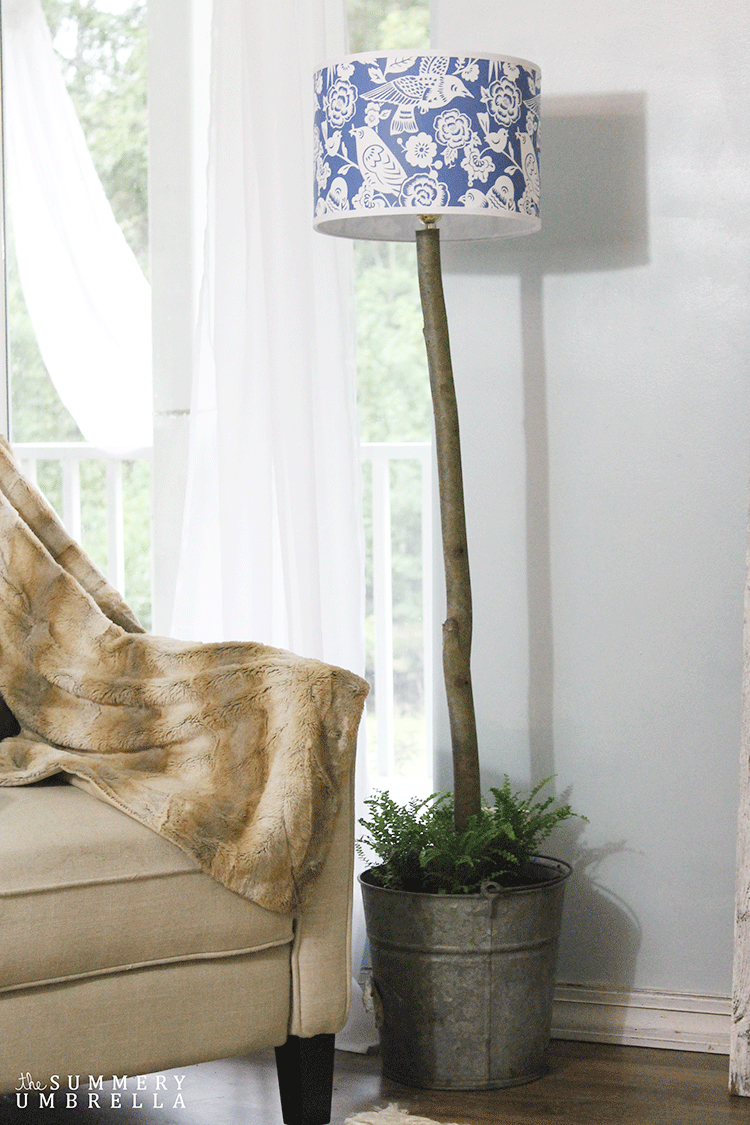
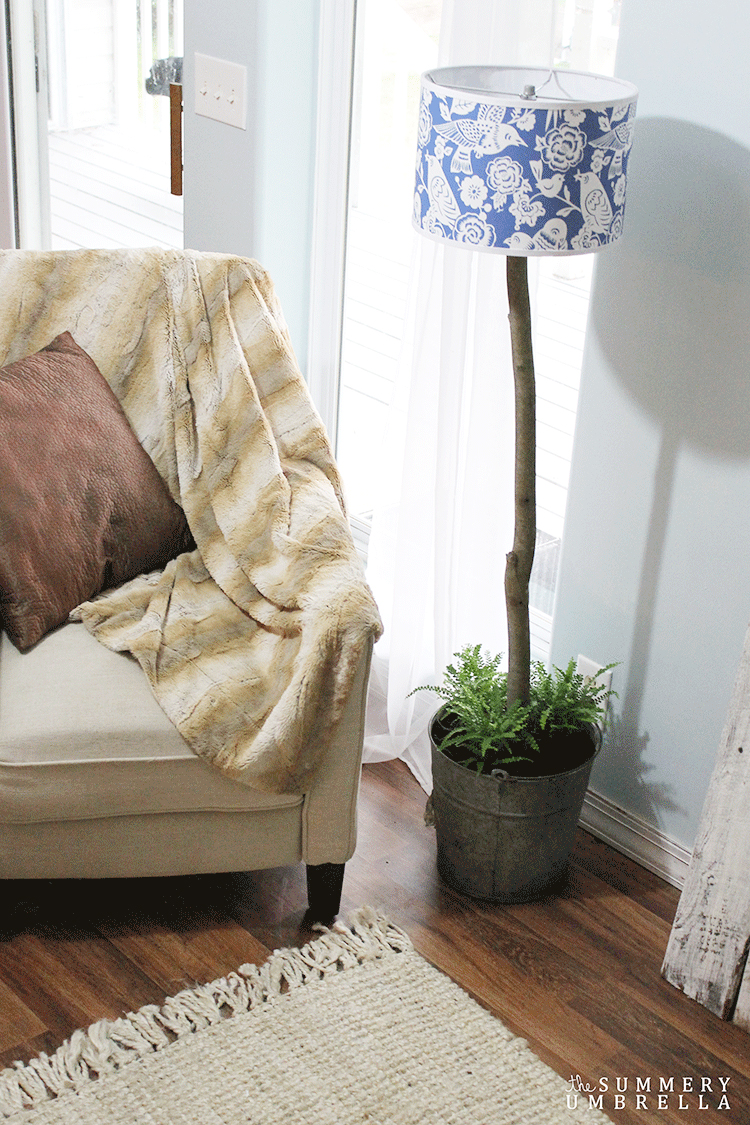
Have a wonderful week, and until next time!!

Pssttt…. Don’t forget to check out my DIY projects page chocked full of DIY and decorating goodness!
Let’s be Social
This post was updated in August 2022.



What a super unique, creative idea!!!!
Thank you, Heather! I just love doing projects that are completely different 🙂
Oh my, this is so creative and perfect. Seriously love it.
Thanks, Ashley!! Branches are by far my favorite item of choice to use in all of my projects 🙂
oh LZ you are incredible!!! i am so in love with this LIVING lamp!! <3
the shade is so pretty, Ava is as talented as you!! and i really like how you hide the wire too! bravo!!
You always have the sweetest things to say! Thank you so much, and hope you have a wonderful week 🙂
LOVE this idea! So friggin clever! And your daughter is adorable! Thanks for the awesome giveaway!
Thank you so much, Tasha! You know me. I love my branches 😉
Wow! This is so neat and so beautiful! You are so amazing! I live seeing all the creative things you come up with!
Thank you so much, Val!! You are such a sweetie, and I truly appreciate your kind words 🙂
How clever, LZ! Birds nest in trees! Ava selected the perfect shade! What a beautiful marriage of nature and Thomas Paul’s art. Will definitely bring branches into our rustic home! Thanks for sharing!
You are so sweet, Jessica! Ava definitely has amazing taste 🙂
Charming lampshade and would be a lovely pop of color to my plain Jane home!
Thank you so much, Manette! This lampshade definitely has a lot of personality. Gotta love a pattern with a mind of its own 😉