The Ultimate Pantry Makeover: How to Organize, Declutter, and Beautify Your Kitchen Storage
If you’ve ever looked in your kitchen pantry and thought, “How did I get here?” then this blog post is for you! I recently found myself in the same situation – my pantry had become an absolute mess with mismatched containers, random items left on the shelves, and a lack of storage overall.

So, I decided to take matters into my own hands and gave my pantry a complete makeover!
Ok, ok. Who am I kidding? My super-talented husband actually did most of the work, but let me tell you… I’m an excellent supervisor. Wink, wink, nudge, nudge.
Here’s how it all went down.
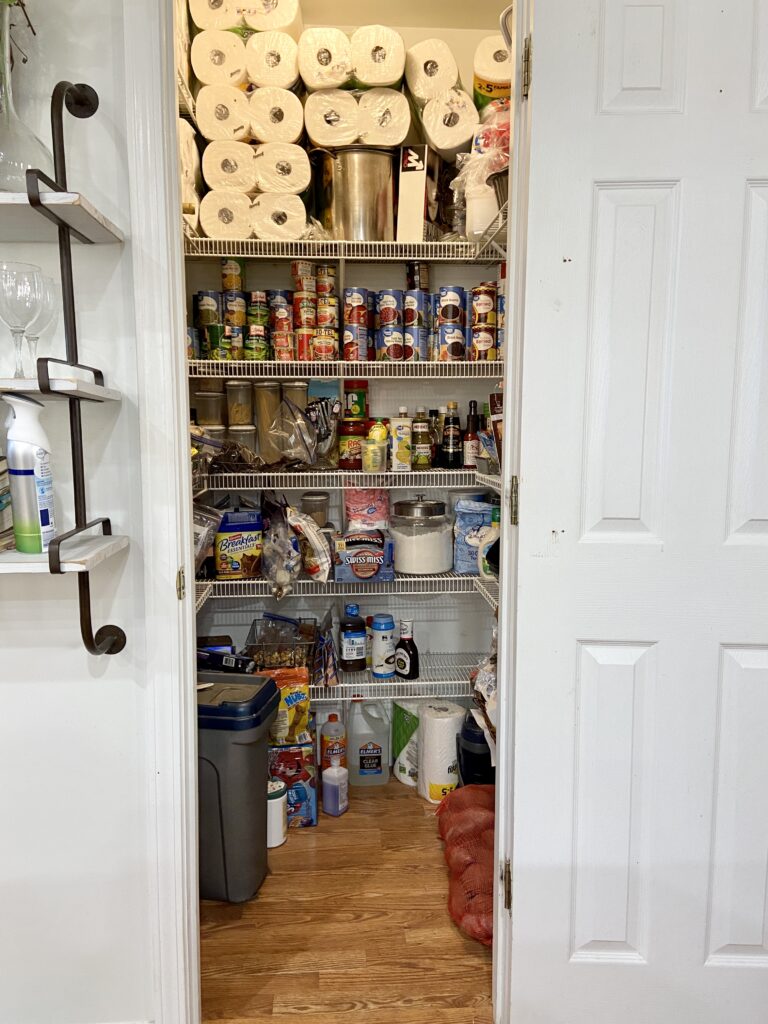
First, let me address the paper towel situation because I’m sure someone will call me out on it.
No, I am not a hoarder. Well, technically, I’m not.
Second, I love Amazon’s monthly Subscribe and Save program and admittedly there have been a few months that I have forgotten to put it on “skip this month”. I knowwww, I know. I’m getting better at scheduling, but I seriously need like 28 hours in the day to accomplish it all.
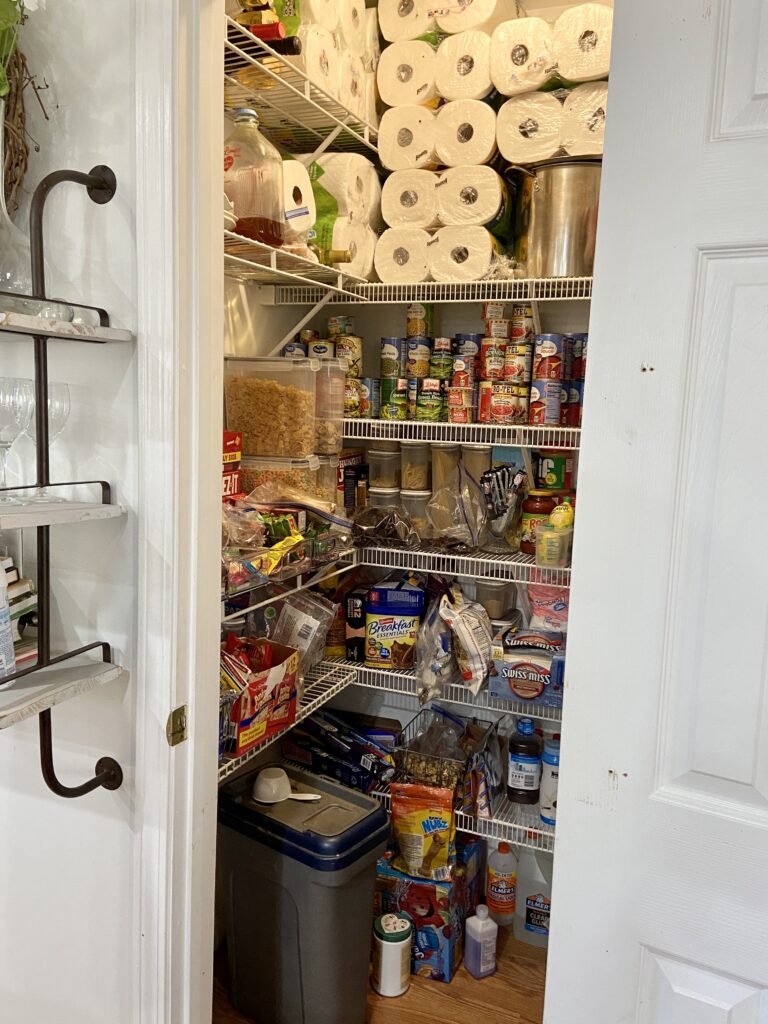
Move Everything out of the Pantry
This first step is brutal. I’m not sure about you, but I never truly realize how much junk I have until I have to go and move it to another location. However, we did manage to combine a few things during this process and throw out stale chips that had been sitting in the back for way too long. Baby steps, right?
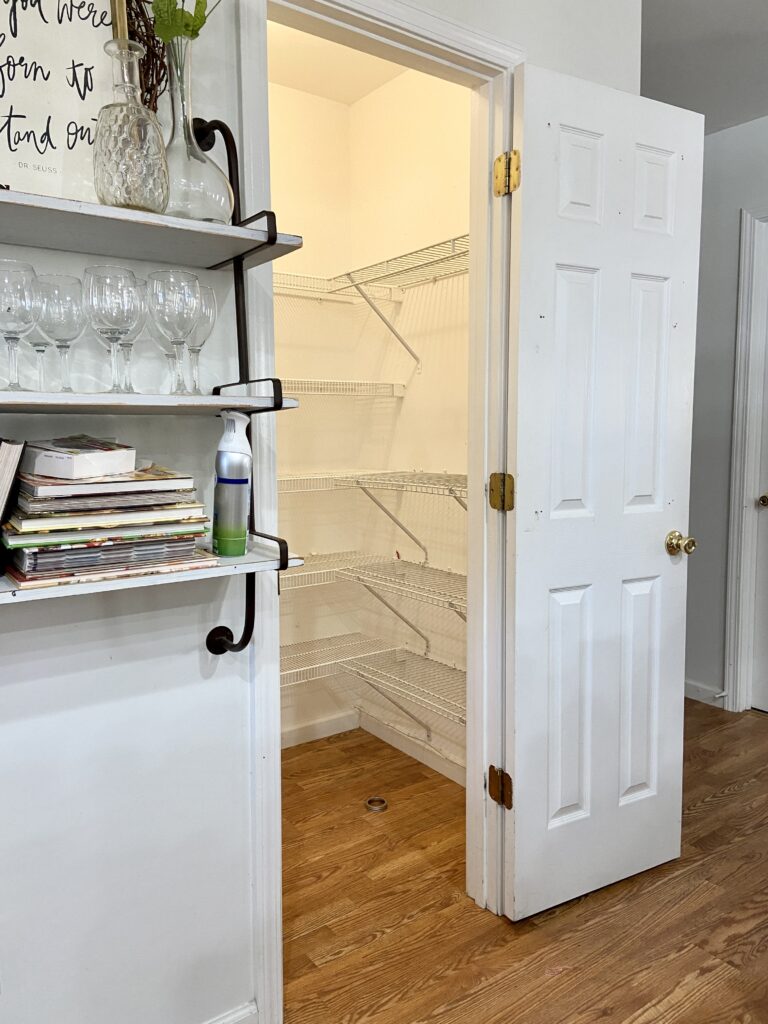
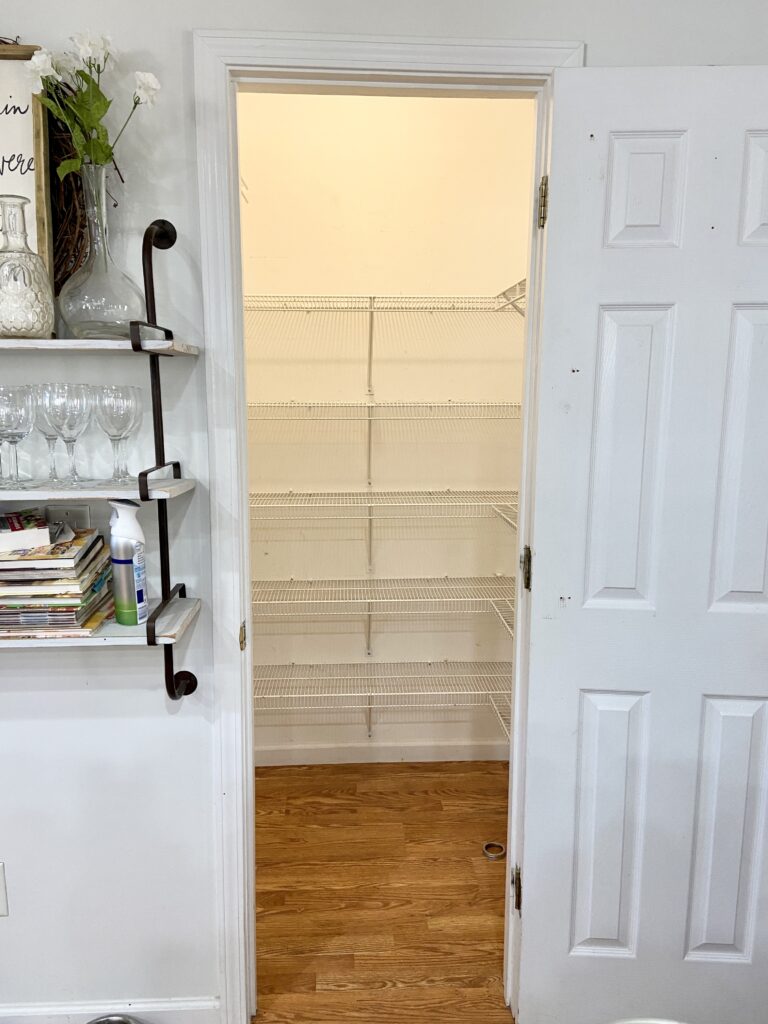
Removing Old Shelves
The next step was to remove the old shelves that were installed in the pantry. This was a bit tricky because many were attached to a wall stud that was just above head height. Not to mention, there were a few screws that seemed to be dead set on staying there for life!
Adding New Shelves & Cabinets
Once we had removed the old shelves, it was time to install some new ones! To maximize storage space in my pantry, I decided to add two cabinets as well as floating shelves along both sides of the pantry walls. This provided much-needed additional storage space so that everything could be organized neatly when finally completed.
Plus, guess where we got these cabinets? The laundry room. I’d been wanting to add floating shelving in that room of the house for a while now, and exchanging and replacing these two beauties worked out perfectly!

Painting & Adding Storage Containers
After adding all of my new shelves and cabinets, it was time for some painting! To give my kitchen pantry a more modern look, I chose a bright white interior satin paint which really made everything look fresh and clean again!
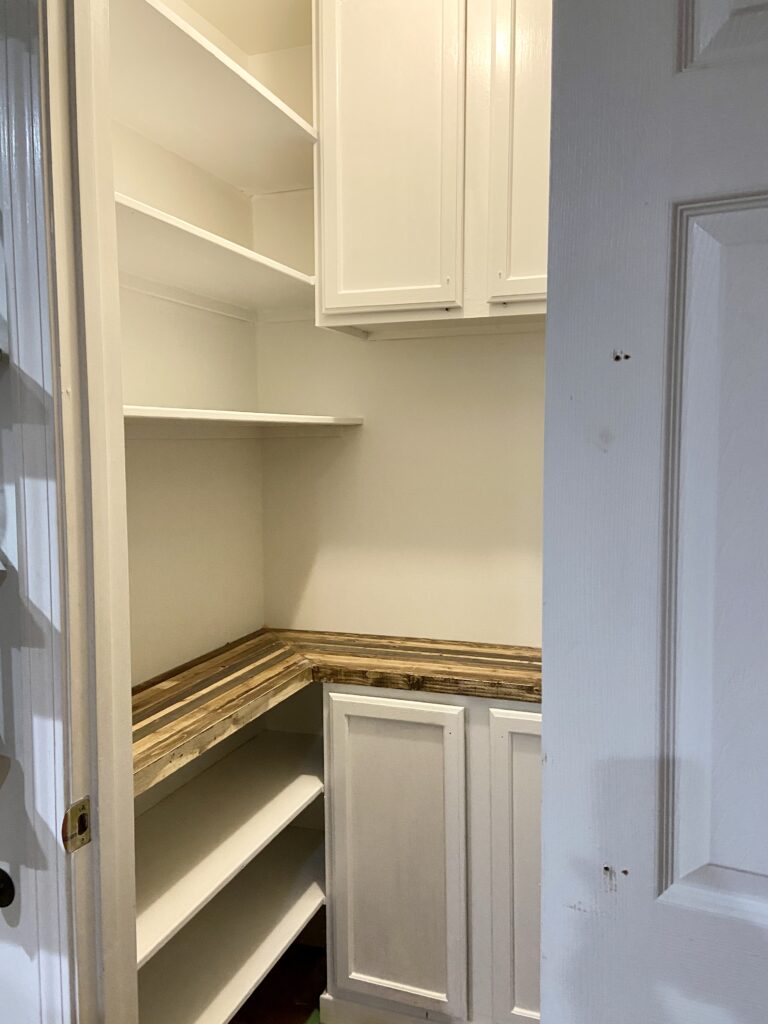
Install a Countertop
My husband and I adore rustic decor and this reclaimed countertop was designed with leftovers that we’ve be saving for just the occasion!
While you absolutely do not have to do this step I have found that this countertop has really maximized our space. I can’t even begin to tell you how many times it’s been a lifesaver!
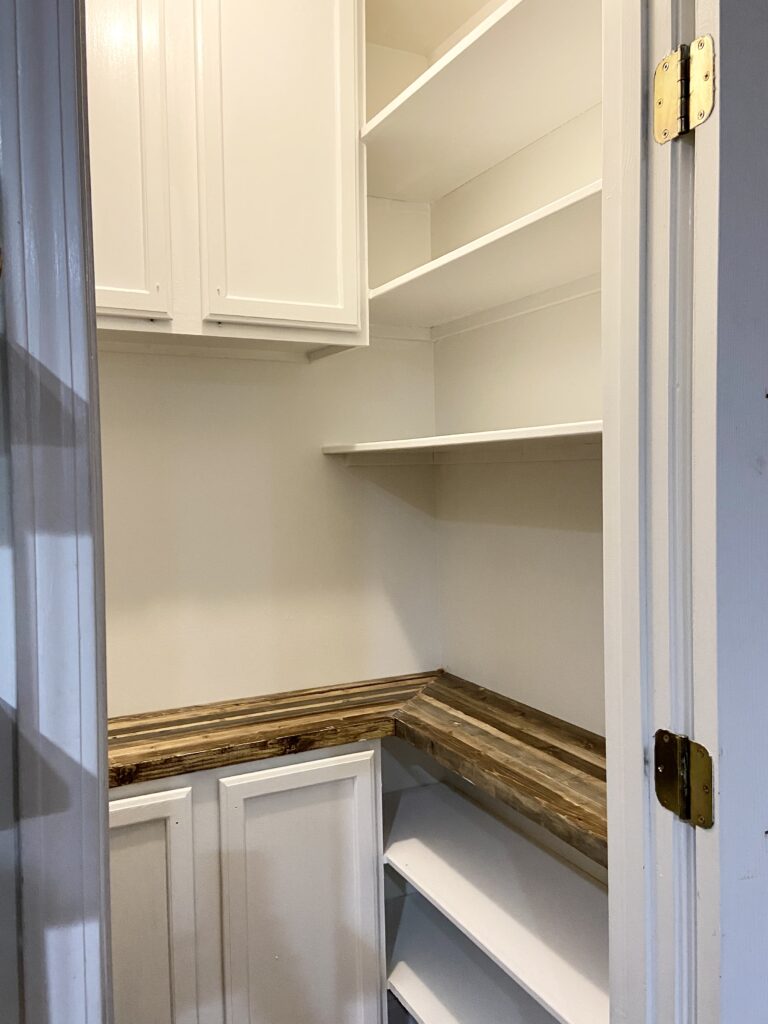
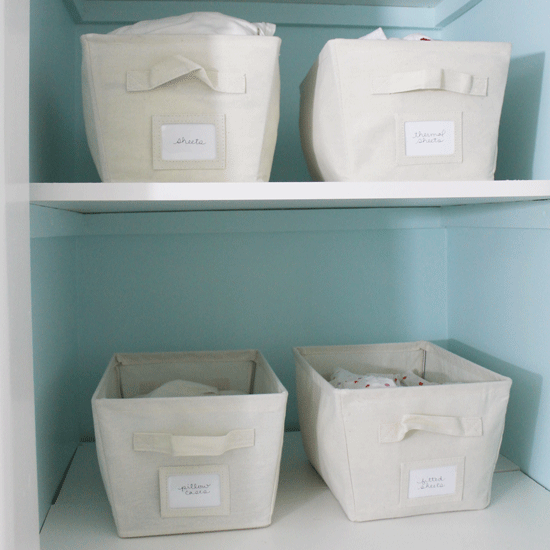
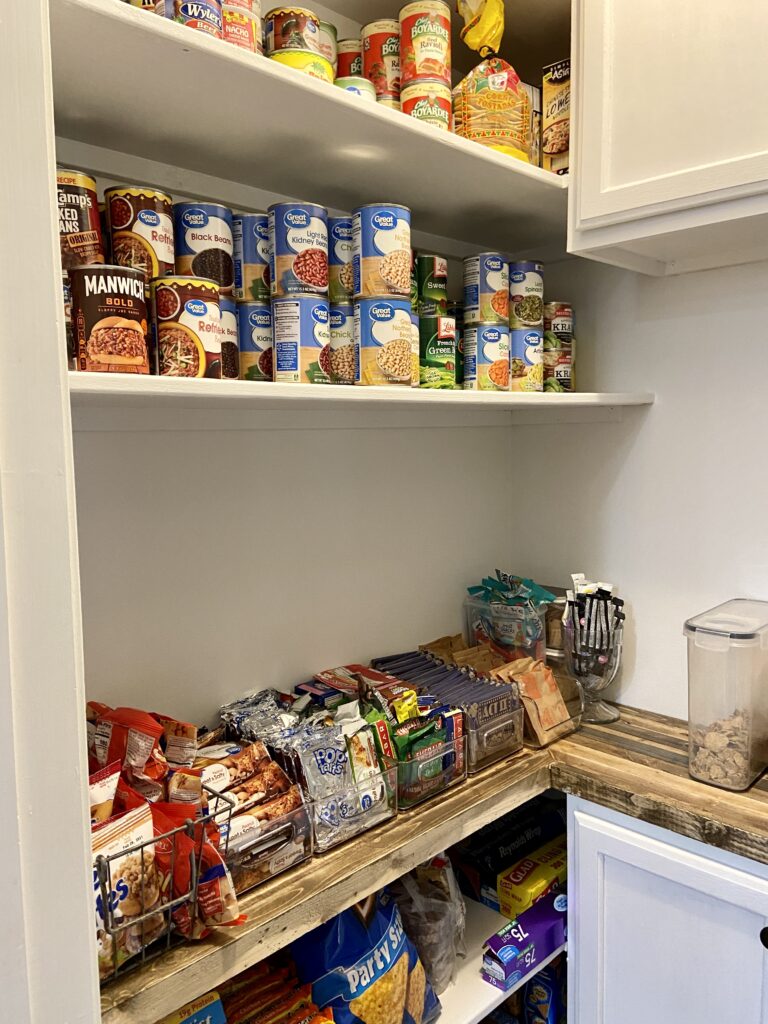
Once this was finished, it was time for me to start organizing all of my items using clear plastic containers with lids so that everything would be visible at a glance. These containers also allowed me to easily transfer items between cabinets without having to open each lid every time!
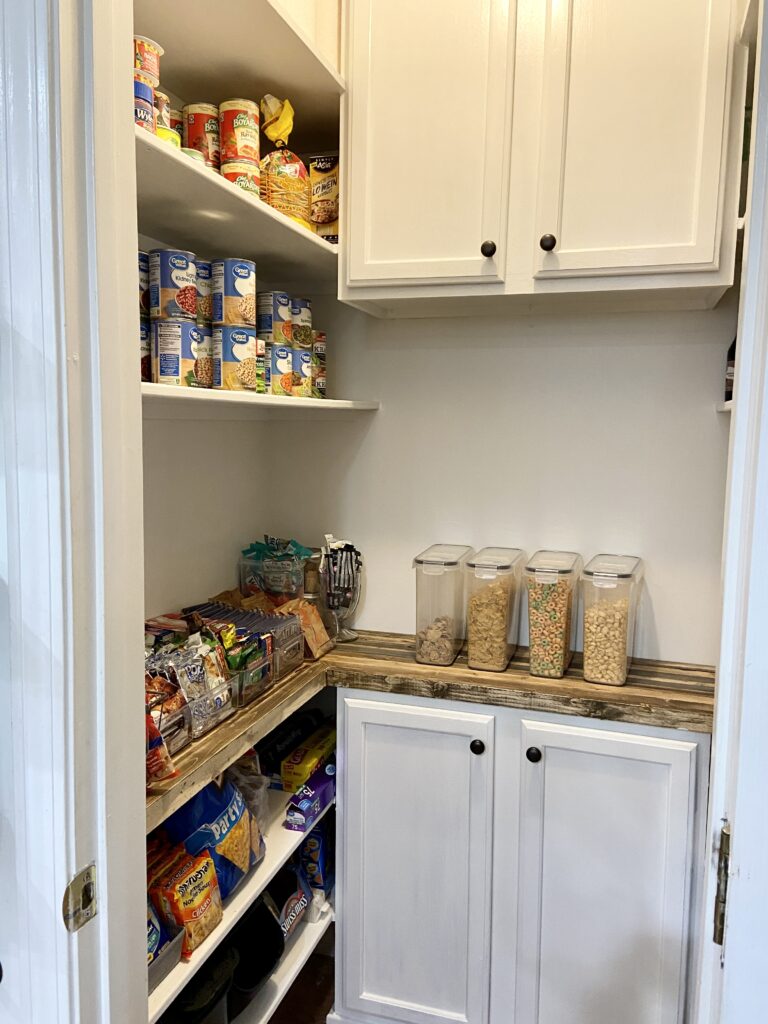
Pantry Storage Organization I Use and Adore!
Like this post? Check out these other decor-related posts too!
- How to Decorate with Plants
- Book Decor Ideas You’ll Want!
- How to Decorate your Home with Handmade Signs
- Simple Steps for an Organized Cabinet: A Complete Guide
- Tackle Your Home with This Spring Cleaning Checklist
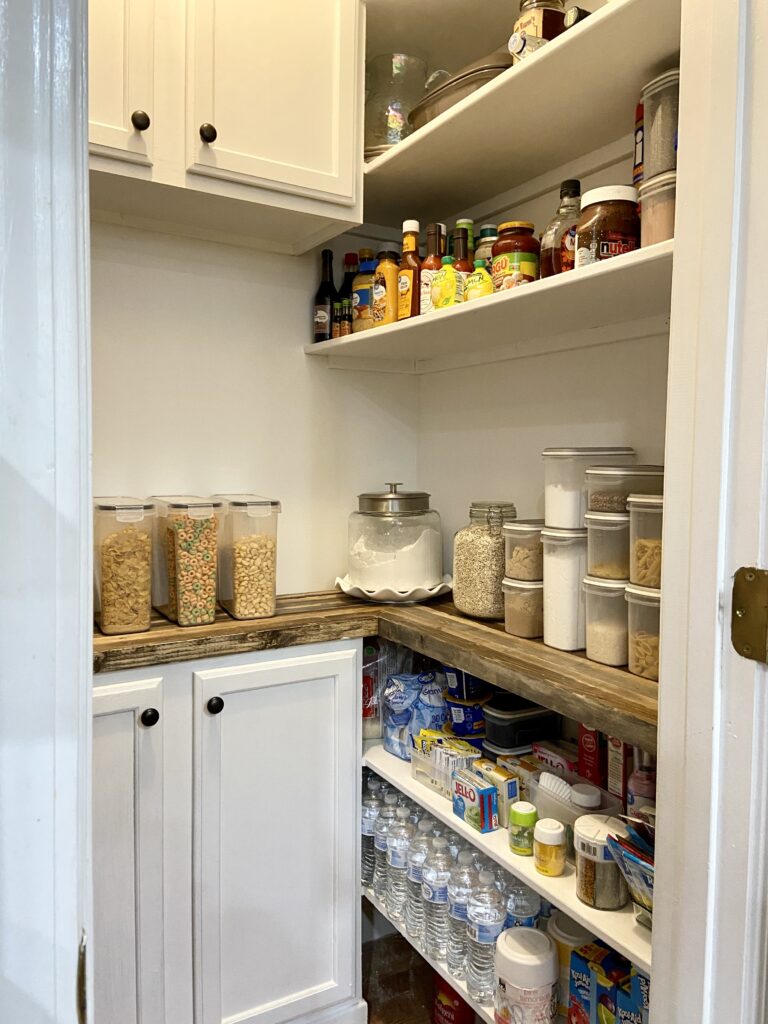
With a few simple changes and additions – like removing old shelves, adding new ones and two cabinets, painting them white and using clear storage containers – you can turn your kitchen pantry from drab to fab in no time!
So, don’t let your messy kitchen pantry bring you down; take charge today and give yourself something beautiful with an easy pantry remodel!
Have a wonderful week, and happy remodeling 🙂


