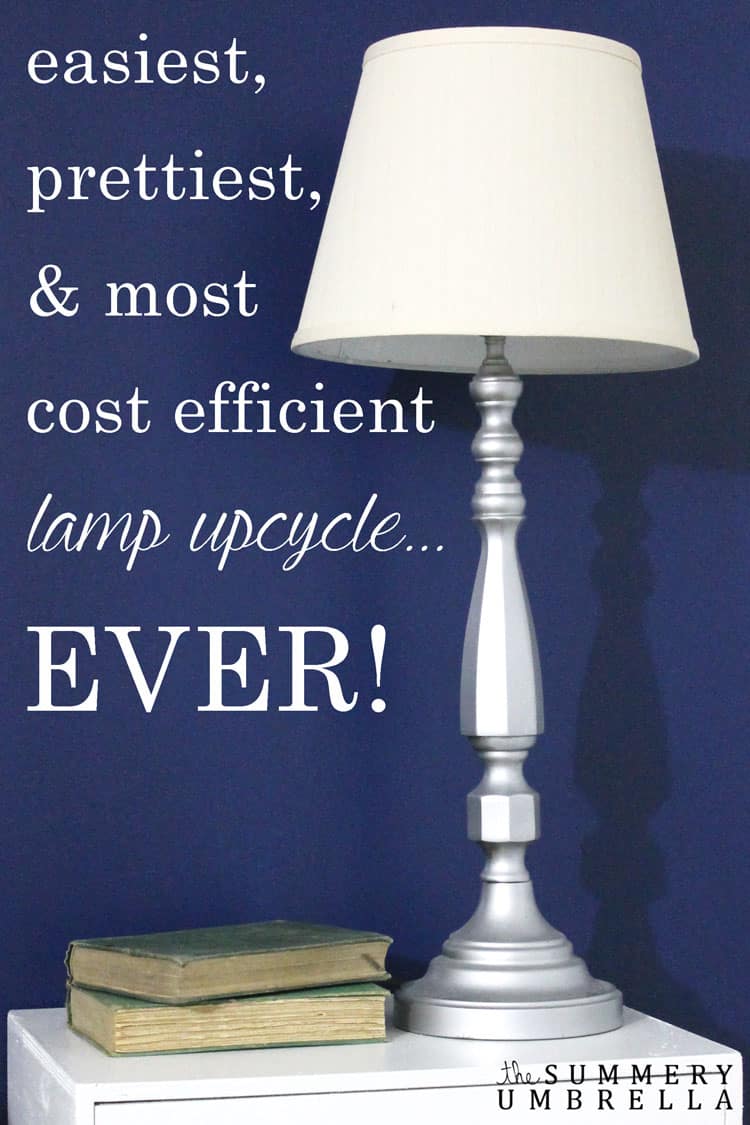
Easiest, Prettiest, and Most Cost Efficient Lamp Upcycle
With all the excitement in the last few weeks with fixing up Mike and I’s master bedroom, coming out with my new Spring Sign Collection, opening up a brick and mortar shop in our town, and just overall doing the normal every day work and home related chores… you can definitely say that my brain has been a bit frazzled!
I have a tendency of working hard. ALL. THE. TIME.
Don’t get me wrong. I LOVE my job and I LOVE what I do every day.
However, like with anything, moderation is key. Now all I need to do is keep reminding myself and following through!
In fact, it’s gotten so bad that I’ve started grinding my teeth at night again. Yikes! Bahamas anyone?
But anyways, with everything that has been keeping me running around like a crazy person, I have completely forgotten to tell you about my upcycled lamp project!
Last week I showed you a few clips of them with my Pottery Barn Knock Off DIY Nightstand, but I just KNEW you wouldn’t want to miss out on the full tutorial! This post does include some affiliate links, but they are for your convenience. Please click here to read my full disclosure policy.
Easiest, Prettiest, and Most Cost Efficient Lamp Upcycle
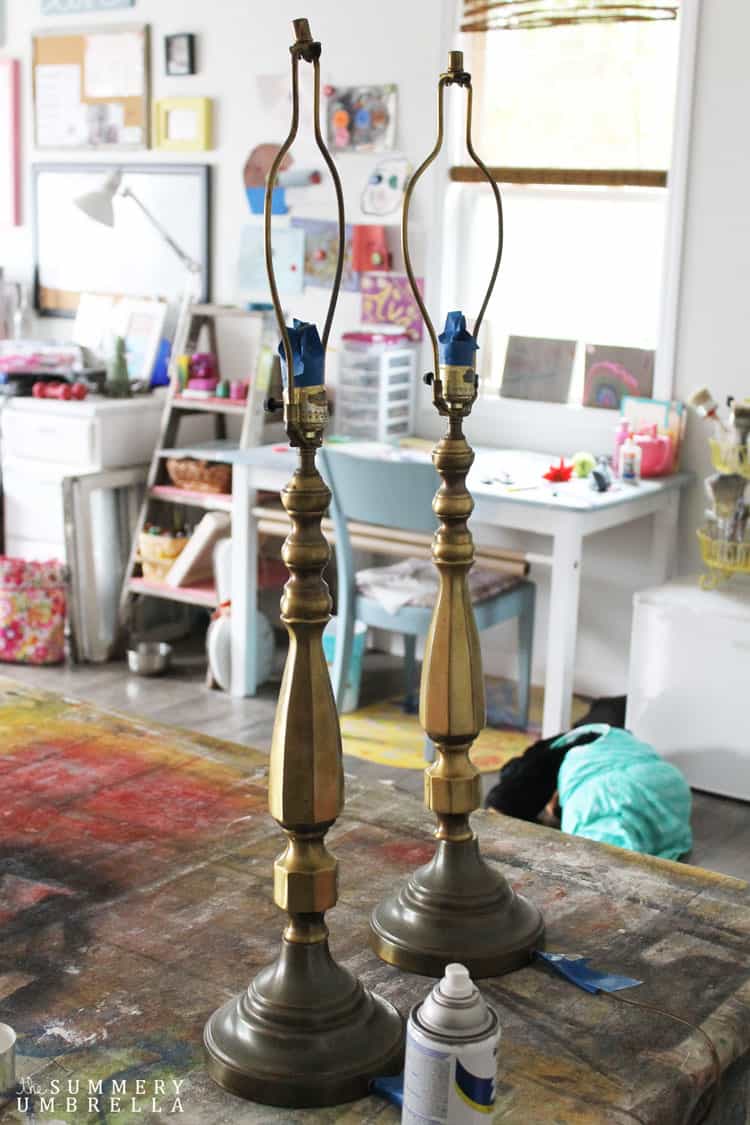
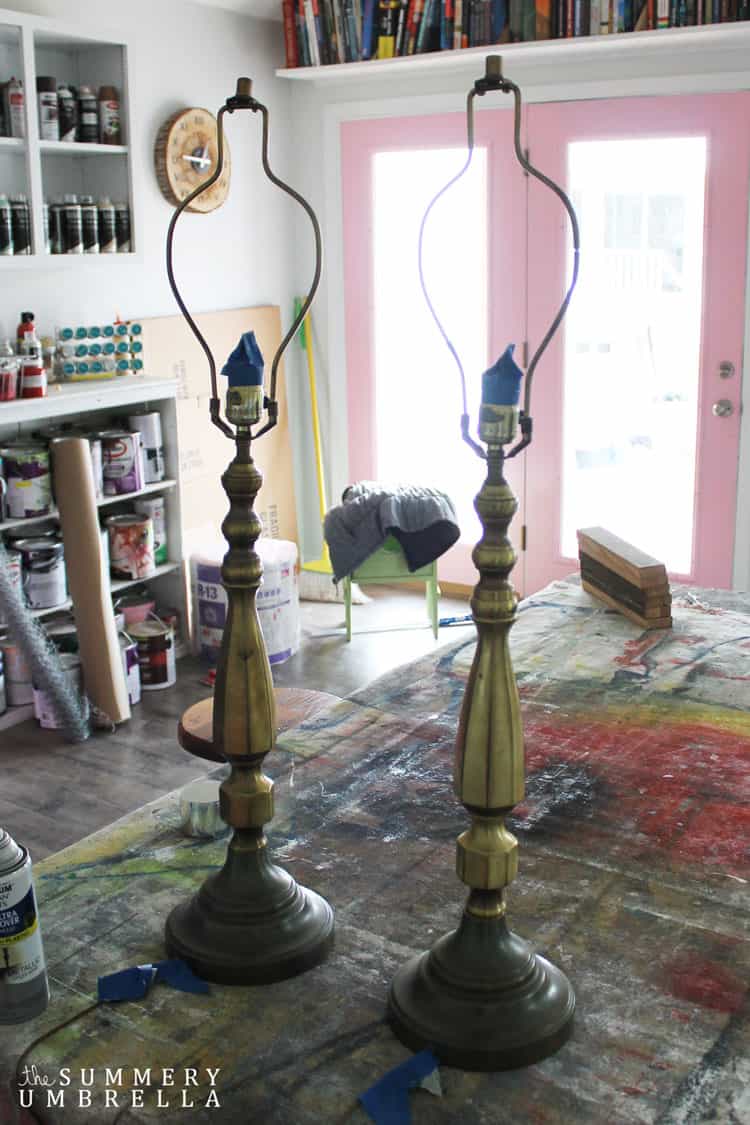
I bought these two beauties for a whopping $5 a piece at my local Restore. Not only were they an amazing price, but they WORK.
Quick, fun fact.
So, ever since Mike (aka. Super Talented Hubby) and I have decided to open up a brick and mortar shop we have found that we each veer towards certain types of items.
For instance, Mike has an obsession with chairs. We have so many flipping chairs in the shop and at our home that I feel like we’re getting ready to open up a restaurant, movie theater, or something of that nature. It’s absolutely nuts-o if you ask me.
However, then there’s me. I have a thing for lights. I won’t tell you how many we have right now, but… they rival Mike’s chairs. Ohhhh the irony.
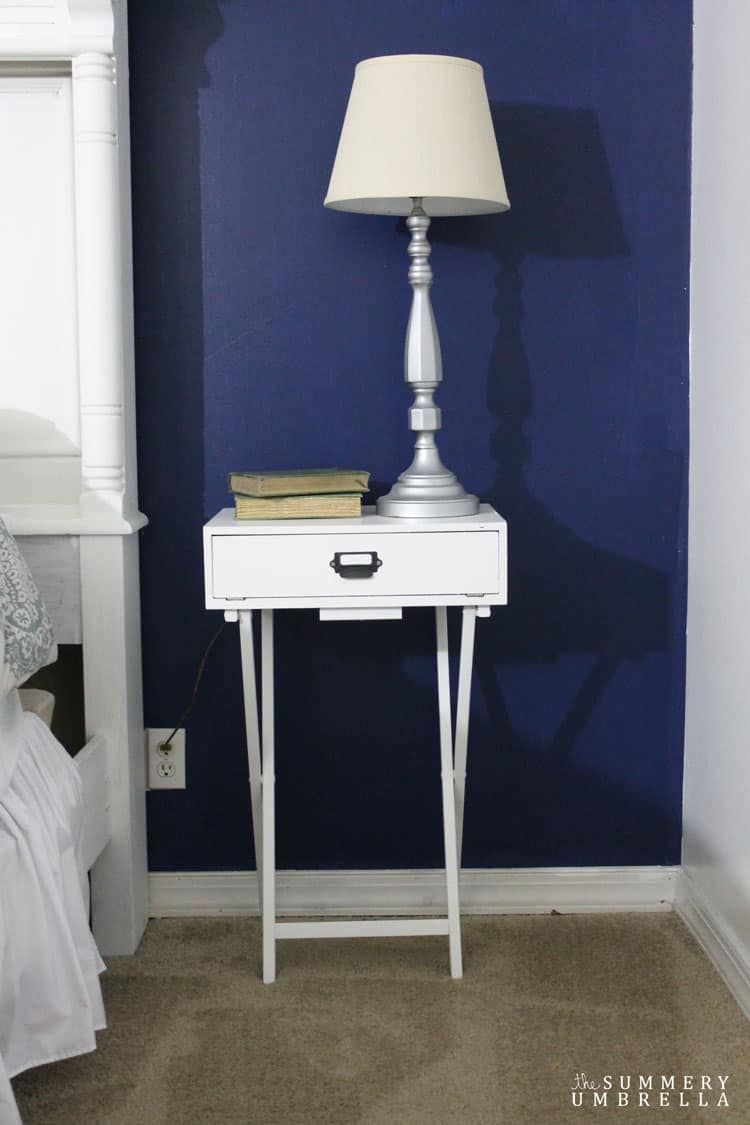
So, I bet you’re wondering… how did I turn this $5 lamp into a true beauty?

Don’t worry, baby bird. I got you covered!
All you need to do once you buy the lamp of your choice is purchase a can of Rust Oleum Spray Paint in Silver and spray these puppies down. Then, hop on over to Walmart (or Amazon) and grab a few of these Linen Drum Shades.
That’s all. Easy peasy, right!?
3.) new sheets and bedskirt (keep duvet)
4.) design/create bedside tables
5.) update the ceiling lighting and bedside lamps
6.) add a rug
8.) add a little wall bling
Happy DIY’ing!



LZ, that’s a great lamp makeover!! Doesn’t get much easier than that! That’s exciting that you and your husband are starting a brick and mortar shop!!! Praying for a successful and not so stressful time for you all. 🙂
It sure doesn’t, Keri! I love when a project turns out like this 🙂 Thank you so much for your prayers and I can’t wait to get started with this new adventure!
It sure doesn’t, Keri! I love when a project turns out like this 🙂 Thank you so much for your prayers and I can’t wait to get started with this new adventure!
Beautiful, and easy, lamp upcycle. Thanks. And good luck with all the different things that you are taking on right now!
Hi Rebecca and thank you! I’m glad you liked this tutorial, and I’m definitely going to need all the luck I can get 😉