Crafting Index
Do you love creating crafts? Come spend the day with me as I teach you how to make your own with plenty of inspiration and freebies! You’ll find a large selection of tutorials that cover everything from paper art to wood signs, plus much, much more!


SVG Files
Need fresh inspiration? Download some free SVG files and get to crafting again!
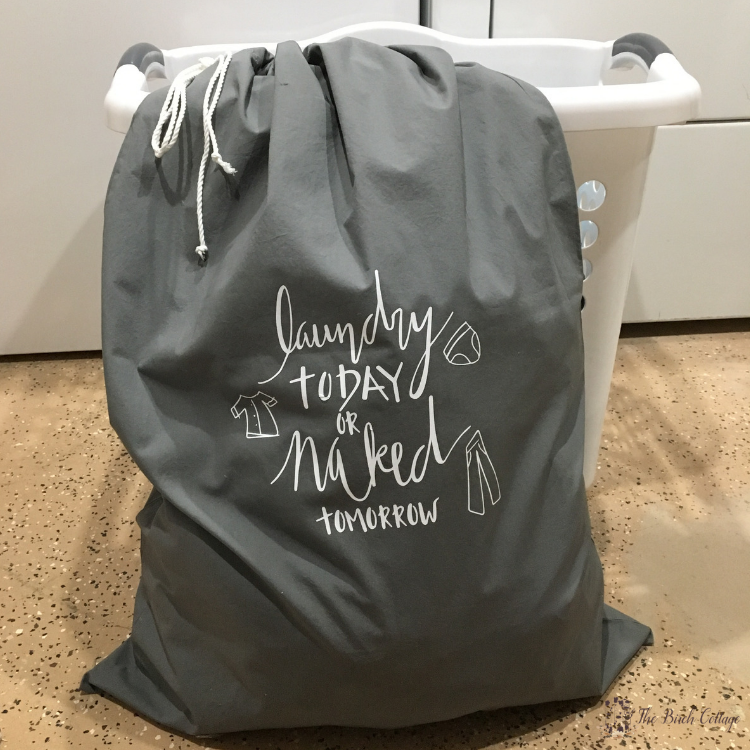
Whether you need a sign for your laundry room or a birthday card for your aunt, my freebies page below is here to help!


All the latest