How to Make Unique Packing Tape Image Transfer Labels
Create a beautiful hot cocoa station with cute labels using this easy tutorial on the packing tape image transfer method!
Hello, folks! I’m Kimberly, visiting from Bugaboo Creates. My blog is where I document my family’s forays into creativity – recipes, kids’ crafts, DIY projects and holiday crafts, and photography just to name a few things! We love to be hands on at our house and try new things. Today I’ve got a fun and easy project that will take you almost no time to complete and can be used in a variety of applications!
Using packing tape to transfer images to glass is easy, fun and super versatile. Want to organize your pantry with custom stickers on your jars? Done! Want to create some beautiful decorative vases? Done! In this case, I’m going to show you how I used a packing tape image transfer to create a cute hot chocolate station in my kitchen!
How to make your labels using the packing tape image transfer
If you’ve never tried packing tape image transfer method before, now is the time! It only takes a few materials and the hardest part about the project is the wait time (which is only about 30 minutes).
What you need:
- Large jar or glass canister
- packing tape (heavy duty works best)
- scissors
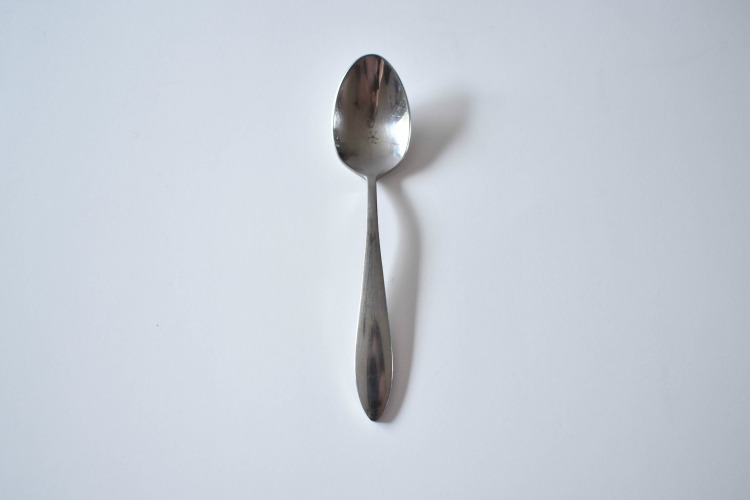
- Spoon
- warm water in a bowl
- Your image printed on normal paper. I used hot chocolate served here vector image. Making a lemonade station with the lemon vector or mason jar vector would be fun for summer!
Instructions:
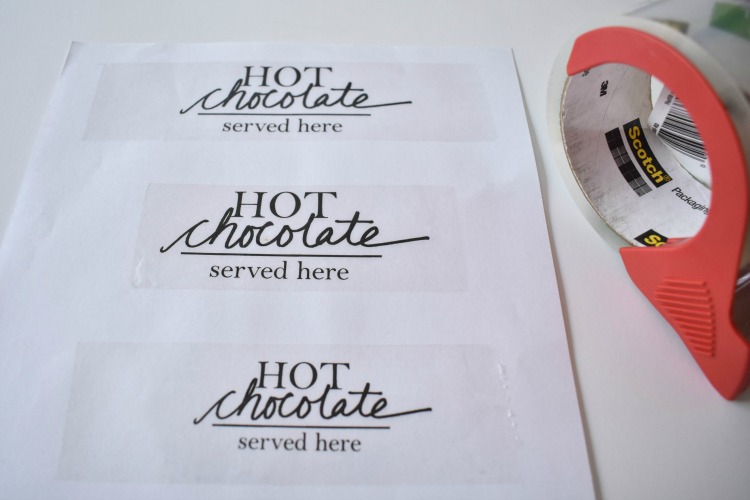
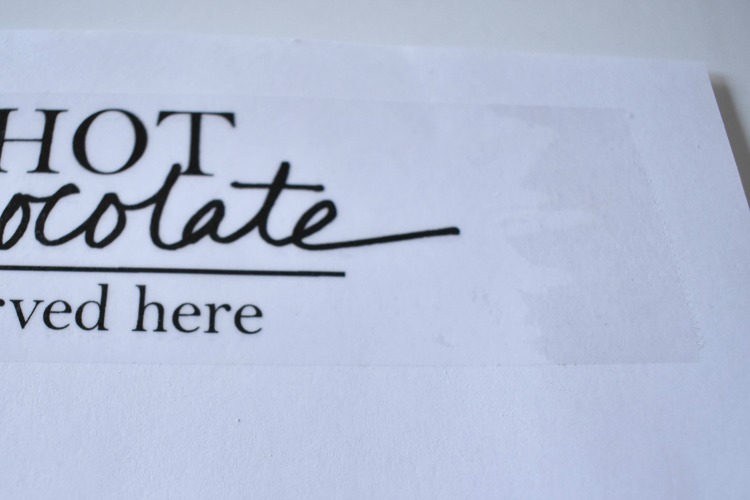
First things first. Print your image onto normal printer paper. Keep in mind the width of the packing tape. You can transfer larger images, but you’ll have to divide them into sections and make separate stickers for each section. For this tutorial, we’re doing the whole image as one sticker. Once you’ve printed your image, place packing tape over it, as straight as you can.
You want to make sure that you don’t get any bubbles as you’re smoothing it down, and of course that nothing gets stuck to the inside, like hairs or crumbs – like this:
The key to creating your image transfer labels
Once you’ve placed your tape, you come to the most important part of the project. You’ll need your secret weapon for this part. What is it? Your spoon!
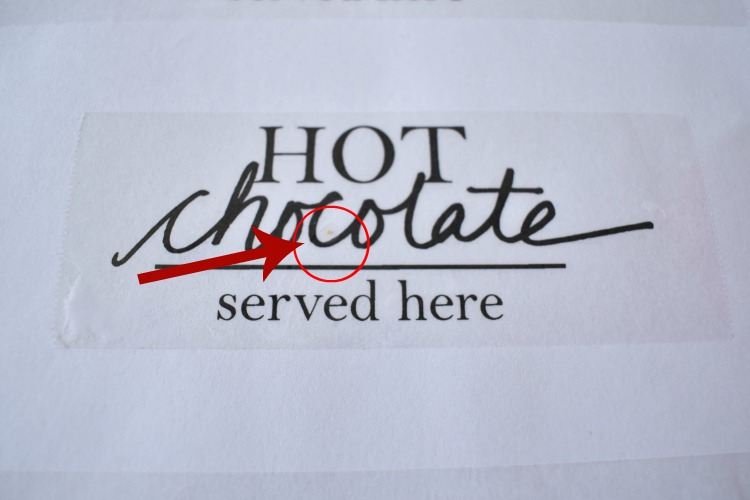
You need to burnish the image with the back of the spoon. Basically, you’re just rubbing nice and firmly all over the image. Wherever there is ink that you want to transfer to the sticker, rub hard. You can tell in the next picture based on the slight color difference on the edge where I burnished and where I stopped.
This video shows the process, so you can see the difference a little bit better.
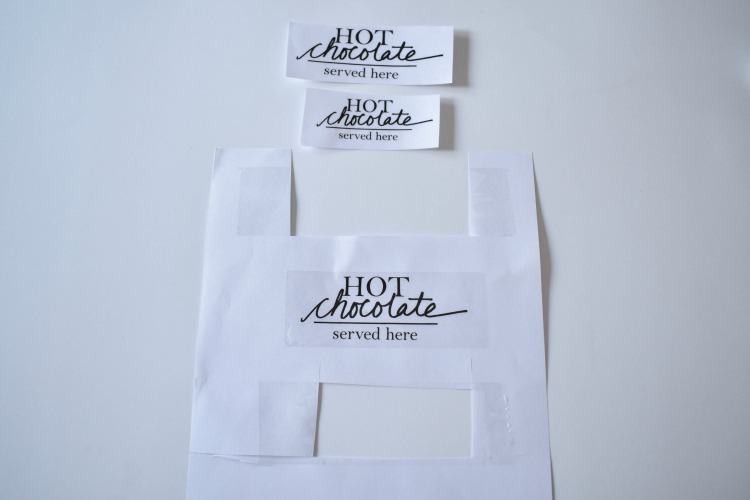
The more you rub, the better the image will transfer. Now you’ll just cut your sticker out with a scissors. Cut around your image with a nice smooth cut. I just made two small rectangles stickers, but you could cut ovals or circles, whatever you prefer.
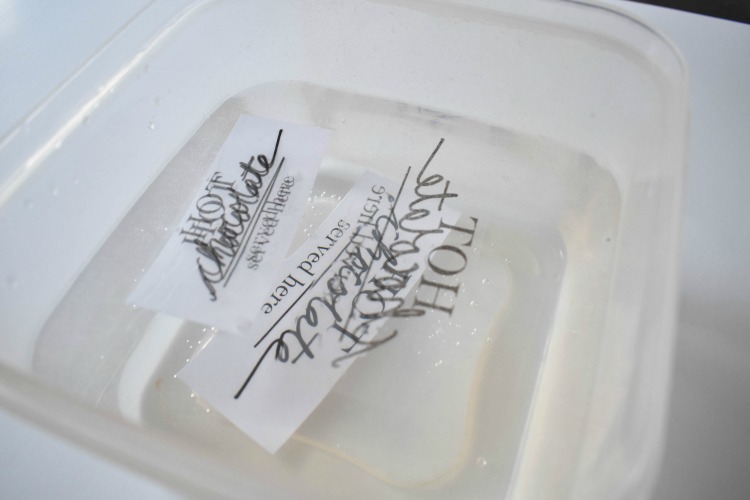
Get your bowl of warm water. Not cold. Not hot. Just warm. Place your stickers in the bowl.
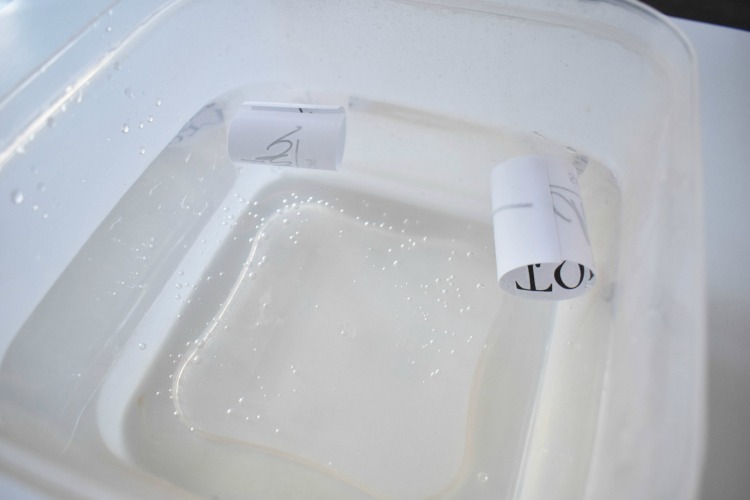
And the wait begins. You want to leave them in for at least 5 minutes, but I found that if I left them for about 1/2 an hour, the paper came right off the back and there was no scrapping or pulling needed.
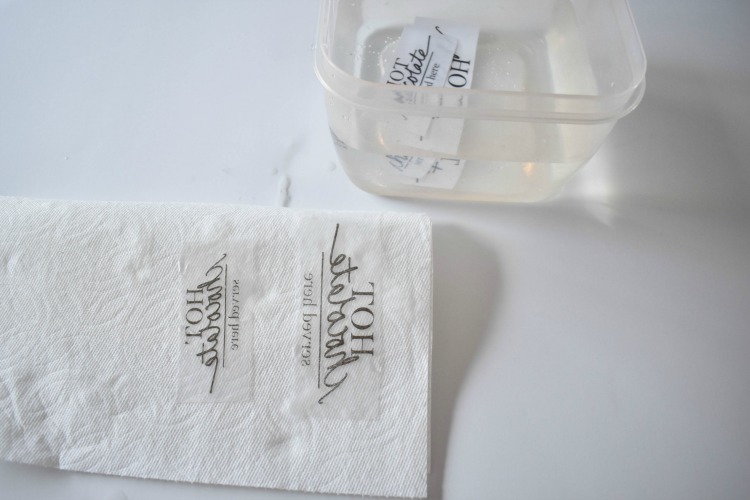
Fish out the packing tape labels which have come away from the paper backing.
Applying your labels to the jar
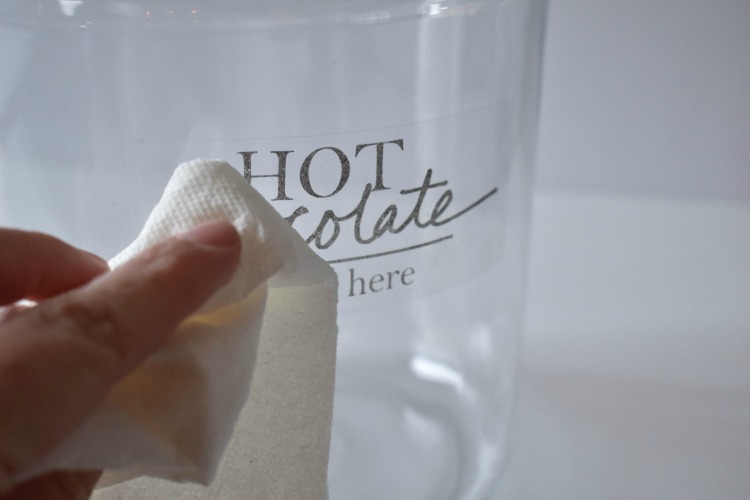
Lay it down sticky side up while you prepare your jar. Just make sure your jar is nice and clean and dry. Then stick your packing tape sticker right on the jar where you want it. It’ll still be wet when you put it on.
Take some paper towels or a clean rag and very gently just dab the water off. As you do so, press the sticker onto the jar. Work gently. If you press too hard, the sticker will move around. Wait until it’s dry to really make sure it’s adhered well.
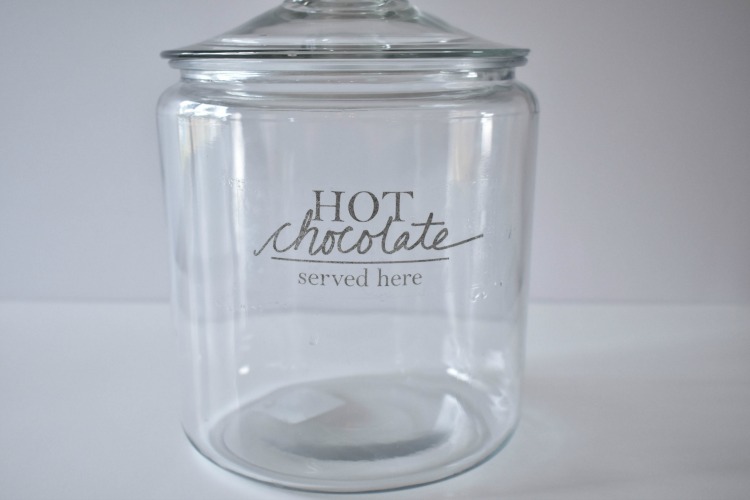
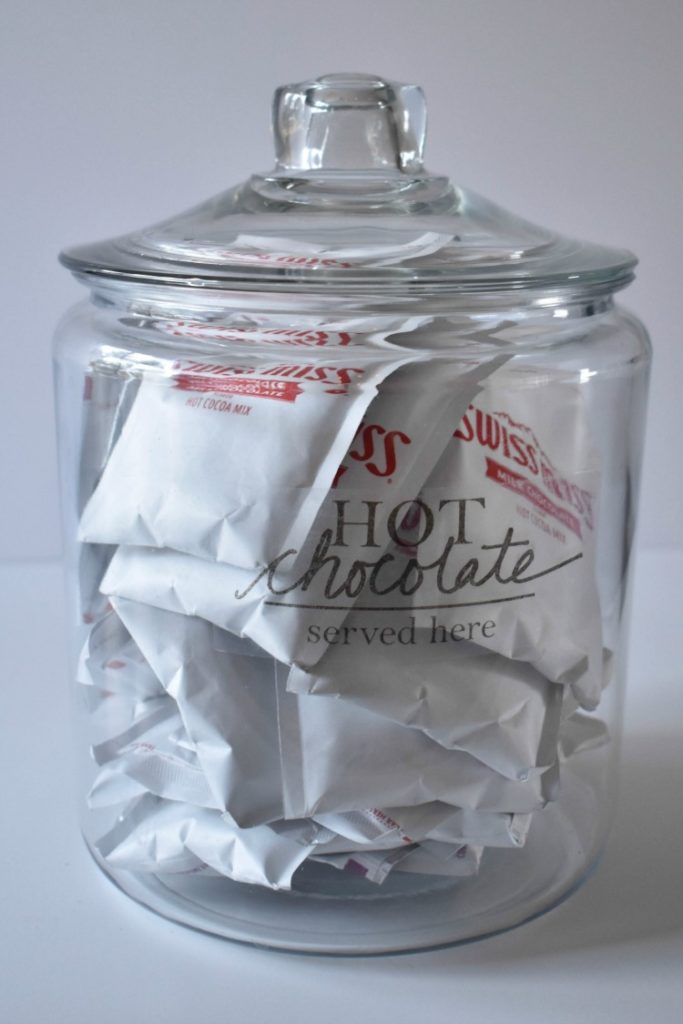
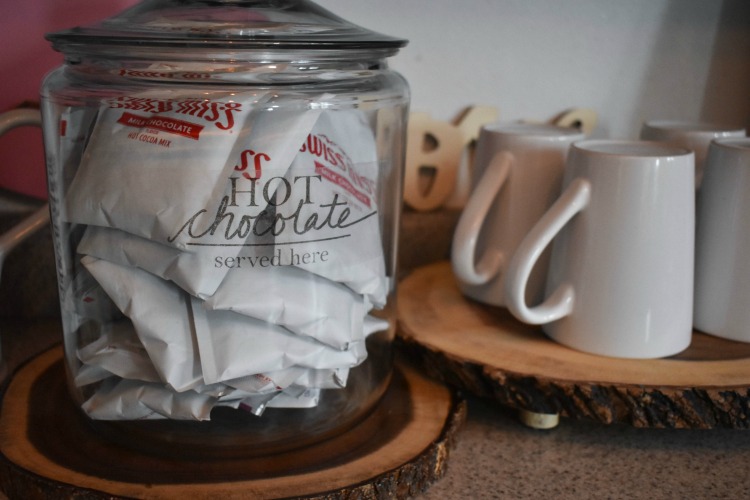
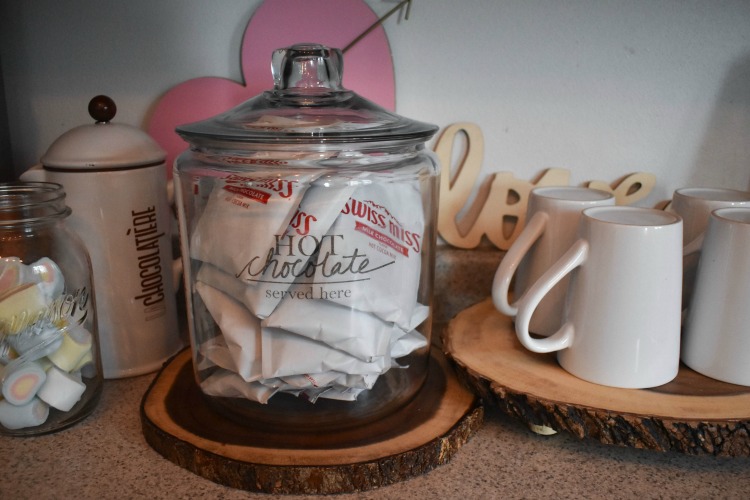
Now all you have to do is fill your jar with your favorite hot chocolate mix!
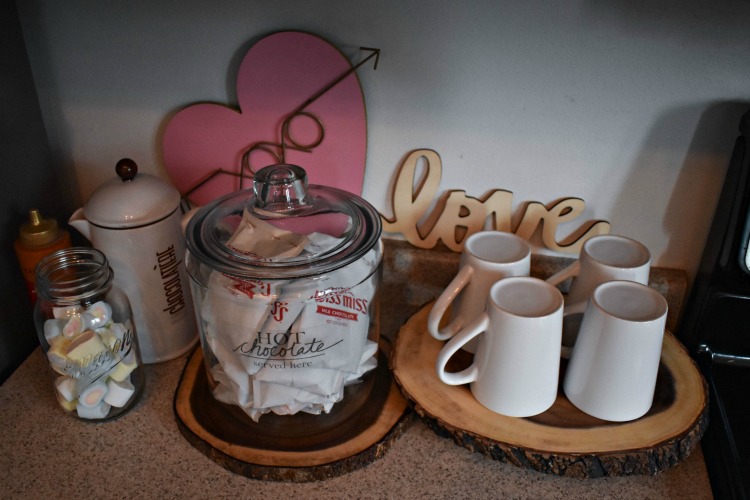
Tips to make your hot chocolate station
To make your hot chocolate station, add some treats to melt in your chocolate, like marshmallows or mints. Be sure to place cups within easy reach. Add some seasonal decor as a backdrop for fun!
Now you’re ready to go whenever someone gets the chills, or you have a visitor!
More ways to use your image transfer labels
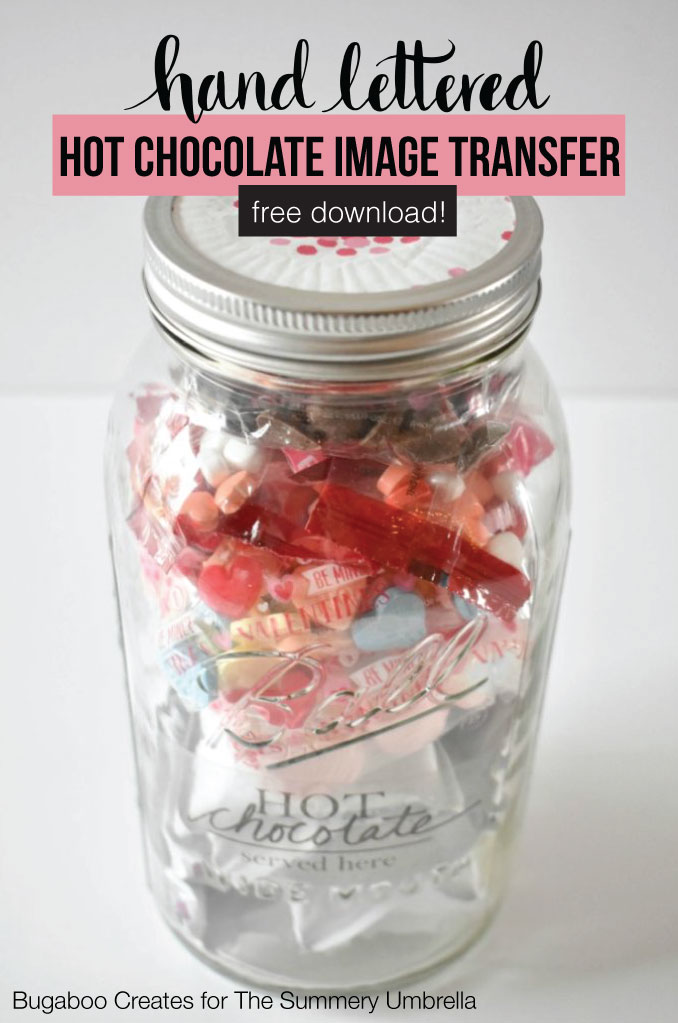
Another idea for your hot chocolate transfer sticker? Use it for a fun Valentine’s Day gift! Follow the same steps as above and place your sticker on a large mason jar.
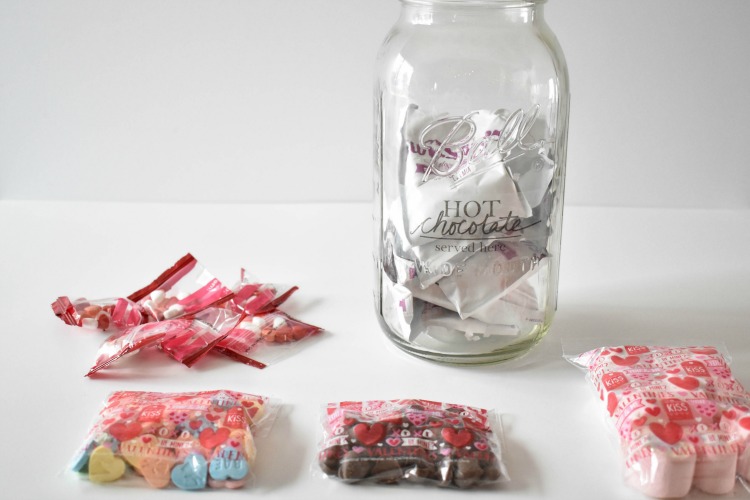
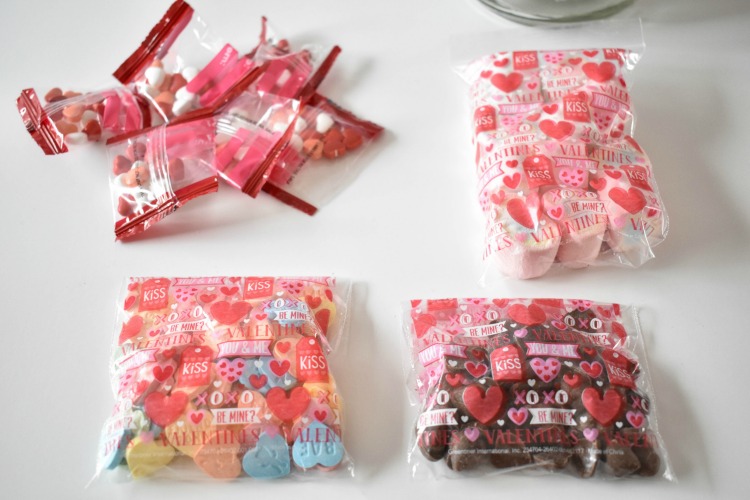
Be sure to fill your mason jar with the packing tape image transfer label with treats that will make their valentine hot chocolate fun, like cinnamon hearts, conversation hearts, tiny chocolate hearts and pink marshmallows! Packaging them in cute valentine bags is a good idea too!
Now just fill the jar with the hot chocolate goodies. Decorate the lid any way you want. I used a cupcake liner!

And add a gift tag or a card.
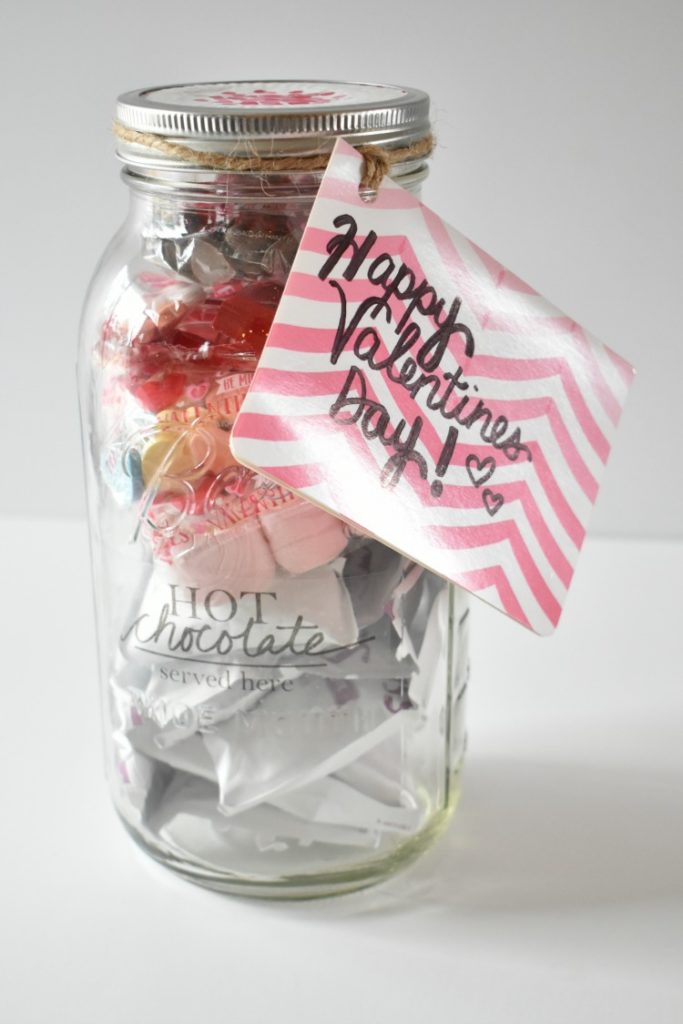
It’s like a warm hug in a jar!
What’s Next?

Don’t forget to check out a few of these ideas too!
Let’s be Social

This post was originally created in January 2019, and then updated in January 2020.