A Stunning Fireplace Mantle with Faux Tile: Here’s How
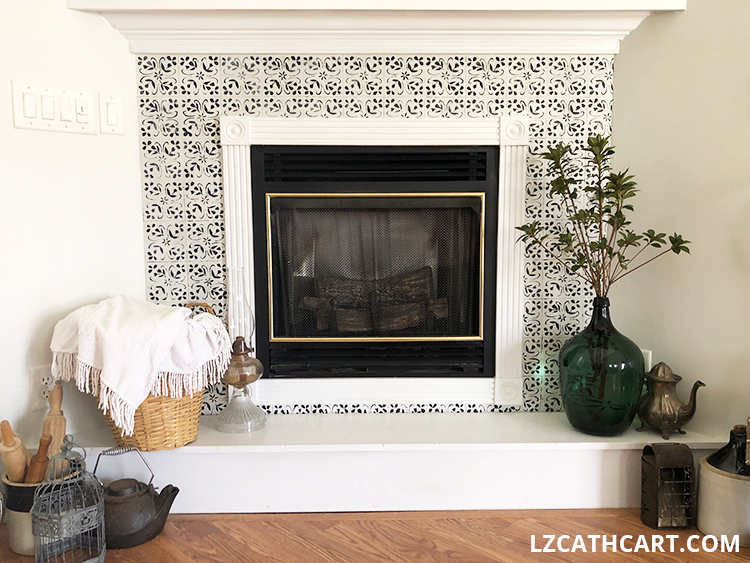
Looking to upgrade your fireplace mantle and elevate your home decor? Our step-by-step guide to a faux tile fireplace mantle surround is just what you need. Learn how to create a stunning focal point that’s budget-friendly and easy to install. With our tips and tricks, you’ll have a beautiful mantle that looks like a real tile in no time.

Are you a perfectionist? Do you find yourself fixing the same things over and over again? Maybe even redecorate a particular corner in your home several times a year?
I feel your pain.
I am also a perfectionist and struggle tremendously with crooked rugs, off-centered lighting, and haphazard socks and shoes all over the floor. Don’t even get me started on gallery walls! Sigh.
With that being said, I have been trying to rid myself of these crazy habits. It’s been hard, but you can imagine how much I struggled with this particular project.
Want this freebie? Sign up for access to my resource library below.
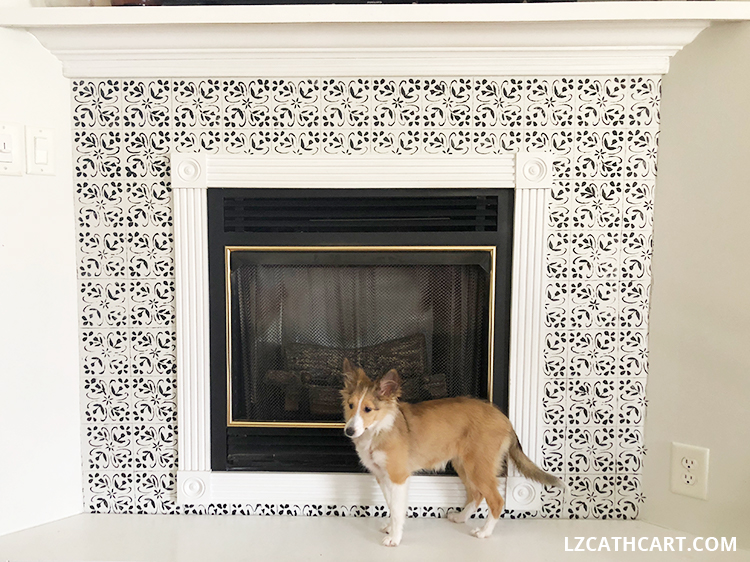
For instance, every one of my stenciled faux tiles needed to line up just right to look consistent.
However, let me tell you a secret… they don’t! And you know what? It doesn’t matter. Honestly! This design allows you to be off in spots here and there, and you’d never know.
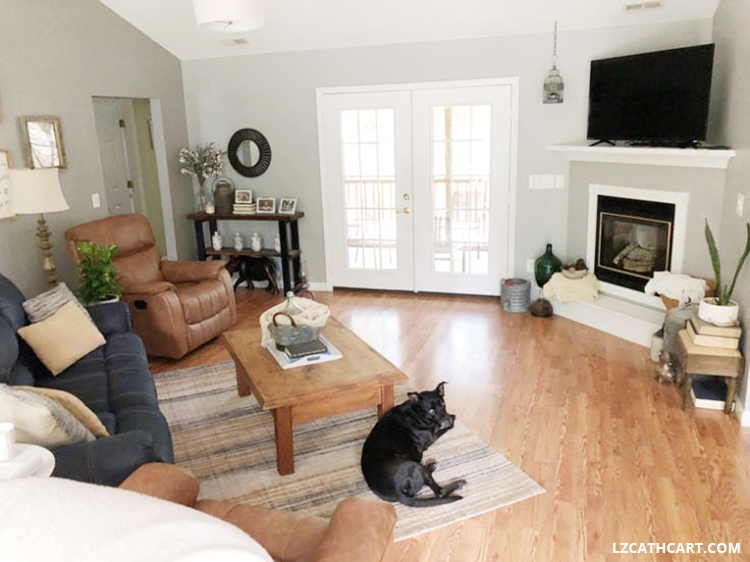
Before photo (when we first moved in–prior to painting the living room white).
How to Stencil Faux Tile Around Your Fireplace
Materials
- Vinyl (this is my favorite brand!!)
- Transfer Tape
- Squeegee (a sturdy credit card will work great too)
- Cutting Machine (Silhouette or Cricut — your choice!)
- Painter’s Tape (or clear tape)
- Black paint (latex, or acrylic)
- Paintbrushes and/or Sponge Brushes
Steps
1. Download the tulip design tile template from my resource library above (aka. freebies galore!!).
2. Prior to cutting out your template make sure that you’ve measured your fireplace to ensure that your tile will fit properly.
For instance, I resized my design to fit a 5″ x 5″ square because this was the best measurement for the width of my fireplace. In other words, I could fit two full tiles side-by-side next to each other before I got to the molding.
In fact, I highly recommend tracing the outside square of your tile (with a pencil) around your fireplace. It’ll help keep you on track while painting in the stencil.
3. For this next step you can do it one of two ways. You can purchase a blank stencil, or you can make a “faux” stencil as I did.
Take your two square pieces of vinyl and cut them so they are just slightly bigger than what you will need your stencil to be.
Remove the backing from both and apply the sticky side to each. Smooth out with your squeegee, and place on your mat. These vinyl pieces will be your stencil!
TIP: Don’t forget to resize your machine’s blade to accommodate this extra vinyl thickness.
4. Cut out the template using your cutting machine.
How to Stencil Faux Tile Around Your Fireplace
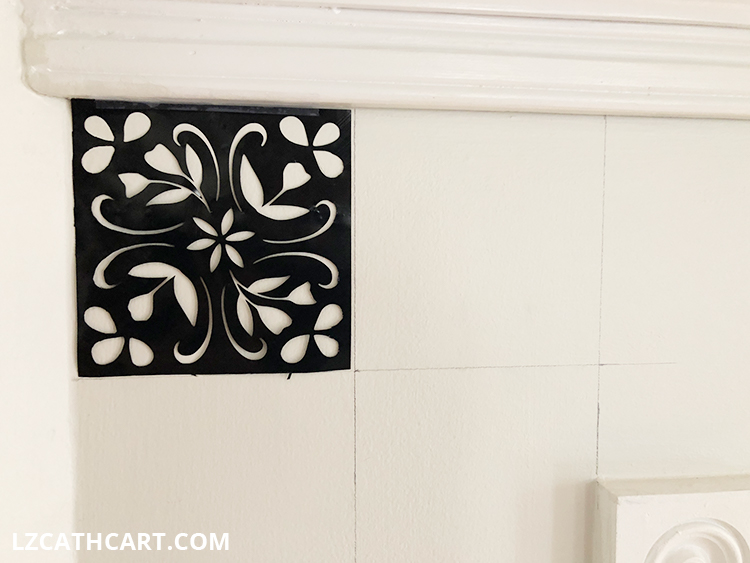
5. Carefully remove the interior vinyl pieces so you are left with a stencil. See the below image.
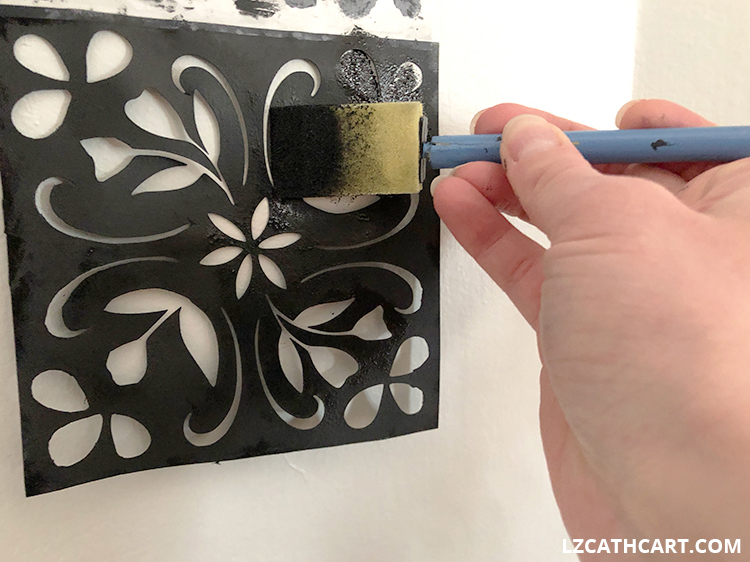
6. In this next step you’ll want to add a piece of tape to the top of your stencil so it sticks to your wall while you paint.
NOTE: In the image below I tried three methods to see which would be easiest and quickest for adding my stencil. (Left to right: with a paintbrush, black marker, and then a sponge brush).
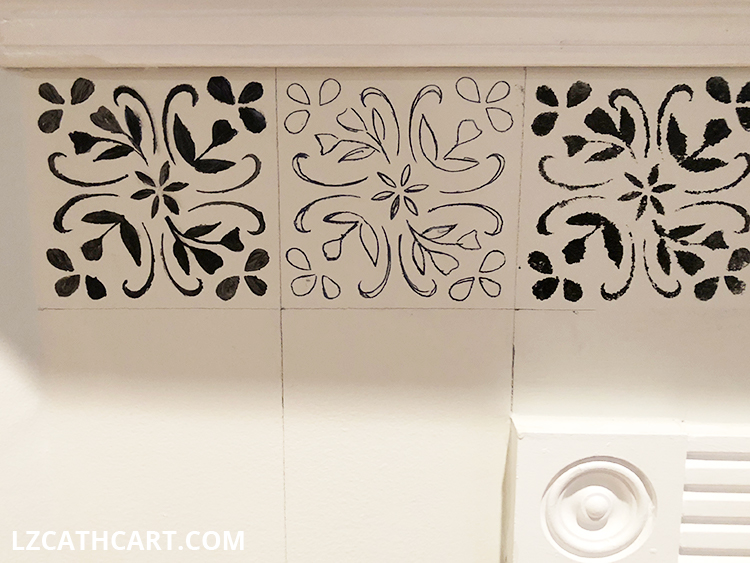
7. Now, it’s time to paint your tiles.
As I said earlier, I’m a bit of a perfectionist so I really wanted to hand-paint every square.
However, it would take too long with that route. A sponge brush will produce messier results, but it’ll be much quicker in the end.
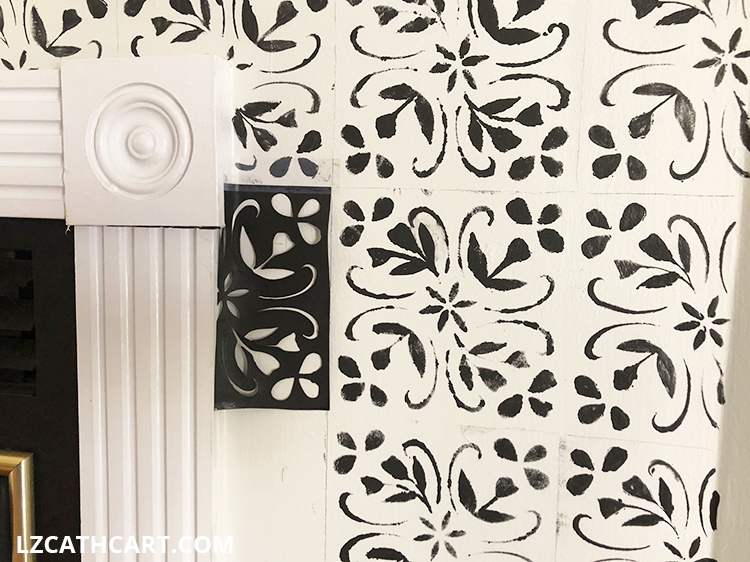
TIP: I had a lot of “half” tiles that needed to be painted. My advice: save them up until the end and then cut your stencil to make it easier to accomplish. See below.
Use a Pencil to Stencil
8. Then, lightly paint your pencil lines around all of your faux tiles with the edge of your sponge brush or paintbrush.
This will really make them POP, and attract the natural wildlife in your home! 😉
More of What You Love: Check Out These Recommended Posts!
- How to Paint Metal Furniture Like a Pro
- How to Paint Furniture with Minimal Prep Work
- How to Paint and Distress Metal Bar Stools Like a Pro
- How to Paint Your Metal Front Door the Easy Way
- 14 DIY Outdoor Furniture Projects to Create this Weekend
9. Last, if you’d like, grab a household cleaner and a sponge, and scrub away some of the design.
Use a clean and wet paper towel to remove any of the paint that wipes away.
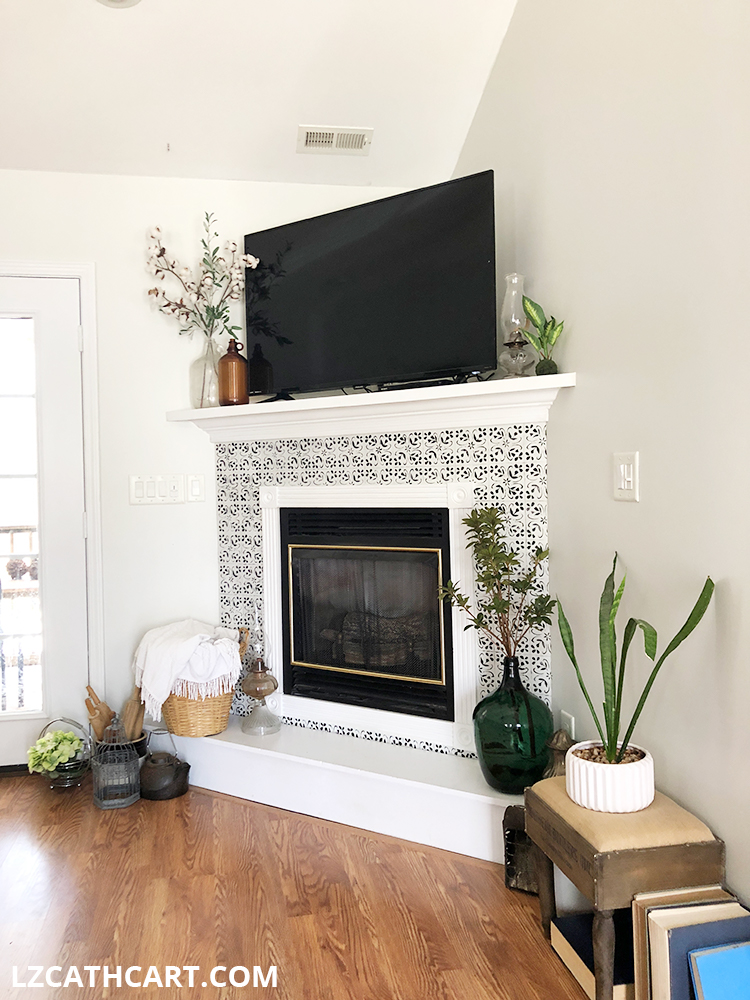
Wasn’t that easy?! I just love a good DIY project that’s also super simple. Don’t you?
A little patience will be required, but superrrr low cost!
TIP: Break this project up into one-hour increments over a three-day period so it doesn’t seem so daunting.
If you loved this project then you’ll definitely want to browse some of my other DIY projects that are full of step-by-step tutorials as well as freebies galore! Can’t wait to see you again, and Happy Crafting!

Psstt… don’t forget to download this free SVG file by signing up for my resource library above!