Skip to content
FREE DIY Home Decor Guide
:
Featuring 102 ideas that even your walls will applaud!
Home
Shop
Expand
Art Prints
Digital Products
Greeting Cards
Art Portfolio
Expand
Pattern Collections
Illustrations
Florals and Plants
Lettering
Holidays
Patterns
Blog
Expand
Cook
Craft
Decorate
Garden
SVG Files
About
Contact
0 items
Search
Facebook
Twitter
Instagram
Search
The Summery Umbrella
Toggle Menu
Home
/
DIY Projects
DIY Projects
Decor
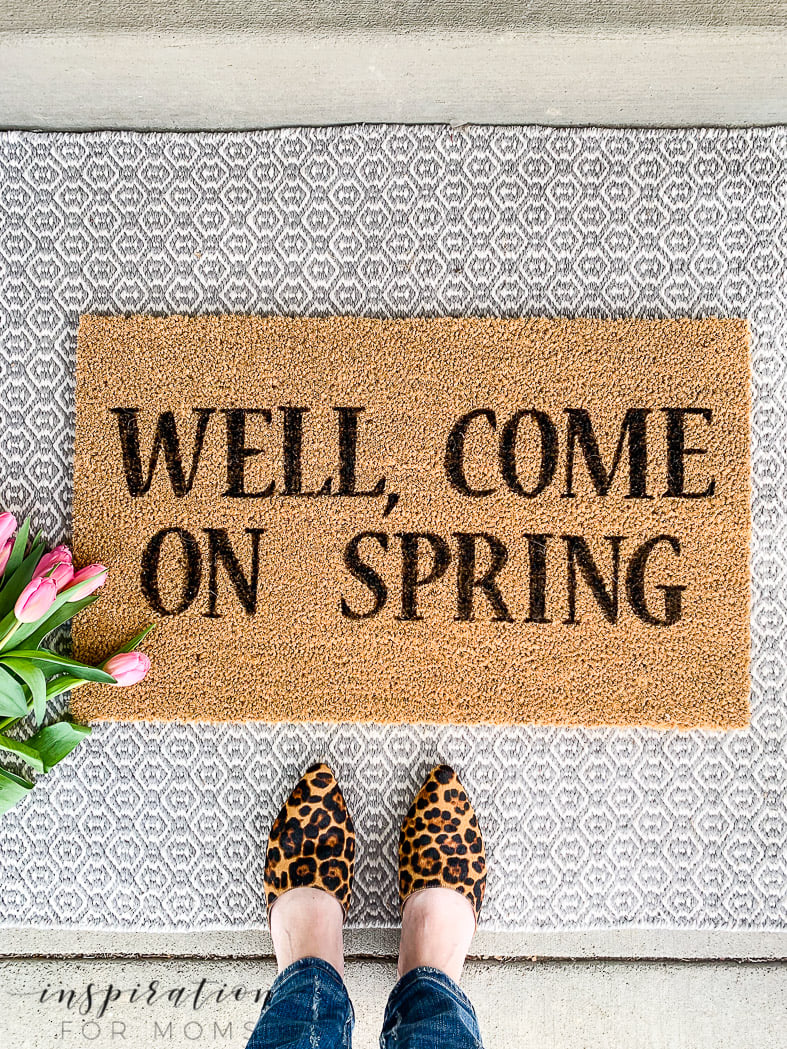
23 Fabulous Outdoor Spring Decor Ideas You Don’t Want To Miss!
Living
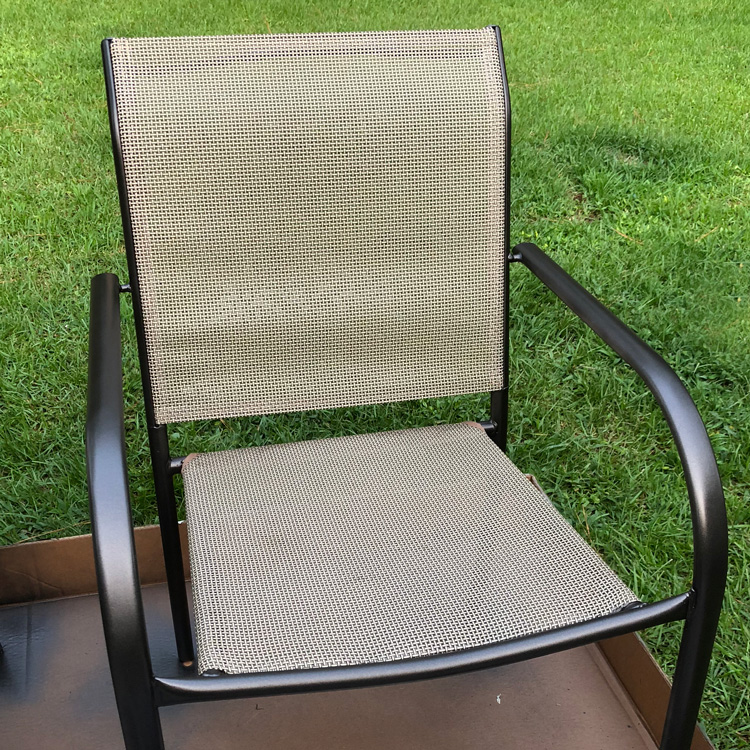
How to Paint Metal Patio Furniture So It Looks Like a Million Bucks
Living
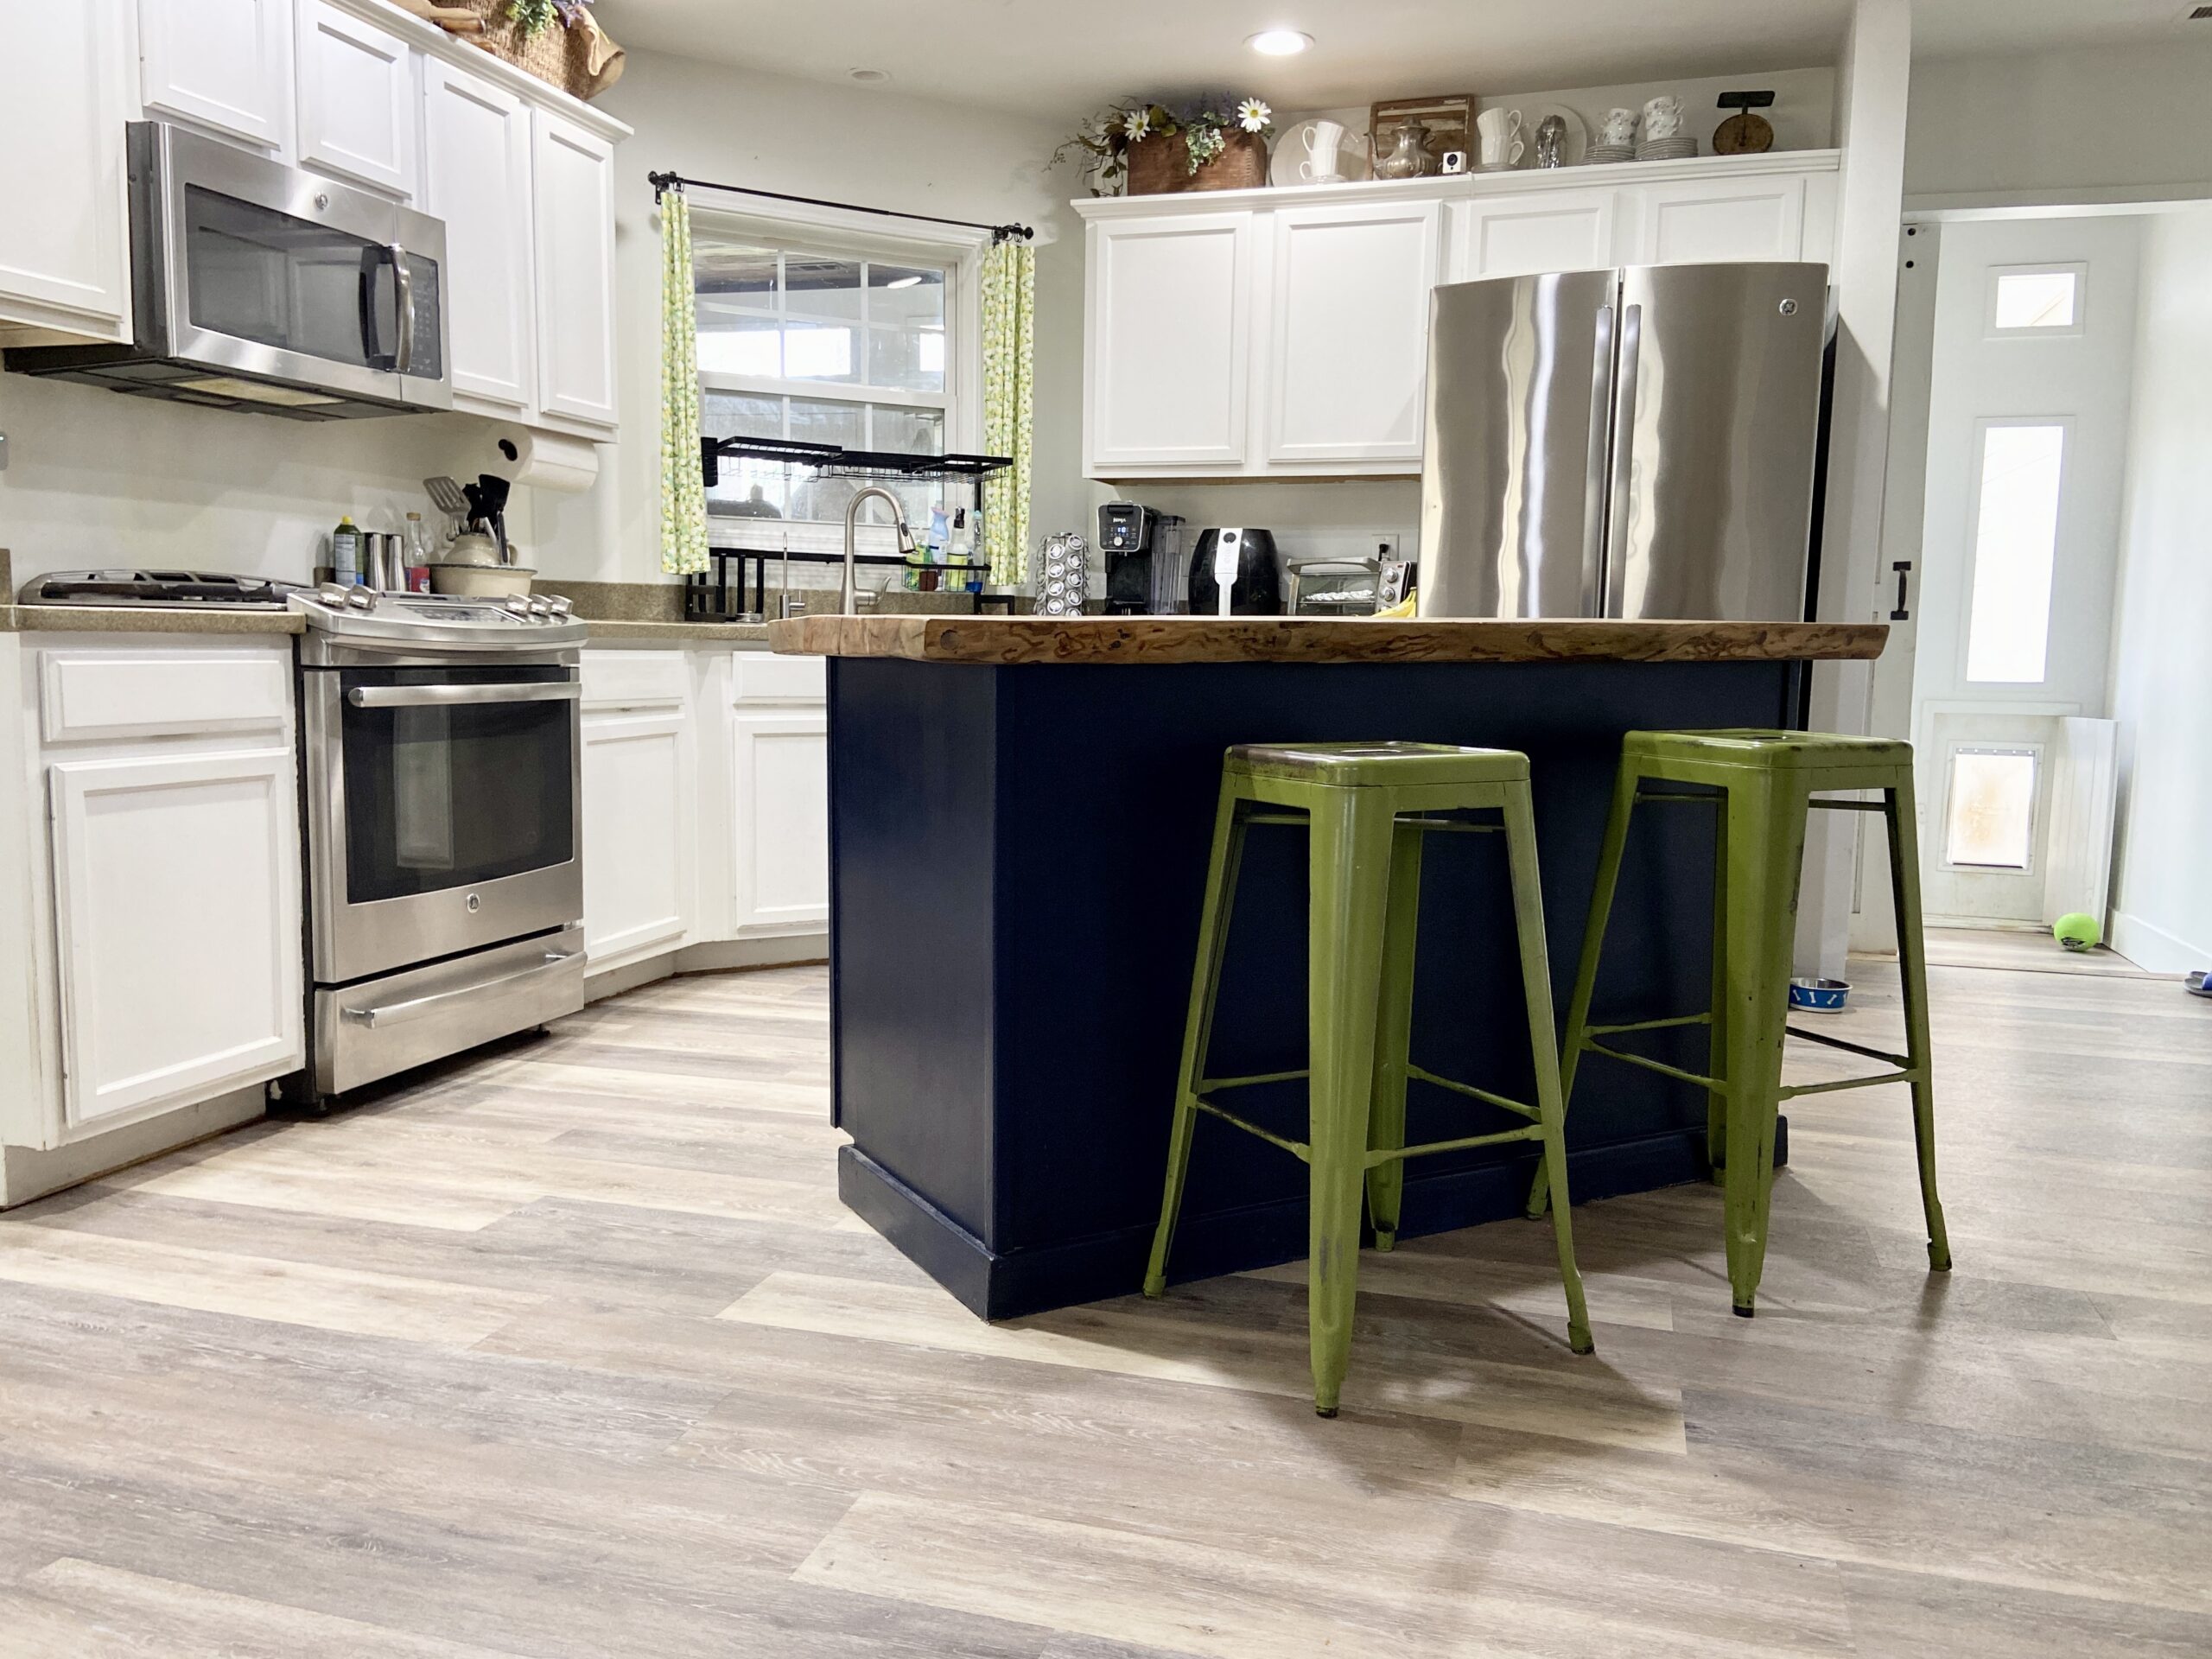
Kitchen Island Makeover Before and After: Transform Your Space
Crafts
|
Decor
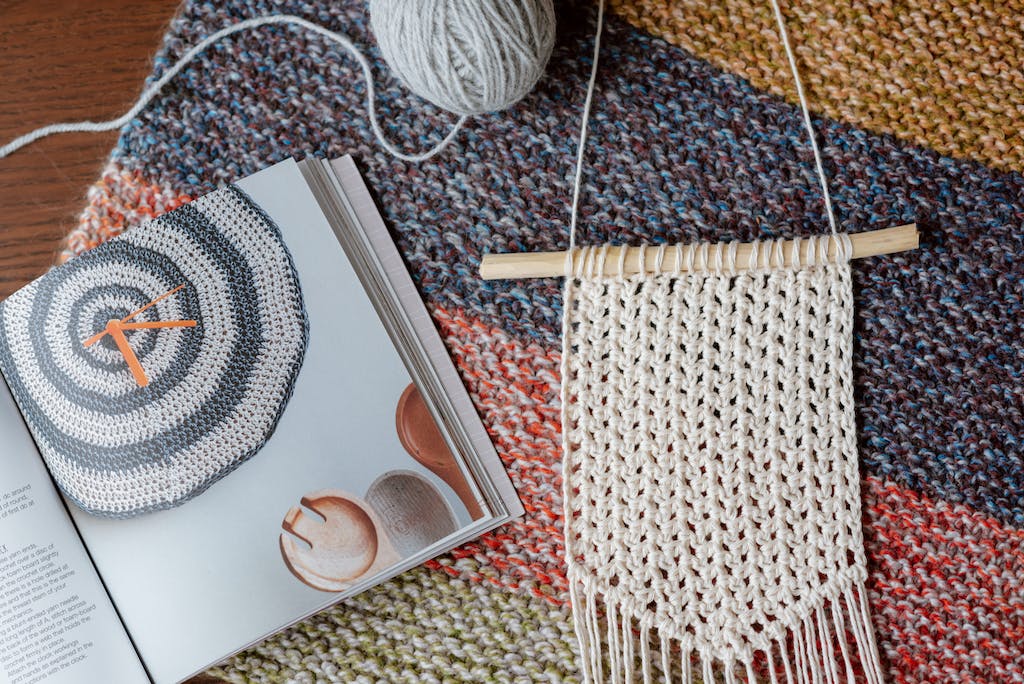
Fiber Art: Bringing Home The Intricate Art
Decor
|
Holidays
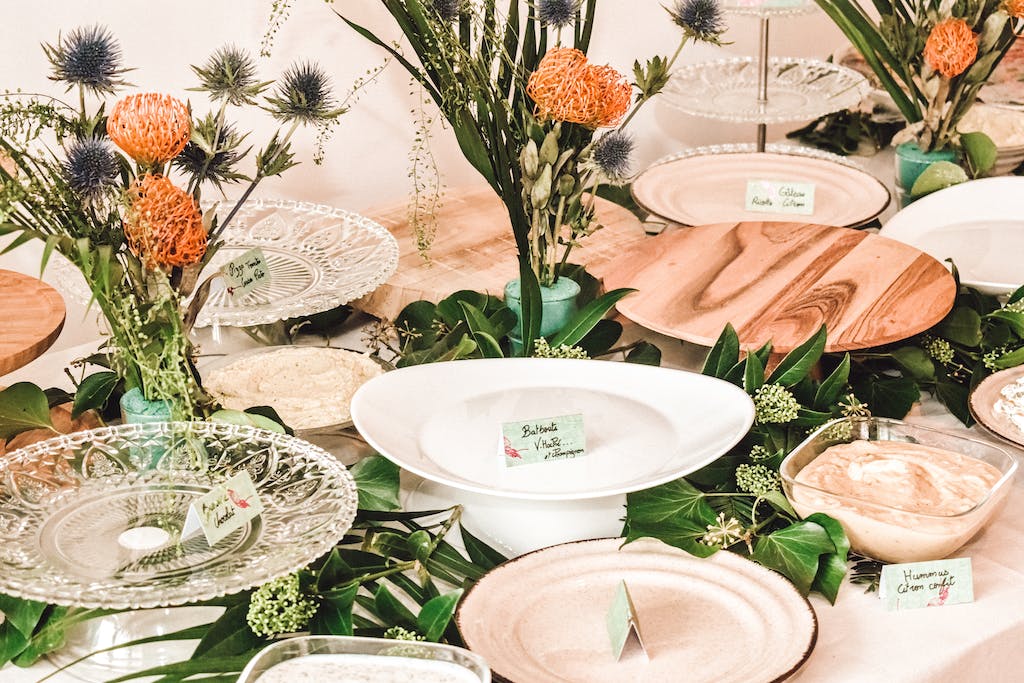
The Art of Tablescaping: Stunning Table Settings in 8 Simple Steps
Decor
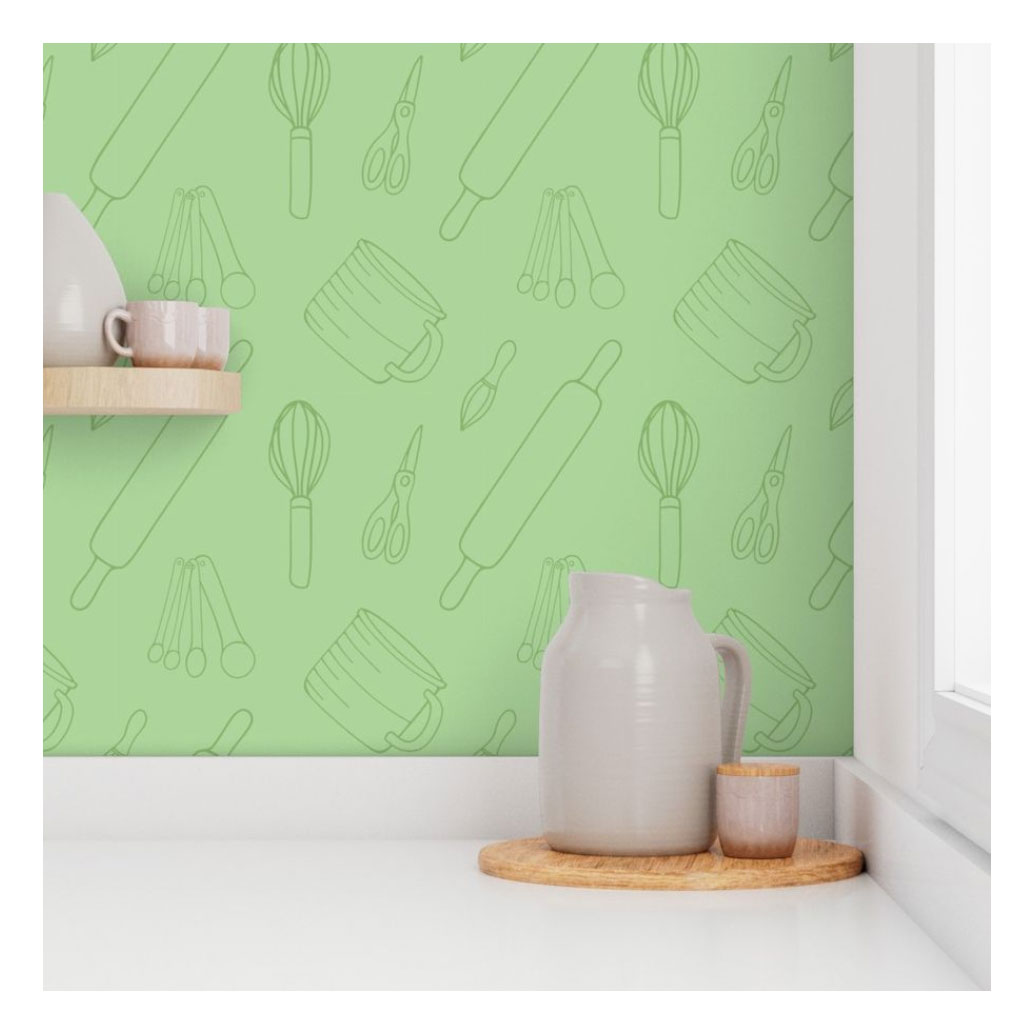
Eccentric Kitchen: Embrace Bold Designs for Your Culinary Space
Decor
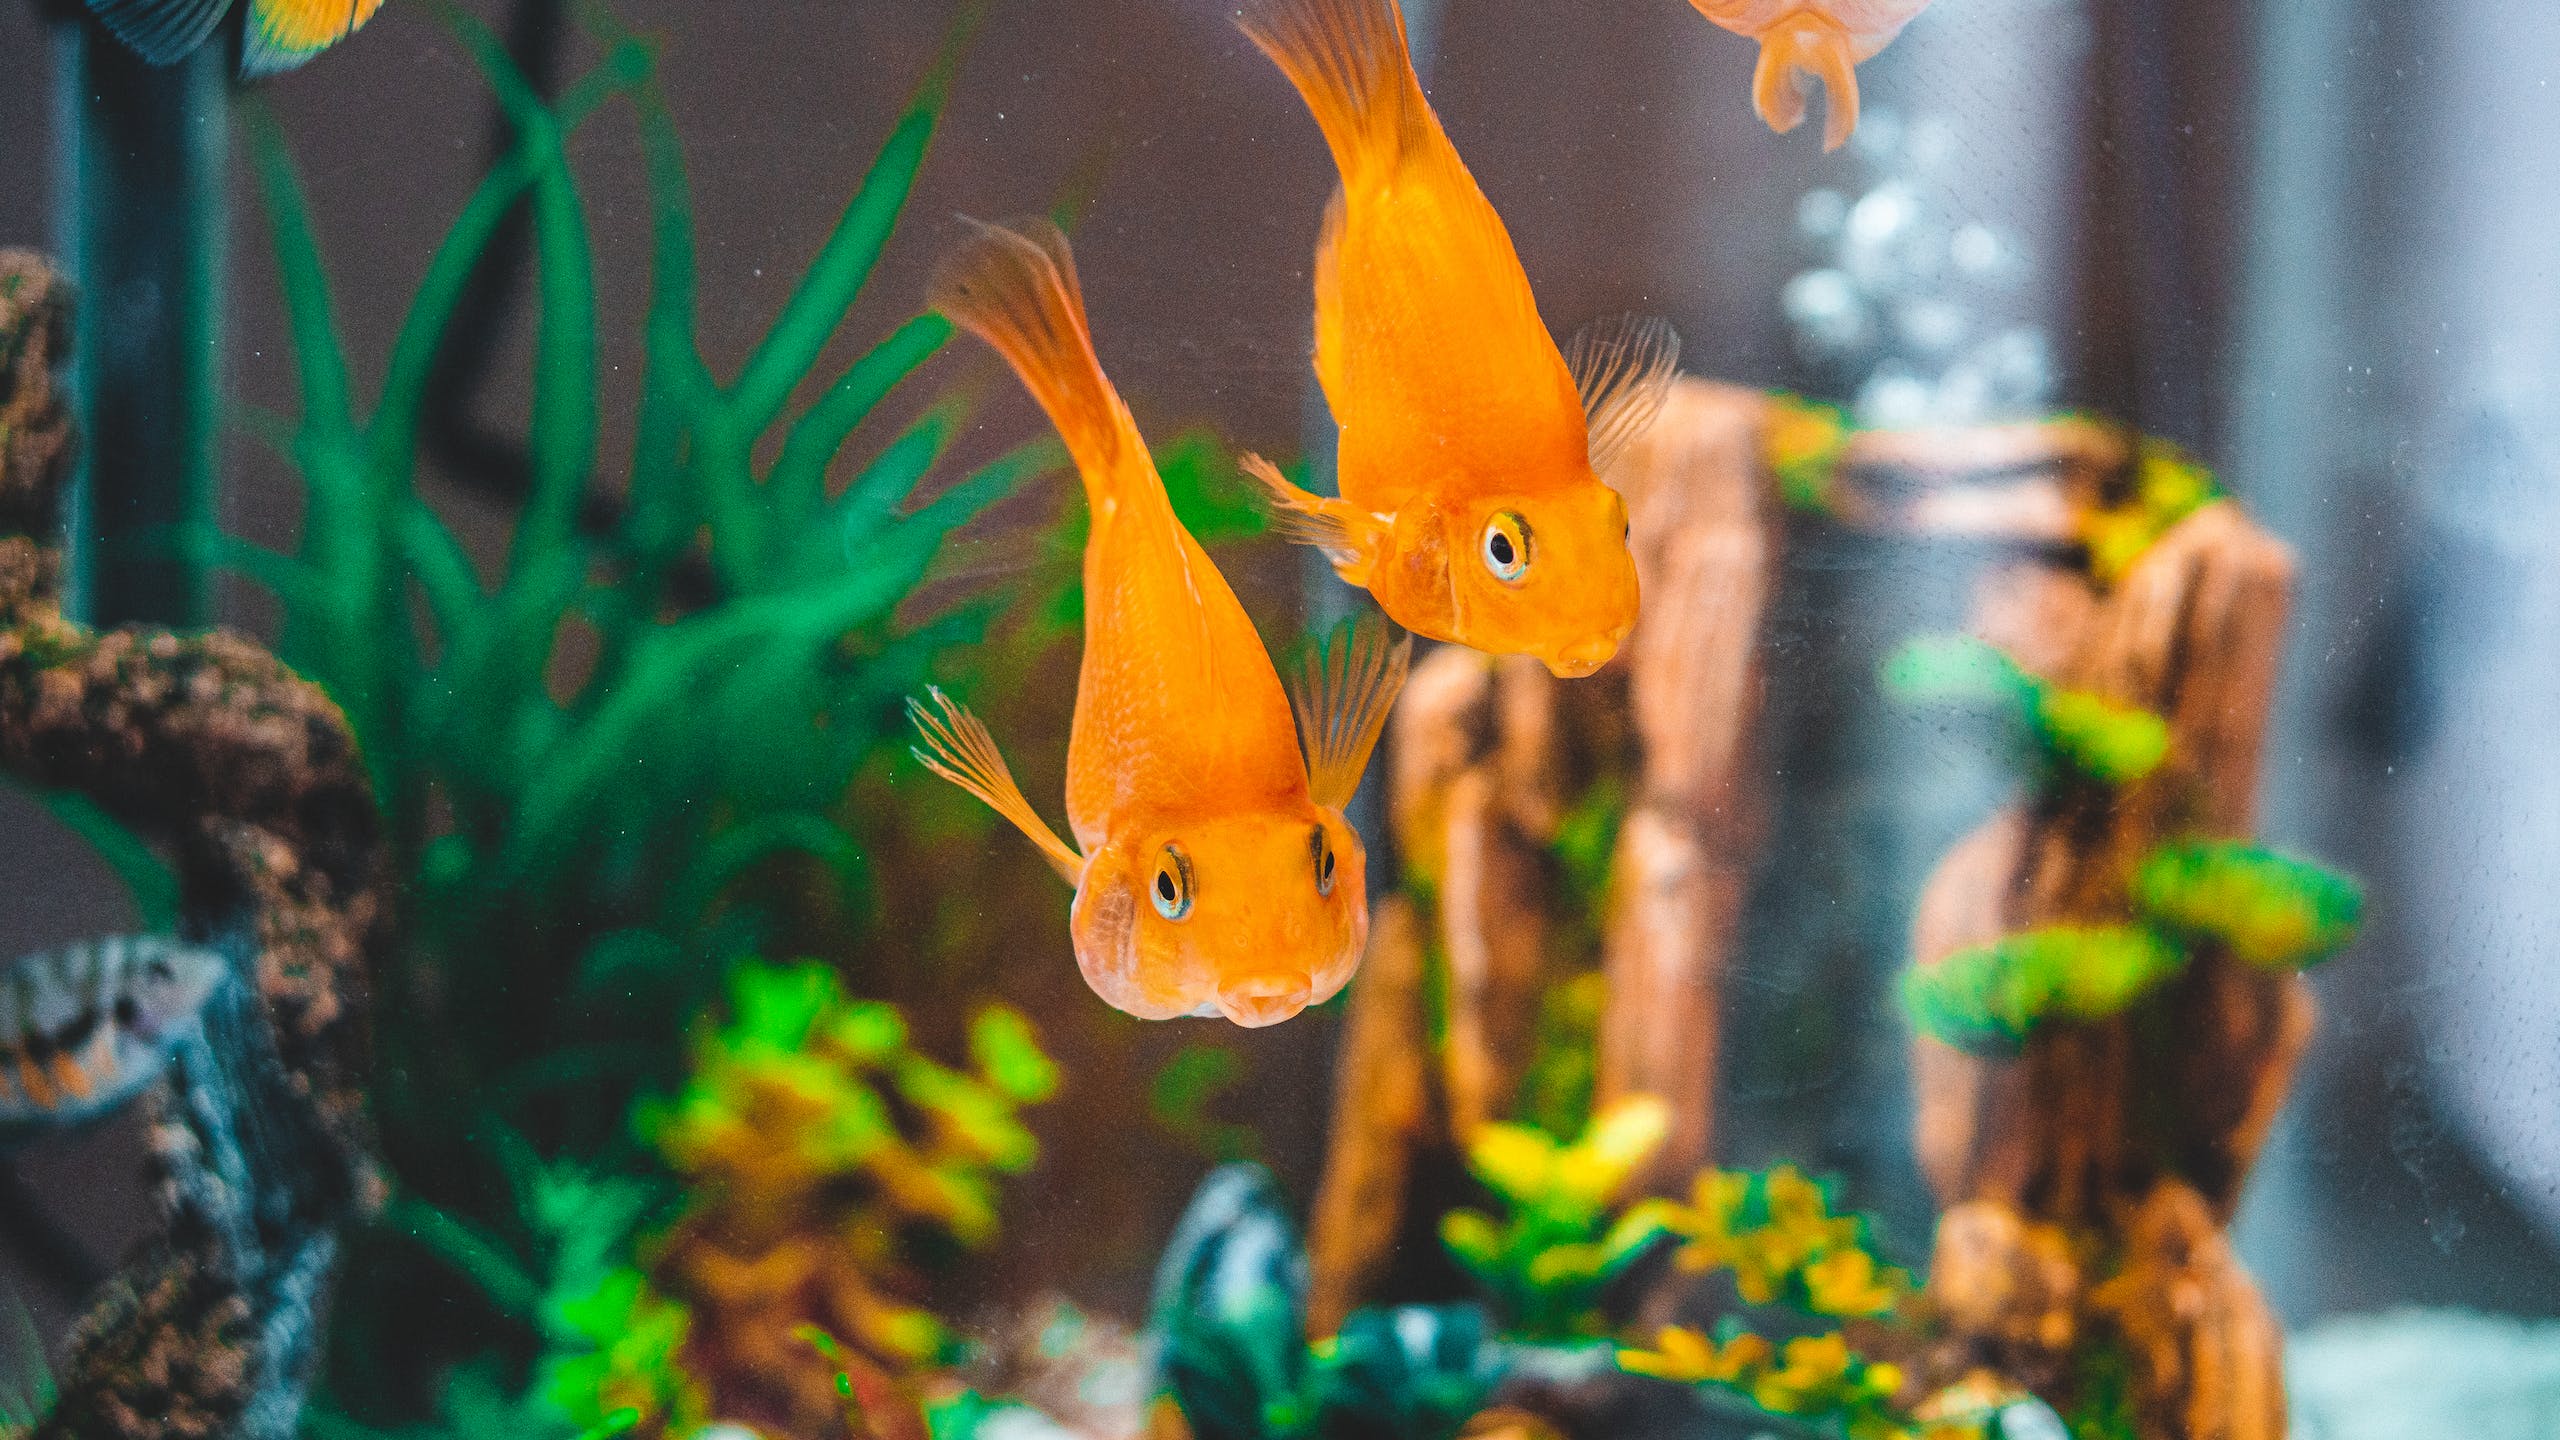
Dive into the Future: Aquatecture Trends Making Waves in 2024!
Living
Transform Your Bedroom with DIY Lamp Shade Pendant Lights!
Holidays
|
Living
How to Build a Vintage Sled
Page navigation
1
2
3
…
9
Next Page
Next
Scroll to top
Scroll to top
Home
Shop
Expand child menu
Expand
Art Prints
Digital Products
Greeting Cards
Art Portfolio
Expand child menu
Expand
Pattern Collections
Illustrations
Florals and Plants
Lettering
Holidays
Patterns
Blog
Expand child menu
Expand
Cook
Craft
Decorate
Garden
SVG Files
About
Contact
0 items
Toggle Menu Close
Search for:
Search