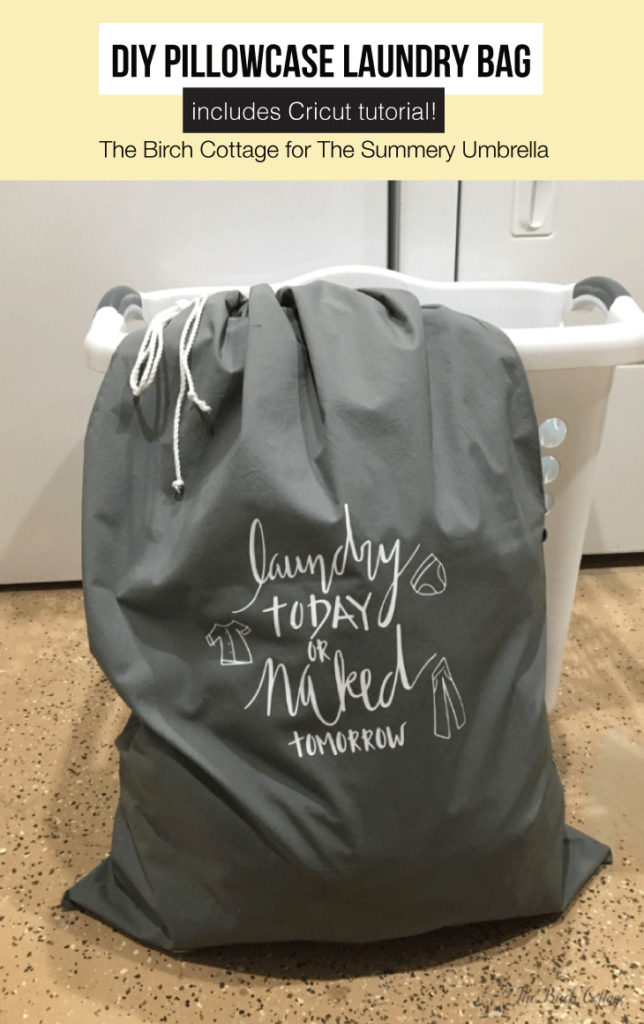
DIY Pillowcase Laundry Bag: The Easy Way to Keep Your Laundry in Check
This DIY pillowcase laundry bag is an earth-friendly way to store dirty clothes when traveling and can double as a wash bag for fine washables!
Hi, Summery Umbrella readers! I’m so excited to share another project with you. My name’s Pam and I blog at The Birch Cottage, where I share creative handmade ideas. This DIY Pillowcase Laundry Bag is such an easy project, that you’ll want to make more than one!
My husband and I travel a lot and so does our sailor girl daughter. Oftentimes, we use plastic grocery bags to store our dirty clothes in when we’re traveling. Sometimes, if I remember, I even pack an empty pillowcase for just this purpose.
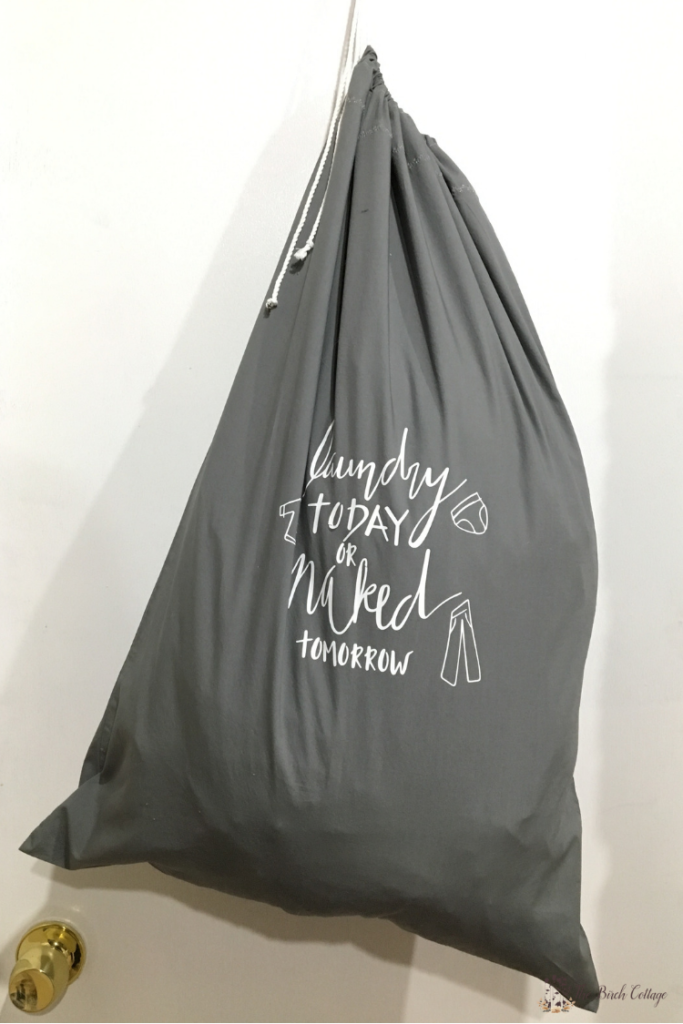
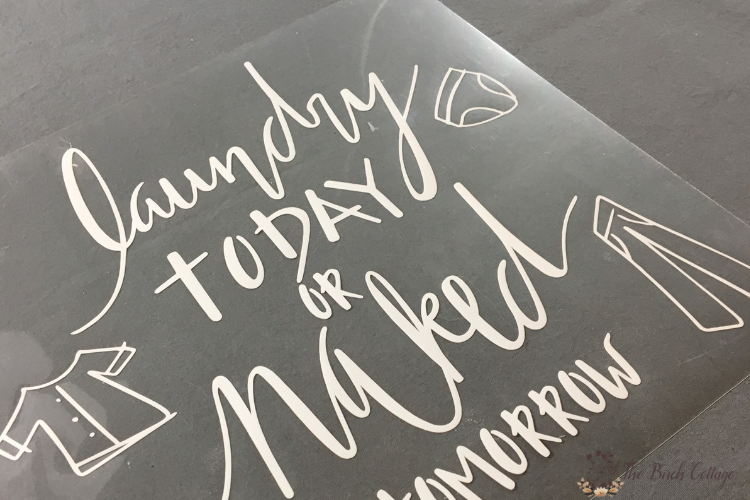
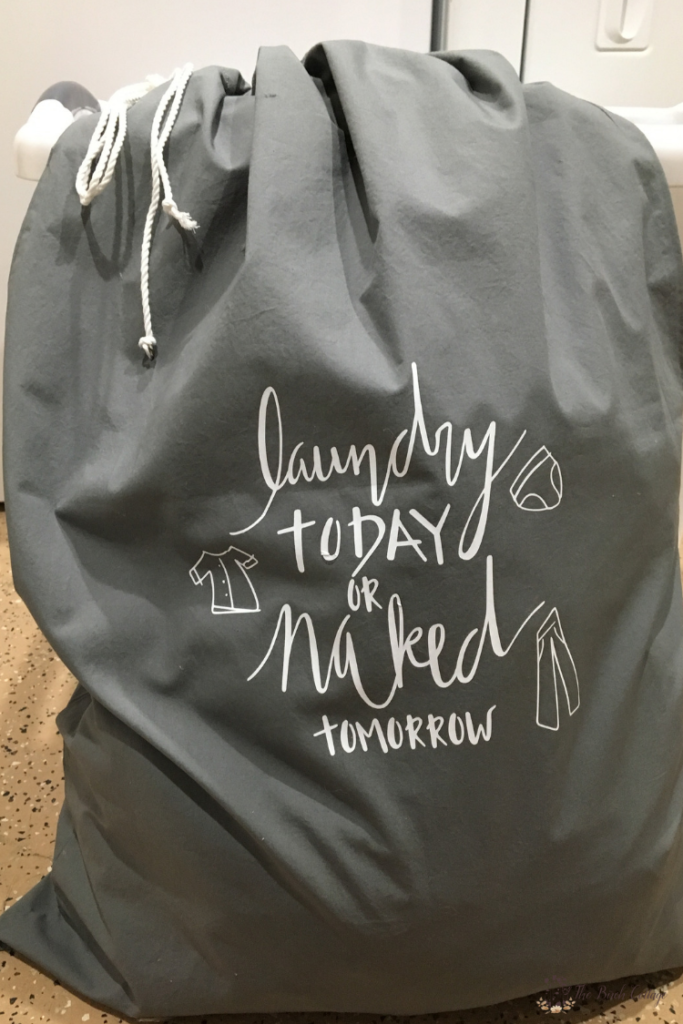
On a recent trip this summer when I remembered to pack the extra pillowcase, I thought it would be so much more functional if it only had a drawstring. Then, when I saw this adorable LAUNDRY TODAY NAKED TOMORROW SVG AND PRINTABLE from LZ (for free!), I just knew I had to customize my DIY Pillowcase Laundry Bag!
Plus, this Laundry Today Naked Tomorrow customized DIY pillowcase laundry bag will make a cute Christmas gift for our sailor girl. Just sign up for LZ’s newsletter below to get this beauty for free!
Cricut® Everyday Iron-0n Vinyl
Before I get into today’s tutorial, let’s take a minute and talk about iron-on vinyl, more specifically Cricut brand Everyday Iron-On Vinyl.
Iron-on vinyl is also called heat transfer vinyl or HTV. I have only ever used the Cricut brand. Mostly because iron-on vinyl is a little intimidating and because it can so easily be messed up. I’m not trying to scare you, more like I’m just telling you that if iron-on vinyl scares you a little bit, you’re not alone!
So, let’s take the scary out of iron-on! There are many types and brands of iron-on vinyl. Cricut has the following types:
I think Everyday Iron-On Vinyl is probably the most commonly used, so that’s what we’re focusing on today. It is a nice versatile iron-on that works fabulously with a wide variety of materials, including wood! There are a few tips I’ve learned along the way that I’d like to share with you about using Everyday Iron-On Vinyl.
Everyday Iron-On Vinyl Tips
- First and foremost, make sure you follow the instructions on the package.
- Be sure to preheat your fabric by running your iron or Easy Press over the fabric before applying the vinyl.
- Pre-wash the pillowcase or item you’re using before application to help avoid problems with shrinkage. And, don’t use fabric softener.
- If using an ironing board, you want the ironing surface to only be lightly padded. If you have a cushy ironing board, you may want to put a piece of cardboard under your project.
- Use a press cloth or flour sack or some lightweight piece of cotton fabric between your design and your iron. This will protect the liner from the heat of the iron and protect your iron.
- Also, use the Cotton/Linen setting on your iron, with the steam setting OFF when applying your Cricut Iron-0n.
- Wait 24 hours before washing your item. For best results, wash the item inside out.
- If some of your vinyl comes loose after washing, try re-ironing the material in place.
How to Cut Iron-On Vinyl with a Cricut Machine
- Place the iron-on sheet, liner side down, onto your Standard Grip cutting mat.
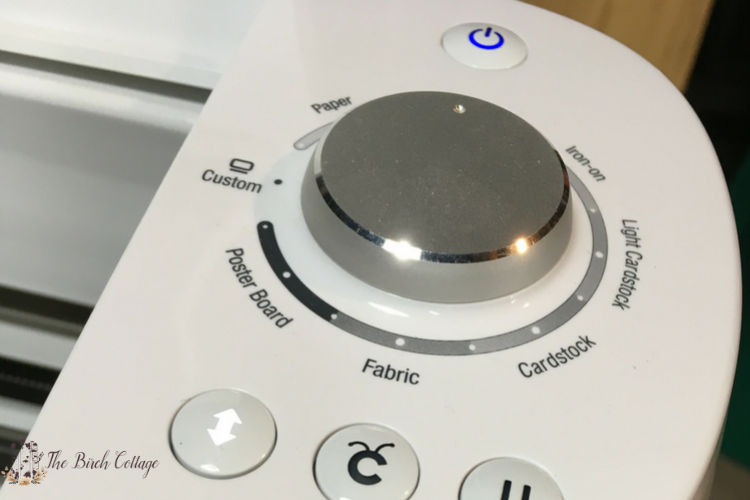
- Depending on which Cricut or cutting machine you have, you’ll adjust your machine settings so that you select Iron-On.
- Using Cricut Design Space, upload, select, and size the image you want to cut. You can learn more about uploading SVGs here.
- BE SURE TO SELECT “MIRROR IMAGE” BEFORE CUTTING.
- Load the mat into the machine and cut images.
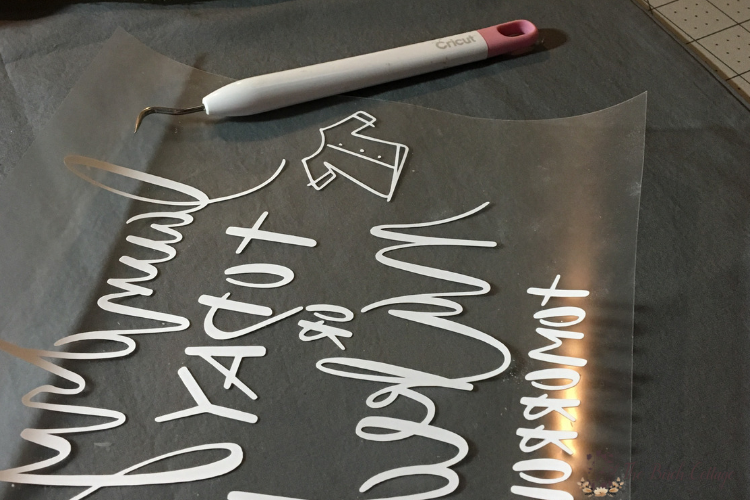
- Remove negative film, leaving only the desired cut image on the liner (in other words, you want to weed your design) using your weeding tool.
How to Make a DIY Pillowcase Laundry Bag
Alright, enough technical talk. I really just wanted to give you information that will help ensure you have great results and confidence to try making your very own customized Travel Laundry Bag using iron-on vinyl.
So, let’s get started on this easy project. As always, there are a few materials and supplies you’ll want to have on hand before beginning this project.
What you need:
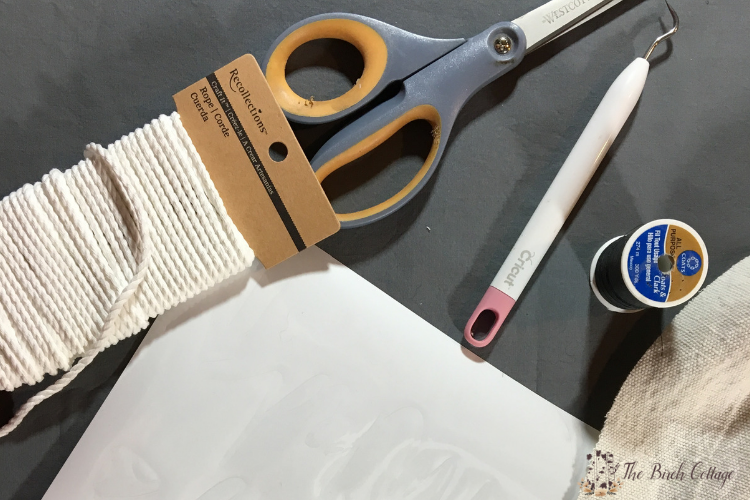
Materials:
- Pillow Case
- Thread
- Ribbon or Rope (twice the width of the pillowcase plus 12”)
- Everyday Iron-On Vinyl
Supplies and Tools:
- Laundry Today Naked Tomorrow SVG File
- Seam Ripper
- Pins or Clips
- Lighter or matches (optional)
- Safety Pin
- Scissors
- Sewing Machine
- Iron or EasyPress
- Cricut or other cutting machine
- Standard Grip Cutting Mat
- Weeding Tool
Get this FREE Laundry SVG by signing up below. Not only will you get this for free, but you’ll gain access to the entire freebie library!
Instructions:
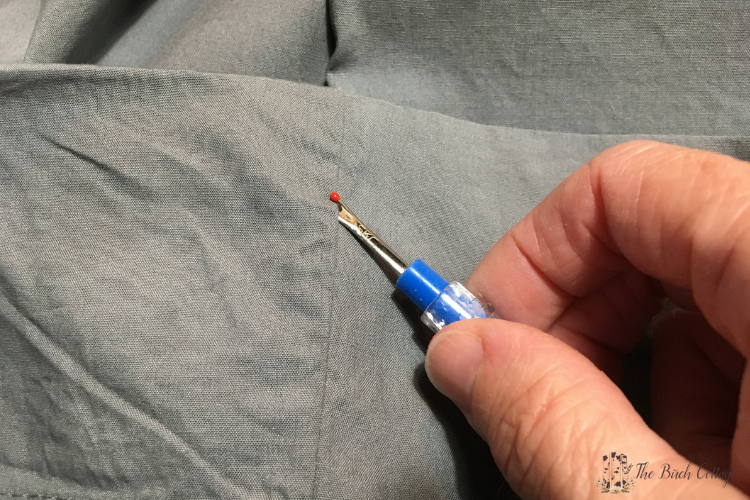
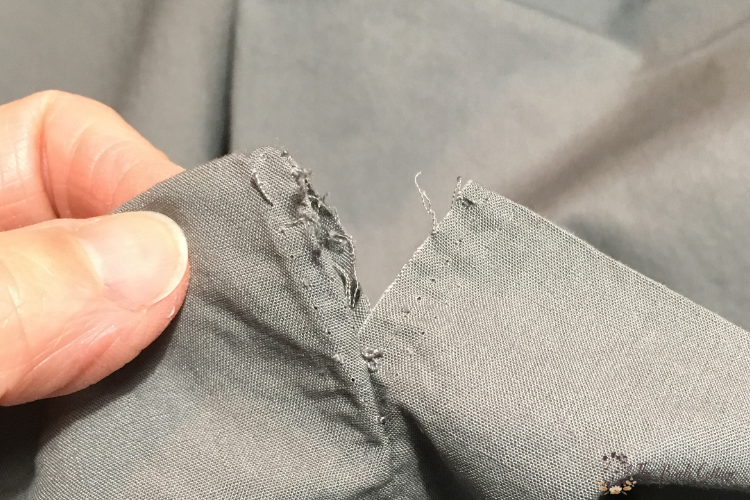
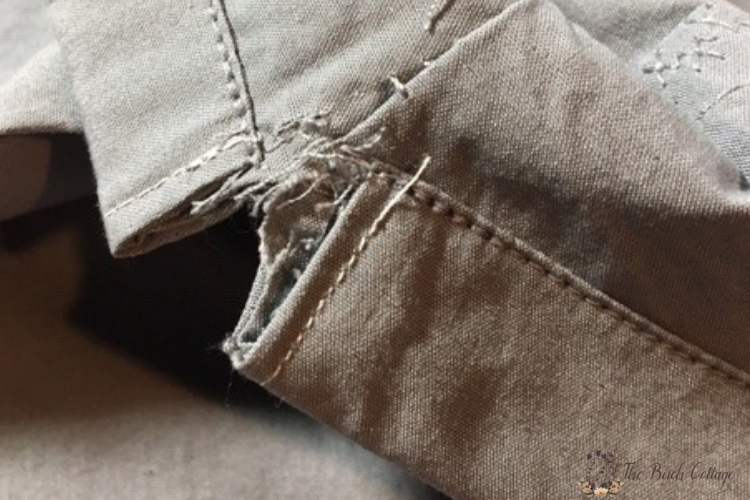
1. Prepare Pillowcase
Take a pillowcase and open the seam about 1” from the top edge or opening. Fold the edges inside and stitch along the edges.
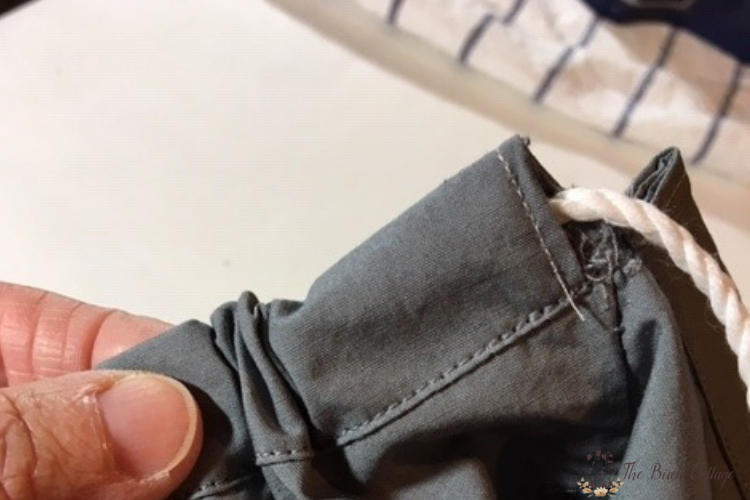
2. Create Casing
Fold the top of the pillowcase down towards the inside of the pillowcase and pin or clip it in place. Stitch all the way around and close to the edge. This will make the casing for the ribbon or rope.
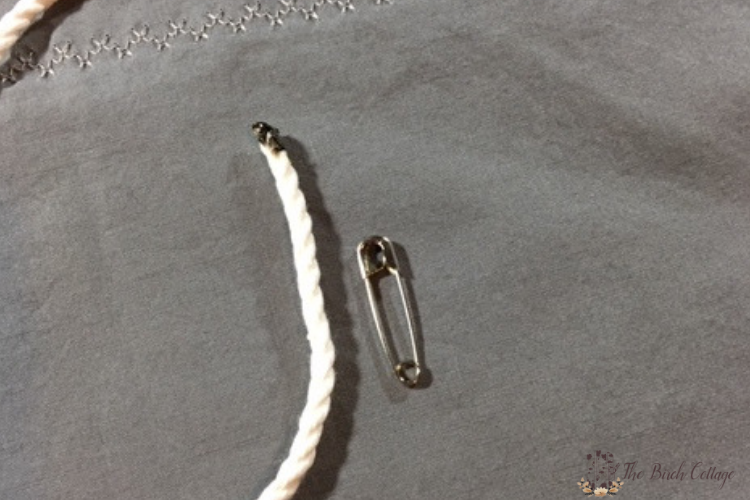
3. Insert Rope/Ribbon
If you are using rope or ribbon that might fray, you may want to singe the ends of the rope with a lighter or match first. Then, insert a safety pin near the end of the ribbon or rope and feed it through the casing (that you just made) in the pillowcase.
4. Apply Iron-On Design
Once you have your design cut, determine where you want to place your design and follow the manufacturer’s instructions and tips above for applying your iron-on vinyl design.

That’s how you make a custom travel laundry bag using iron-on vinyl! Wasn’t that easy? And don’t you feel empowered? I hope so!
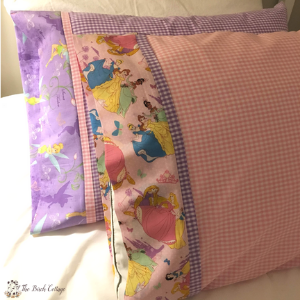
Need a little DIY inspiration? Check out these, too!
Learn How to Convert PDF to PNG
Don’t forget to check out a few of these ideas right here on The Summery Umbrella, too!
- Unicorn-Inspired DIY Halloween Bag
- 100+ Wood Sign Ideas that Will Turn a House Into a Home
- The Ultimate Guide to Making Your Own Signs

I love it when I can turn something practical like a DIY Pillowcase Laundry Bag into a useful handmade gift, don’t you?
Til next time…

P.S. Don’t forget to sign up for LZ’s newsletter above to get this FREE Laundry SVG. Not only will you get this for free, but you’ll gain access to the entire freebie library!
Let’s be Social
- Instagram @thesummeryumbrella
- Facebook @thesummeryumbrella
- Pinterest summeryumbrella
- YouTube @thesummeryumbrella
- Instagram @thesummeryumbrella
- Facebook @thesummeryumbrella
- Pinterest summeryumbrella
- YouTube @thesummeryumbrella