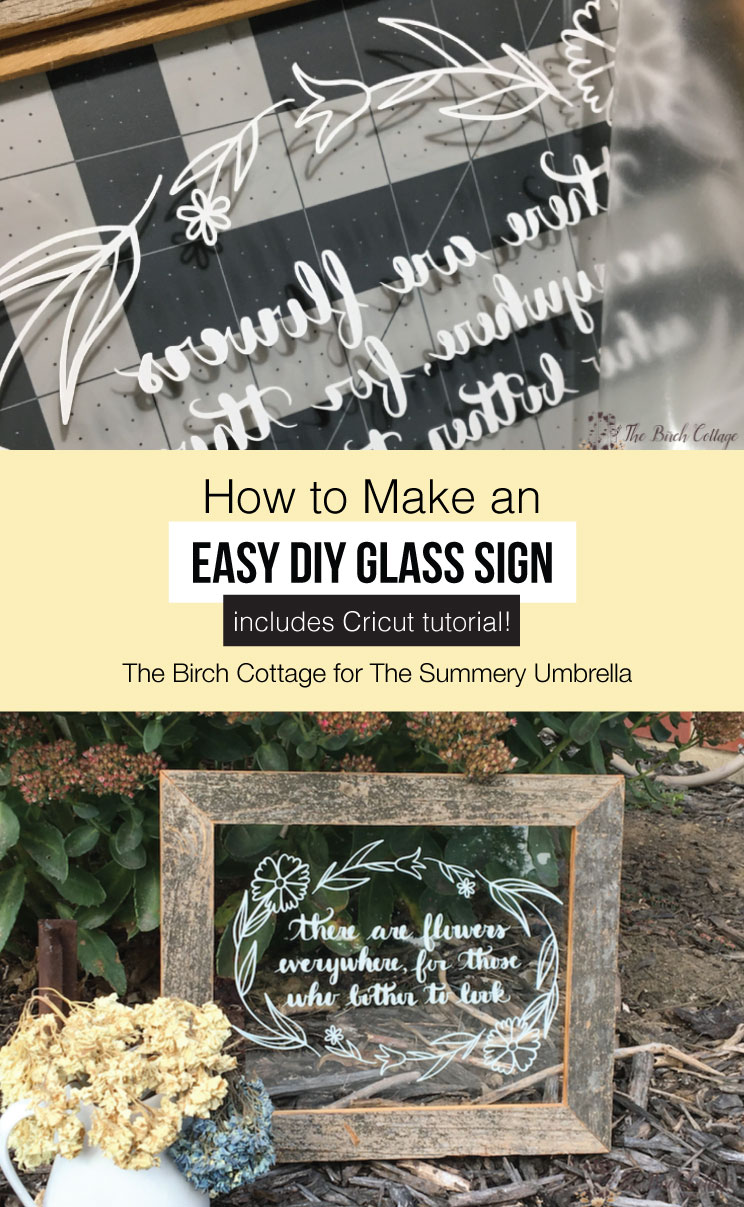
DIY Glass Sign Tutorial: Create a Beautiful Piece of Art for Your Home
Learn how to make a There are Flowers Everywhere DIY Glass Sign for your home, as a gift for a wedding or any occasion.
Hello, Summery Umbrella readers! My name is Pam and I blog at The Birch Cottage, where I share practical DIY tutorials, handmade gift ideas, family-friendly recipes, printables, and my love for all things homemade. I couldn’t be more excited to be here today sharing how to stencil on the glass to make this DIY glass sign.
Want this freebie? Sign up for access to my resource library below.
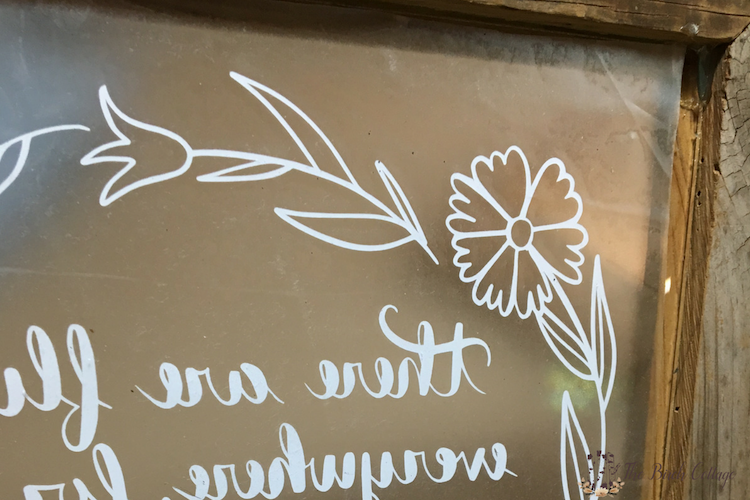
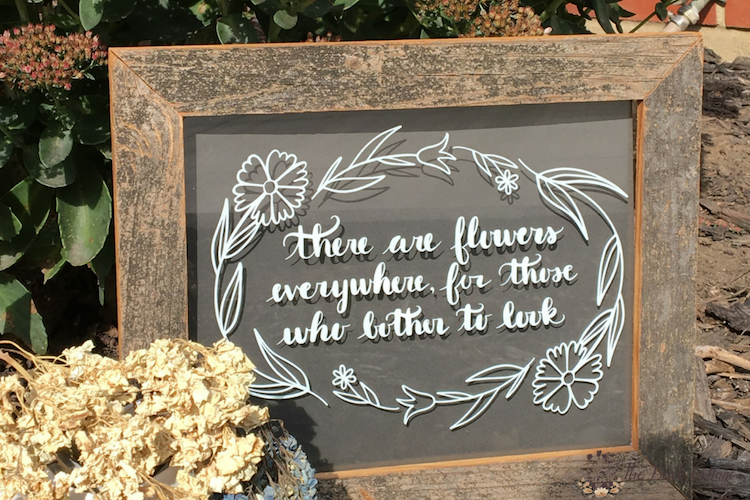
Have you seen those glass framed signs or old windows with “Farm Fresh Eggs” or maybe “Fresh Baked Pies Served Daily” as you’ll find at World Market? Well, that’s what inspired today’s DIY tutorial! I had been wanting to make my own stenciled glass sign and when I saw this quote here on The Summery Umbrella, I knew it’d be perfect!
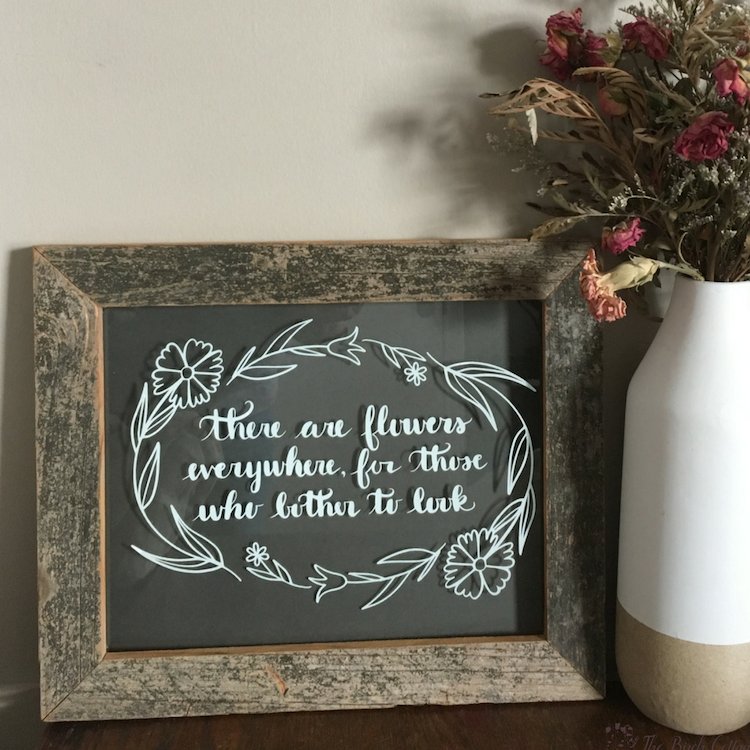
There are flowers everywhere, for those who bother to look.
by Henri Matisse
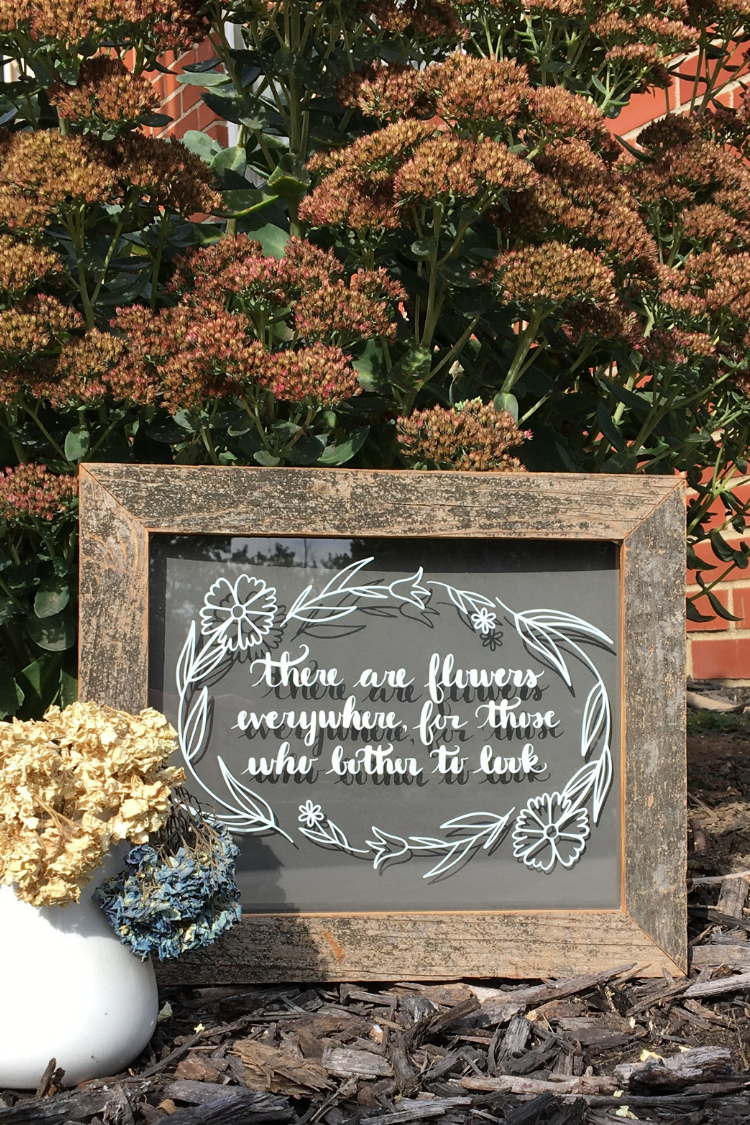
By the way, did you see the vase in the picture above? That was another easy DIY project using textured spray paint that turned out even better than I expected! How cool is that? Now, back to this glass sign.
How to Make a Glass Sign

I used my Cricut® to make this stencil. You can also use a Silhouette or your favorite cutting machine. Don’t have a cutting machine? You can also make a stencil using freezer paper and an exacto knife.
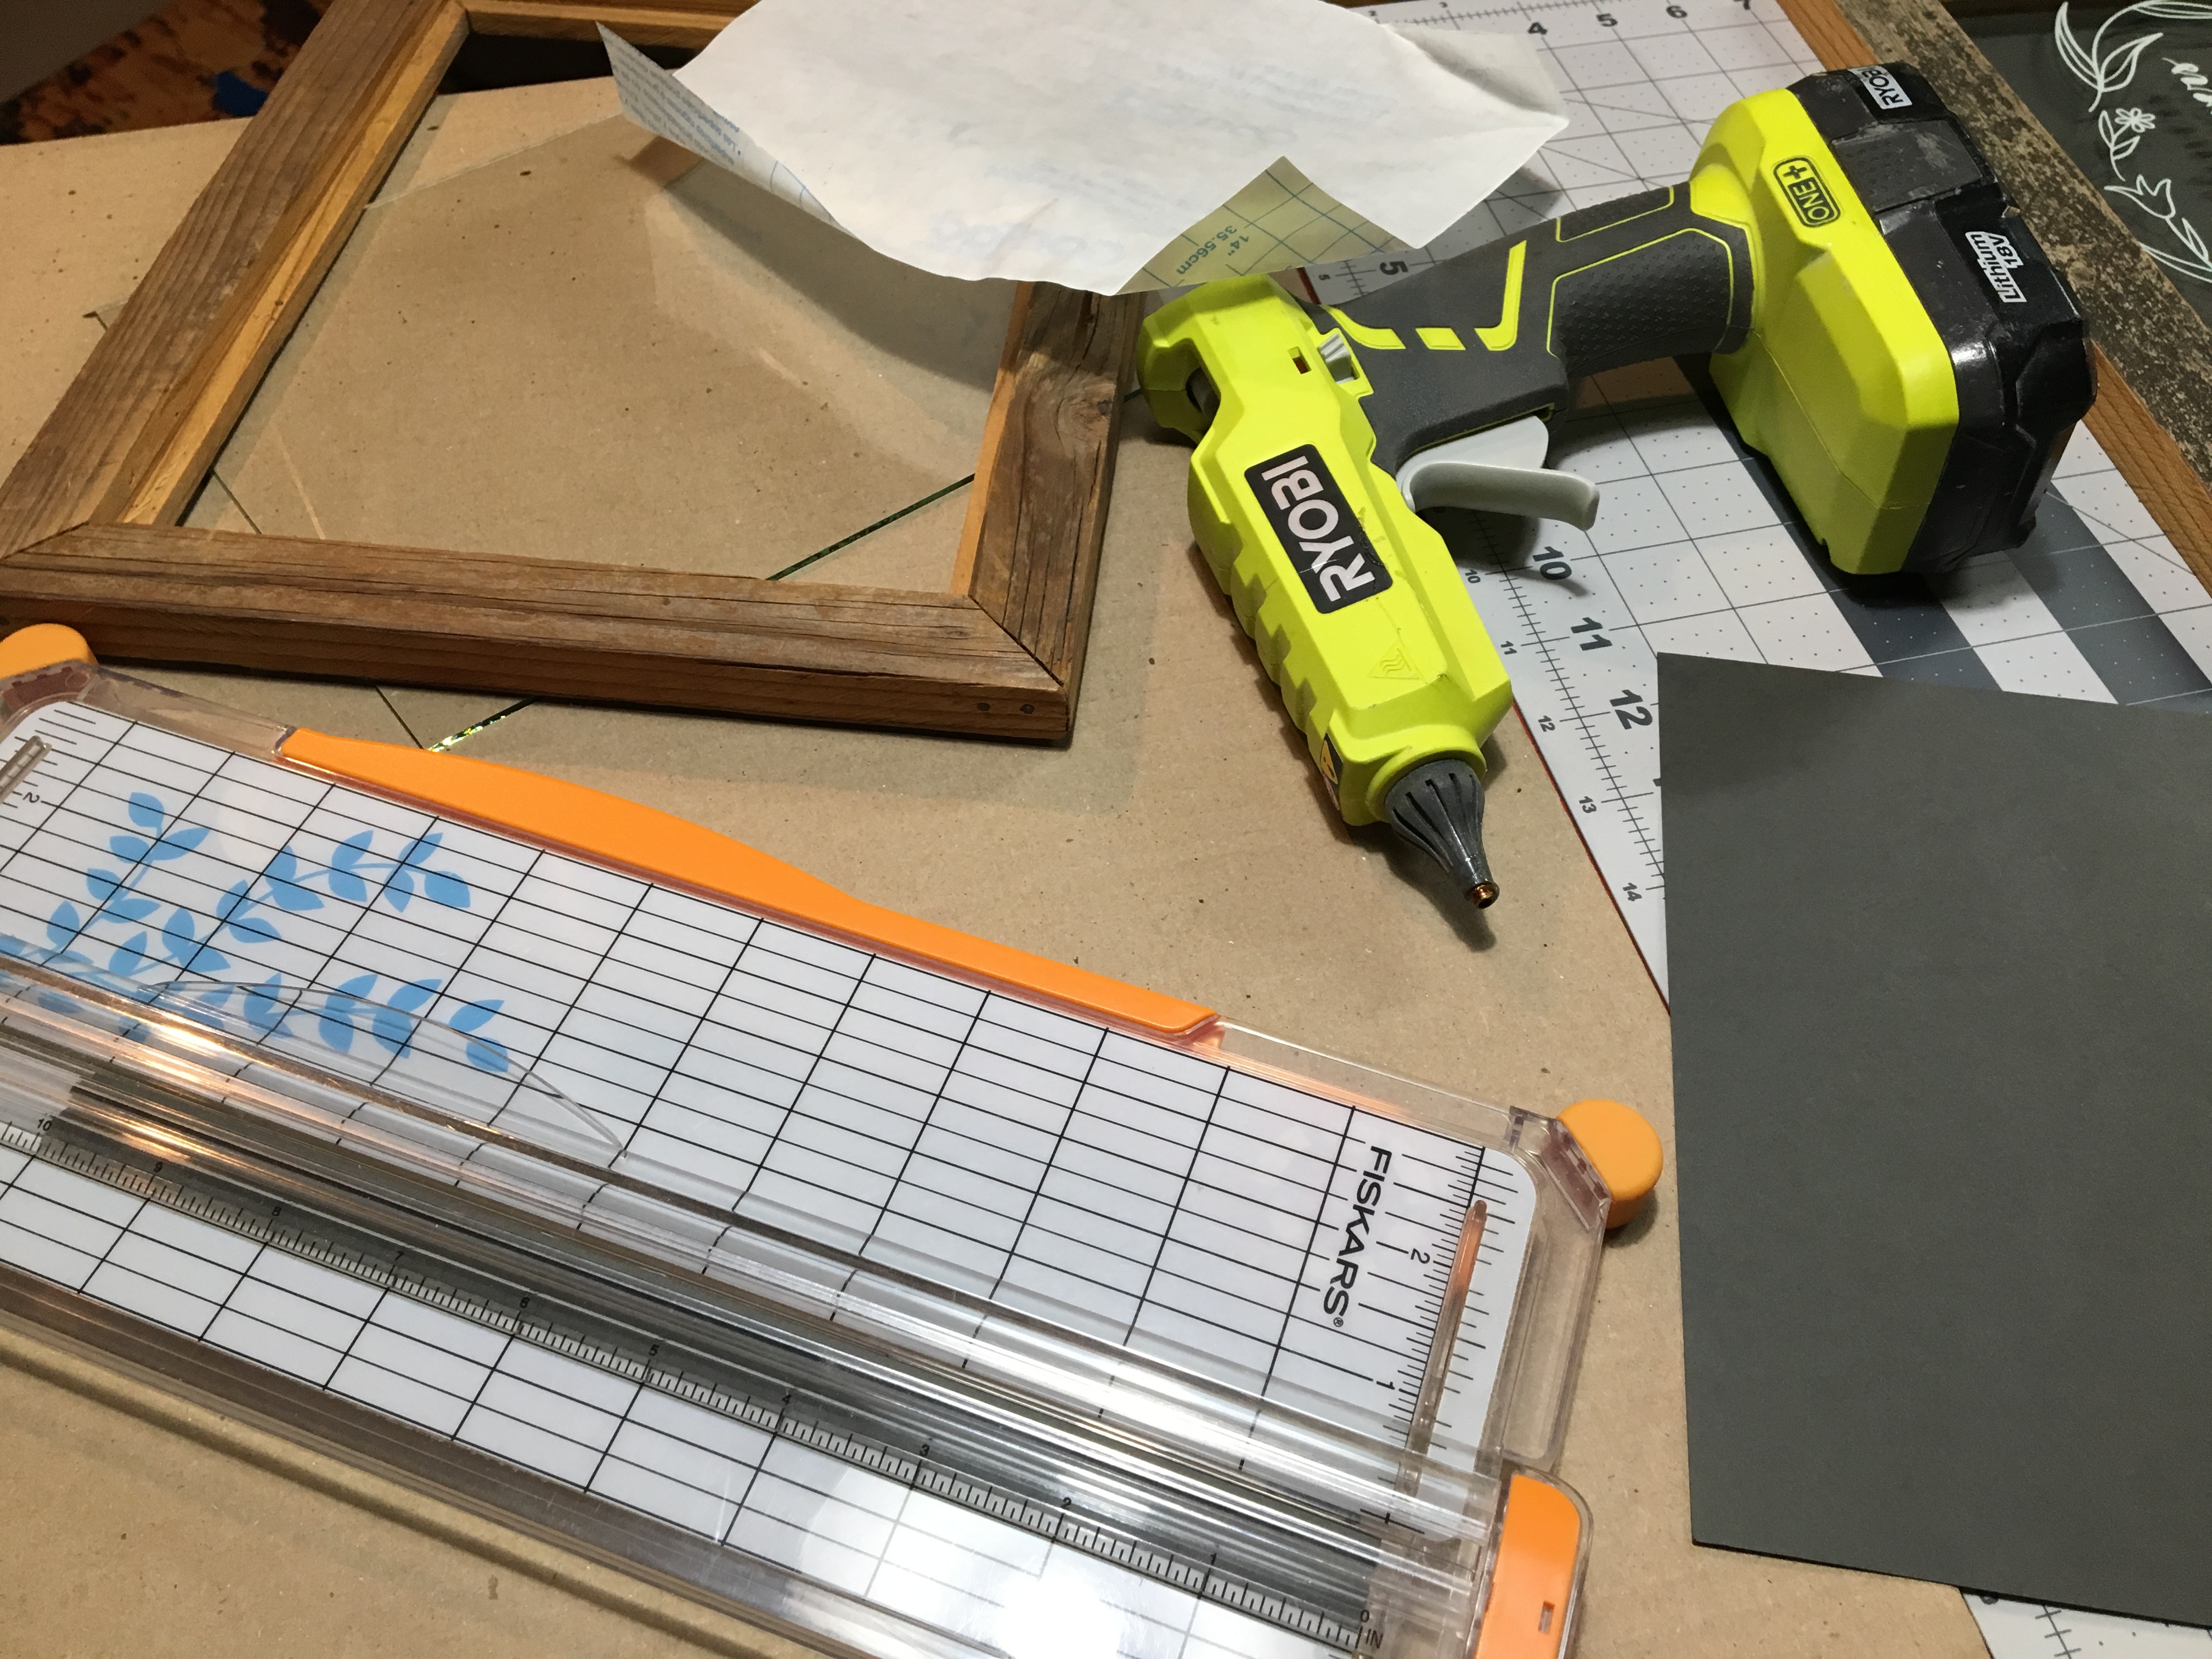
What you need to make this DIY glass sign:
- Cricut Explore Air2 or Maker
- Cutting Mat
- Cricut Scaper
- Vinyl
- Clear Vinyl Transfer Tape or Clear Contact Paper (my preference)
- Frame with glass
- Hot Glue Gun
- Glue Sticks
- There Are Flowers Everywhere For Those Who Bother To Look SVG File
Create Your Stencil/Design
You will first need to upload your SVG file to Cricut Design Space if you haven’t done so already. You can read here to learn how to do that.
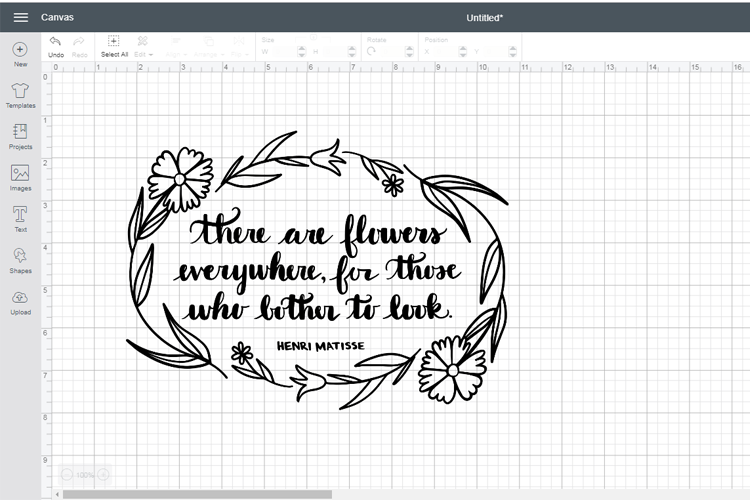
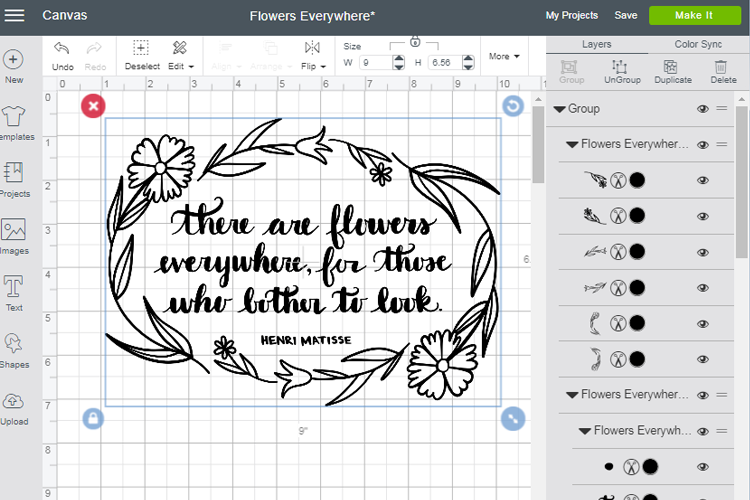
Once you’ve uploaded your design, you’ll want to size it accordingly to fit on the glass (so, it needs to be smaller than 8″x10″ if you’re using an 8×10 frame). You can also read how to resize images in Design Space here.
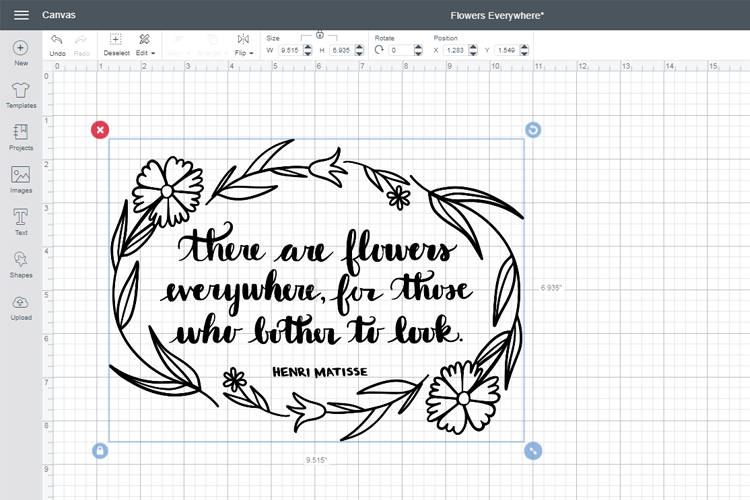
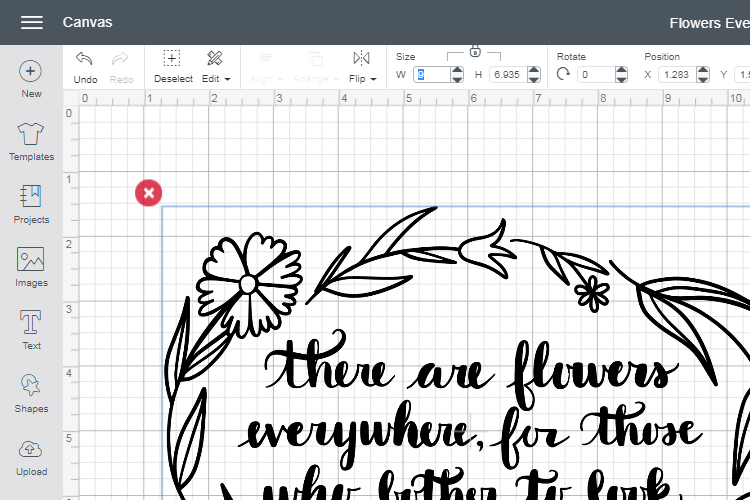
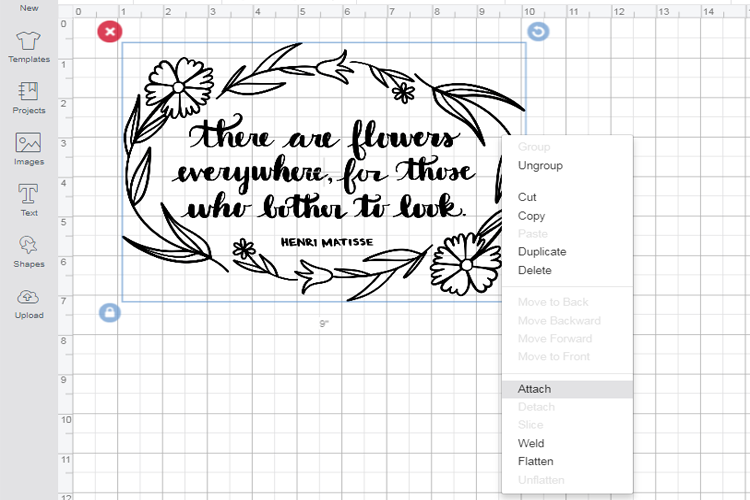
Select all the objects by clicking on Select All. Then right-click somewhere on the image and click on Attach. You want to attach all the layers so that they are cut as one layer.
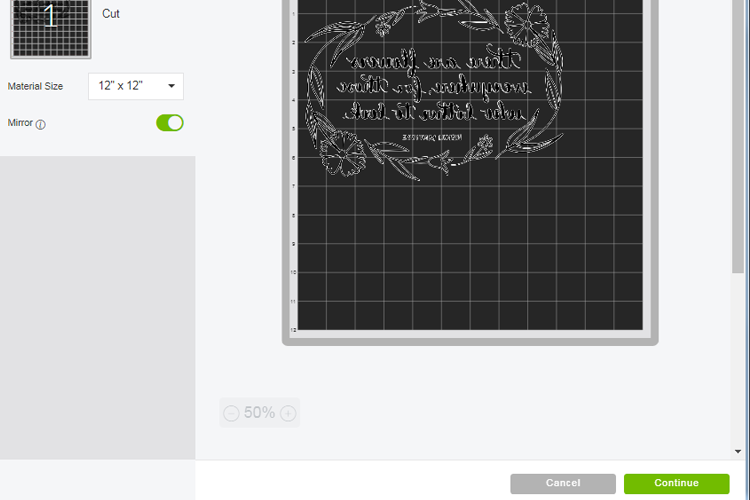
Since we are going to apply the adhesive side of the vinyl to the back of the glass, you’ll want to select the “Mirror” image by clicking on the button beside the word Mirror on the left-hand side of the screen. The grayed button will turn green to indicate Mirror image has been selected.
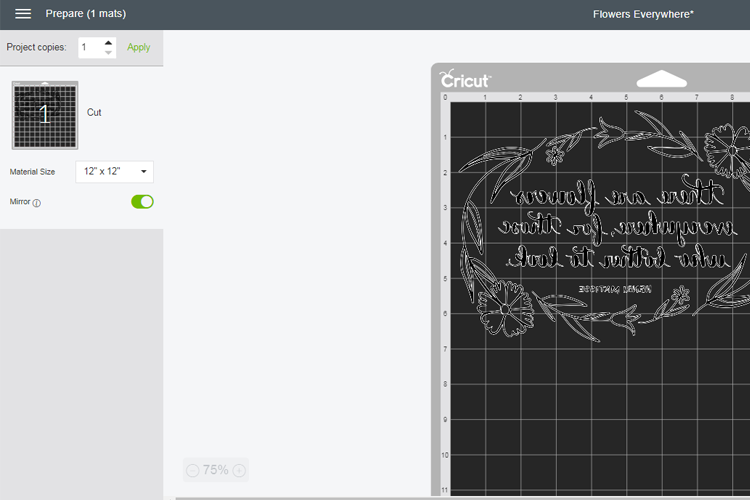
Then simply click on Continue.
You’ll be prompted to select your device from the Select Cricut device drop-down menu. Select your device.
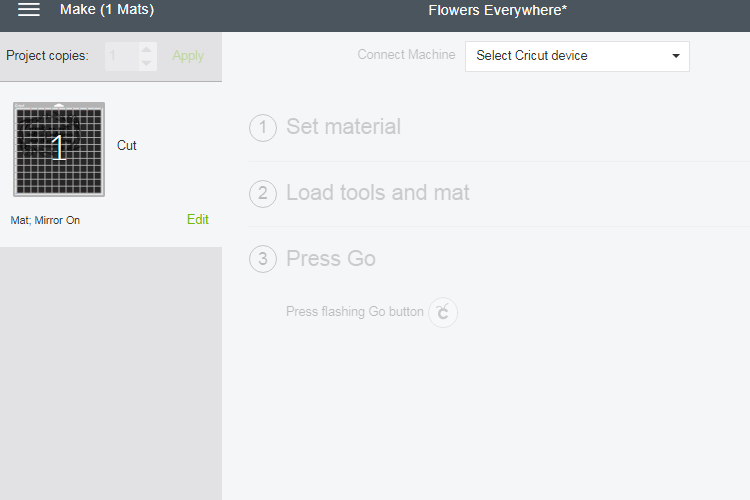
Design Space will then attempt to connect to your Cricut machine.

How to Make an Easy DIY Glass Sign
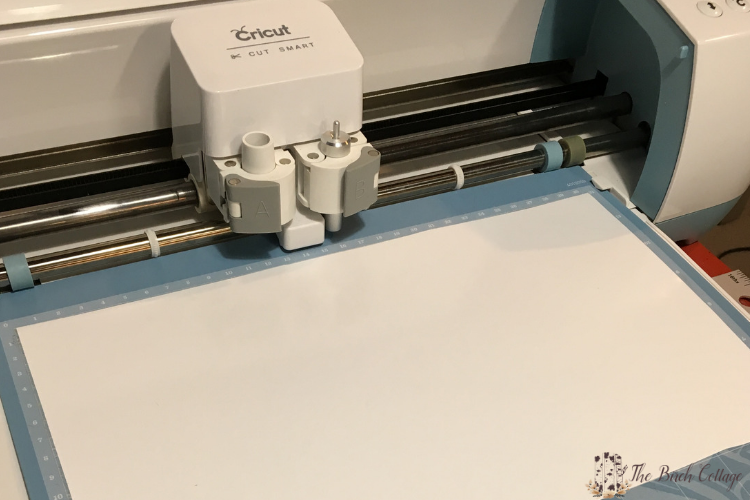
Design Space will then connect to your Cricut machine. Once connected, you’ll be prompted to load your mat. With a piece of vinyl cut 12”x12” (or the appropriate size for your project) and placed vinyl side up on the 12” long mat, load it into your machine, making sure to place the top edge of the mat under the guides on the machine so the top is touching the wheels.
Press the Load/Unload button.
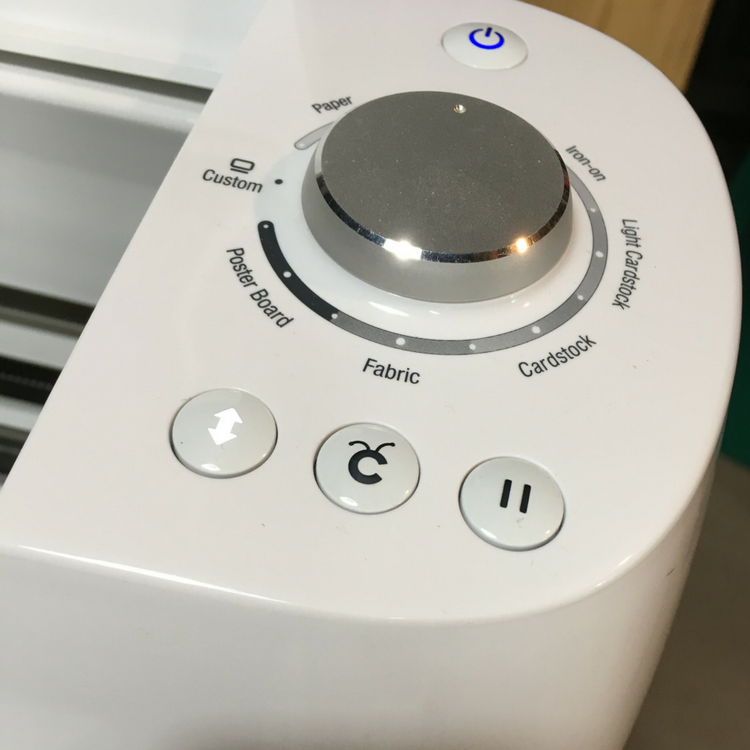
Once Design Space detects you have loaded the mat, you’ll be prompted to press the Go button (button with the Cricut logo). The Cricut machine will now cut your design.

After the design has been cut, you’ll be prompted to unload the mat. Press the Load/Unload button.
Apply Vinyl Design to Glass
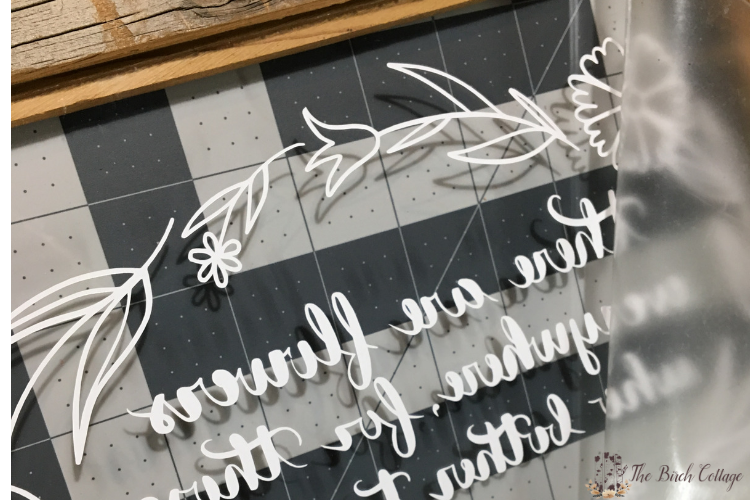
Once you’ve uploaded and cut out your design, you will need to weed away all the vinyl you don’t want to be included in your design.
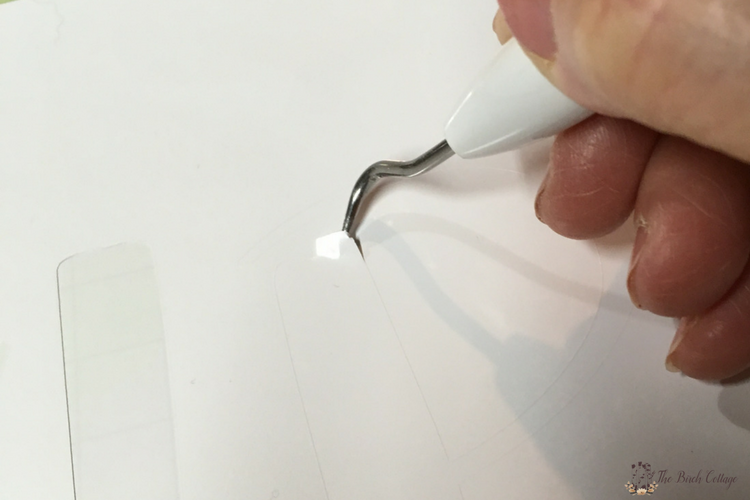
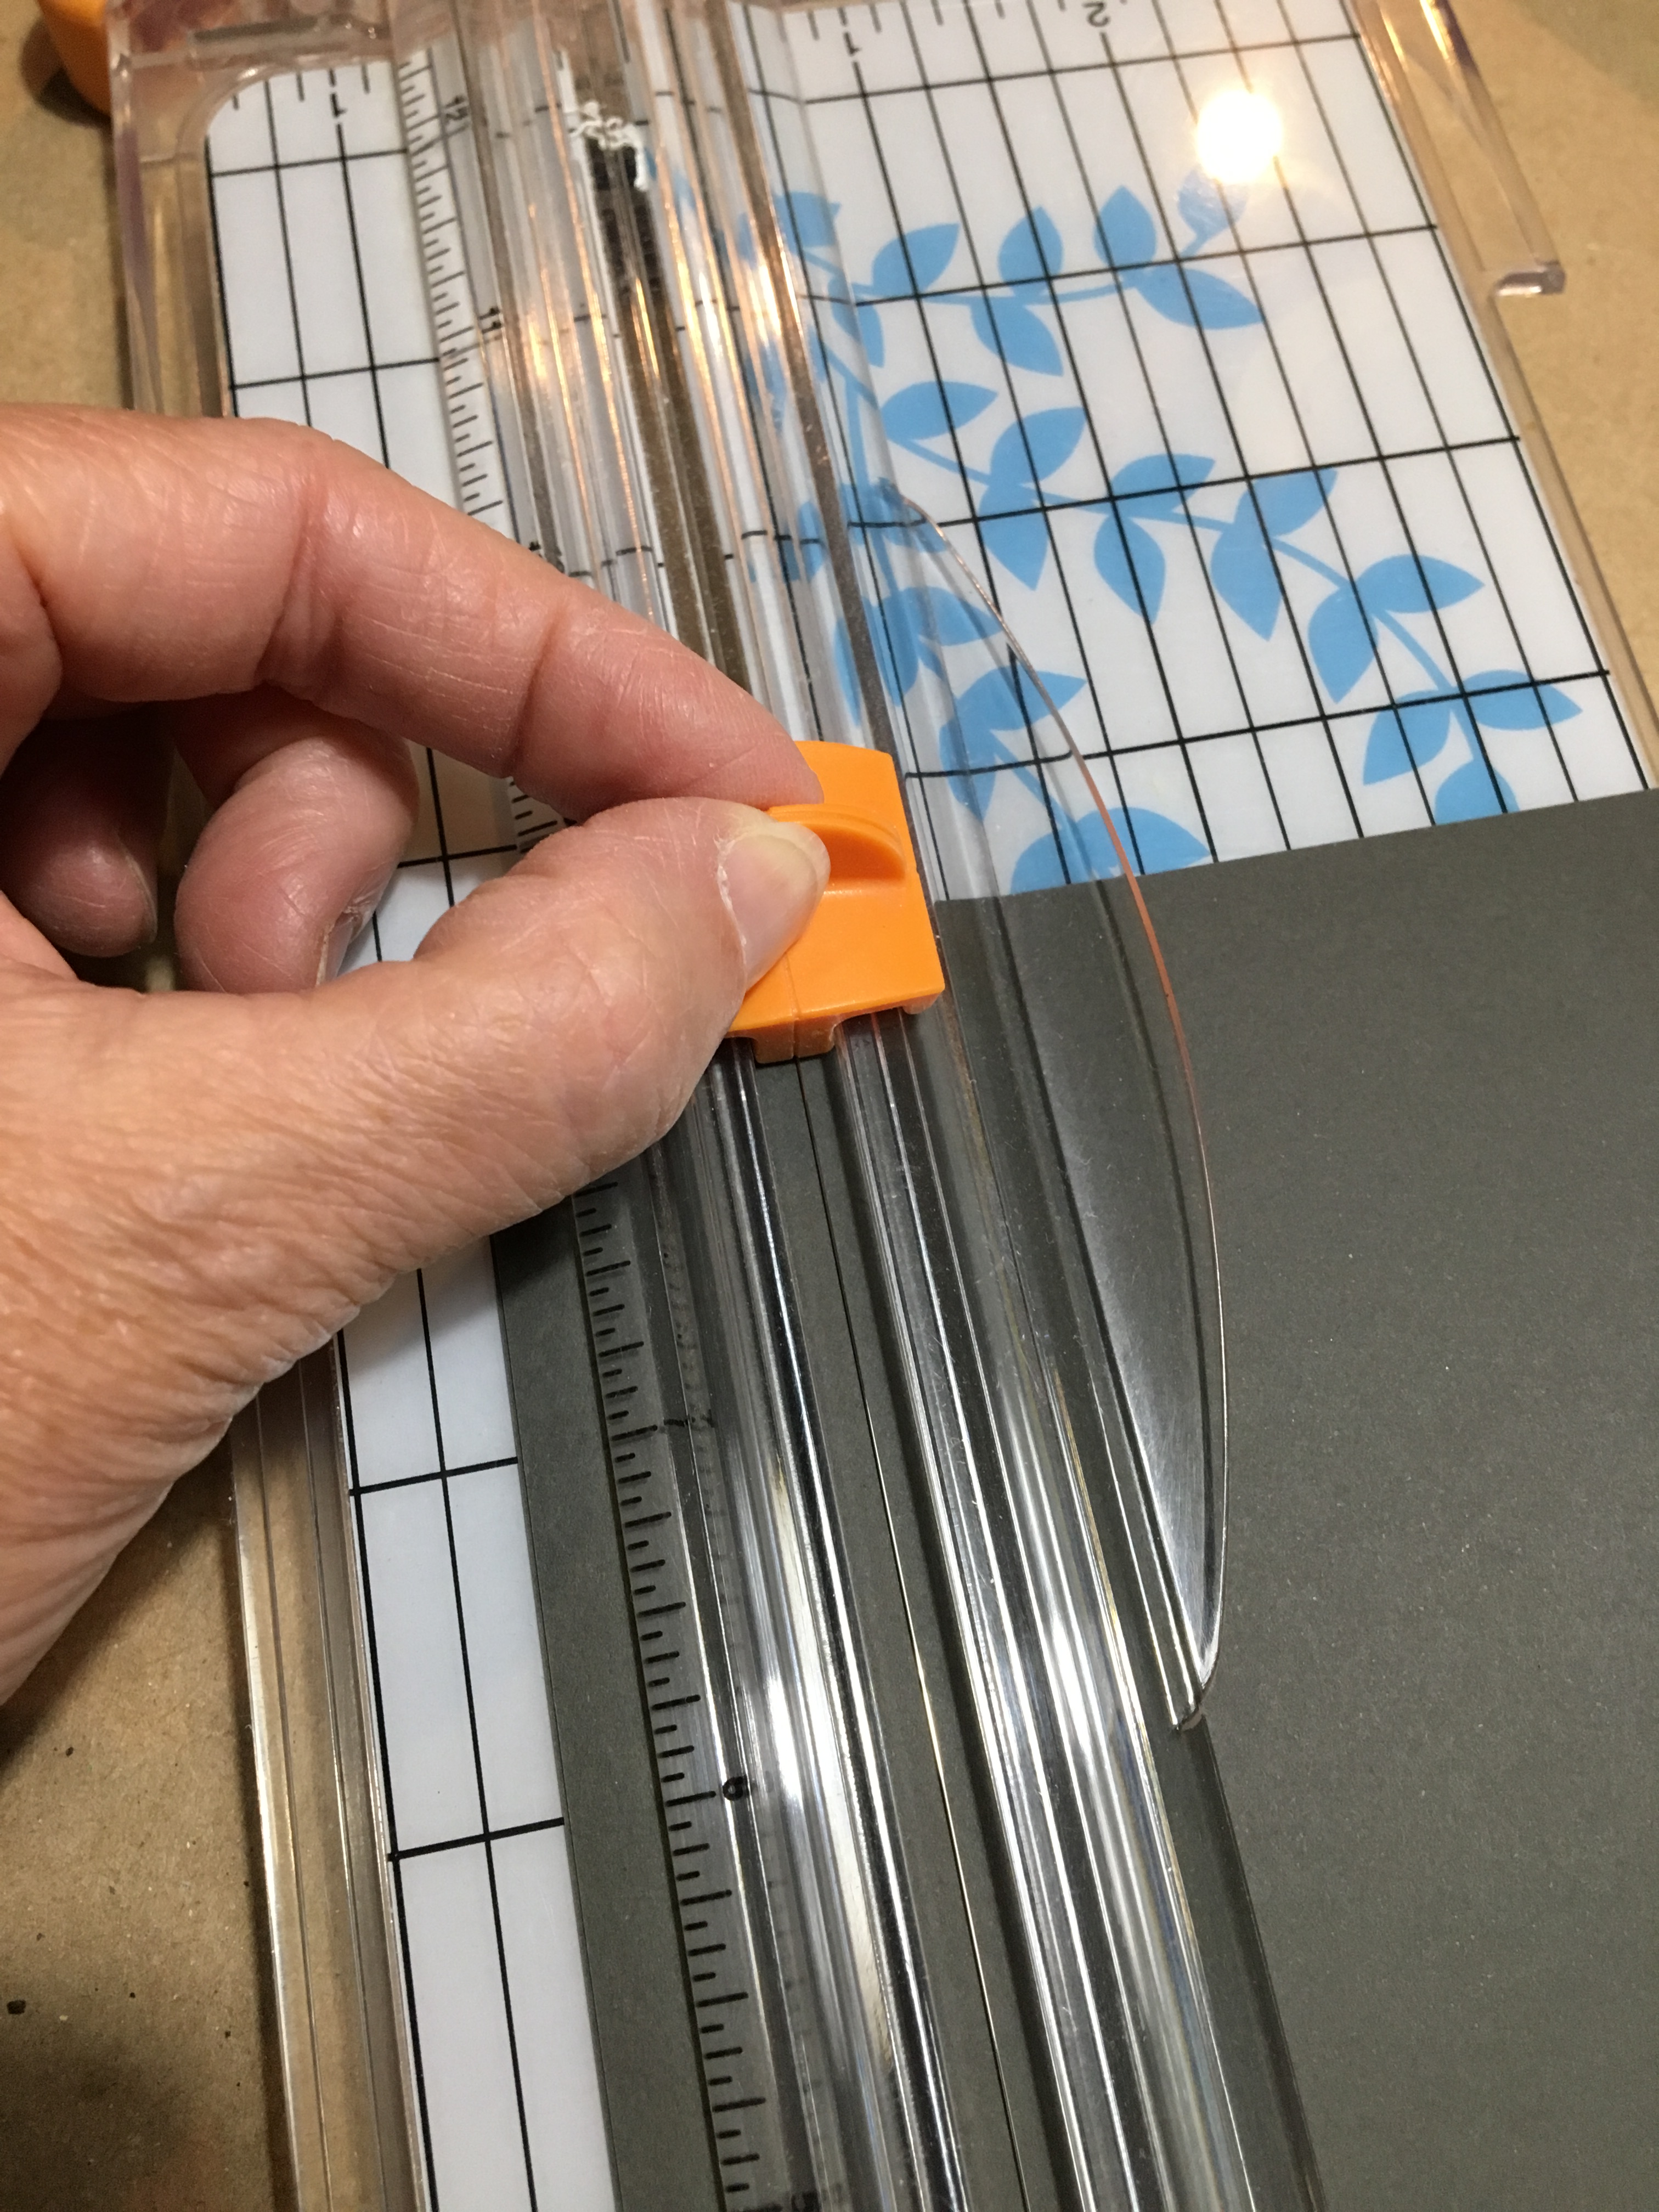
Then, cut out a piece of vinyl transfer tape that is 8″x10″ and lay it down over the top of your weeded design (aka stencil). (Be sure to make sure your glass is clean, lint-free, and dry before proceeding. ) Use the scraper tool to smooth out the transfer tape and to help it adhere to your vinyl design.
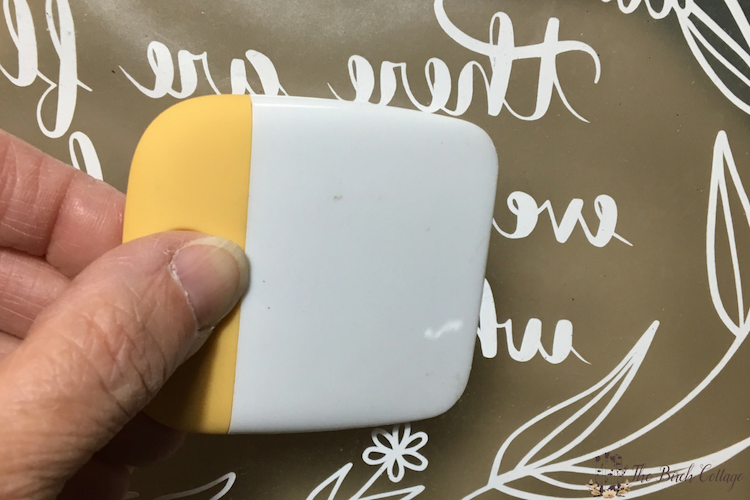
Now it’s time to apply the vinyl design to the back of your glass. Carefully align the design over the glass without touching the glass. Once you have it perfectly aligned, lower the vinyl design onto the back of the glass working from the middle outwards.
How to Make an Easy DIY Glass Sign
Use the scraper at an angle to smooth out the design and to get good adhesion to the glass.
Slowly remove the transfer tape from the glass and vinyl design.
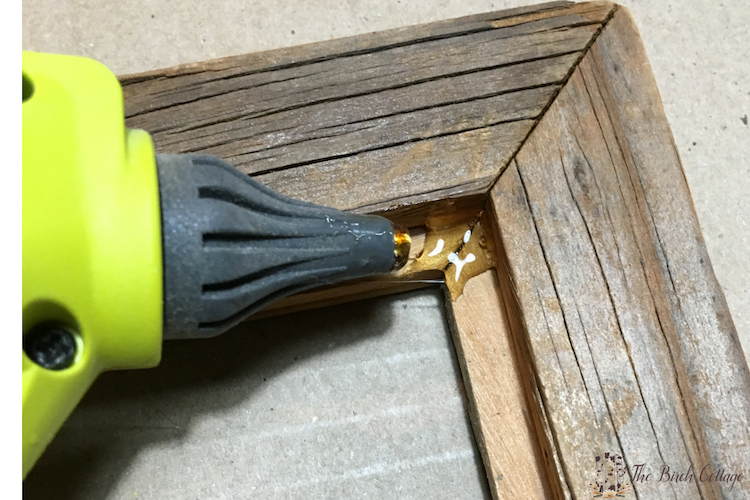
Apply hot glue to each corner of the back of the frame. (You can also use super glue or adhesion glue like E-6000.)
Lay the glass inside the back of the frame and apply some pressure to each corner. Be sure the glass side is down and the vinyl side is facing you.
OPTIONAL: You could also cut out a colored mat for the backing on your glass sign. Simply cut it to 8″x10″ (or the appropriate size for your frame opening) and place or glue it into the back of the frame.
Your frame is now ready to be hung or displayed! My husband’s grandfather made our frames. Fortunately, he included a little groove in the back of the frames that make them perfect for hanging. You could also drill small holes into the wooden frame, attach little eye-hooks and hang it with a chain, jute cord, wire, or rope. Be creative!
I hope you have enjoyed this easy DIY “There are Flowers Everywhere” glass sign tutorial. There are so many designs here on The Summery Umbrella that would look amazing in a DIY glass sign.
I also think these glass signs would make great custom handmade gifts for just about any occasion. Think birthdays, weddings, anniversaries, baby showers, housewarmings, or even Christmas!
More DIY ideas from The Birch Cottage
Don’t forget to check out a few of these ideas, too!
- Super Simple But First Coffee DIY Vinyl and Glass Sign
- The Ultimate Guide to Making Your Own Signs
- DIY Love You Sign
Til next time…

If you loved these ideas then you’ll definitely want to browse some of my other Craft projects that are full of step-by-step tutorials as well as freebies galore! Can’t wait to see you again!
Let’s be Social
- Instagram @thesummeryumbrella
- Facebook @thesummeryumbrella
- Pinterest summeryumbrella
- YouTube @thesummeryumbrella
This post was updated in November 2022.