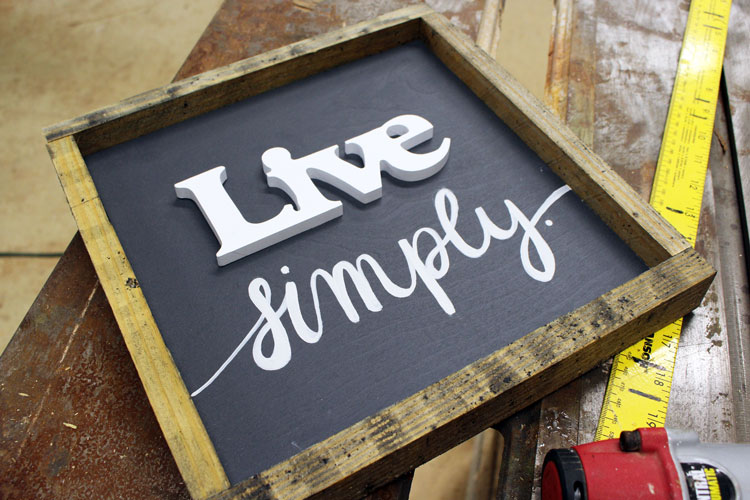
How to Frame a Sign Using a Butt Joint
Have you ever wondered how to frame a sign that you just created? Believe it or not, it’s actually pretty easy! Let me show you how with this easy guide!

Can you guess which question I get asked the most? It’s not what kind of paint I use. It’s not where I buy my vinyl.
Believe it or not, my number one question is, “how do you frame a sign?”. And you know what? I completely understand!
Before I learned how to frame my signs I was kind of intimidated by the task as well. In fact, for the first few years, I had my husband do it for me!
Thankfully though, it’s actually not that hard, and once you get the hang of it you’ll wonder why you even avoided it in the first place. So, let’s get started!

How to Frame a Sign Using a Butt Joint
SUPPLIES
- 1”x Material (or 1”X2” Furring Strips)
- 1-1/4” Brad Nails (or Finish Nails)
- Brad Nail Gun (or Hammer)
- Table Saw (for Ripping)
- Miter Saw
- Wood Glue
STEPS
- When framing your signs there are a lot of options, but my favorite is a simple butt joint. This is two boards butted together.
- For this method use 1”x material (actual thickness is 3/4”). You can use a table saw to rip a 1X4” in two pieces, or a 1X2” furring strip can be used just as is with overall dimensions of 3/4” X1 1/2”.
- First, cut two boards to the length of the sides of your sign. Attach them with a thin bead of wood glue and nail them into place with finish nails or brad nails (preferred) 1 1/4” long every 3 inches ensuring they remain flush with the ends. (Fig. 1)
- Then, measure across the top of your sign and side pieces and cut your frame wood to fit. Attach the top pieces in the same manner ensuring you put two nails in the ends at the “butt joint”.
- If you have any overlap it can typically be sanded flush with a palm sander.
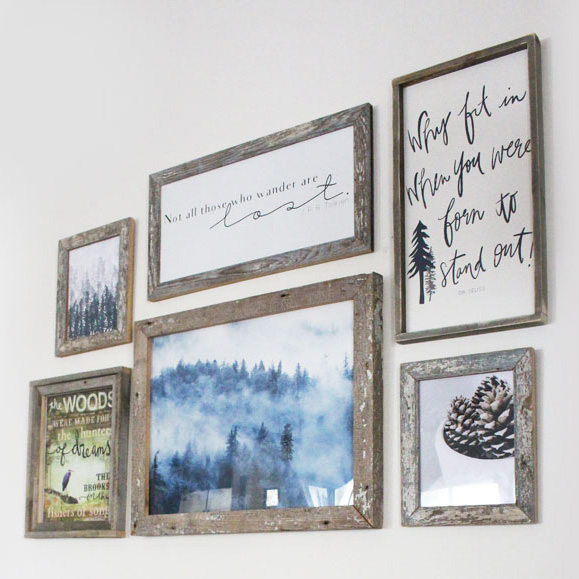
- Personally, I like to distress the edges of my frames to give them a rustic appeal, but this last step is completely up to you!
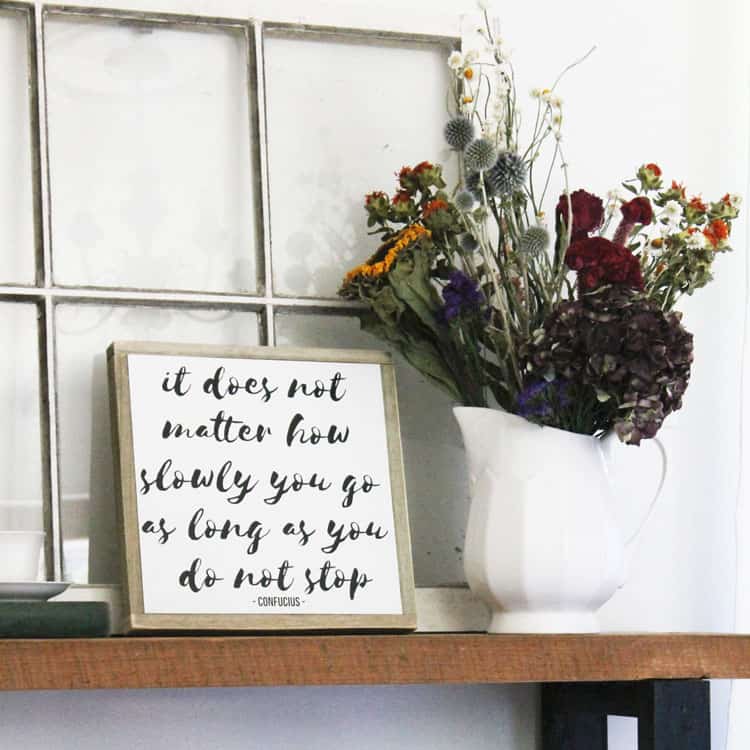
NOTES: Ultimately the wood that you use will be up to you (new or reclaimed), and what is available in your location. For instance, in North Carolina pine is one of the most plentiful wood types in our area so this is what I most typically use.
Need to see it live? Check out the below video tutorial for the details!
How to Frame a Sign Using a Butt Joint
That wasn’t too bad, was it?! Pretty easy, and I do believe it really helps your sign come alive! In fact, if you liked this tutorial and would like more DIY projects and tips I highly recommend checking out my new eBook, The Ultimate Guide to Making Your Own Signs.
It is absolutely jam-packed with similar tutorials and LOTS and LOTS of signs that I just know you’ll want to get started on ASAP.
So, get going! Have fun, and have a wonderful weekend 🙂

Let’s be Social
- Instagram @thesummeryumbrella
- Facebook @thesummeryumbrella
- Pinterest summeryumbrella
- YouTube @thesummeryumbrella
This post was originally created in April 2017 but was updated in February 2021.


Thank you for this tutorial!! I figured this framing was simple but wanted a guild. I finally found it in your blog.
Hi Katie! I’m so happy that you liked this tutorial and it helped. Happy sign making, and hope you have a wonderful New Year 🙂